key FORD RANGER 1999 2.G User Guide
[x] Cancel search | Manufacturer: FORD, Model Year: 1999, Model line: RANGER, Model: FORD RANGER 1999 2.GPages: 216, PDF Size: 1.47 MB
Page 86 of 216
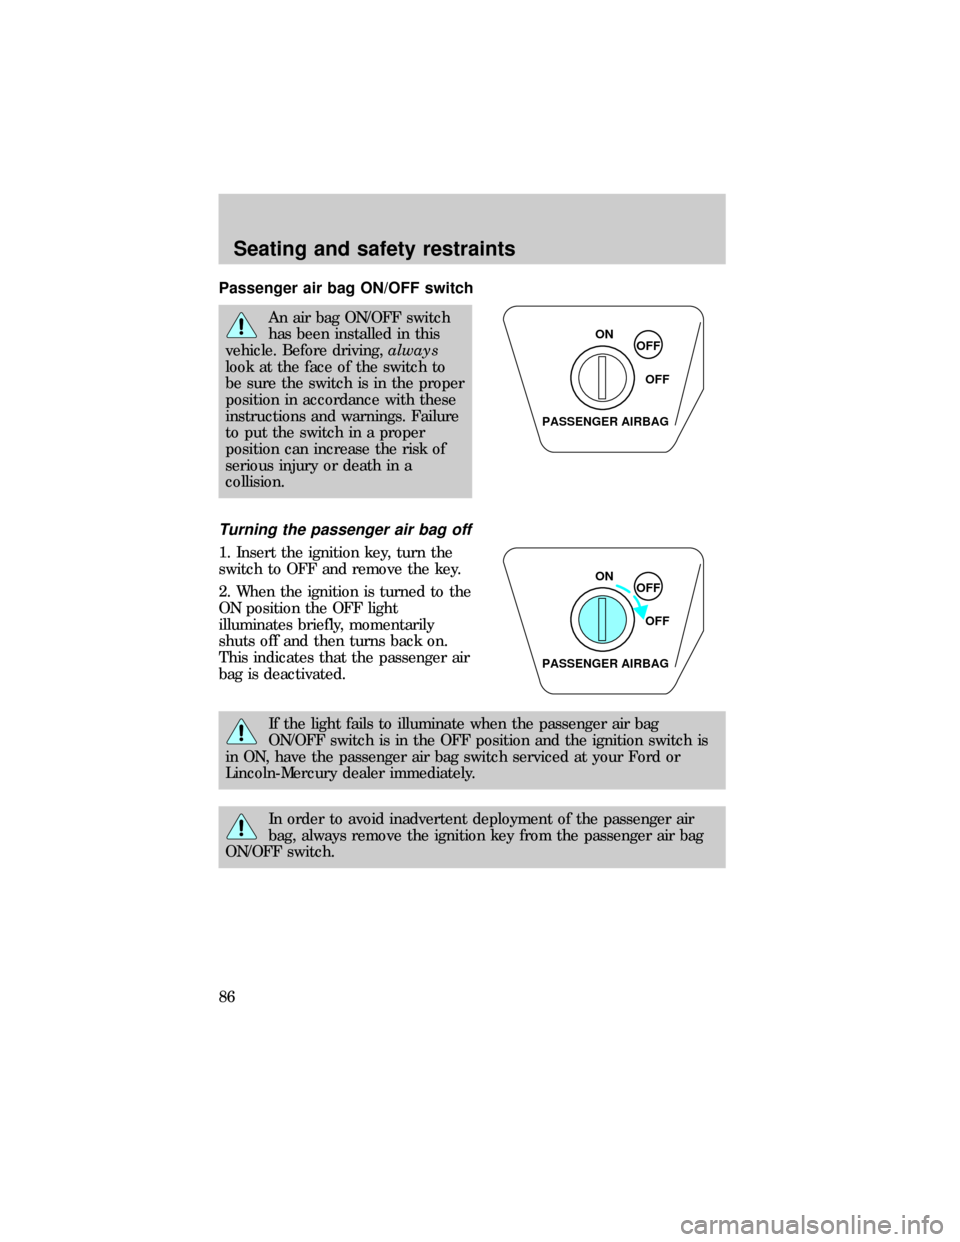
Passenger air bag ON/OFF switch
An air bag ON/OFF switch
has been installed in this
vehicle. Before driving,always
look at the face of the switch to
be sure the switch is in the proper
position in accordance with these
instructions and warnings. Failure
to put the switch in a proper
position can increase the risk of
serious injury or death in a
collision.
Turning the passenger air bag off
1. Insert the ignition key, turn the
switch to OFF and remove the key.
2. When the ignition is turned to the
ON position the OFF light
illuminates briefly, momentarily
shuts off and then turns back on.
This indicates that the passenger air
bag is deactivated.
If the light fails to illuminate when the passenger air bag
ON/OFF switch is in the OFF position and the ignition switch is
in ON, have the passenger air bag switch serviced at your Ford or
Lincoln-Mercury dealer immediately.
In order to avoid inadvertent deployment of the passenger air
bag, always remove the ignition key from the passenger air bag
ON/OFF switch.
ON
OFF
OFF
PASSENGER AIRBAG
ON
OFF
OFF
PASSENGER AIRBAG
Seating and safety restraints
86
Page 87 of 216
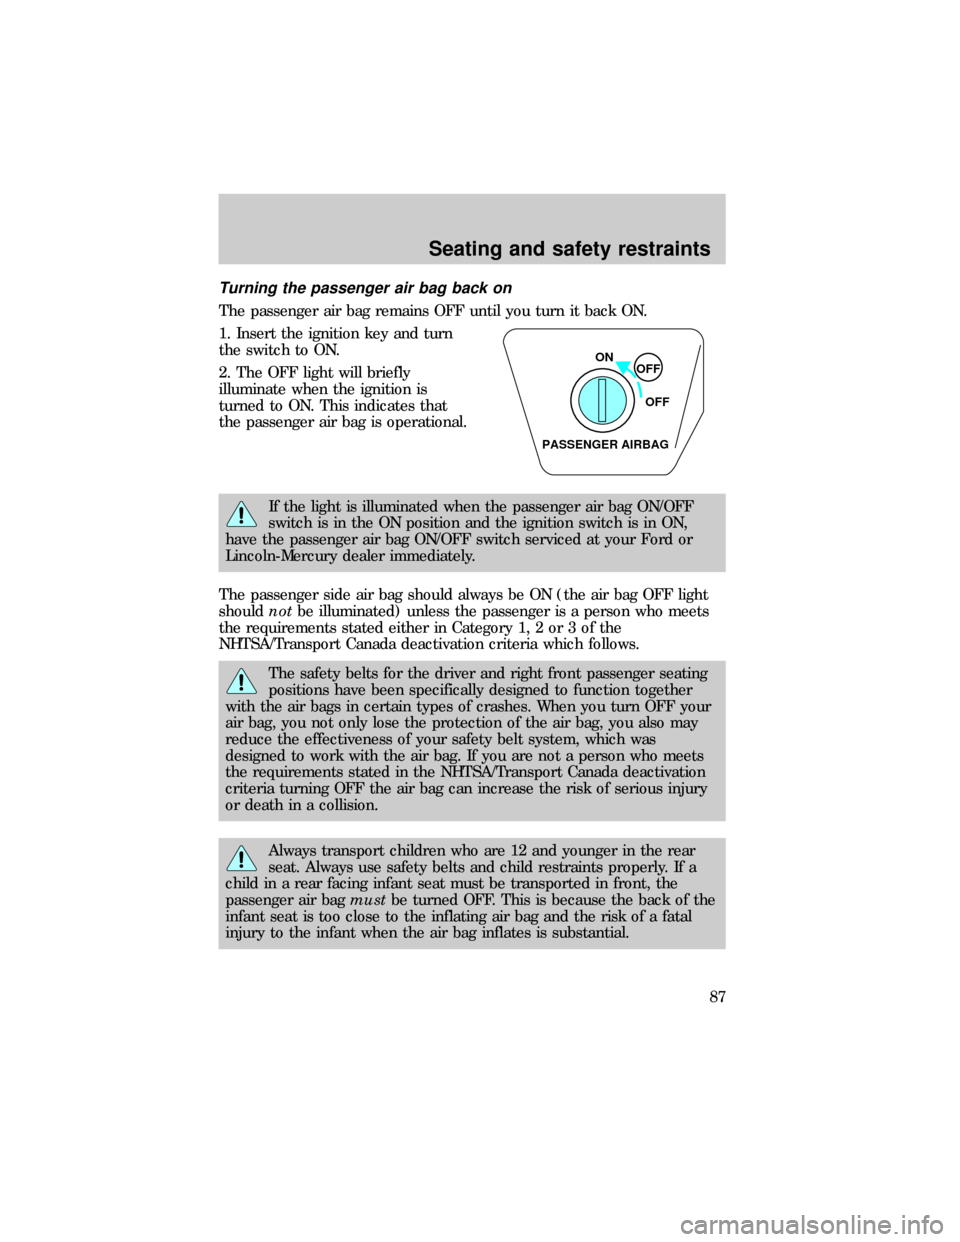
Turning the passenger air bag back on
The passenger air bag remains OFF until you turn it back ON.
1. Insert the ignition key and turn
the switch to ON.
2. The OFF light will briefly
illuminate when the ignition is
turned to ON. This indicates that
the passenger air bag is operational.
If the light is illuminated when the passenger air bag ON/OFF
switch is in the ON position and the ignition switch is in ON,
have the passenger air bag ON/OFF switch serviced at your Ford or
Lincoln-Mercury dealer immediately.
The passenger side air bag should always be ON (the air bag OFF light
shouldnotbe illuminated) unless the passenger is a person who meets
the requirements stated either in Category 1, 2 or 3 of the
NHTSA/Transport Canada deactivation criteria which follows.
The safety belts for the driver and right front passenger seating
positions have been specifically designed to function together
with the air bags in certain types of crashes. When you turn OFF your
air bag, you not only lose the protection of the air bag, you also may
reduce the effectiveness of your safety belt system, which was
designed to work with the air bag. If you are not a person who meets
the requirements stated in the NHTSA/Transport Canada deactivation
criteria turning OFF the air bag can increase the risk of serious injury
or death in a collision.
Always transport children who are 12 and younger in the rear
seat. Always use safety belts and child restraints properly. If a
child in a rear facing infant seat must be transported in front, the
passenger air bagmustbe turned OFF. This is because the back of the
infant seat is too close to the inflating air bag and the risk of a fatal
injury to the infant when the air bag inflates is substantial.
ON
OFF
OFF
PASSENGER AIRBAG
Seating and safety restraints
87
Page 99 of 216
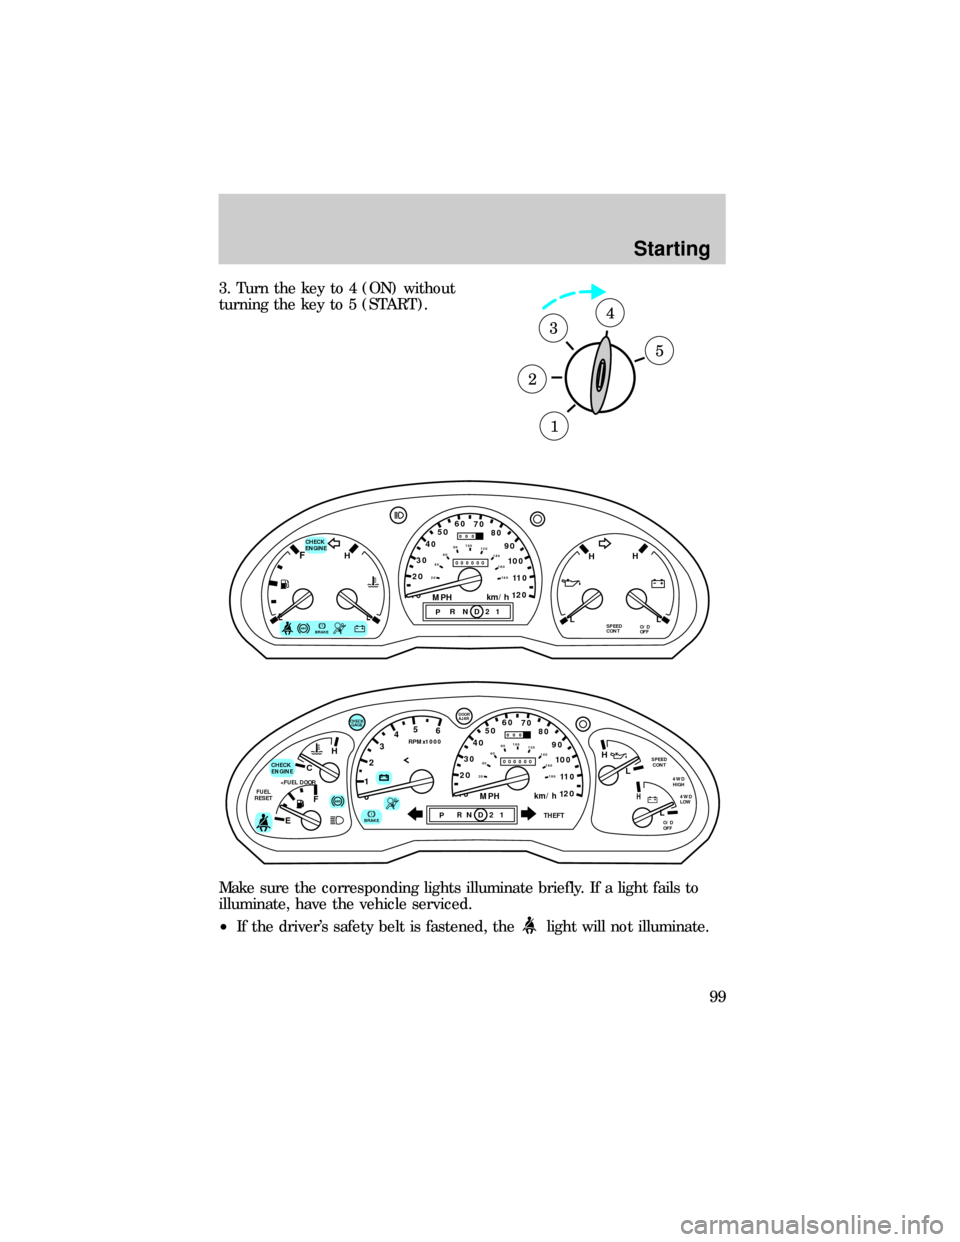
3. Turn the key to 4 (ON) without
turning the key to 5 (START).
Make sure the corresponding lights illuminate briefly. If a light fails to
illuminate, have the vehicle serviced.
²If the driver's safety belt is fastened, the
light will not illuminate.
1
2
34
5
ABS
CHECK
ENGINEFH
H H
PRND21ELSPEED
CONTO/D
OFFLL
10MPH 205060
70
304080
90
km/h
0 0 0
10 100
1
20
1
0 0 0 0 0 0406080100
120
140
160
180
20
!BRAKE
C
012345
6
RPMx1000
ABS
CHECK
ENGINE
FUEL
RESET
EFH
H
H
PRN D 2 1THEFT
SPEED
CONT
4WD
HIGH
4WD
LOW
O/D
OFFL
L
10MPH 205060
70
304080
90
km/h
0 0 0
10 100
1
20
1
0 0 0 0 0 0406080100
120
140
160
180
20
AJAR
CHECK
GAGE
!BRAKE
Starting
99
Page 100 of 216
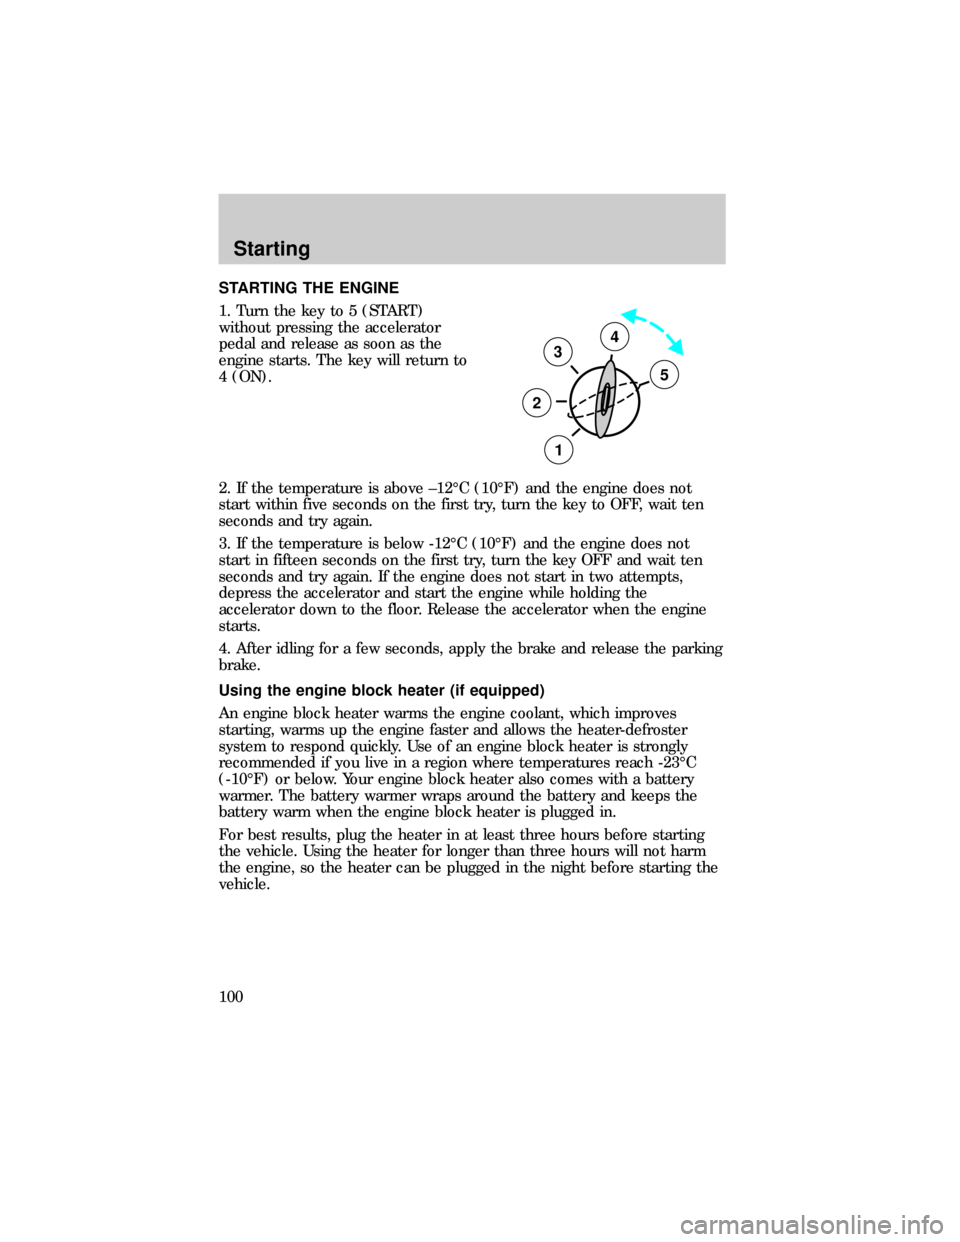
STARTING THE ENGINE
1. Turn the key to 5 (START)
without pressing the accelerator
pedal and release as soon as the
engine starts. The key will return to
4 (ON).
2. If the temperature is above ±12ÉC (10ÉF) and the engine does not
start within five seconds on the first try, turn the key to OFF, wait ten
seconds and try again.
3. If the temperature is below -12ÉC (10ÉF) and the engine does not
start in fifteen seconds on the first try, turn the key OFF and wait ten
seconds and try again. If the engine does not start in two attempts,
depress the accelerator and start the engine while holding the
accelerator down to the floor. Release the accelerator when the engine
starts.
4. After idling for a few seconds, apply the brake and release the parking
brake.
Using the engine block heater (if equipped)
An engine block heater warms the engine coolant, which improves
starting, warms up the engine faster and allows the heater-defroster
system to respond quickly. Use of an engine block heater is strongly
recommended if you live in a region where temperatures reach -23ÉC
(-10ÉF) or below. Your engine block heater also comes with a battery
warmer. The battery warmer wraps around the battery and keeps the
battery warm when the engine block heater is plugged in.
For best results, plug the heater in at least three hours before starting
the vehicle. Using the heater for longer than three hours will not harm
the engine, so the heater can be plugged in the night before starting the
vehicle.
3
2
1
5
4
Starting
100
Page 107 of 216
TRANSMISSION OPERATION
Brake-shift interlock
This vehicle is equipped with a brake-shift interlock feature that prevents
the gearshift from being moved from P (Park) unless the brake pedal is
depressed.
If you cannot move the gearshift out of P (Park) with the brake pedal
depressed:
1. Apply the parking brake, turn ignition key to LOCK, then remove the
key.
2. Insert the key and turn it to OFF. Apply the brake pedal and shift to N
(Neutral).
3. Start the vehicle.
If it is necessary to use the above procedure to move the gearshift, it is
possible that a fuse has blown or the vehicle's brakelamps are not
operating properly. Refer toFuses and relaysin theRoadside
emergencieschapter.
Do not drive your vehicle until you verify that the brakelamps
are working.
If your vehicle gets stuck in mud or snow it may be rocked out by
shifting from forward and reverse gears, stopping between shifts, in a
steady pattern. Press lightly on the accelerator in each gear.
Do not rock the vehicle for more than a few minutes. The
transmission and tires may be damaged or the engine may
overheat.
Always set the parking brake fully and make sure the gearshift is
latched in P (Park). Turn off the ignition whenever you leave
your vehicle.
If the parking brake is fully released, but the brake warning lamp
remains illuminated, the brakes may not be working properly.
See your dealer or a qualified service technician.
Driving
107
Page 133 of 216
HAZARD LIGHTS CONTROL
Use only in an emergency to warn traffic of vehicle breakdown,
approaching danger, etc. The hazard flashers can be operated when the
ignition is off.
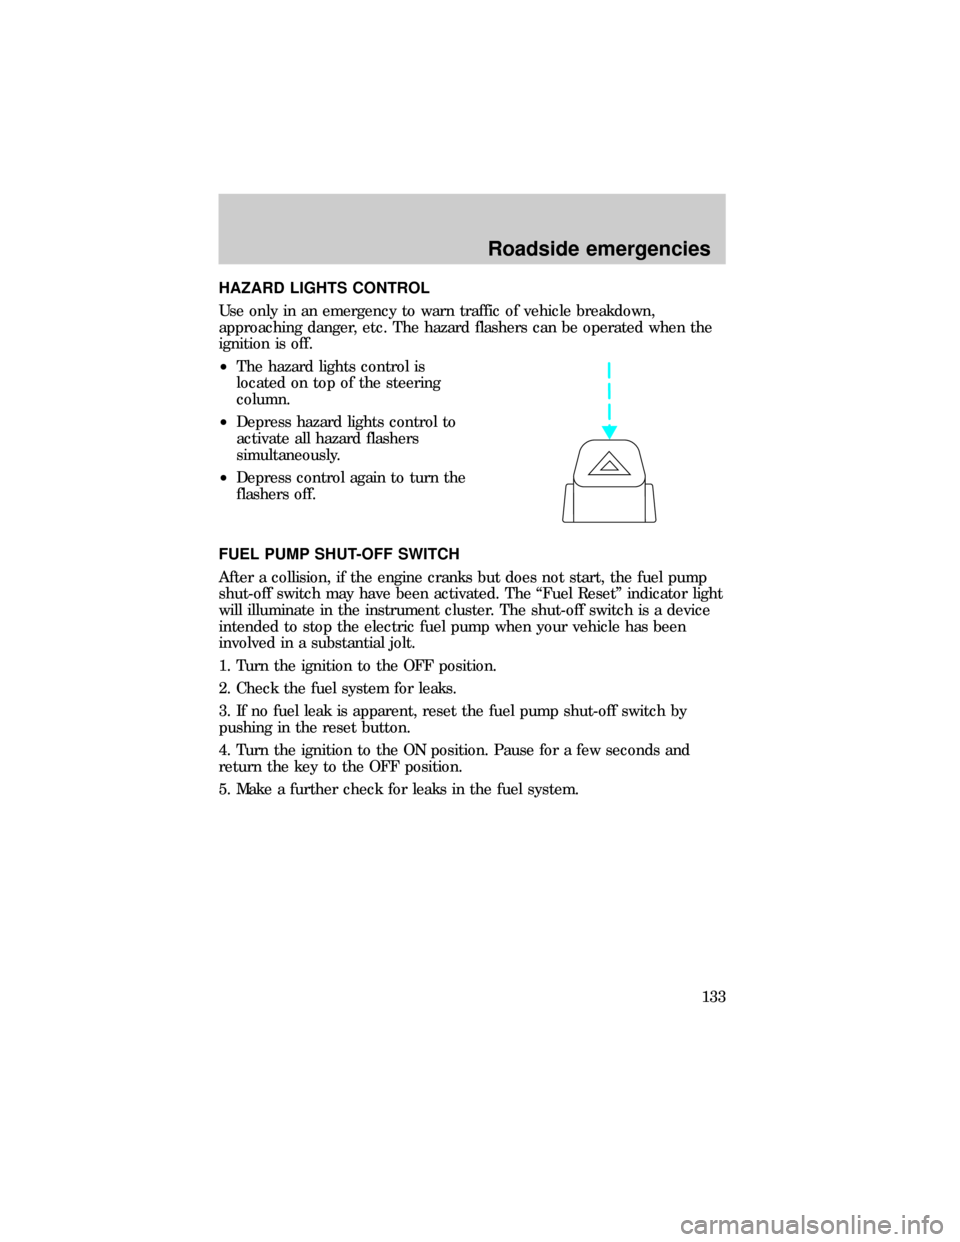
²The hazard lights control is
located on top of the steering
column.
²Depress hazard lights control to
activate all hazard flashers
simultaneously.
²Depress control again to turn the
flashers off.
FUEL PUMP SHUT-OFF SWITCH
After a collision, if the engine cranks but does not start, the fuel pump
shut-off switch may have been activated. The ªFuel Resetº indicator light
will illuminate in the instrument cluster. The shut-off switch is a device
intended to stop the electric fuel pump when your vehicle has been
involved in a substantial jolt.
1. Turn the ignition to the OFF position.
2. Check the fuel system for leaks.
3. If no fuel leak is apparent, reset the fuel pump shut-off switch by
pushing in the reset button.
4. Turn the ignition to the ON position. Pause for a few seconds and
return the key to the OFF position.
5. Make a further check for leaks in the fuel system.
Roadside emergencies
133
Page 142 of 216
Location of the spare tire and tools
The spare tire and tools for your vehicle are stowed in the following
locations:
Tool Location
Spare tire Under the vehicle, just forward of the rear
bumper
Jack, jack handle,
wheel nut wrenchRegular Cab: behind seats and underneath the
jack and tools cover
SuperCab: stowed in the passenger side rear cab
compartment or behind the jump seat in a
separate tool bag
Four-door models: stowed behind the front seats,
between jump seats and underneath jack and tool
covers.
Key, spare tire lock
(if equipped)In the glove box
Removing the spare tire
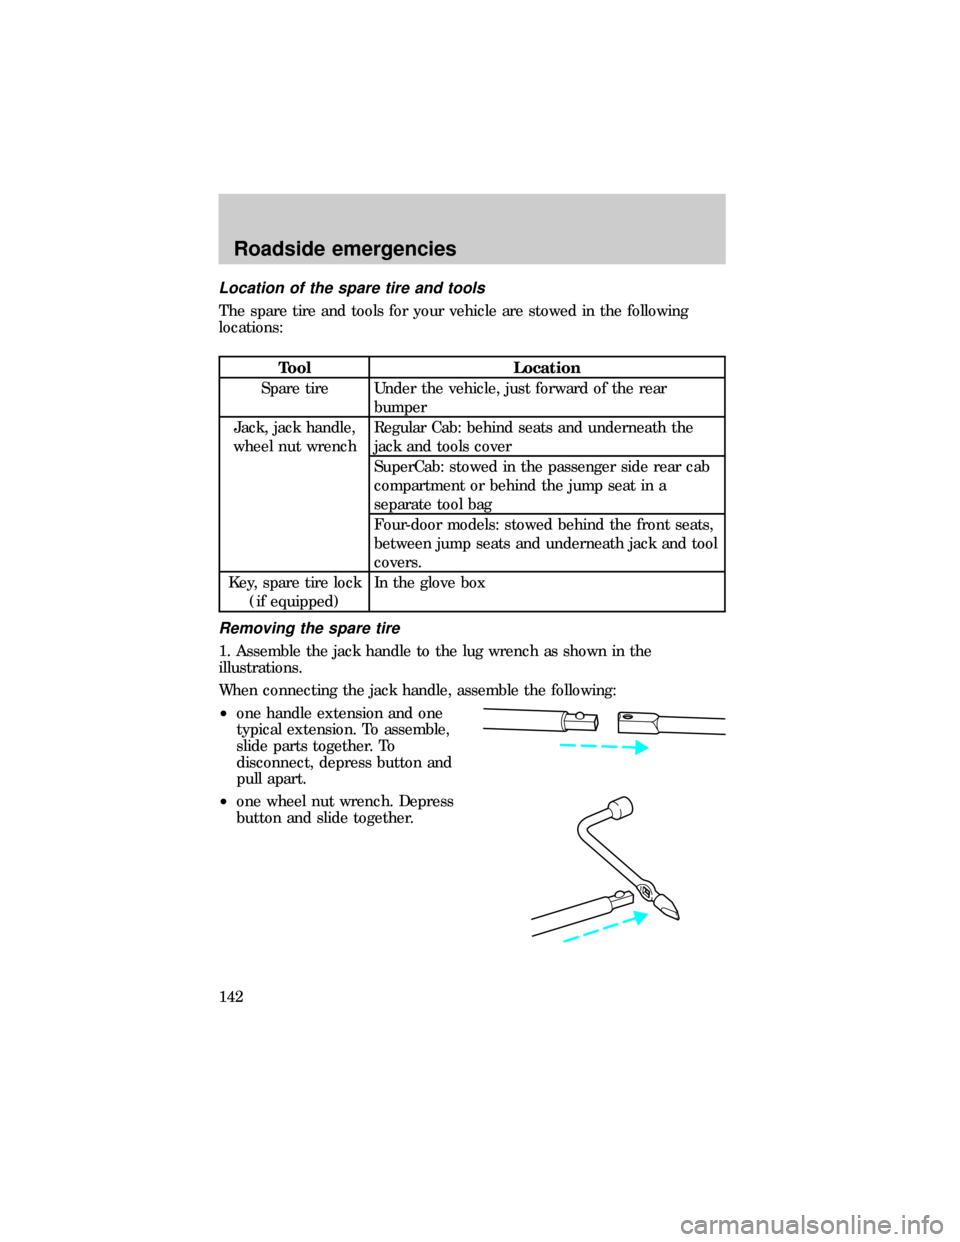
1. Assemble the jack handle to the lug wrench as shown in the
illustrations.
When connecting the jack handle, assemble the following:
²one handle extension and one
typical extension. To assemble,
slide parts together. To
disconnect, depress button and
pull apart.
²one wheel nut wrench. Depress
button and slide together.
Roadside emergencies
142
Page 152 of 216

SERVICE RECOMMENDATIONS
To help you service your vehicle:
²We highlight do-it-yourself items in the engine compartment for easy
location.
²We provide a ªService Guideº which makes tracking routine service
easy.
If your vehicle requires professional service, your dealership can provide
necessary parts and service. Check your ªWarranty Guideº to find out
which parts and services are covered.
Use only recommended fuels, lubricants, fluids and service parts
conforming to specifications. Motorcraft parts are designed and built to
provide the best performance in your vehicle.
PRECAUTIONS WHEN SERVICING YOUR VEHICLE
Be especially careful when inspecting or servicing your vehicle.
²Do not work on a hot engine.
²When the engine is running, make sure that loose clothing, jewelry or
long hair does not get caught up in moving parts.
²Do not work on a vehicle with the engine running in an enclosed
space, unless you are sure you have enough ventilation.
²Keep all lit cigarettes, open flames and other lit material away from
the battery and all fuel related parts.
If you disconnect the battery, the engine must ªrelearnº its idle
conditions before your vehicle will drive properly, as explained inBattery
in this chapter.
Working with the engine off
²Automatic transmission:
1. Set the parking brake and ensure the gearshift is securely latched in P
(Park).
2. Turn off the engine and remove the key.
3. Block the wheels to prevent the vehicle from moving unexpectedly.
Maintenance and care
152
Page 153 of 216
²Manual transmission:
1. Set the parking brake.
2. Depress the clutch and place the gearshift in 1 (First).
3. Turn off the engine and remove the key.
4. Block the wheels to prevent the vehicle from moving unexpectedly.
Working with the engine on
²Automatic transmission:
1. Set the parking brake and ensure the gearshift is securely latched in P
(Park).
2. Block the wheels to prevent the vehicle from moving unexpectedly.
Do not start your engine with the air cleaner removed and do
not remove it while the engine is running.
²Manual transmission:
1. Set the parking brake, depress the clutch and place the gearshift in N
(Neutral).
2. Block the wheels to prevent the vehicle from moving unexpectedly.
Do not start your engine with the air cleaner removed and do
not remove it while the engine is running.
OPENING THE HOOD
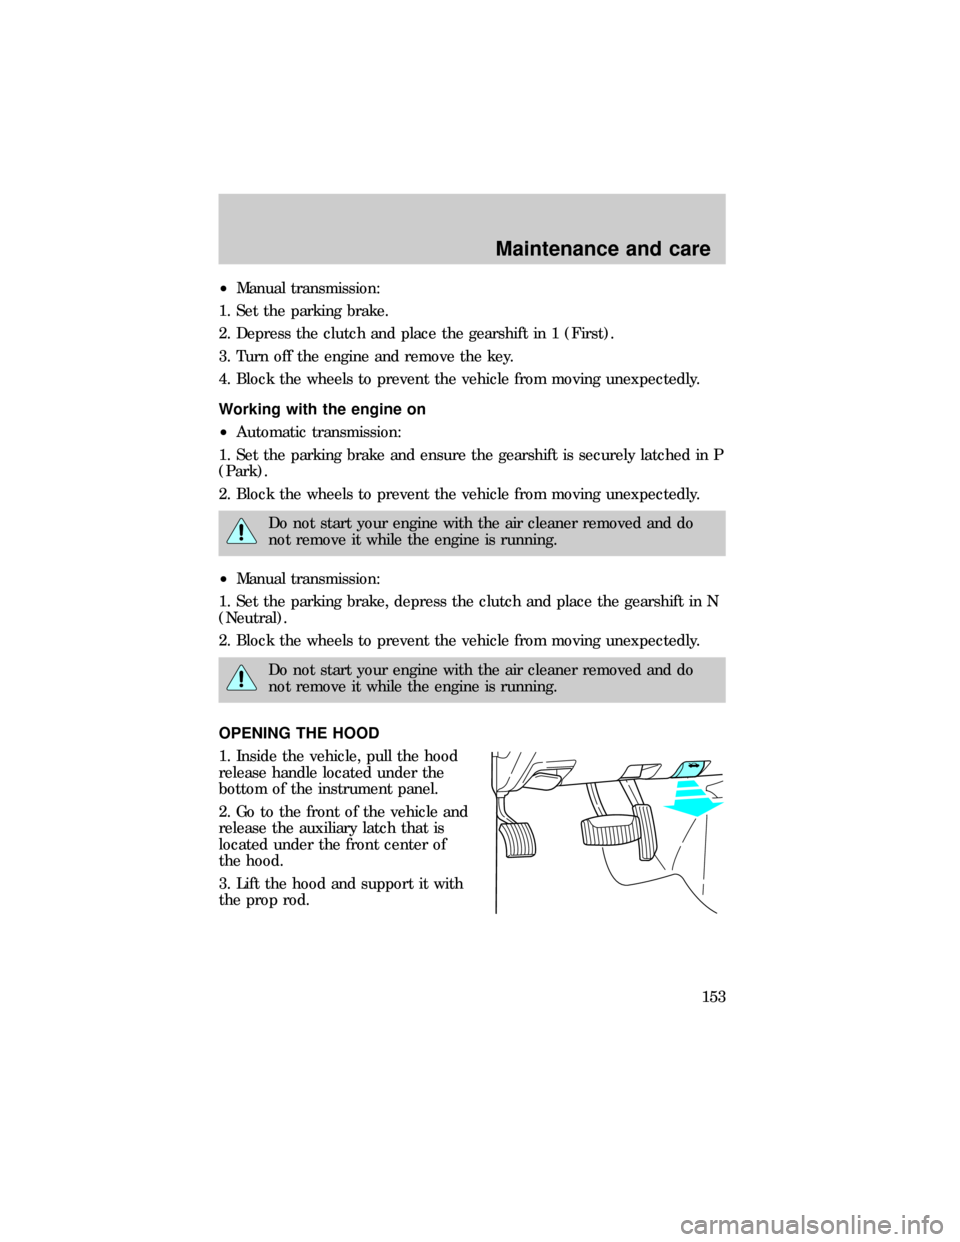
1. Inside the vehicle, pull the hood
release handle located under the
bottom of the instrument panel.
2. Go to the front of the vehicle and
release the auxiliary latch that is
located under the front center of
the hood.
3. Lift the hood and support it with
the prop rod.
Maintenance and care
153
Page 211 of 216

filling your vehicle
with fuel ...........................178,180
gauge .........................................12
quality ......................................182
running out of fuel .................183
safety information relating to
automotive fuels .....................178
Fuses ...................................134,135
Gas mileage (see Fuel
economy) ..............183,184,185,186
Gauges ....................................11,12
engine coolant temperature
gauge .........................................13
engine oil pressure gauge ........15
GVWR
(Gross Vehicle Weight Rating)
calculating ..........123,128,129,130
Hazard flashers .........................133
Headlamps
aiming ......................................194
bulb specifications ..................194
high beam ..............................9,16
warning chime ..........................11
Heating ........................................17
heater only system ..............17,18
Hood ..........................................153
Ignition .......................................204
Inspection/maintenance
(I/M) testing ..............................188
Instrument panel ..........................6
cleaning ...................................198
Keys
key in ignition chime ...............11
positions of the ignition ...........55
Lamps
daytime running light ...............16
fog lamps ...................................16
headlamps .................................16
headlamps, flash to pass ..........17
instrument panel, dimming .....17
interior lamps .........................194replacing
bulbs .....188,189,190,191,192,193
Lane change indicator (see
Turn signal) .................................55
Lights, warning and indicator
air bag ..........................................8
anti-lock brakes (ABS) ..............9
anti-theft .....................................9
brake ............................................8
charging system ..........................9
check coolant ............................10
cruise indicator .........................11
door ajar ....................................10
fuel reset .....................................8
overdrive off ..............................10
safety belt ...................................8
speed control ............................60
turn signal indicator ...................9
Lumbar support, seats ..........72,73
Manual transmission
reverse .....................................114
Mirrors
cleaning ...................................199
side view mirrors (power) .......63
Motorcraft parts ........................183
Octane rating ............................181
Odometer .....................................14
Overdrive .....................................60
Panic alarm feature, remote
entry system ................................65
Parking brake ............................105
Power distribution box
(see Fuses) ...............................138
Power door locks ........................63
Power steering ..........................106
fluid, checking and adding ....165
Radio ...24,25,26,27,28,29,30,31,32,
33,34,35,36,37,38,39,41,
42,43,44,45,46,47,48,49,51
Relays ........................................134
Remote entry system ..64,68,69,70
illuminated entry ......................67
Index
211