display FORD RANGER 2001 2.G User Guide
[x] Cancel search | Manufacturer: FORD, Model Year: 2001, Model line: RANGER, Model: FORD RANGER 2001 2.GPages: 272, PDF Size: 1.98 MB
Page 58 of 272
Menu mode
The MENU control allows you to
access many different features
within your audio system. There are
three sets of menus available
depending upon which mode or
feature is activated.
While in FM mode, two menus are
available.If RDS is turned OFF,
you can access the following:
²SELECT HOURS Ð Refer toSetting the clock.
²SELECT MINUTES Ð Refer toSetting the clock.
²RDS OFF Ð Refer toRadio data system feature.
If RDS is turned ON, you can access the following:
²TRAFFIC ON/OFF-Refer toTraffic announcements.
²FIND type-Refer toProgram type.
²SHOW (NAME, TYPE, NONE)- Refer toRadio data system feature.
²RDS ONÐ Refer toRadio data system feature.
²SELECT HOURS Ð Refer toSetting the clock.
²SELECT MINUTES ÐRefer toSetting the clock.
When in CD mode, you can access: SELECT HOURS, SELECT MINUTES
or COMP ON/OFF.
SELECT HOURS, SELECT MINUTESÐ Allows you to adjust the hours
and minutes. Refer toSetting the clock.
TRAFFIC ON/OFFÐ Traffic announcements can be programmed as local
or distant. Refer toTraffic announcements.
RDS ON/OFFÐ This feature allows your audio system to receive text
information from RDS-equipped FM radio stations. Refer toRadio Data
System feature.
FIND type Ð Allows you to select your desired FM program type and
search for that selection.
SHOW Ð Allows you to select from NAME (displays the name of the
radio station), TYPE (displays the RDS program type: rock, jazz, etc.), or
NONE (deactivates the RDS display).MENU
Controls and features
58
Page 59 of 272
Traffic announcements
This feature allows you to hear
traffic announcements. When in this
mode, traffic announcements will
interrupt radio and CD play.
When in FM mode and RDS is
activated, press the MENU until TRAFFIC OFF displays. Press the SEL
control to engage the feature. The display will read TRAFFIC ON.
This feature also allows you to control the volume of traffic
announcements. With the display reading TRAFFIC ON, adjust the
volume using the volume control to the desired level. The volume level
will show at the bottom of the display. Interrupting traffic
announcements will be at the selected volume level.
To disengage the feature, press the MENU control until TRAFFIC ON
displays. Press the SEL control. The display will read TRAFFIC OFF.
RDS traffic seek feature
When in traffic mode, you can use the SEEK feature to seek up or down
the listenable traffic capable frequencies.
With the RDS activated, press MENU until TRAFFIC ON is displayed.
Press and hold the SEEK control until the desired selection is reached.
The feature disengages when the control is released.
RDS traffic scan feature
When in traffic mode, you can use the SCAN feature to scan up the
frequency band for listenable traffic capable frequencies.
With the RDS activated, press the MENU control until TRAFFIC ON is
displayed. Press the SCAN control. SCAN TRAFFIC will display. The
audio system will scan to all traffic capable frequencies. If no valid
stations are found after one pass, the scan function is cancelled and NOT
FOUND displays.
SEL+MENU
Controls and features
59
Page 60 of 272
Radio data system (RDS) feature
This feature allows your audio
system to receive text information
from RDS-equipped FM radio
stations.
To activate RDS:
²When in FM mode, press the MENU control until RDS OFF displays.
²Press the SEL control to engage this feature (RDS ON).
RDS features:
Once the RDS feature is on, press the MENU control to scroll through
the following selections:
Traffic announcements
This feature allows you to hear traffic announcements while in CD mode.
These announcements are broadcast by traffic capable RDS stations.
When in this mode, traffic announcements will interrupt radio and CD
play.
²Press the MENU control until TRAFFIC is displayed.
²Press the SEL control to engage the feature. The display will read
TRAFFIC ON.
This feature also allows you to control the volume of traffic
announcements. With the display reading TRAFFIC ON, adjust the
volume using the volume control to the desired level. The volume level
will show at the bottom of the display. Interrupting traffic
announcements will be at the selected volume level.
To disengage the feature, press the MENU control until TRAFFIC ON
displays. Press the SEL control. The display will read TRAFFIC OFF.
Traffic announcements not available in most U.S. markets.
SEL+MENU
Controls and features
60
Page 61 of 272
Program type
This feature allows you to search for RDS stations selectively by their
program type.
Press the MENU control until FIND
program type is displayed.
Use the SEL control to select the
program type. With the feature on,
use the SEEK or SCAN control to
find the desired program type from the following selections:
²Classic
²Country
²Info
²Jazz
²Oldies
²R&B
²Religious
²Rock
²Soft
²To p 4 0
Show
This feature allows you to select the
type of RDS broadcast information
the radio will regularly show in the
display.
With RDS activated, press the
MENU control until SHOW is
displayed.
Use the SEL control to select TYPE
(displays the RDS program type:
rock, jazz, etc), NAME (displays the name of the radio station) or NONE
(deactivates the RDS display).
SEL+MENU
SEL
+MENU
SEL
+MENU
Controls and features
61
Page 62 of 272
Mute mode
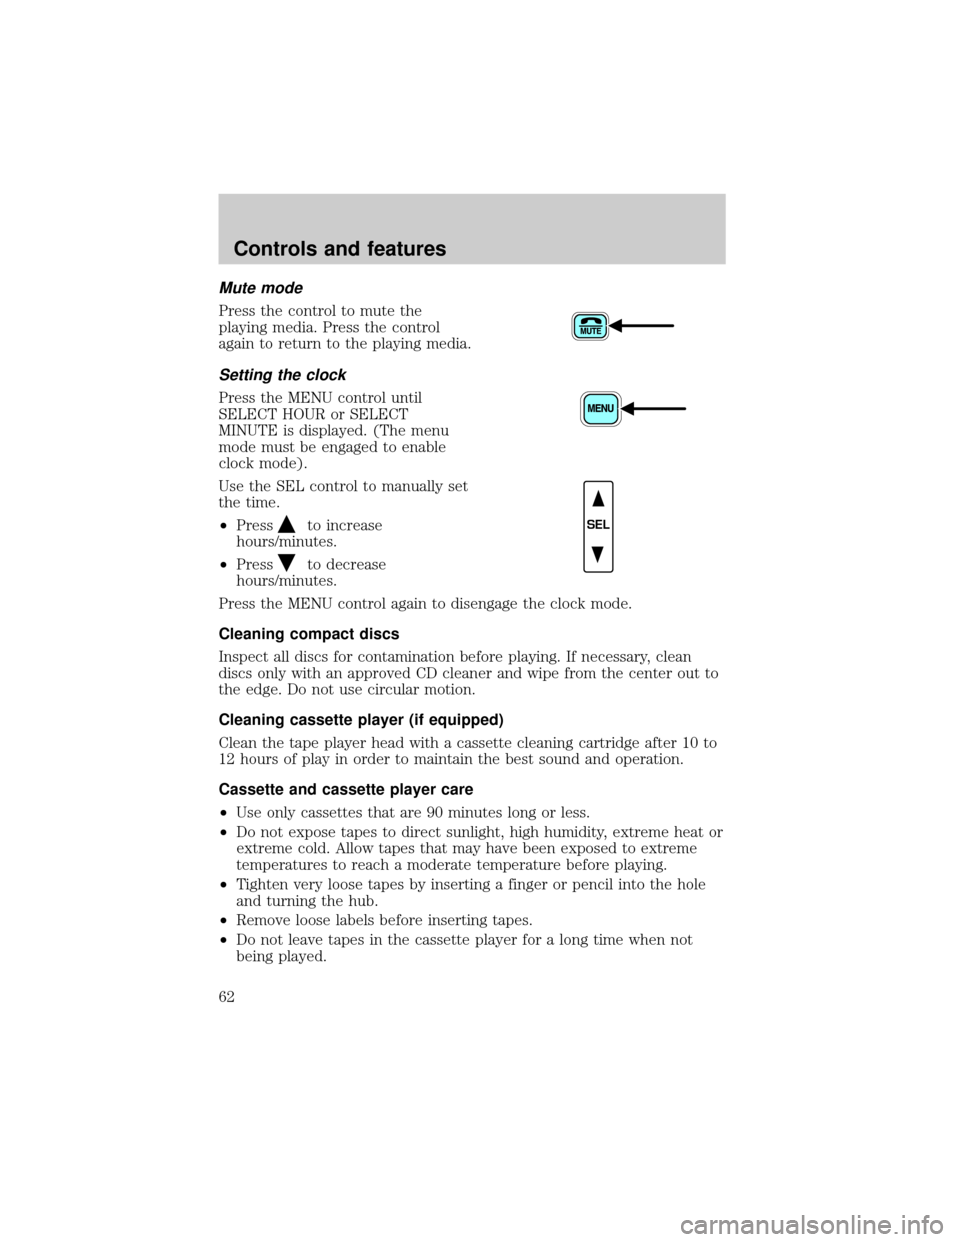
Press the control to mute the
playing media. Press the control
again to return to the playing media.
Setting the clock
Press the MENU control until
SELECT HOUR or SELECT
MINUTE is displayed. (The menu
mode must be engaged to enable
clock mode).
Use the SEL control to manually set
the time.
²Press
to increase
hours/minutes.
²Press
to decrease
hours/minutes.
Press the MENU control again to disengage the clock mode.
Cleaning compact discs
Inspect all discs for contamination before playing. If necessary, clean
discs only with an approved CD cleaner and wipe from the center out to
the edge. Do not use circular motion.
Cleaning cassette player (if equipped)
Clean the tape player head with a cassette cleaning cartridge after 10 to
12 hours of play in order to maintain the best sound and operation.
Cassette and cassette player care
²Use only cassettes that are 90 minutes long or less.
²Do not expose tapes to direct sunlight, high humidity, extreme heat or
extreme cold. Allow tapes that may have been exposed to extreme
temperatures to reach a moderate temperature before playing.
²Tighten very loose tapes by inserting a finger or pencil into the hole
and turning the hub.
²Remove loose labels before inserting tapes.
²Do not leave tapes in the cassette player for a long time when not
being played.
SEL
Controls and features
62
Page 63 of 272

Radio frequency information
The Federal Communications Commission (FCC) and the Canadian Radio
and Telecommunications Commission(CRTC) establish the frequencies
AM and FM stations may use for their broadcasts. Allowable frequencies
are:
AM 530, 540±1600, 1610 kHz
FM 87.7, 87.9±107.7, 107.9 MHz
Not all frequencies are used in a given area.
Radio reception factors
Three factors can affect radio reception:
²Distance/strength.The further an FM signal travels, the weaker it is.
The listenable range of the average FM station is approximately 40 km
(24 miles). This range can be affected by ªsignal modulation.º Signal
modulation is a process radio stations use to increase their
strength/volume relative to other stations.
²Terrain.Hills, mountains and tall buildings between your vehicle's
antenna and the radio station signal can cause FM reception problems.
Static can be caused on AM stations by power lines, electric fences,
traffic lights and thunderstorms. Moving away from an interfering
structure (out of its ªshadowº) returns your reception to normal.
²Station overload.Weak signals are sometimes captured by stronger
signals when you pass a broadcast tower. A stronger signal may
temporarily overtake a weaker signal and play while the weak station
frequency is displayed.
The audio system automatically switches to single channel reception if it
will improve the reception of a station normally received in stereo.
Audio system warranties and service
Refer to theWarranty Guidefor audio system warranty information.
If service is necessary, see your dealer or a qualified technician.
Controls and features
63
Page 135 of 272
Drive± Not shown on the display. Activate by pressing the transmission
control switch on the end of the gearshift lever with the gearshift in
the
(Overdrive) position. The TCIL will illuminate on the instrument
cluster. Transmission operates in gears one through four. Drive (O/D
OFF) provides more engine braking than
(Overdrive) and is useful
whenever driving conditions (i.e., city traffic, hilly terrain, etc.) cause the
transmission to excessively shift between
(Overdrive) and other
gears. Deactivate
(Overdrive) when:
²driving with a heavy load.
²towing a trailer up or down steep hills.
²additional engine braking is desired. If towing a trailer, refer to
Driving while you towin theTrailer Towingsection.
To return to
(Overdrive) mode, press the transmission control
switch. The TCIL will no longer be illuminated.
Each time the vehicle is started, the transmission will automatically
return to normal
(Overdrive) mode.
2 (Second)
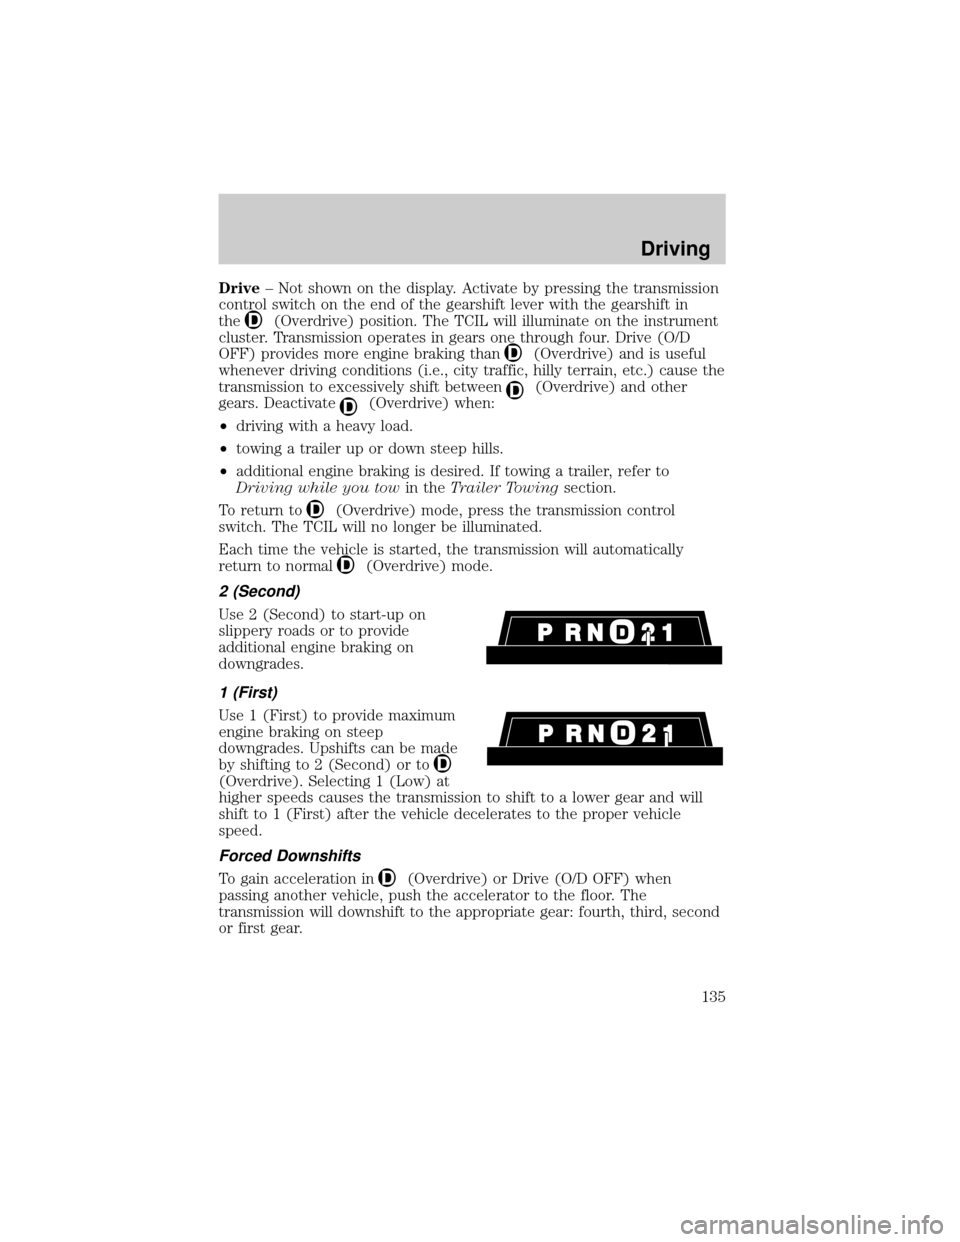
Use 2 (Second) to start-up on
slippery roads or to provide
additional engine braking on
downgrades.
1 (First)
Use 1 (First) to provide maximum
engine braking on steep
downgrades. Upshifts can be made
by shifting to 2 (Second) or to
(Overdrive). Selecting 1 (Low) at
higher speeds causes the transmission to shift to a lower gear and will
shift to 1 (First) after the vehicle decelerates to the proper vehicle
speed.
Forced Downshifts
To gain acceleration in(Overdrive) or Drive (O/D OFF) when
passing another vehicle, push the accelerator to the floor. The
transmission will downshift to the appropriate gear: fourth, third, second
or first gear.
Driving
135
Page 220 of 272
U.S. government regulations require fuel ethanol dispensing
pumps to have a small, square, orange and black label with the
common abbreviation E85 or the appropriate percentage for that
region. Use of other fuels such as Fuel Methanol may cause
powertrain damage, a loss of vehicle performance, and your
warranty may be invalidated.
Fuel quality
Many of the world's automakers
issued the World-wide Fuel Charter
that recommends gasoline
specifications to provide improved
performance and emission control
system protection for your vehicle.
Gasolines that meet the World-wide
Fuel Charter should be used when
available. Ask your fuel supplier
about gasolines that meet the
World-wide Fuel Charter. In Canada,
look for fuels that display theAuto Makers' Choiceylogo.
It should not be necessary to add any aftermarket products to your fuel
tank if you continue to use high quality fuel of the recommended octane
rating. Aftermarket products could cause damage to the fuel system.
Repairs to correct the effects of using an aftermarket product in your
fuel may not be covered by your warranty.
Unleaded Gasoline engines
If you are experiencing starting, rough idle or hesitation driveability
problems during a cold start, try a different brand of ªRegularº unleaded
gasoline. ªPremiumº unleaded gasoline is not recommended (particularly
in the United States) because it may cause these problems to become
more pronounced. If the problems persist, see your dealer or a qualified
service technician.
FFV engine (if equipped)
Your FFV will operate well on ordinary ªRegularº unleaded gasoline, but
only the highest quality fuel ethanol will provide the same level of
protection and performance. To identify if your vehicle is an FFV, check
your VIN or the label on the inside of your fuel filler door. When
checking the VIN, look for the engine type identifier (8th character). If
your vehicle is an FFV, then the character will be labeled as a ªK.º
Maintenance and care
220