set clock FORD RANGER 2003 2.G Owners Manual
[x] Cancel search | Manufacturer: FORD, Model Year: 2003, Model line: RANGER, Model: FORD RANGER 2003 2.GPages: 248, PDF Size: 2.53 MB
Page 17 of 248
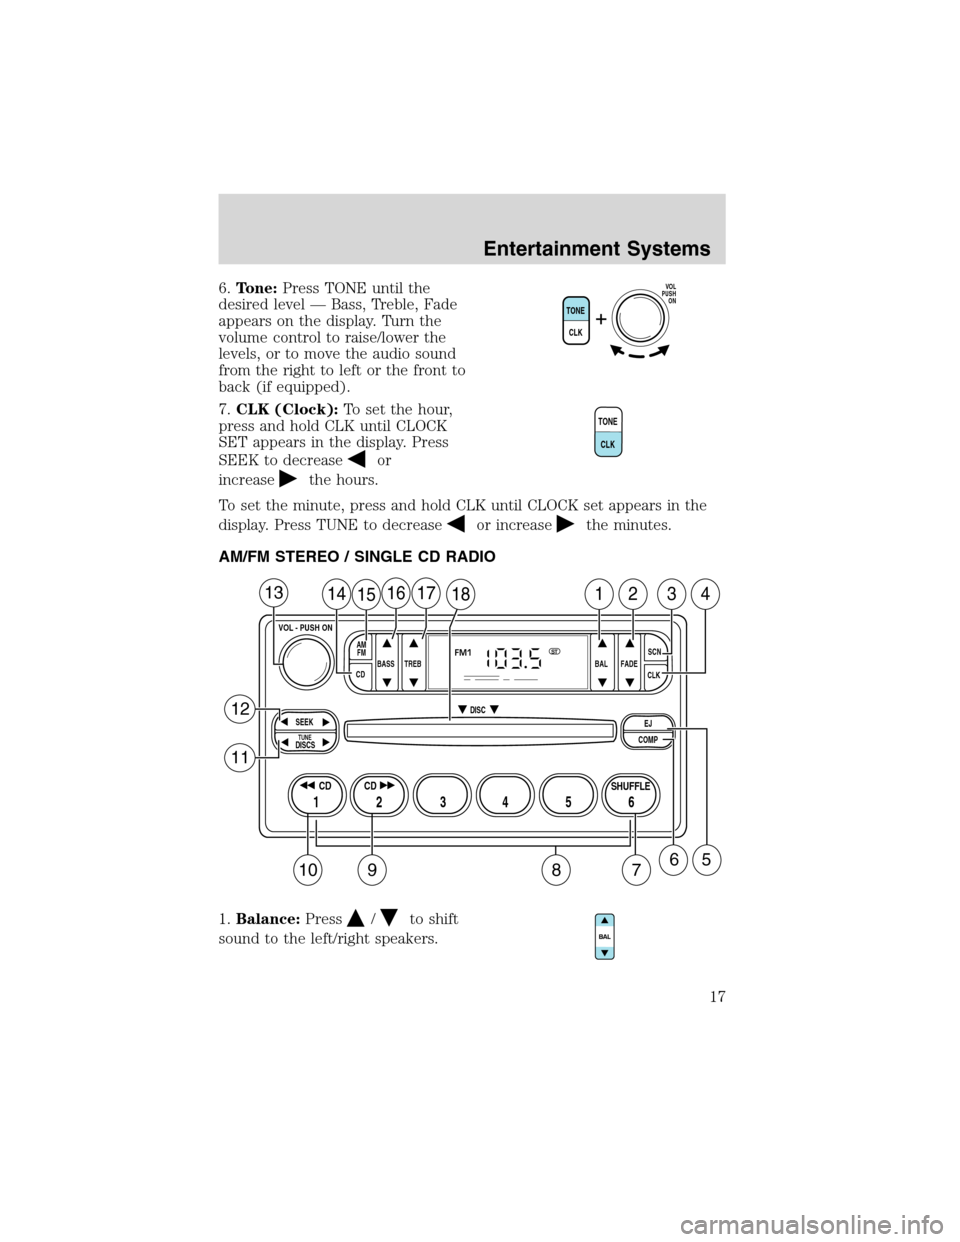
6.Tone:Press TONE until the
desired level—Bass, Treble, Fade
appears on the display. Turn the
volume control to raise/lower the
levels, or to move the audio sound
from the right to left or the front to
back (if equipped).
7.CLK (Clock):To set the hour,
press and hold CLK until CLOCK
SET appears in the display. Press
SEEK to decrease
or
increase
the hours.
To set the minute, press and hold CLK until CLOCK set appears in the
display. Press TUNE to decrease
or increasethe minutes.
AM/FM STEREO / SINGLE CD RADIO
1.Balance:Press
/to shift
sound to the left/right speakers.
TONE
CLK
VOL
PUSH
ON
TONE
CLK
BASS
CDTREB BAL FADESCN
CLK AM
FM
VOL - PUSH ON
SEEK
EJ
COMP DISC
DISCSTUNE
12 3456
FM1ST
SHUFFLE CD CD
1415161718123413
658
12
11
7910
Entertainment Systems
17
Page 21 of 248
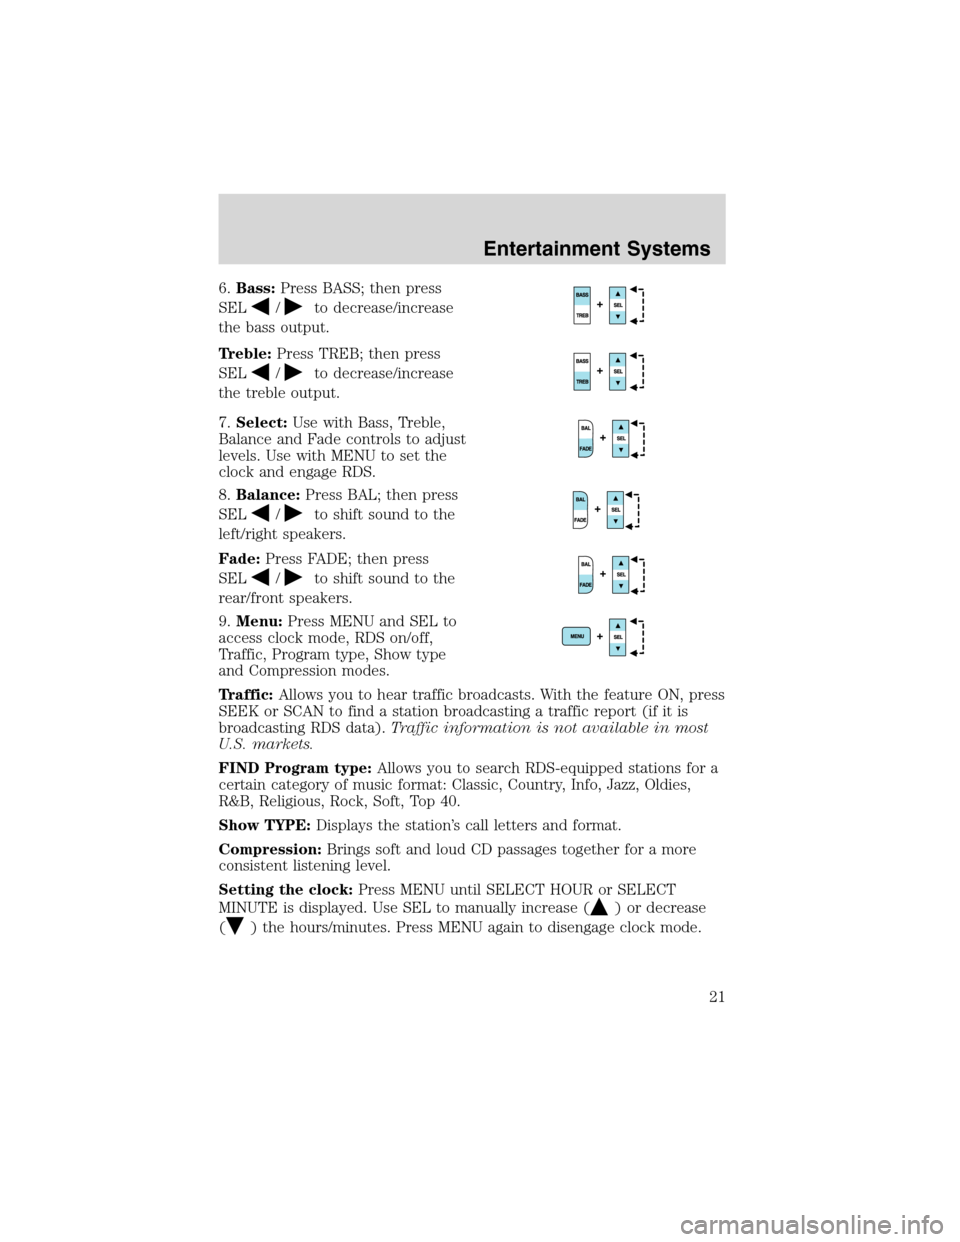
6.Bass:Press BASS; then press
SEL
/to decrease/increase
the bass output.
Treble:Press TREB; then press
SEL
/to decrease/increase
the treble output.
7.Select:Use with Bass, Treble,
Balance and Fade controls to adjust
levels. Use with MENU to set the
clock and engage RDS.
8.Balance:Press BAL; then press
SEL
/to shift sound to the
left/right speakers.
Fade:Press FADE; then press
SEL
/to shift sound to the
rear/front speakers.
9.Menu:Press MENU and SEL to
access clock mode, RDS on/off,
Traffic, Program type, Show type
and Compression modes.
Traffic:Allows you to hear traffic broadcasts. With the feature ON, press
SEEK or SCAN to find a station broadcasting a traffic report (if it is
broadcasting RDS data).Traffic information is not available in most
U.S. markets.
FIND Program type:Allows you to search RDS-equipped stations for a
certain category of music format: Classic, Country, Info, Jazz, Oldies,
R&B, Religious, Rock, Soft, Top 40.
Show TYPE:Displays the station’s call letters and format.
Compression:Brings soft and loud CD passages together for a more
consistent listening level.
Setting the clock:Press MENU until SELECT HOUR or SELECT
MINUTE is displayed. Use SEL to manually increase (
) or decrease
(
) the hours/minutes. Press MENU again to disengage clock mode.
Entertainment Systems
21
Page 24 of 248
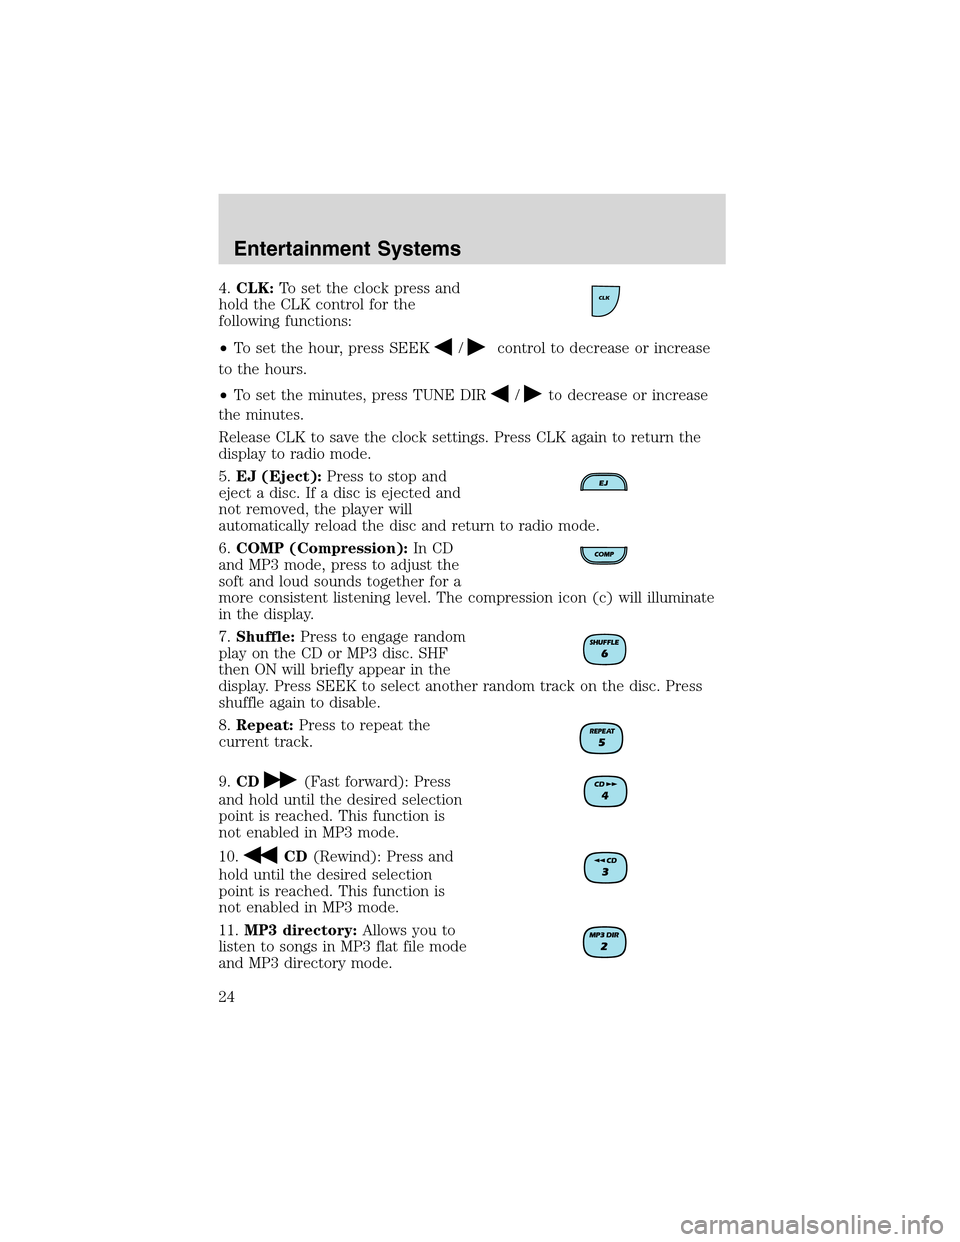
4.CLK:To set the clock press and
hold the CLK control for the
following functions:
•To set the hour, press SEEK
/control to decrease or increase
to the hours.
•To set the minutes, press TUNE DIR
/to decrease or increase
the minutes.
Release CLK to save the clock settings. Press CLK again to return the
display to radio mode.
5.EJ (Eject):Press to stop and
eject a disc. If a disc is ejected and
not removed, the player will
automatically reload the disc and return to radio mode.
6.COMP (Compression):In CD
and MP3 mode, press to adjust the
soft and loud sounds together for a
more consistent listening level. The compression icon (c) will illuminate
in the display.
7.Shuffle:Press to engage random
play on the CD or MP3 disc. SHF
then ON will briefly appear in the
display. Press SEEK to select another random track on the disc. Press
shuffle again to disable.
8.Repeat:Press to repeat the
current track.
9.CD
(Fast forward): Press
and hold until the desired selection
point is reached. This function is
not enabled in MP3 mode.
10.
CD(Rewind): Press and
hold until the desired selection
point is reached. This function is
not enabled in MP3 mode.
11.MP3 directory:Allows you to
listen to songs in MP3 flat file mode
and MP3 directory mode.
Entertainment Systems
24
Page 30 of 248
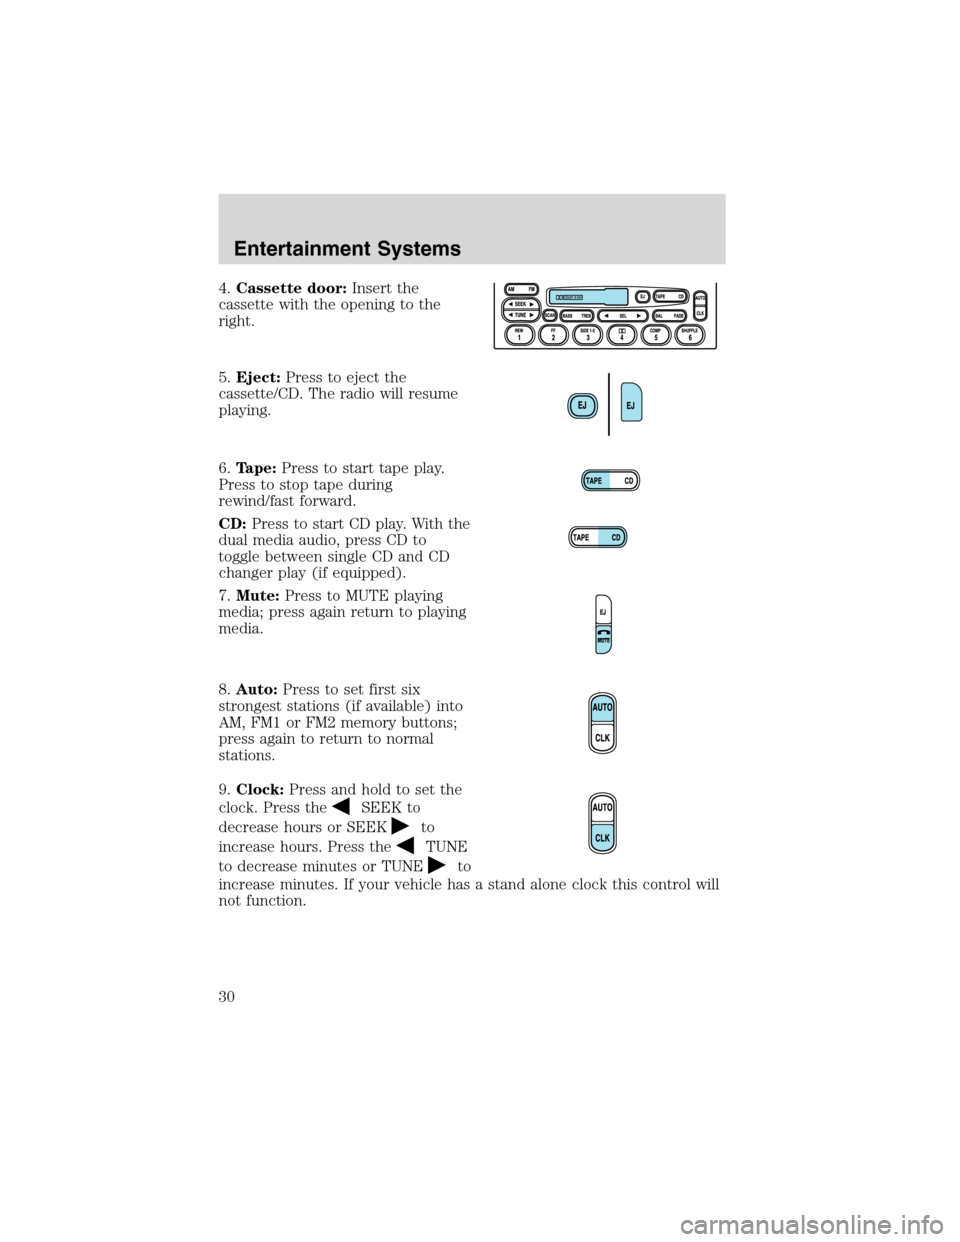
4.Cassette door:Insert the
cassette with the opening to the
right.
5.Eject:Press to eject the
cassette/CD. The radio will resume
playing.
6.Tape:Press to start tape play.
Press to stop tape during
rewind/fast forward.
CD:Press to start CD play. With the
dual media audio, press CD to
toggle between single CD and CD
changer play (if equipped).
7.Mute:Press to MUTE playing
media; press again return to playing
media.
8.Auto:Press to set first six
strongest stations (if available) into
AM, FM1 or FM2 memory buttons;
press again to return to normal
stations.
9.Clock:Press and hold to set the
clock. Press the
SEEK to
decrease hours or SEEK
to
increase hours. Press the
TUNE
to decrease minutes or TUNE
to
increase minutes. If your vehicle has a stand alone clock this control will
not function.
Entertainment Systems
30
Page 35 of 248
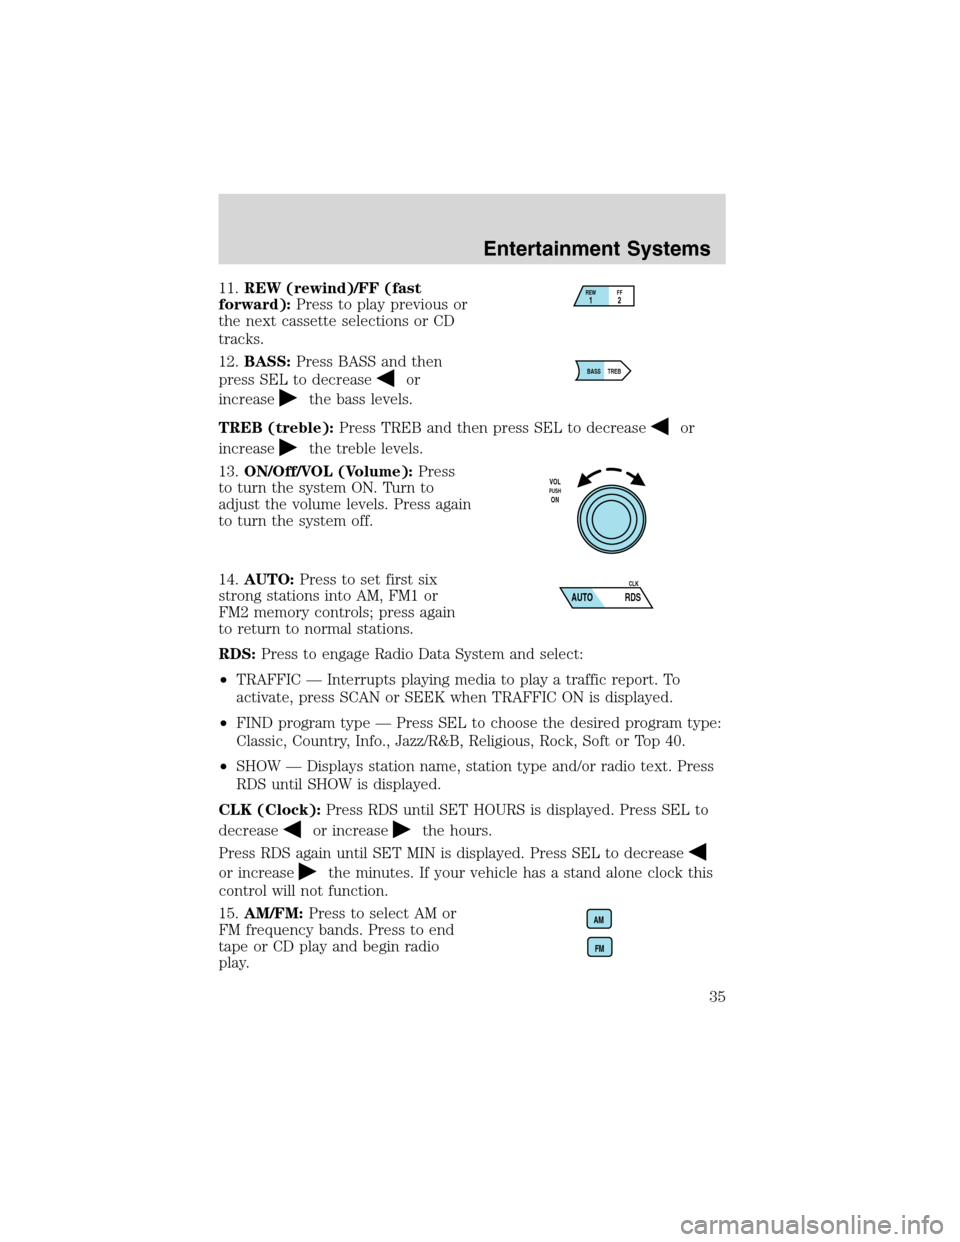
11.REW (rewind)/FF (fast
forward):Press to play previous or
the next cassette selections or CD
tracks.
12.BASS:Press BASS and then
press SEL to decrease
or
increase
the bass levels.
TREB (treble):Press TREB and then press SEL to decrease
or
increase
the treble levels.
13.ON/Off/VOL (Volume):Press
to turn the system ON. Turn to
adjust the volume levels. Press again
to turn the system off.
14.AUTO:Press to set first six
strong stations into AM, FM1 or
FM2 memory controls; press again
to return to normal stations.
RDS:Press to engage Radio Data System and select:
•TRAFFIC—Interrupts playing media to play a traffic report. To
activate, press SCAN or SEEK when TRAFFIC ON is displayed.
•FIND program type—Press SEL to choose the desired program type:
Classic, Country, Info., Jazz/R&B, Religious, Rock, Soft or Top 40.
•SHOW—Displays station name, station type and/or radio text. Press
RDS until SHOW is displayed.
CLK (Clock):Press RDS until SET HOURS is displayed. Press SEL to
decrease
or increasethe hours.
Press RDS again until SET MIN is displayed. Press SEL to decrease
or increasethe minutes. If your vehicle has a stand alone clock this
control will not function.
15.AM/FM:Press to select AM or
FM frequency bands. Press to end
tape or CD play and begin radio
play.
REWFF12
BASS TREB
VOLPUSHON
AUTO RDSCLK
AM
FM
Entertainment Systems
35
Page 161 of 248
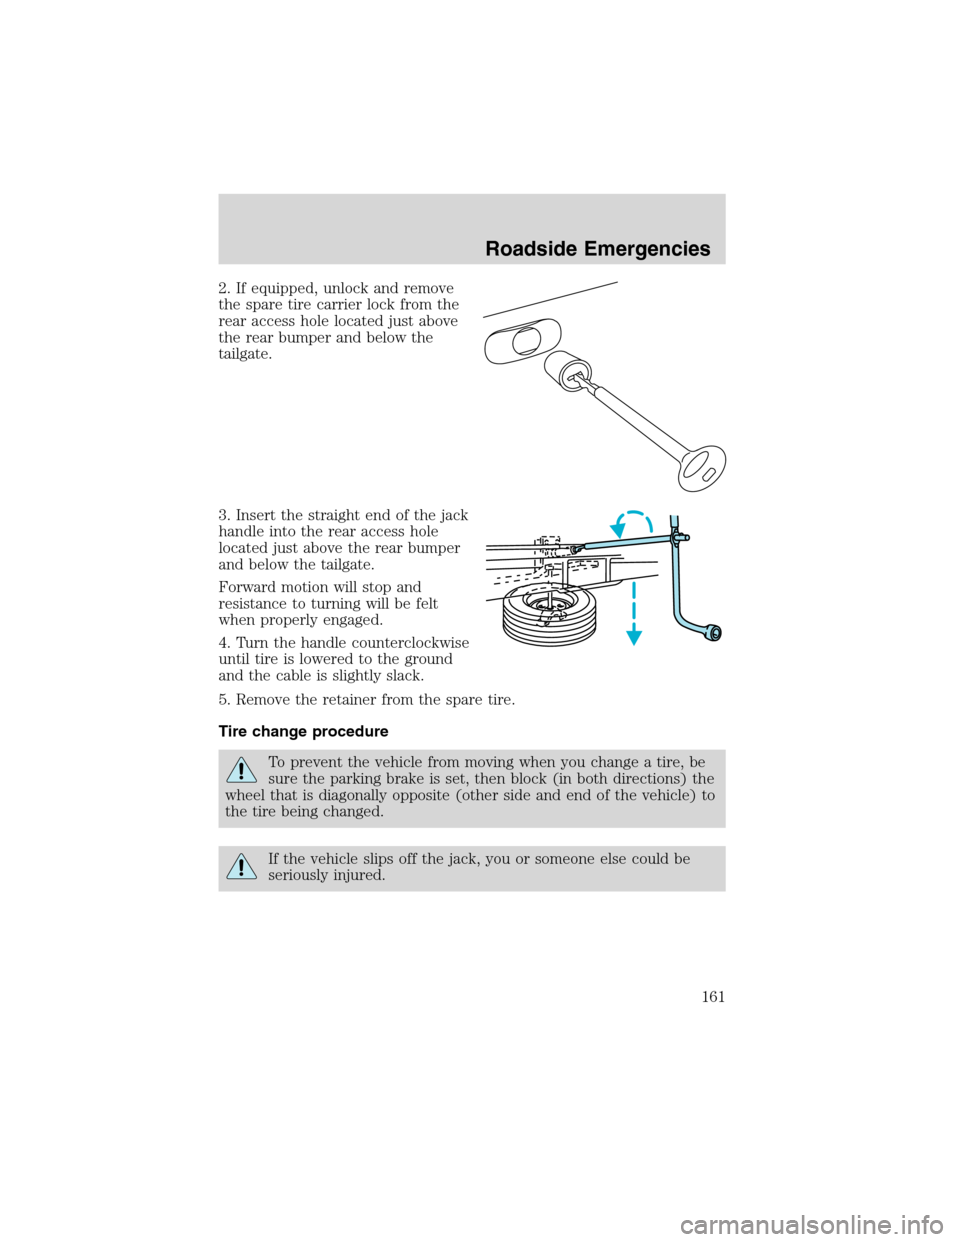
2. If equipped, unlock and remove
the spare tire carrier lock from the
rear access hole located just above
the rear bumper and below the
tailgate.
3. Insert the straight end of the jack
handle into the rear access hole
located just above the rear bumper
and below the tailgate.
Forward motion will stop and
resistance to turning will be felt
when properly engaged.
4. Turn the handle counterclockwise
until tire is lowered to the ground
and the cable is slightly slack.
5. Remove the retainer from the spare tire.
Tire change procedure
To prevent the vehicle from moving when you change a tire, be
sure the parking brake is set, then block (in both directions) the
wheel that is diagonally opposite (other side and end of the vehicle) to
the tire being changed.
If the vehicle slips off the jack, you or someone else could be
seriously injured.
Roadside Emergencies
161
Page 162 of 248
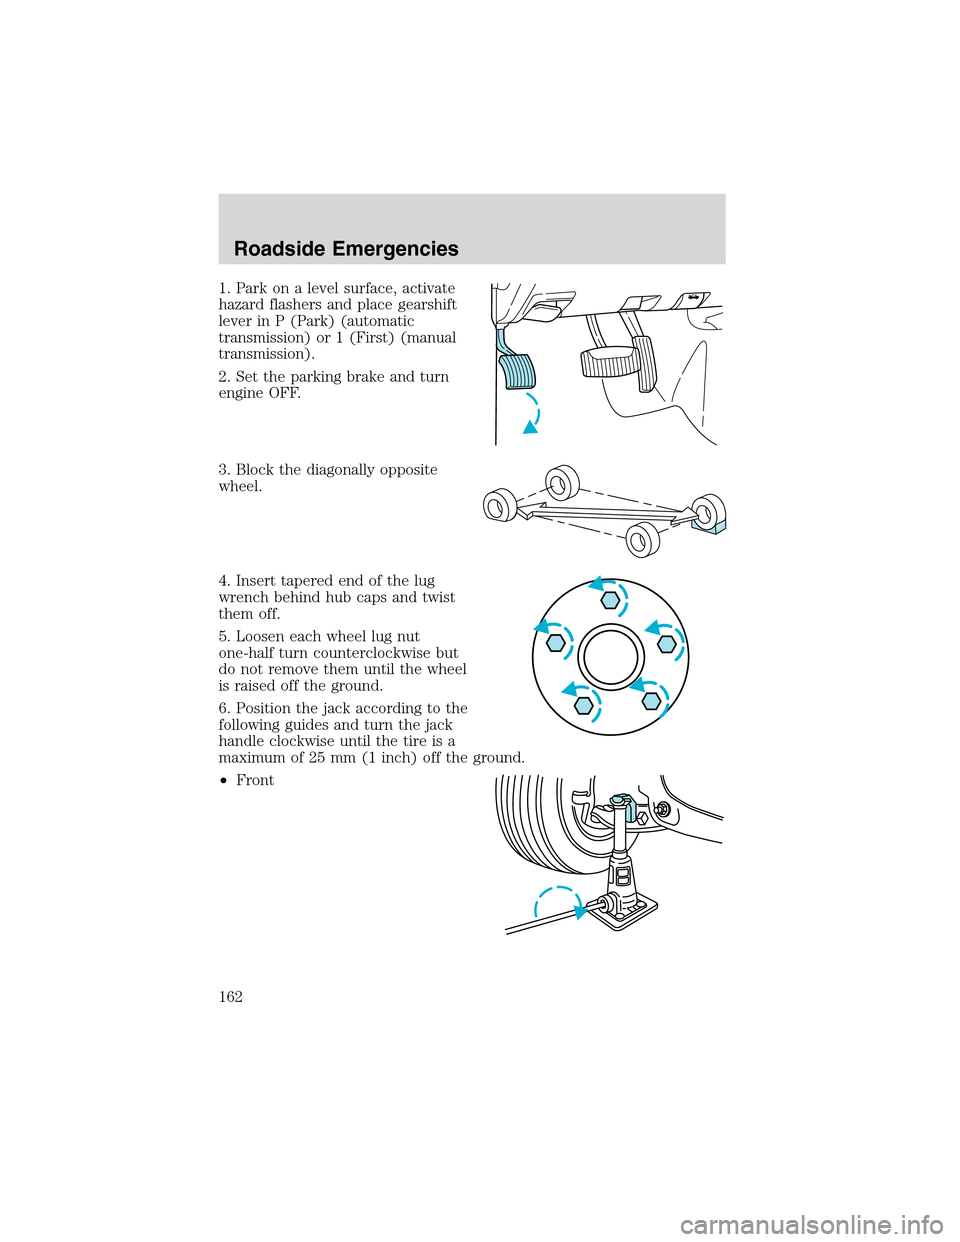
1. Park on a level surface, activate
hazard flashers and place gearshift
lever in P (Park) (automatic
transmission) or 1 (First) (manual
transmission).
2. Set the parking brake and turn
engine OFF.
3. Block the diagonally opposite
wheel.
4. Insert tapered end of the lug
wrench behind hub caps and twist
them off.
5. Loosen each wheel lug nut
one-half turn counterclockwise but
do not remove them until the wheel
is raised off the ground.
6. Position the jack according to the
following guides and turn the jack
handle clockwise until the tire is a
maximum of 25 mm (1 inch) off the ground.
•Front
Roadside Emergencies
162
Page 200 of 248
•The vehicle may need to be driven to relearn the idle and fuel trim
strategy.
•If you do not allow the engine to relearn its idle trim, the idle
quality of your vehicle may be adversely affected until the idle
trim is eventually relearned.
When the battery is disconnected or a new battery installed, the
transmission must relearn its adaptive strategy. As a result of this, the
transmission may shift firmly. This operation is considered normal and
will not affect function or durability of the transmission. Over time the
adaptive learning process will fully update transmission operation to its
optimum shift feel.
If the battery has been disconnected or a new battery has been installed,
the clock and the preset radio stations must be reset once the battery is
reconnected.
•Always dispose of automotive
batteries in a responsible manner.
Follow your local authorized
standards for disposal. Call your
local authorized recycling center
to find out more about recycling
automotive batteries.
ENGINE COOLANT
Checking engine coolant
The concentration and level of engine coolant should be checked at the
mileage intervals listed in the scheduled maintenance guide. The coolant
concentration should be maintained at 50/50 coolant and distilled water,
which equates to a freeze point of -36°C (-34°F). Coolant concentration
testing is possible with a hydrometer or antifreeze tester (such as the
Rotunda Battery and Antifreeze Tester, 014–R1060). The level of coolant
should be maintained at the“cold full”of“cold fill range”level in the
coolant reservoir. If the level falls below, add coolant per the instructions
in theAdding Engine Coolantsection.
LEAD
RETURN
RECYCLE
Maintenance and Specifications
200