display FORD RANGER 2008 2.G User Guide
[x] Cancel search | Manufacturer: FORD, Model Year: 2008, Model line: RANGER, Model: FORD RANGER 2008 2.GPages: 272, PDF Size: 2.73 MB
Page 31 of 272
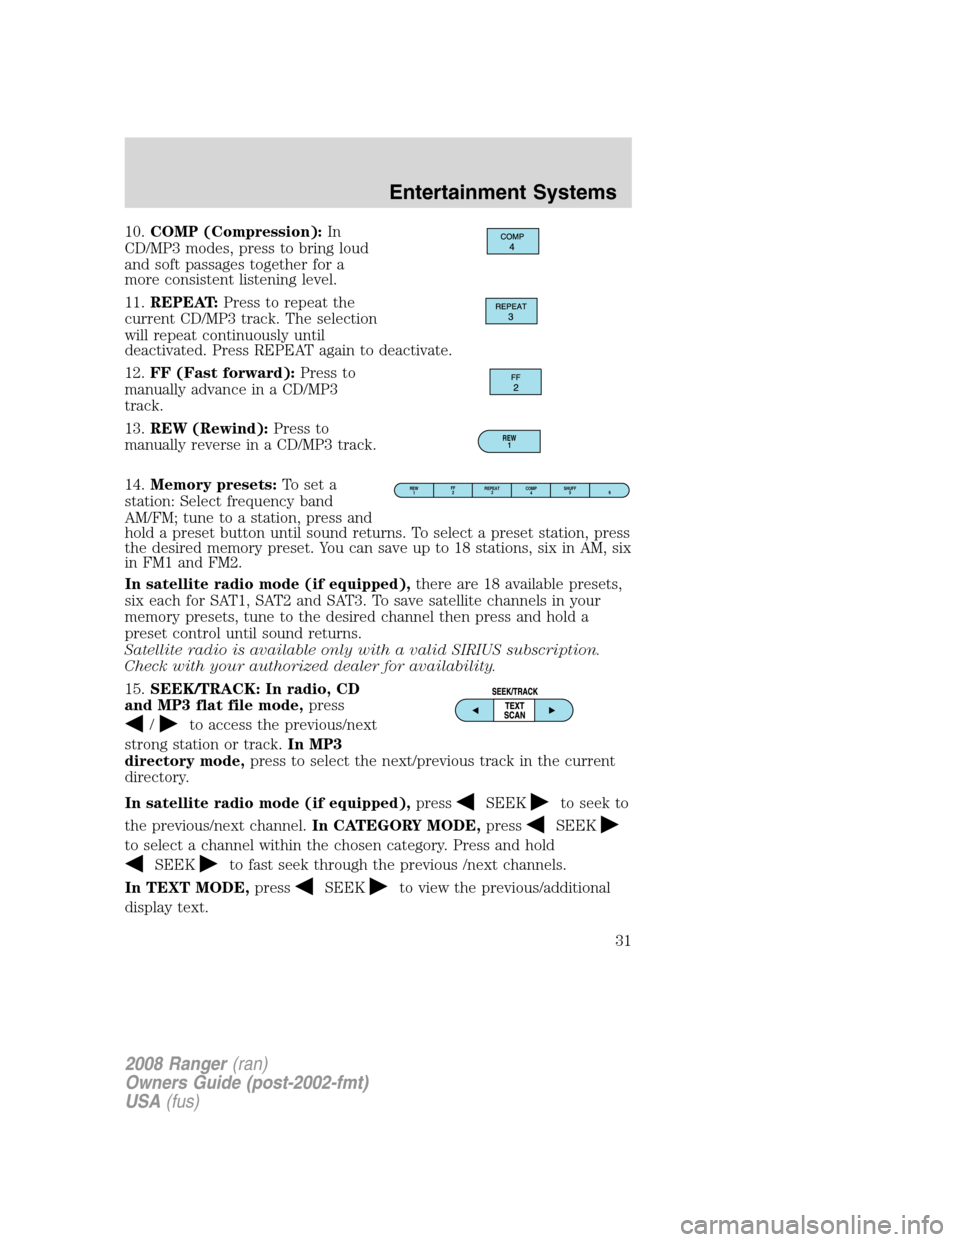
10.COMP (Compression):In
CD/MP3 modes, press to bring loud
and soft passages together for a
more consistent listening level.
11.REPEAT:Press to repeat the
current CD/MP3 track. The selection
will repeat continuously until
deactivated. Press REPEAT again to deactivate.
12.FF (Fast forward):Press to
manually advance in a CD/MP3
track.
13.REW (Rewind):Press to
manually reverse in a CD/MP3 track.
14.Memory presets:To set a
station: Select frequency band
AM/FM; tune to a station, press and
hold a preset button until sound returns. To select a preset station, press
the desired memory preset. You can save up to 18 stations, six in AM, six
in FM1 and FM2.
In satellite radio mode (if equipped),there are 18 available presets,
six each for SAT1, SAT2 and SAT3. To save satellite channels in your
memory presets, tune to the desired channel then press and hold a
preset control until sound returns.
Satellite radio is available only with a valid SIRIUS subscription.
Check with your authorized dealer for availability.
15.SEEK/TRACK: In radio, CD
and MP3 flat file mode,press
/to access the previous/next
strong station or track.In MP3
directory mode,press to select the next/previous track in the current
directory.
In satellite radio mode (if equipped),press
SEEKto seek to
the previous/next channel.In CATEGORY MODE,press
SEEK
to select a channel within the chosen category. Press and hold
SEEKto fast seek through the previous /next channels.
In TEXT MODE,press
SEEKto view the previous/additional
display text.
REW
1
REW
1FF
2REPEAT
3SHUFF
5
6 COMP
4
2008 Ranger(ran)
Owners Guide (post-2002-fmt)
USA(fus)
Entertainment Systems
31
Page 33 of 272
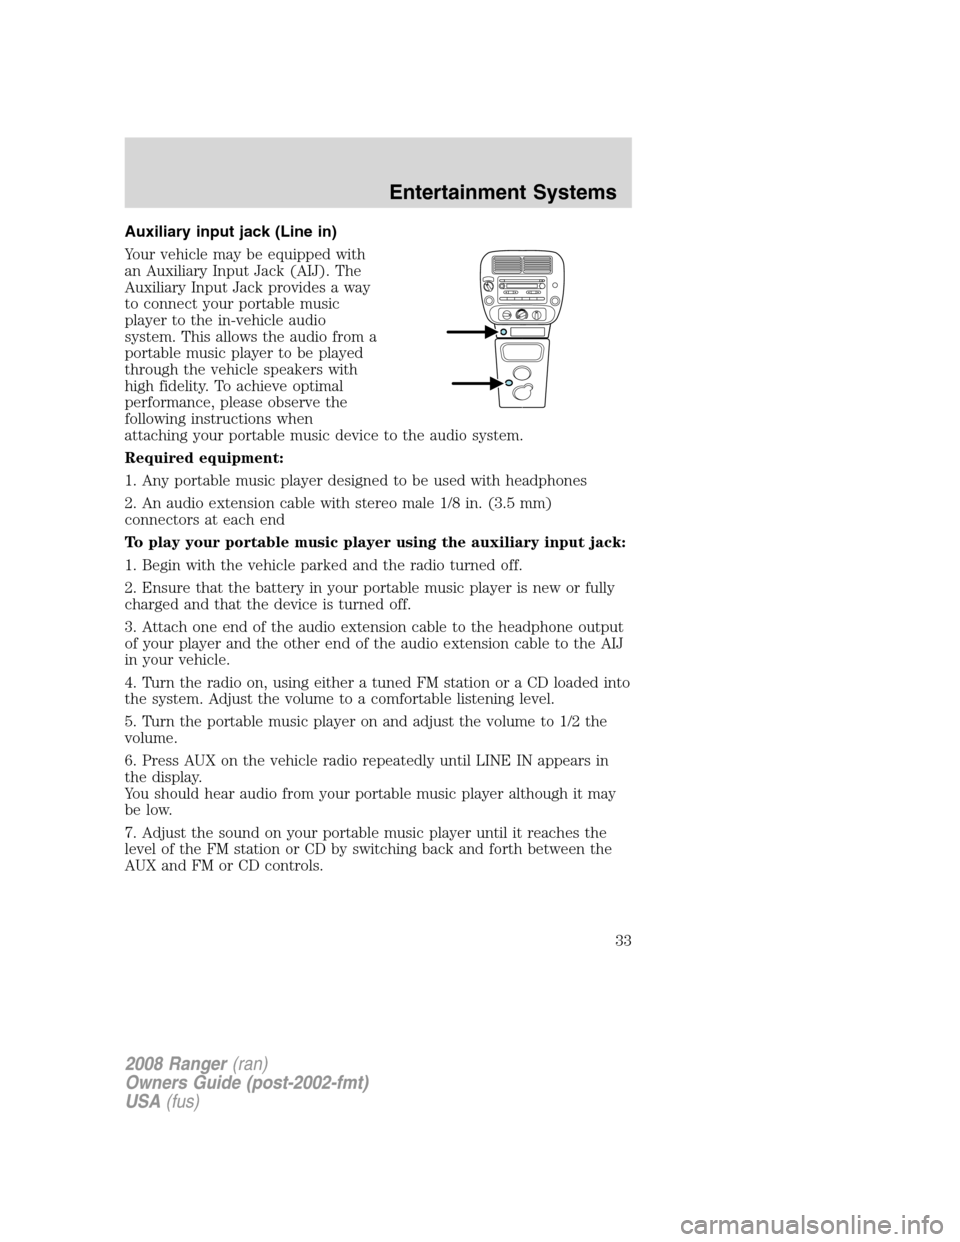
Auxiliary input jack (Line in)
Your vehicle may be equipped with
an Auxiliary Input Jack (AIJ). The
Auxiliary Input Jack provides a way
to connect your portable music
player to the in-vehicle audio
system. This allows the audio from a
portable music player to be played
through the vehicle speakers with
high fidelity. To achieve optimal
performance, please observe the
following instructions when
attaching your portable music device to the audio system.
Required equipment:
1. Any portable music player designed to be used with headphones
2. An audio extension cable with stereo male 1/8 in. (3.5 mm)
connectors at each end
To play your portable music player using the auxiliary input jack:
1. Begin with the vehicle parked and the radio turned off.
2. Ensure that the battery in your portable music player is new or fully
charged and that the device is turned off.
3. Attach one end of the audio extension cable to the headphone output
of your player and the other end of the audio extension cable to the AIJ
in your vehicle.
4. Turn the radio on, using either a tuned FM station or a CD loaded into
the system. Adjust the volume to a comfortable listening level.
5. Turn the portable music player on and adjust the volume to 1/2 the
volume.
6. Press AUX on the vehicle radio repeatedly until LINE IN appears in
the display.
You should hear audio from your portable music player although it may
be low.
7. Adjust the sound on your portable music player until it reaches the
level of the FM station or CD by switching back and forth between the
AUX and FM or CD controls.
2008 Ranger(ran)
Owners Guide (post-2002-fmt)
USA(fus)
Entertainment Systems
33
Page 34 of 272
Troubleshooting:
1. Do not connect the audio input jack to a line level output. Line level
outputs are intended for connection to a home stereo and are not
compatible with the AIJ. The AIJ will only work correctly with devices
that have a headphone output with a volume control.
2. Do not set the portable music player’s volume level higher than is
necessary to match the volume of the CD or FM radio in your audio
system as this will cause distortion and will reduce sound quality. Many
portable music players have different output levels, so not all players
should be set at the same levels. Some players will sound best at full
volume and others will need to be set at a lower volume.
3. If the music sounds distorted at lower listening levels, turn the
portable music player volume down. If the problems persists, replace or
recharge the batteries in the portable music player.
4. The portable music player must be controlled in the same manner
when it is used with headphones as the AIJ does not provide control
(play, pause, etc.) over the attached portable music player.
5. For safety reasons, connecting or adjusting the settings on your
portable music player should not be attempted while the vehicle is
moving. Also, the portable music player should be stored in a secure
location, such as the center console or the glove box, when the vehicle is
in motion. The audio extension cable must be long enough to allow the
portable music player to be safely stored while the vehicle is in motion.
GENERAL AUDIO INFORMATION
Radio frequencies:
AM and FM frequencies are established by the Federal Communications
Commission (FCC) and the Canadian Radio and Telecommunications
Commission (CRTC). Those frequencies are:
AM: 530, 540–1700, 1710 kHz
FM: 87.7, 87.9–107.7, 107.9 MHz
Radio reception factors:
There are three factors that can affect radio reception:
•Distance/strength: The further you travel from an FM station, the
weaker the signal and the weaker the reception.
•Terrain: Hills, mountains, tall buildings, power lines, electric fences,
traffic lights and thunderstorms can interfere with your reception.
•Station overload: When you pass a broadcast tower, a stronger signal
may overtake a weaker one and play while the weak station frequency
is displayed.
2008 Ranger(ran)
Owners Guide (post-2002-fmt)
USA(fus)
Entertainment Systems
34
Page 36 of 272
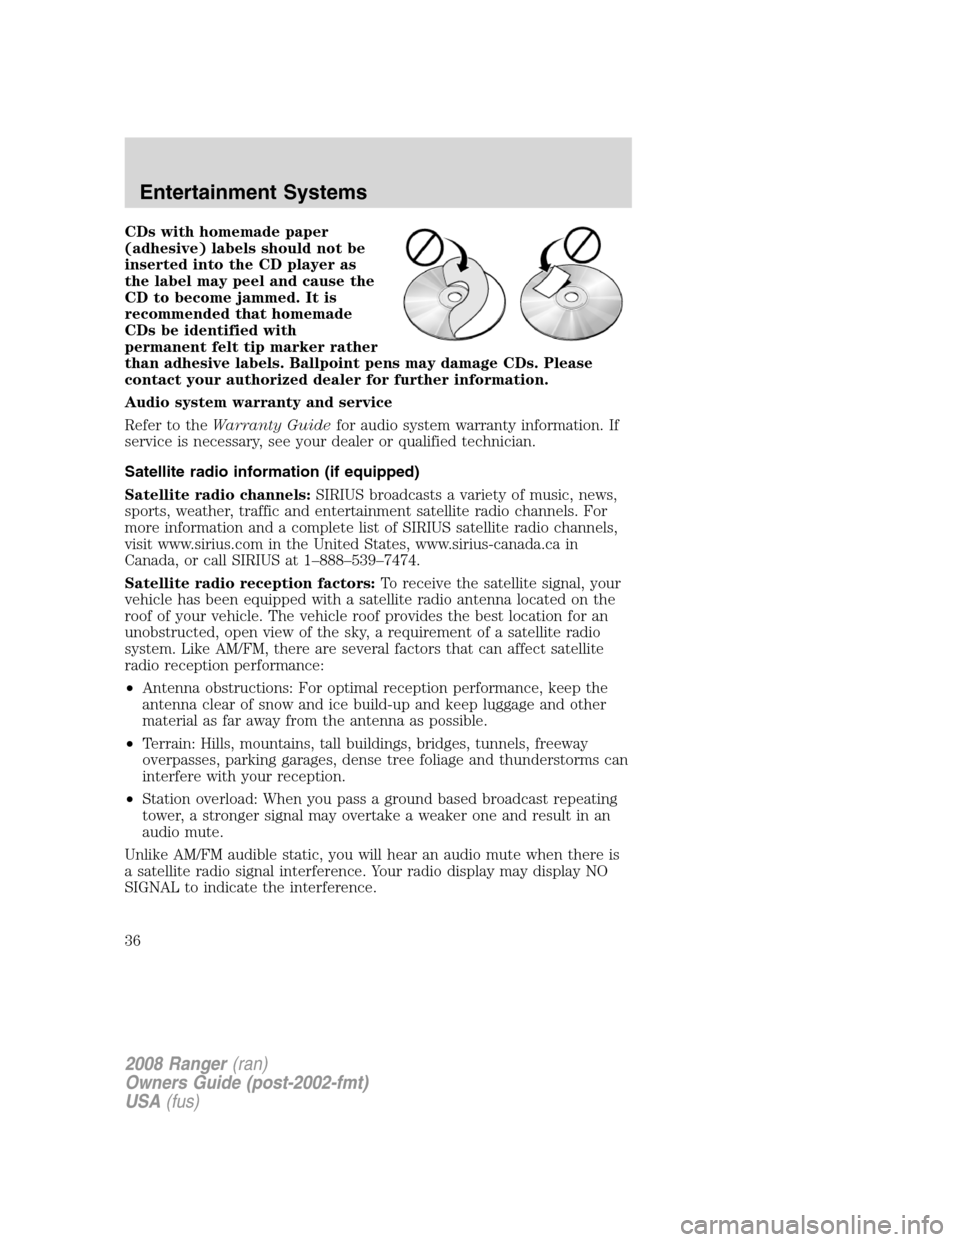
CDs with homemade paper
(adhesive) labels should not be
inserted into the CD player as
the label may peel and cause the
CD to become jammed. It is
recommended that homemade
CDs be identified with
permanent felt tip marker rather
than adhesive labels. Ballpoint pens may damage CDs. Please
contact your authorized dealer for further information.
Audio system warranty and service
Refer to theWarranty Guidefor audio system warranty information. If
service is necessary, see your dealer or qualified technician.
Satellite radio information (if equipped)
Satellite radio channels:SIRIUS broadcasts a variety of music, news,
sports, weather, traffic and entertainment satellite radio channels. For
more information and a complete list of SIRIUS satellite radio channels,
visit www.sirius.com in the United States, www.sirius-canada.ca in
Canada, or call SIRIUS at 1–888–539–7474.
Satellite radio reception factors:To receive the satellite signal, your
vehicle has been equipped with a satellite radio antenna located on the
roof of your vehicle. The vehicle roof provides the best location for an
unobstructed, open view of the sky, a requirement of a satellite radio
system. Like AM/FM, there are several factors that can affect satellite
radio reception performance:
•Antenna obstructions: For optimal reception performance, keep the
antenna clear of snow and ice build-up and keep luggage and other
material as far away from the antenna as possible.
•Terrain: Hills, mountains, tall buildings, bridges, tunnels, freeway
overpasses, parking garages, dense tree foliage and thunderstorms can
interfere with your reception.
•Station overload: When you pass a ground based broadcast repeating
tower, a stronger signal may overtake a weaker one and result in an
audio mute.
Unlike AM/FM audible static, you will hear an audio mute when there is
a satellite radio signal interference. Your radio display may display NO
SIGNAL to indicate the interference.
2008 Ranger(ran)
Owners Guide (post-2002-fmt)
USA(fus)
Entertainment Systems
36
Page 37 of 272
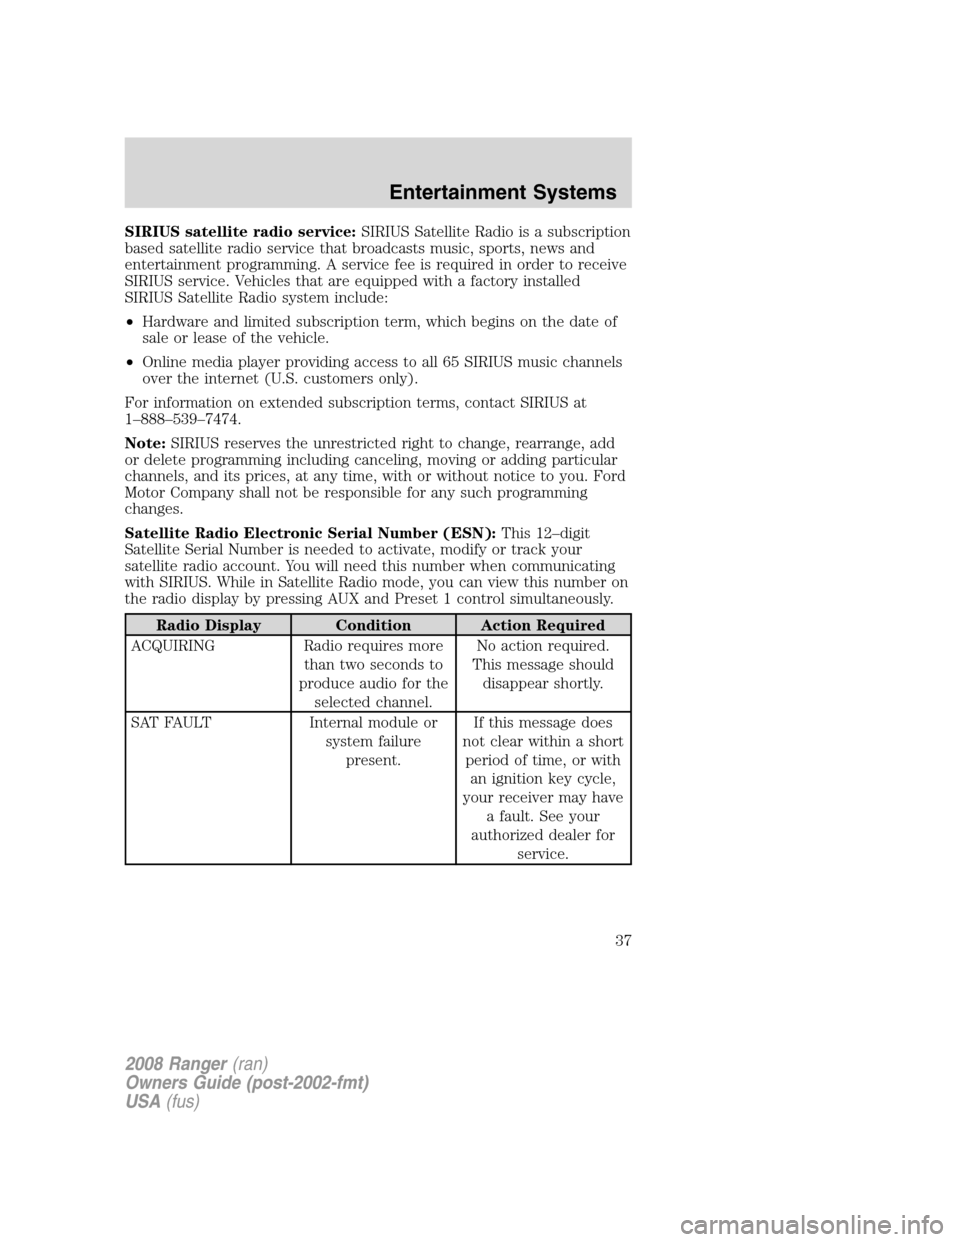
SIRIUS satellite radio service:SIRIUS Satellite Radio is a subscription
based satellite radio service that broadcasts music, sports, news and
entertainment programming. A service fee is required in order to receive
SIRIUS service. Vehicles that are equipped with a factory installed
SIRIUS Satellite Radio system include:
•Hardware and limited subscription term, which begins on the date of
sale or lease of the vehicle.
•Online media player providing access to all 65 SIRIUS music channels
over the internet (U.S. customers only).
For information on extended subscription terms, contact SIRIUS at
1–888–539–7474.
Note:SIRIUS reserves the unrestricted right to change, rearrange, add
or delete programming including canceling, moving or adding particular
channels, and its prices, at any time, with or without notice to you. Ford
Motor Company shall not be responsible for any such programming
changes.
Satellite Radio Electronic Serial Number (ESN):This 12–digit
Satellite Serial Number is needed to activate, modify or track your
satellite radio account. You will need this number when communicating
with SIRIUS. While in Satellite Radio mode, you can view this number on
the radio display by pressing AUX and Preset 1 control simultaneously.
Radio Display Condition Action Required
ACQUIRING Radio requires more
than two seconds to
produce audio for the
selected channel.No action required.
This message should
disappear shortly.
SAT FAULT Internal module or
system failure
present.If this message does
not clear within a short
period of time, or with
an ignition key cycle,
your receiver may have
a fault. See your
authorized dealer for
service.
2008 Ranger(ran)
Owners Guide (post-2002-fmt)
USA(fus)
Entertainment Systems
37
Page 38 of 272
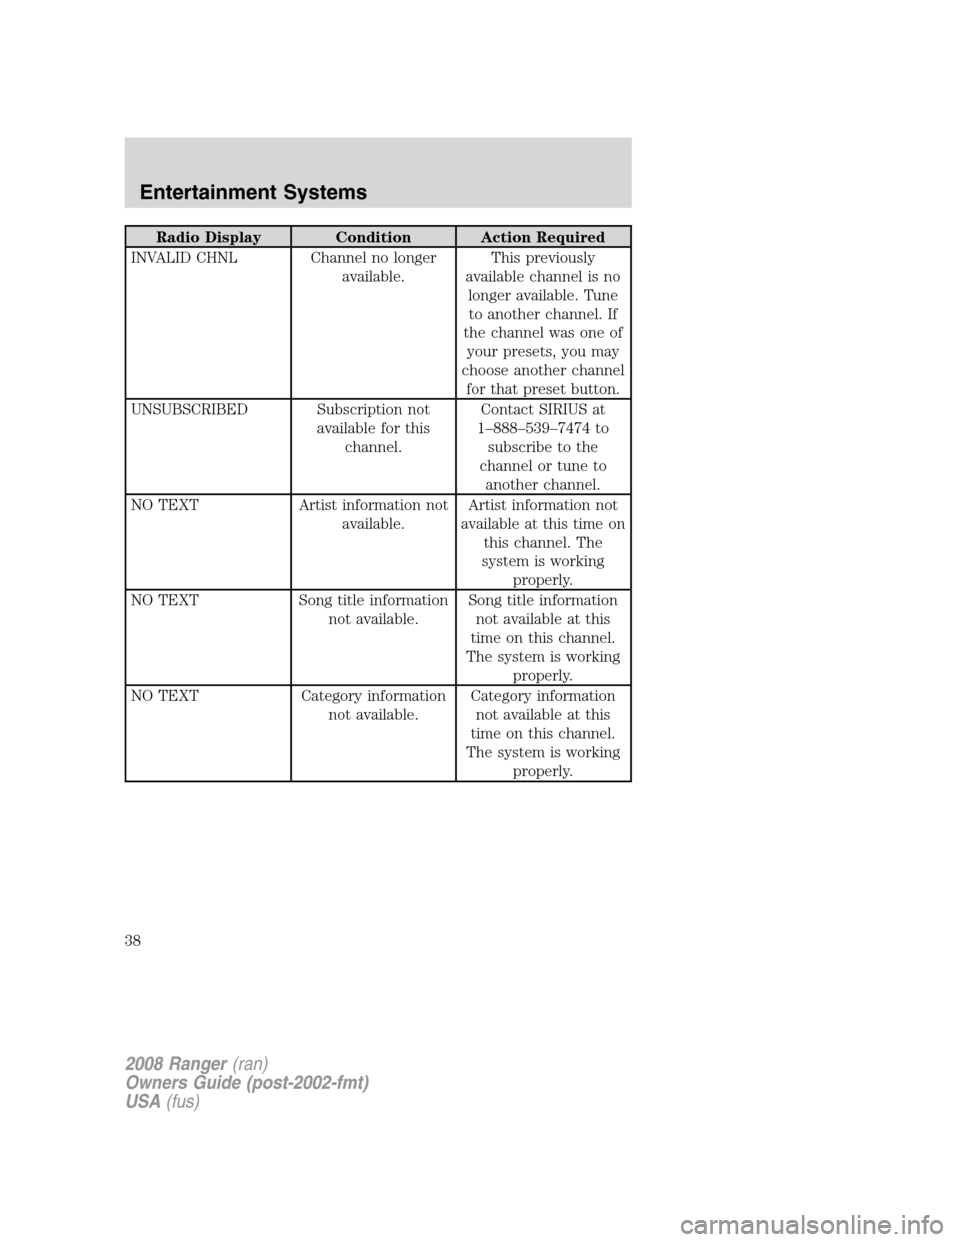
Radio Display Condition Action Required
INVALID CHNL Channel no longer
available.This previously
available channel is no
longer available. Tune
to another channel. If
the channel was one of
your presets, you may
choose another channel
for that preset button.
UNSUBSCRIBED Subscription not
available for this
channel.Contact SIRIUS at
1–888–539–7474 to
subscribe to the
channel or tune to
another channel.
NO TEXT Artist information not
available.Artist information not
available at this time on
this channel. The
system is working
properly.
NO TEXT Song title information
not available.Song title information
not available at this
time on this channel.
The system is working
properly.
NO TEXT Category information
not available.Category information
not available at this
time on this channel.
The system is working
properly.
2008 Ranger(ran)
Owners Guide (post-2002-fmt)
USA(fus)
Entertainment Systems
38
Page 39 of 272
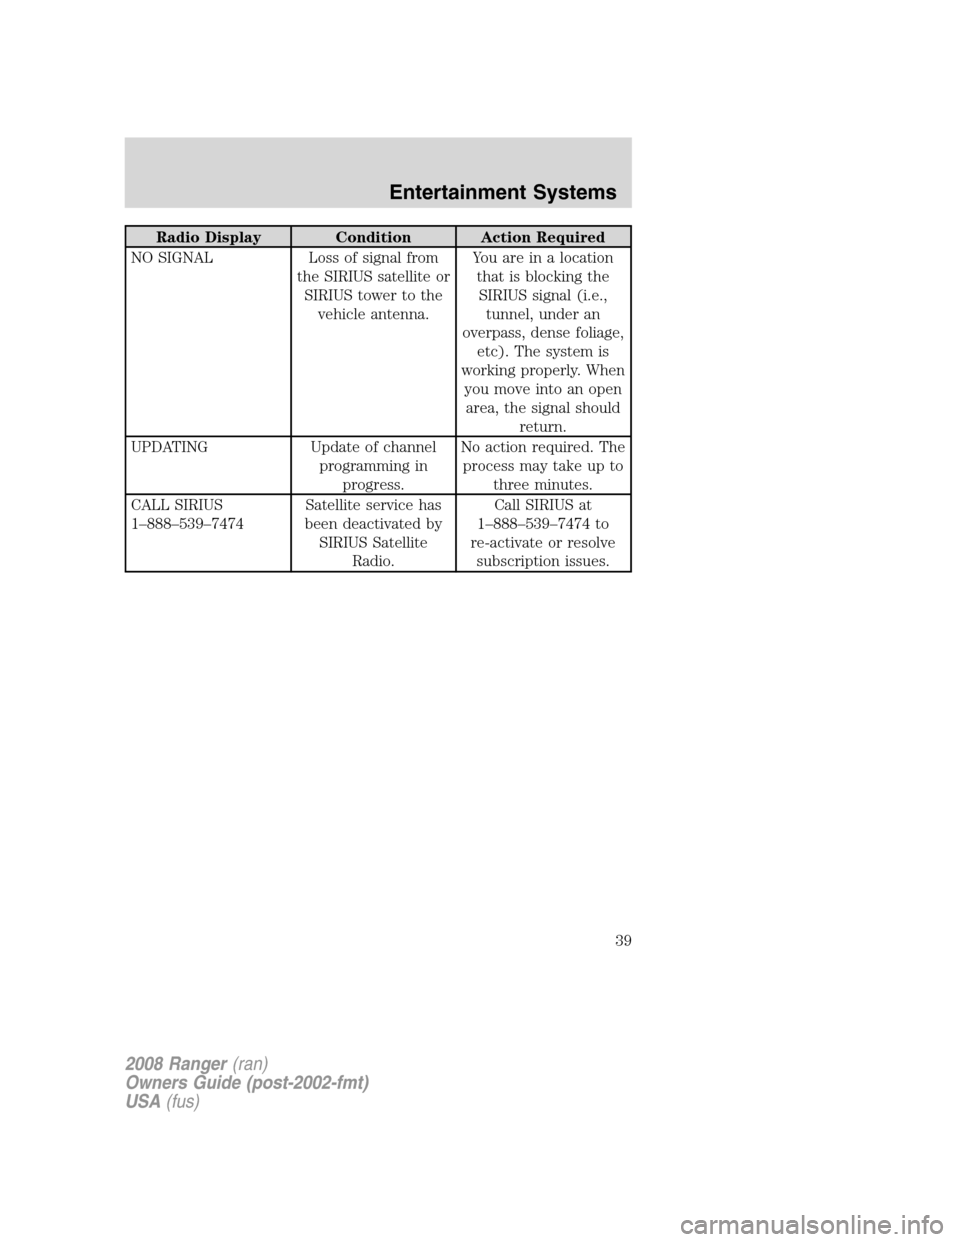
Radio Display Condition Action Required
NO SIGNAL Loss of signal from
the SIRIUS satellite or
SIRIUS tower to the
vehicle antenna.You are in a location
that is blocking the
SIRIUS signal (i.e.,
tunnel, under an
overpass, dense foliage,
etc). The system is
working properly. When
you move into an open
area, the signal should
return.
UPDATING Update of channel
programming in
progress.No action required. The
process may take up to
three minutes.
CALL SIRIUS
1–888–539–7474Satellite service has
been deactivated by
SIRIUS Satellite
Radio.Call SIRIUS at
1–888–539–7474 to
re-activate or resolve
subscription issues.
2008 Ranger(ran)
Owners Guide (post-2002-fmt)
USA(fus)
Entertainment Systems
39
Page 45 of 272
Note:If the battery is disconnected, discharged, or a new battery is
installed, the dimmer switch requires re-calibration. Rotate the dimmer
switch from the full dim position to the full Dome/ON position to reset.
This will ensure that your displays are visible under all lighting
conditions.
AIMING THE HEADLAMPS
The headlamps on your vehicle are properly aimed before leaving the
assembly plant. If your vehicle is involved in an accident or if you have
problems fixing the alignment of your headlamps, have them checked by
a qualified service technician.
Headlamp aim adjustment
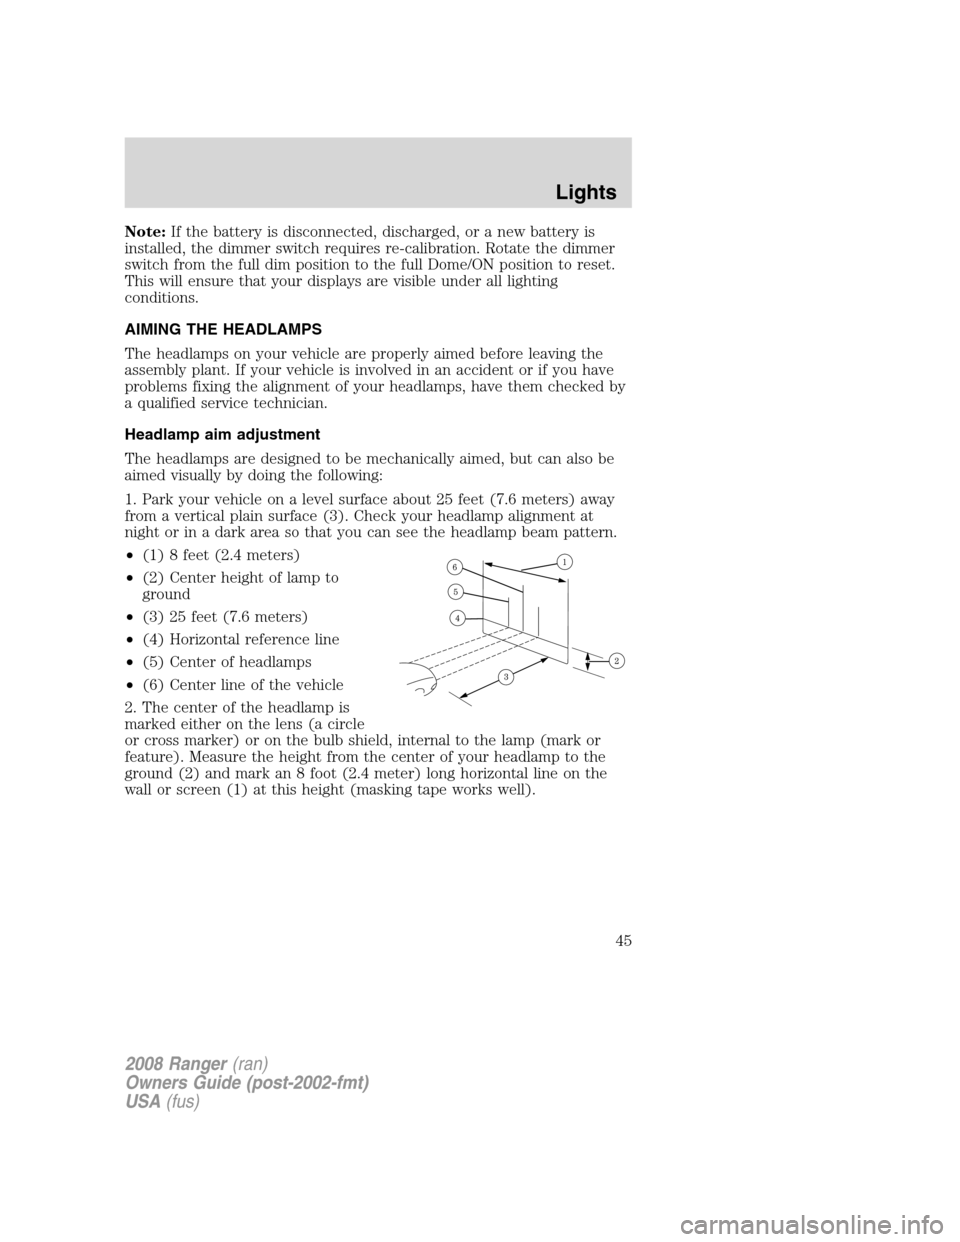
The headlamps are designed to be mechanically aimed, but can also be
aimed visually by doing the following:
1. Park your vehicle on a level surface about 25 feet (7.6 meters) away
from a vertical plain surface (3). Check your headlamp alignment at
night or in a dark area so that you can see the headlamp beam pattern.
•(1) 8 feet (2.4 meters)
•(2) Center height of lamp to
ground
•(3) 25 feet (7.6 meters)
•(4) Horizontal reference line
•(5) Center of headlamps
•(6) Center line of the vehicle
2. The center of the headlamp is
marked either on the lens (a circle
or cross marker) or on the bulb shield, internal to the lamp (mark or
feature). Measure the height from the center of your headlamp to the
ground (2) and mark an 8 foot (2.4 meter) long horizontal line on the
wall or screen (1) at this height (masking tape works well).
2008 Ranger(ran)
Owners Guide (post-2002-fmt)
USA(fus)
Lights
45