light FORD SUPER DUTY 2006 1.G User Guide
[x] Cancel search | Manufacturer: FORD, Model Year: 2006, Model line: SUPER DUTY, Model: FORD SUPER DUTY 2006 1.GPages: 312, PDF Size: 3.25 MB
Page 18 of 312
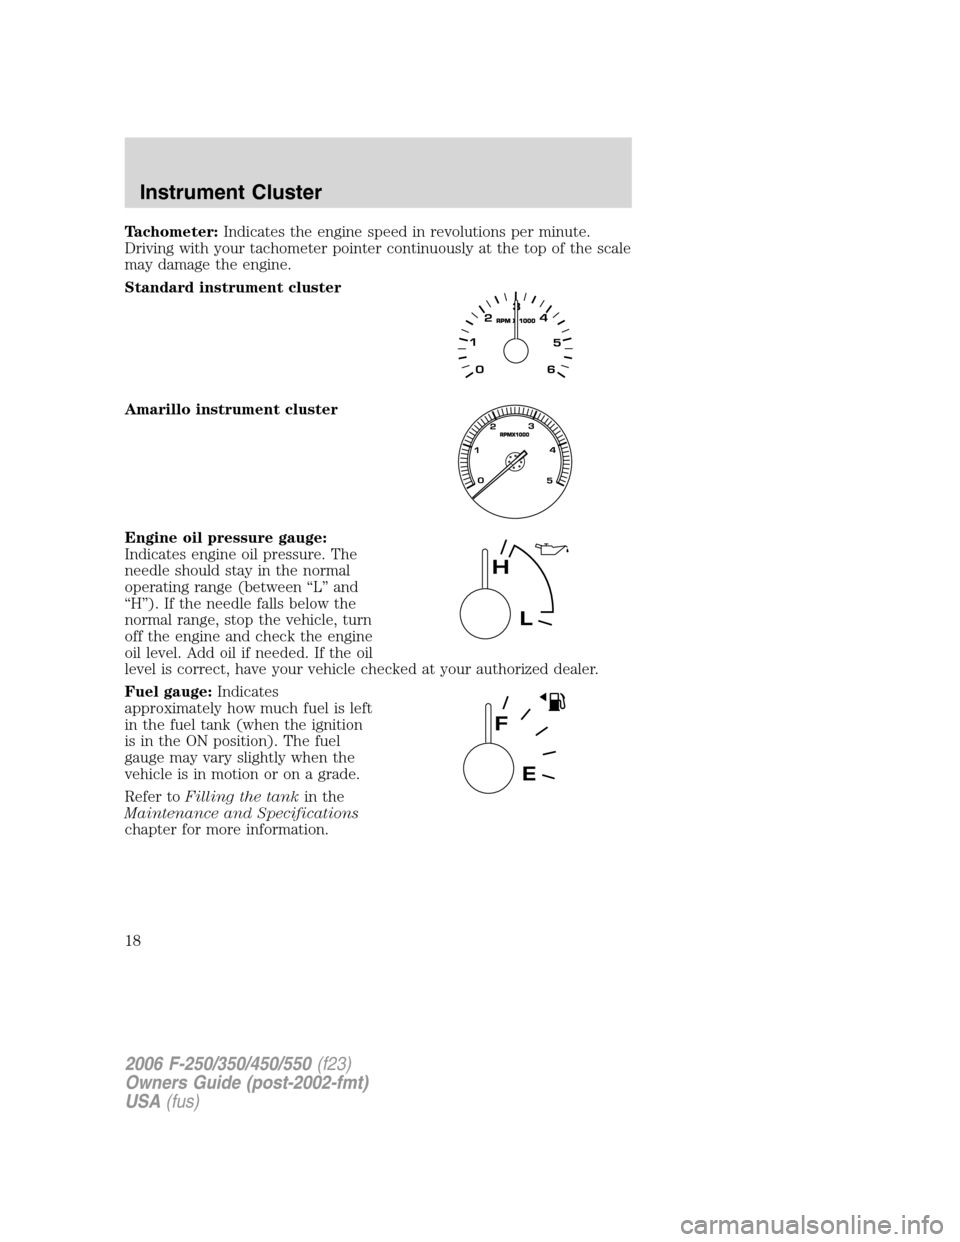
Tachometer:Indicates the engine speed in revolutions per minute.
Driving with your tachometer pointer continuously at the top of the scale
may damage the engine.
Standard instrument cluster
Amarillo instrument cluster
Engine oil pressure gauge:
Indicates engine oil pressure. The
needle should stay in the normal
operating range (between “L” and
“H”). If the needle falls below the
normal range, stop the vehicle, turn
off the engine and check the engine
oil level. Add oil if needed. If the oil
level is correct, have your vehicle checked at your authorized dealer.
Fuel gauge:Indicates
approximately how much fuel is left
in the fuel tank (when the ignition
is in the ON position). The fuel
gauge may vary slightly when the
vehicle is in motion or on a grade.
Refer toFilling the tankin the
Maintenance and Specifications
chapter for more information.
2006 F-250/350/450/550(f23)
Owners Guide (post-2002-fmt)
USA(fus)
Instrument Cluster
18
Page 23 of 312
Treble:Press to adjust the treble setting. Use//SEEK.
Balance:Press to adjust the audio between the left and right speakers.
Use
//SEEK.
Fade:Press to adjust the audio between the front and rear speakers.
Use
//SEEK.
Speed sensitive volume (if equipped):Radio volume automatically
changes slightly with vehicle speed to compensate for road and wind
noise. Press MENU to access and use
//SEEKto adjust.
Setting the clock:Press MENU until SELECT HOUR or SELECT
MINUTE is displayed. Use
/to manually increase/decrease Press
MENU again to disengage clock mode.
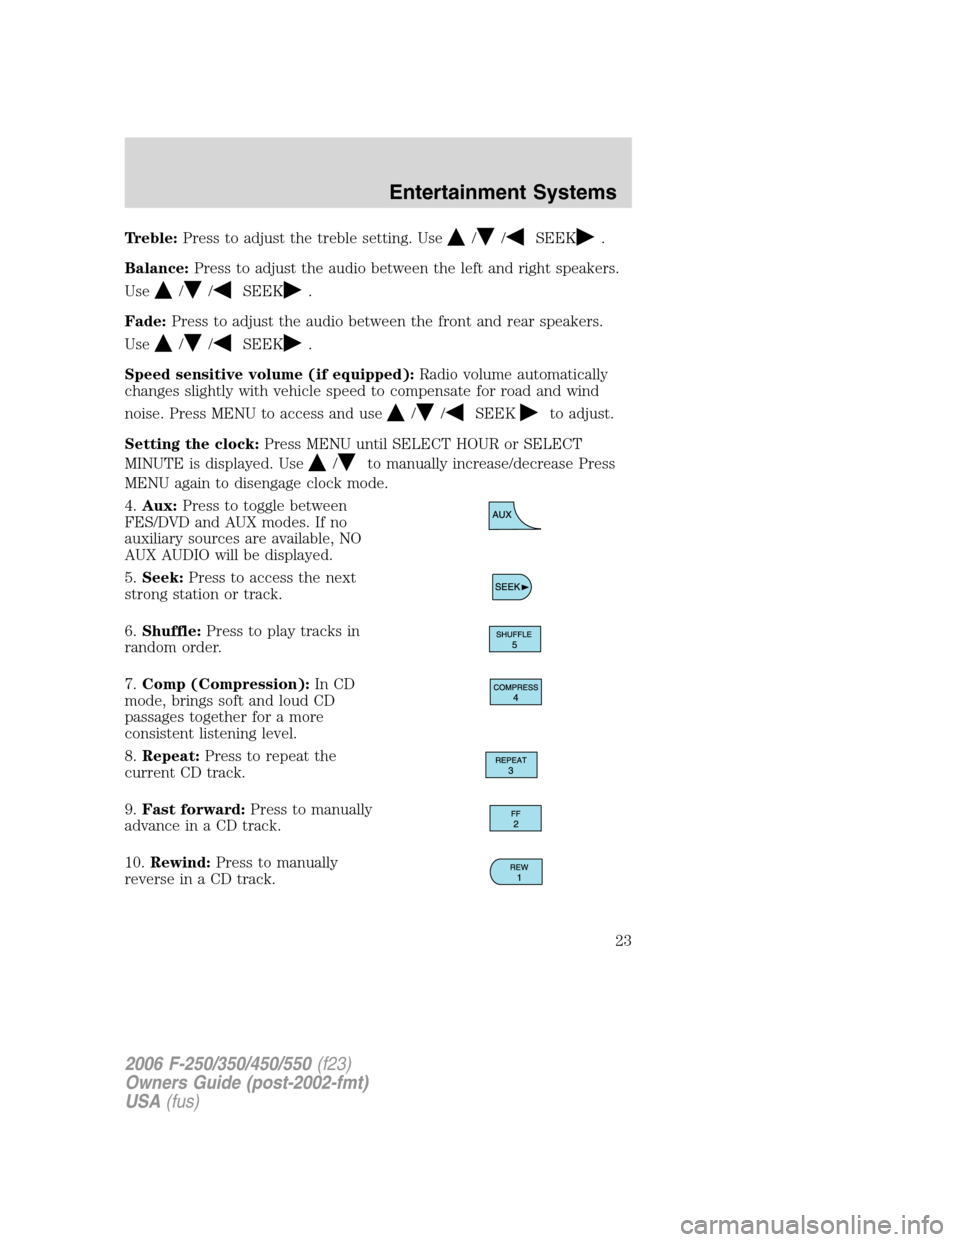
4.Aux:Press to toggle between
FES/DVD and AUX modes. If no
auxiliary sources are available, NO
AUX AUDIO will be displayed.
5.Seek:Press to access the next
strong station or track.
6.Shuffle:Press to play tracks in
random order.
7.Comp (Compression):In CD
mode, brings soft and loud CD
passages together for a more
consistent listening level.
8.Repeat:Press to repeat the
current CD track.
9.Fast forward:Press to manually
advance in a CD track.
10.Rewind:Press to manually
reverse in a CD track.
2006 F-250/350/450/550(f23)
Owners Guide (post-2002-fmt)
USA(fus)
Entertainment Systems
23
Page 26 of 312
Fade:Press to adjust the audio between the front and rear speakers.
Use
//SEEK.
Speed sensitive volume (if equipped):Radio volume automatically
changes slightly with vehicle speed to compensate for road and wind
noise. Press MENU to access and use
//SEEKto adjust.
Setting the clock:Press MENU until SELECT HOUR or SELECT
MINUTE is displayed. Press
//SEEKto adjust the
hours/minutes.
Autoset:Allows you to set the strongest local radio stations without
losing your original manually set preset stations for AM/FM1/FM2 . Press
MENU to access. Use
//SEEKto set.
When the six strongest stations are filled, the station stored in preset 1
will begin playing. If there are less than six strong stations, the system
will store the last one in the remaining presets.
Dolby noise reduction:In tape mode, this feature reduces tape noise
and hiss. Press
//SEEKto cycle ON/OFF. The Dolby noise
reduction system is manufactured under license from Dolby Laboratories
Licensing Corporation. Dolby and double-D are registered trademarks of
Dolby Laboratories Licensing Corporation.
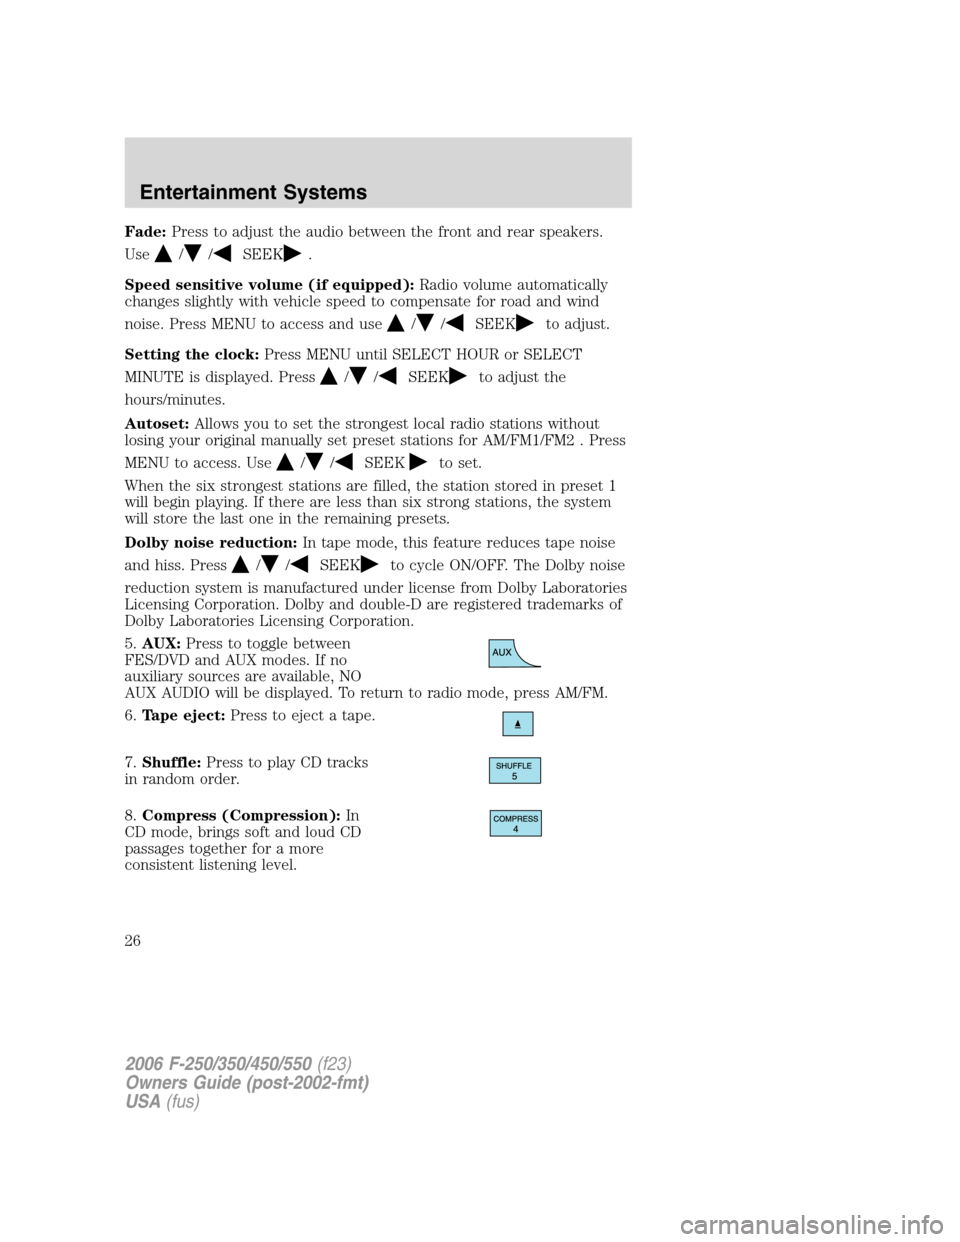
5.AUX:Press to toggle between
FES/DVD and AUX modes. If no
auxiliary sources are available, NO
AUX AUDIO will be displayed. To return to radio mode, press AM/FM.
6.Tape eject:Press to eject a tape.
7.Shuffle:Press to play CD tracks
in random order.
8.Compress (Compression):In
CD mode, brings soft and loud CD
passages together for a more
consistent listening level.
2006 F-250/350/450/550(f23)
Owners Guide (post-2002-fmt)
USA(fus)
Entertainment Systems
26
Page 29 of 312
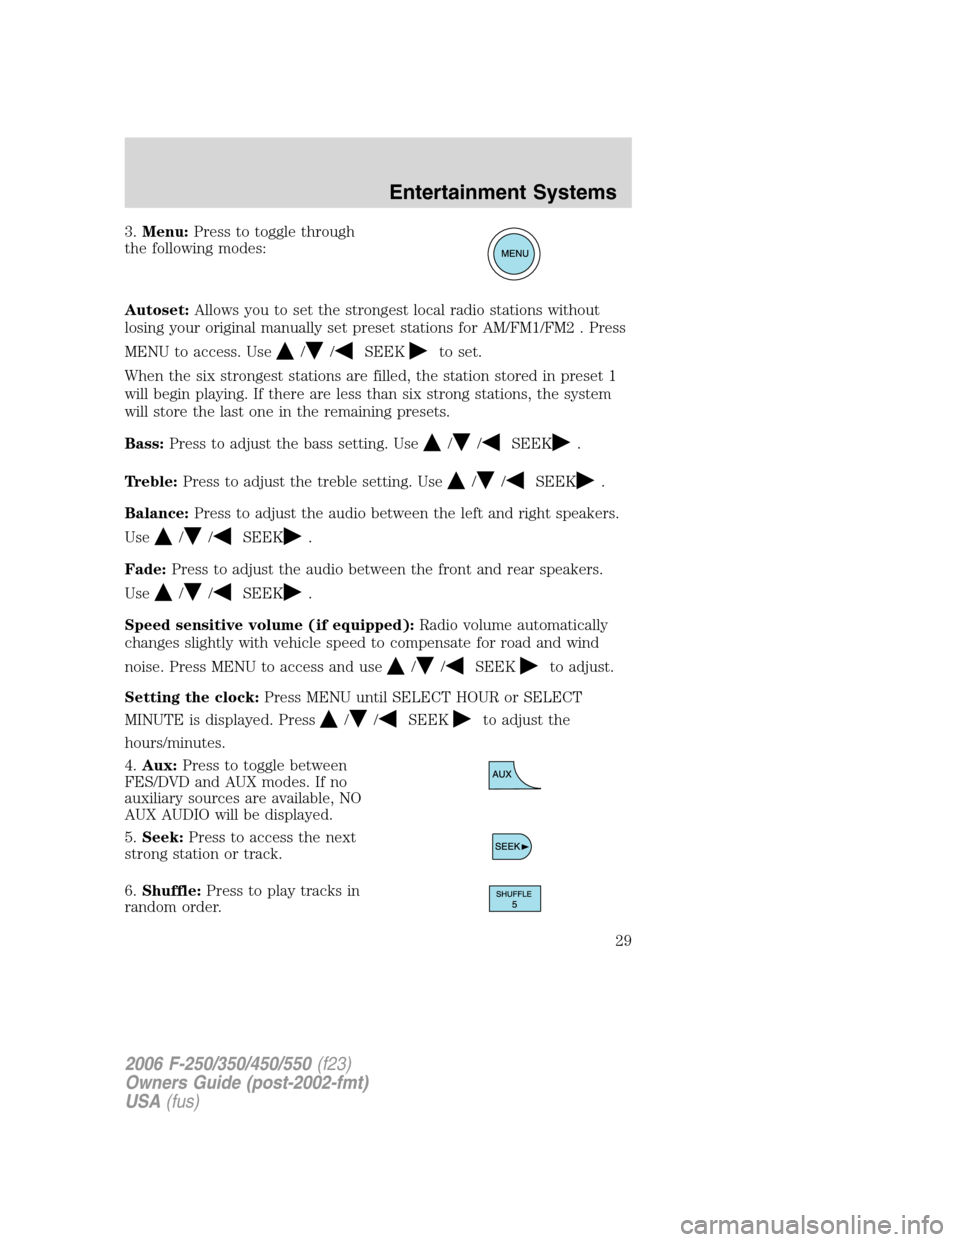
3.Menu:Press to toggle through
the following modes:
Autoset:Allows you to set the strongest local radio stations without
losing your original manually set preset stations for AM/FM1/FM2 . Press
MENU to access. Use
//SEEKto set.
When the six strongest stations are filled, the station stored in preset 1
will begin playing. If there are less than six strong stations, the system
will store the last one in the remaining presets.
Bass:Press to adjust the bass setting. Use
//SEEK.
Treble:Press to adjust the treble setting. Use
//SEEK.
Balance:Press to adjust the audio between the left and right speakers.
Use
//SEEK.
Fade:Press to adjust the audio between the front and rear speakers.
Use
//SEEK.
Speed sensitive volume (if equipped):Radio volume automatically
changes slightly with vehicle speed to compensate for road and wind
noise. Press MENU to access and use
//SEEKto adjust.
Setting the clock:Press MENU until SELECT HOUR or SELECT
MINUTE is displayed. Press
//SEEKto adjust the
hours/minutes.
4.Aux:Press to toggle between
FES/DVD and AUX modes. If no
auxiliary sources are available, NO
AUX AUDIO will be displayed.
5.Seek:Press to access the next
strong station or track.
6.Shuffle:Press to play tracks in
random order.
2006 F-250/350/450/550(f23)
Owners Guide (post-2002-fmt)
USA(fus)
Entertainment Systems
29
Page 31 of 312
17.LOAD:Press to load a CD, then
select a slot number using the radio
presets 1 through 6. If you don’t
select a slot within 5 seconds, the
radio shall choose the first available
slot for you. Press and hold for 2 seconds to auto load up to six CDs.
18.CD eject:Press to eject a CD,
then select the desired CD slot
using the radio presets 1 through 6.
If a slot is not selected within 5 seconds, the radio shall eject the current
disc. Press and hold for 2 seconds to auto eject all CDs present in the
radio mechanism.
19.CD slot:Insert a CD label side
up.
GENERAL AUDIO INFORMATION
Radio frequencies
AM and FM frequencies are established by the Federal Communications
Commission (FCC) and the Canadian Radio and Telecommunications
Commission (CRTC). Those frequencies are:
AM - 530, 540–1700, 1710 kHz
FM- 87.7, 87.9–107.7, 107.9 MHz
Radio reception factors
There are three factors that can affect radio reception:
•Distance/strength: The further you travel from an FM station, the
weaker the signal and the weaker the reception.
•Terrain: Hills, mountains, tall buildings, power lines, electric fences,
traffic lights and thunderstorms can interfere with your reception.
•Station overload: When you pass a broadcast tower, a stronger signal
may overtake a weaker one and play while the weak station frequency
is displayed.
Cassette/player care
Do:
•Use only cassettes that are 90 minutes long or less.
•Tighten very loose tapes by inserting a finger or pencil into the hole
and turning the hub.
2006 F-250/350/450/550(f23)
Owners Guide (post-2002-fmt)
USA(fus)
Entertainment Systems
31
Page 32 of 312
•Remove loose labels before inserting tapes.
•Allow tapes which have been subjected to extreme heat, humidity or
cold to reach a moderate temperature before playing.
•Clean the cassette player head with a cassette cleaning cartridge after
10–12 hours of play to maintain good sound/operation.
Don’t:
•Expose tapes to direct sunlight, extreme humidity, heat or cold.
•Leave tapes in the cassette player for a long time when not being
played.
CD/CD player care
Do:
•Handle discs by their edges only. Never touch the playing surface.
•Inspect discs before playing. Clean only with an approved CD cleaner
and wipe from the center out.
Don’t:
•Expose discs to direct sunlight or heat sources for extended periods
of time.
•Insert more than one disc into each slot of the CD changer magazine.
•Clean using a circular motion.
CD units are designed to play commercially pressed 4.75 in (12 cm)
audio compact discs only. Due to technical incompatibility, certain
recordable and re-recordable compact discs may not function
correctly when used in Ford CD players. Irregular shaped CDs,
CDs with a scratch protection film attached, and CDs with
homemade paper (adhesive) labels should not be inserted into
the CD player. The label may peel and cause the CD to become
jammed. It is recommended that homemade CDs be identified
with permanent felt tip marker rather than adhesive labels.
Ballpoint pens may damage CDs. Please contact your authorized
dealer for further information.
Audio system warranty and service
Refer to theWarranty Guidefor audio system warranty information. If
service is necessary, see your authorized dealer.
2006 F-250/350/450/550(f23)
Owners Guide (post-2002-fmt)
USA(fus)
Entertainment Systems
32
Page 35 of 312
:Distributes outside air through the instrument panel vents, floor
vents and center console vents (if equipped).
O (OFF):Outside air is shut out and the climate system is turned off.
:Distributes outside air through the floor vents.
:Distributes outside air through the windshield defroster vents,
floor vents and demister vents.
:Distributes outside air through the windshield defroster vents and
demister vents.
Operating tips
•To reduce fog build up on the windshield during humid weather, place
the air flow selector in the
position.
•To reduce humidity build up inside the vehicle, do not drive with the
air flow selector in the O (OFF) position.
•Do not put objects under the front seats that will interfere with the
airflow to the rear seats.
•Remove any snow, ice or leaves from the air intake area at the base of
the windshield.
•To improve the A/C cool down, drive with the windows slightly open
for 2–3 minutes after start up or until the vehicle has been “aired out.”
For maximum cooling performance (MAX A/C) in MAX A/C mode:
•Move the temperature control to the coolest setting.
•Set the fan to the highest speed initially, then adjust in order to
maintain comfort.
To aid in side window defogging and demisting in cold weather:
1. Select
.
2. Select A/C.
3. Set the temperature control to maintain comfort.
4. Set the fan speed to highest setting.
5. Direct the outer instrument panel vents towards the side windows.
Do not place objects on top of the instrument panel as these
objects may become projectiles in a collision or sudden stop.
2006 F-250/350/450/550(f23)
Owners Guide (post-2002-fmt)
USA(fus)
Climate Controls
35
Page 38 of 312
•To improve the A/C cool down, drive with the windows slightly open
for 2–3 minutes after start up or until the vehicle has been “aired out.”
For maximum cooling performance in AUTO mode:
•Press AUTO control and set to desired temperature.
For maximum cooling performance using manual override modes:
•Press
(panel), A/C, with recirculated air. Set the temperature to
60°F (16°C) and the fan to the highest setting.
To aid in side window defogging and demisting in cold weather:
1. Select
.
2. Select A/C.
3. Set the temperature control to maintain comfort.
4. Set the fan speed to highest setting.
5. Direct the outer instrument panel vents towards the side windows. To
increase airflow to the outer instrument panel vents, close the vents
located in the middle of the instrument panel.
To increase airflow to the outer instrument panel vents, close the vents
located in the middle of the instrument panel.
Do not place objects on top of the instrument panel as these
objects may become projectiles in a collision or sudden stop.
2006 F-250/350/450/550(f23)
Owners Guide (post-2002-fmt)
USA(fus)
Climate Controls
38
Page 39 of 312
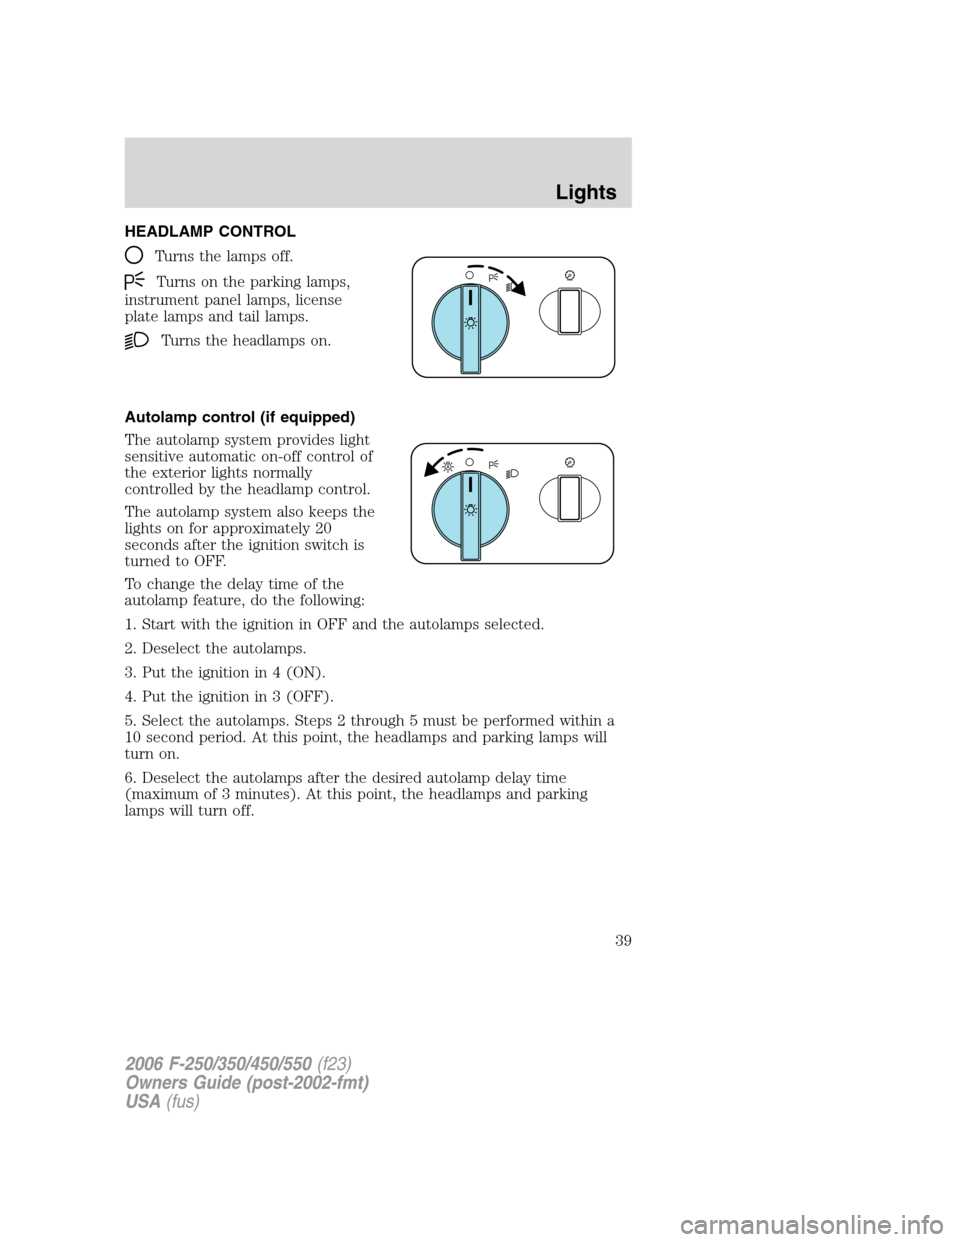
HEADLAMP CONTROL
Turns the lamps off.
Turns on the parking lamps,
instrument panel lamps, license
plate lamps and tail lamps.
Turns the headlamps on.
Autolamp control (if equipped)
The autolamp system provides light
sensitive automatic on-off control of
the exterior lights normally
controlled by the headlamp control.
The autolamp system also keeps the
lights on for approximately 20
seconds after the ignition switch is
turned to OFF.
To change the delay time of the
autolamp feature, do the following:
1. Start with the ignition in OFF and the autolamps selected.
2. Deselect the autolamps.
3. Put the ignition in 4 (ON).
4. Put the ignition in 3 (OFF).
5. Select the autolamps. Steps 2 through 5 must be performed within a
10 second period. At this point, the headlamps and parking lamps will
turn on.
6. Deselect the autolamps after the desired autolamp delay time
(maximum of 3 minutes). At this point, the headlamps and parking
lamps will turn off.
2006 F-250/350/450/550(f23)
Owners Guide (post-2002-fmt)
USA(fus)
Lights
39
Page 40 of 312
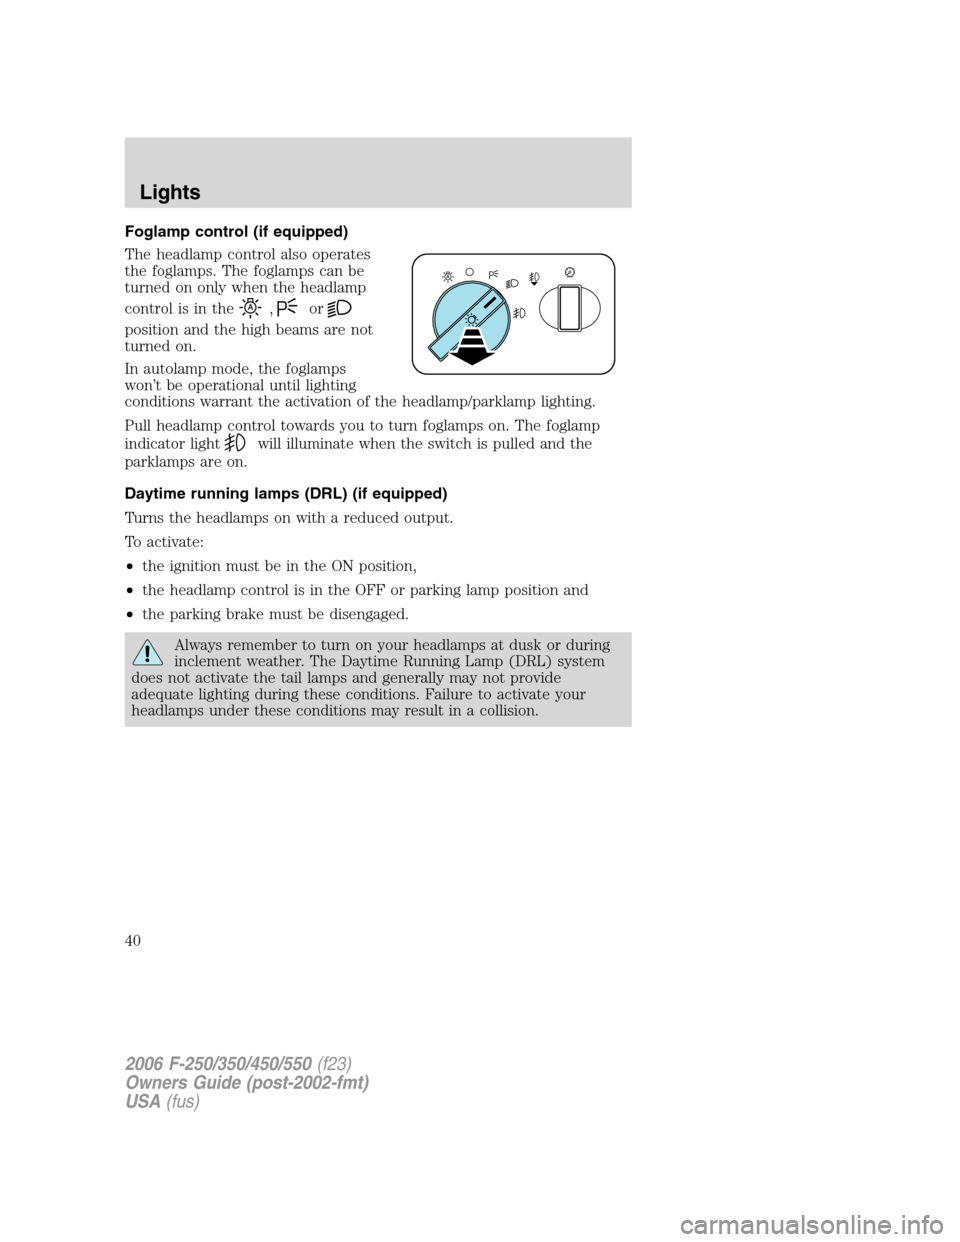
Foglamp control (if equipped)
The headlamp control also operates
the foglamps. The foglamps can be
turned on only when the headlamp
control is in the
,or
position and the high beams are not
turned on.
In autolamp mode, the foglamps
won’t be operational until lighting
conditions warrant the activation of the headlamp/parklamp lighting.
Pull headlamp control towards you to turn foglamps on. The foglamp
indicator light
will illuminate when the switch is pulled and the
parklamps are on.
Daytime running lamps (DRL) (if equipped)
Turns the headlamps on with a reduced output.
To activate:
•the ignition must be in the ON position,
•the headlamp control is in the OFF or parking lamp position and
•the parking brake must be disengaged.
Always remember to turn on your headlamps at dusk or during
inclement weather. The Daytime Running Lamp (DRL) system
does not activate the tail lamps and generally may not provide
adequate lighting during these conditions. Failure to activate your
headlamps under these conditions may result in a collision.
2006 F-250/350/450/550(f23)
Owners Guide (post-2002-fmt)
USA(fus)
Lights
40