ECO mode FORD SUPER DUTY 2007 1.G Owners Manual
[x] Cancel search | Manufacturer: FORD, Model Year: 2007, Model line: SUPER DUTY, Model: FORD SUPER DUTY 2007 1.GPages: 312, PDF Size: 3.1 MB
Page 17 of 312
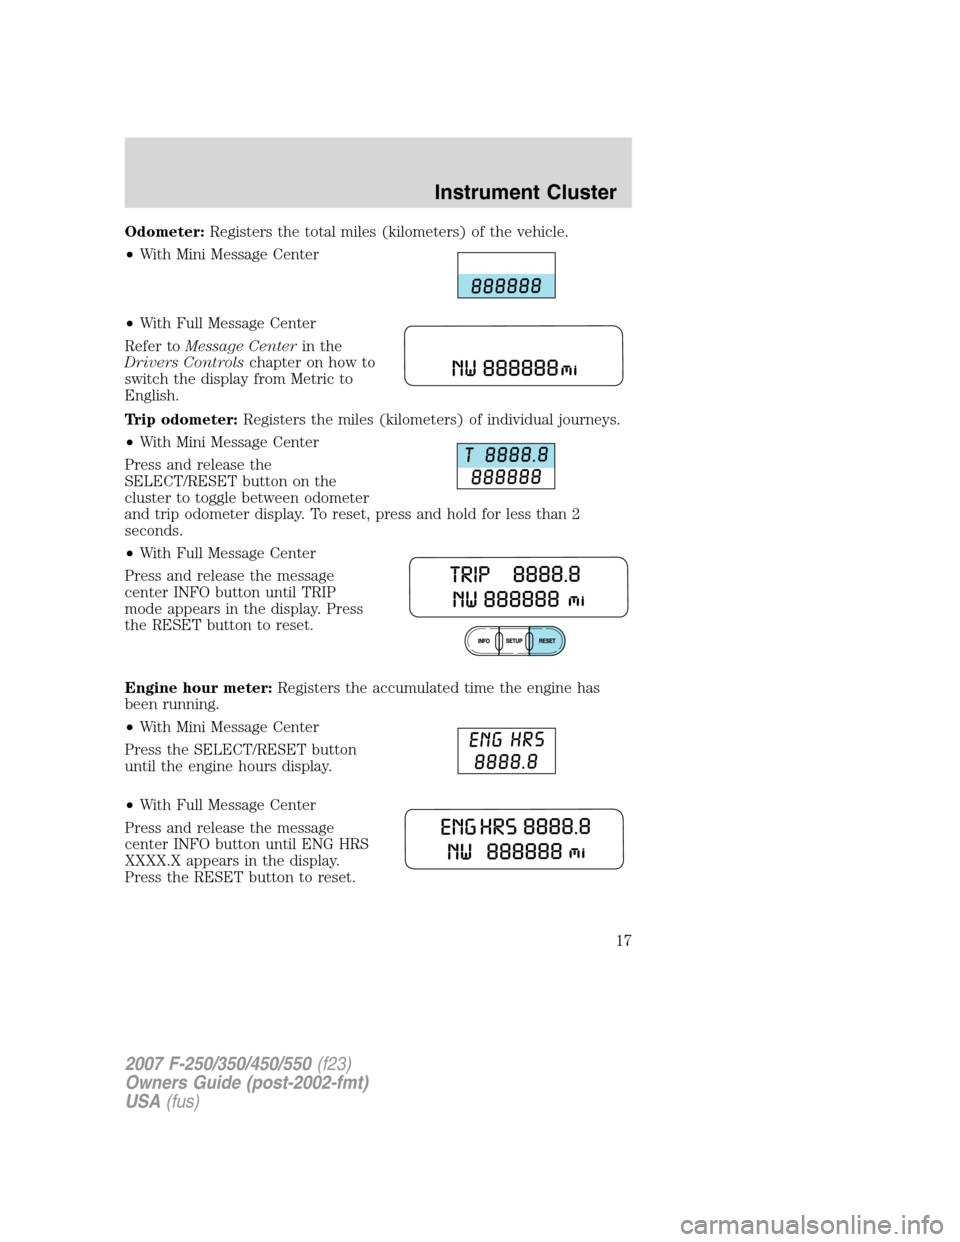
Odometer:Registers the total miles (kilometers) of the vehicle.
•With Mini Message Center
•With Full Message Center
Refer toMessage Centerin the
Drivers Controlschapter on how to
switch the display from Metric to
English.
Trip odometer:Registers the miles (kilometers) of individual journeys.
•With Mini Message Center
Press and release the
SELECT/RESET button on the
cluster to toggle between odometer
and trip odometer display. To reset, press and hold for less than 2
seconds.
•With Full Message Center
Press and release the message
center INFO button until TRIP
mode appears in the display. Press
the RESET button to reset.
Engine hour meter:Registers the accumulated time the engine has
been running.
•With Mini Message Center
Press the SELECT/RESET button
until the engine hours display.
•With Full Message Center
Press and release the message
center INFO button until ENG HRS
XXXX.X appears in the display.
Press the RESET button to reset.
2007 F-250/350/450/550(f23)
Owners Guide (post-2002-fmt)
USA(fus)
Instrument Cluster
17
Page 24 of 312
FADE (Fade):Press MENU to reach the fade setting. Use//
SEEK, SEEKto adjust the audio between the front and rear
speakers.
SPEEDVOL (Speed sensitive volume) (if equipped):Press MENU
to reach the SPEEDVOL setting. Radio volume automatically changes
slightly with vehicle speed to compensate for road and wind noise. Use
the
//SEEK, SEEKto adjust.
The default setting isoff; increasing your vehicle speed will not change
the volume level.
Adjust1–7:Increasing this setting from 1 (lowest setting) to 7 (highest
setting) allows the radio volume to automatically change slightly with
vehicle speed to compensate for road and wind noise.
Recommended level is1–3;level 0 turns the feature off and level 7 is the
maximum setting.
Setting the clock:Press MENU to reach SELECT HOUR or SELECT
MINS. Use
SEEK, SEEKto adjust the hours/minutes. Press
MENU again to disengage clock mode.
4.AUX:Press the AUX button to
toggle between FES/DVD (if
equipped), and SAT1, SAT2 and
SAT3 modes (satellite radio, if equipped). If no auxiliary sources are
available, NO AUX AUDIO will be displayed.
Satellite radio is available only with a valid SIRIUS subscription.
Check with your authorized dealer for availability
5.SEEK:
In radio mode,press the
SEEK, SEEKbutton to access
the previous/next strong station.
In CD mode,press
SEEK,
SEEK
button access the previous/next track.
In satellite radio mode (if equipped),press
SEEK, SEEKto
seek to the previous/next channel. If a specific category is selected,
(Jazz, Rock, News, etc.), press
SEEK, SEEKto seek to the
previous/next channel in the selected category. Press and hold
SEEK, SEEKto fast seek through the previous/next channels.
2007 F-250/350/450/550(f23)
Owners Guide (post-2002-fmt)
USA(fus)
Entertainment Systems
24
Page 29 of 312
FADE (Fade):Press MENU to reach the fade setting. Use//
SEEK, SEEKto adjust the audio between the front and rear
speakers.
SPEEDVOL (Speed sensitive volume) (if equipped):Press MENU
to reach the SPEEDVOL setting. Radio volume automatically changes
slightly with vehicle speed to compensate for road and wind noise. Use
the
//SEEK, SEEKto adjust.
The default setting isoff; increasing your vehicle speed will not change
the volume level.
Adjust1–7:Increasing this setting from 1 (lowest setting) to 7 (highest
setting) allows the radio volume to automatically change slightly with
vehicle speed to compensate for road and wind noise.
Recommended level is1–3;level 0 turns the feature off and level 7 is the
maximum setting.
Setting the clock:Press MENU to reach SELECT HOUR or SELECT
MINS. Use
SEEK, SEEKto adjust the hours/minutes. Press
MENU again to disengage clock mode.
4.AUX:Press the AUX button to
toggle between FES/DVD (if
equipped), and SAT1, SAT2 and
SAT3 modes (satellite radio, if equipped). If no auxiliary sources are
available, NO AUX AUDIO will be displayed.
5.SEEK:
In radio mode,press the
SEEK, SEEKbutton to access
the previous/next strong station.
In CD mode,press
SEEK, SEEKbutton access the
previous/next track.
In satellite radio mode (if equipped),press
SEEK, SEEKto
seek to the previous/next channel. If a specific category is selected,
(Jazz, Rock, News, etc.), press
SEEK, SEEKto seek to the
previous/next channel in the selected category. Press and hold
SEEKto fast seek through the previous/next channels.
In TEXT MODE,press
SEEK, SEEKto view the
previous/additional display text.
2007 F-250/350/450/550(f23)
Owners Guide (post-2002-fmt)
USA(fus)
Entertainment Systems
29
Page 31 of 312
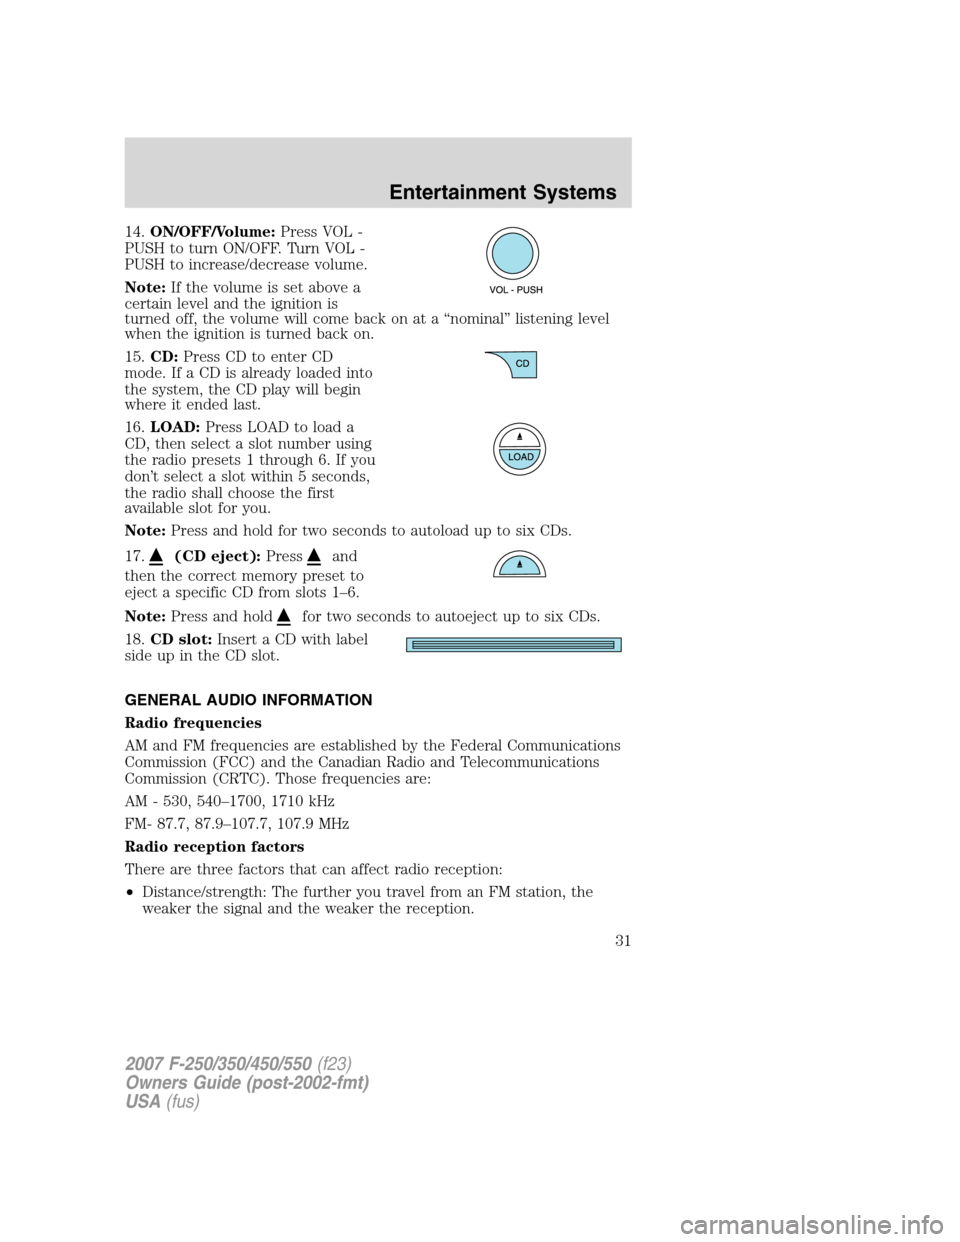
14.ON/OFF/Volume:Press VOL -
PUSH to turn ON/OFF. Turn VOL -
PUSH to increase/decrease volume.
Note:If the volume is set above a
certain level and the ignition is
turned off, the volume will come back on at a “nominal” listening level
when the ignition is turned back on.
15.CD:Press CD to enter CD
mode. If a CD is already loaded into
the system, the CD play will begin
where it ended last.
16.LOAD:Press LOAD to load a
CD, then select a slot number using
the radio presets 1 through 6. If you
don’t select a slot within 5 seconds,
the radio shall choose the first
available slot for you.
Note:Press and hold for two seconds to autoload up to six CDs.
17.
(CD eject):Pressand
then the correct memory preset to
eject a specific CD from slots 1–6.
Note:Press and hold
for two seconds to autoeject up to six CDs.
18.CD slot:Insert a CD with label
side up in the CD slot.
GENERAL AUDIO INFORMATION
Radio frequencies
AM and FM frequencies are established by the Federal Communications
Commission (FCC) and the Canadian Radio and Telecommunications
Commission (CRTC). Those frequencies are:
AM - 530, 540–1700, 1710 kHz
FM- 87.7, 87.9–107.7, 107.9 MHz
Radio reception factors
There are three factors that can affect radio reception:
•Distance/strength: The further you travel from an FM station, the
weaker the signal and the weaker the reception.
2007 F-250/350/450/550(f23)
Owners Guide (post-2002-fmt)
USA(fus)
Entertainment Systems
31
Page 34 of 312
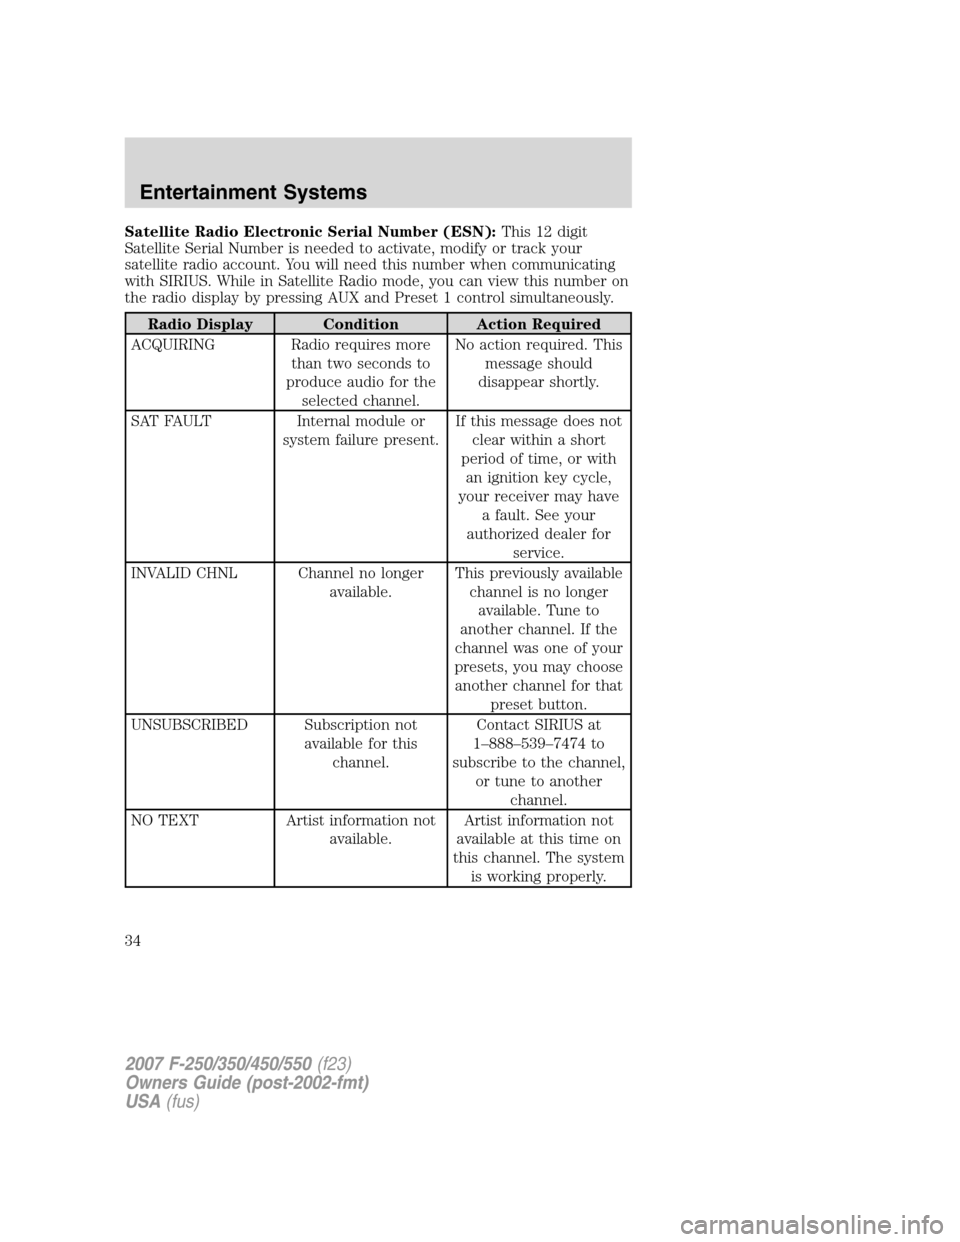
Satellite Radio Electronic Serial Number (ESN):This12digit
Satellite Serial Number is needed to activate, modify or track your
satellite radio account. You will need this number when communicating
with SIRIUS. While in Satellite Radio mode, you can view this number on
the radio display by pressing AUX and Preset 1 control simultaneously.
Radio Display Condition Action Required
ACQUIRING Radio requires more
than two seconds to
produce audio for the
selected channel.No action required. This
message should
disappear shortly.
SAT FAULT Internal module or
system failure present.If this message does not
clear within a short
period of time, or with
an ignition key cycle,
your receiver may have
a fault. See your
authorized dealer for
service.
INVALID CHNL Channel no longer
available.This previously available
channel is no longer
available. Tune to
another channel. If the
channel was one of your
presets, you may choose
another channel for that
preset button.
UNSUBSCRIBED Subscription not
available for this
channel.Contact SIRIUS at
1–888–539–7474 to
subscribe to the channel,
or tune to another
channel.
NO TEXT Artist information not
available.Artist information not
available at this time on
this channel. The system
is working properly.
2007 F-250/350/450/550(f23)
Owners Guide (post-2002-fmt)
USA(fus)
Entertainment Systems
34
Page 37 of 312
To aid in side window defogging/demisting in cold weather:
1. Select
.
2. Modulate the temperature control to maintain comfort.
3. Set the fan speed to the highest setting.
4. Direct the outer instrument panel vents toward the side windows.
To increase airflow to the outer instrument panel vents, close the vents
located in the middle of the instrument panel.
Do not place objects on top of the instrument panel as these
objects may become projectiles in a collision or sudden stop.
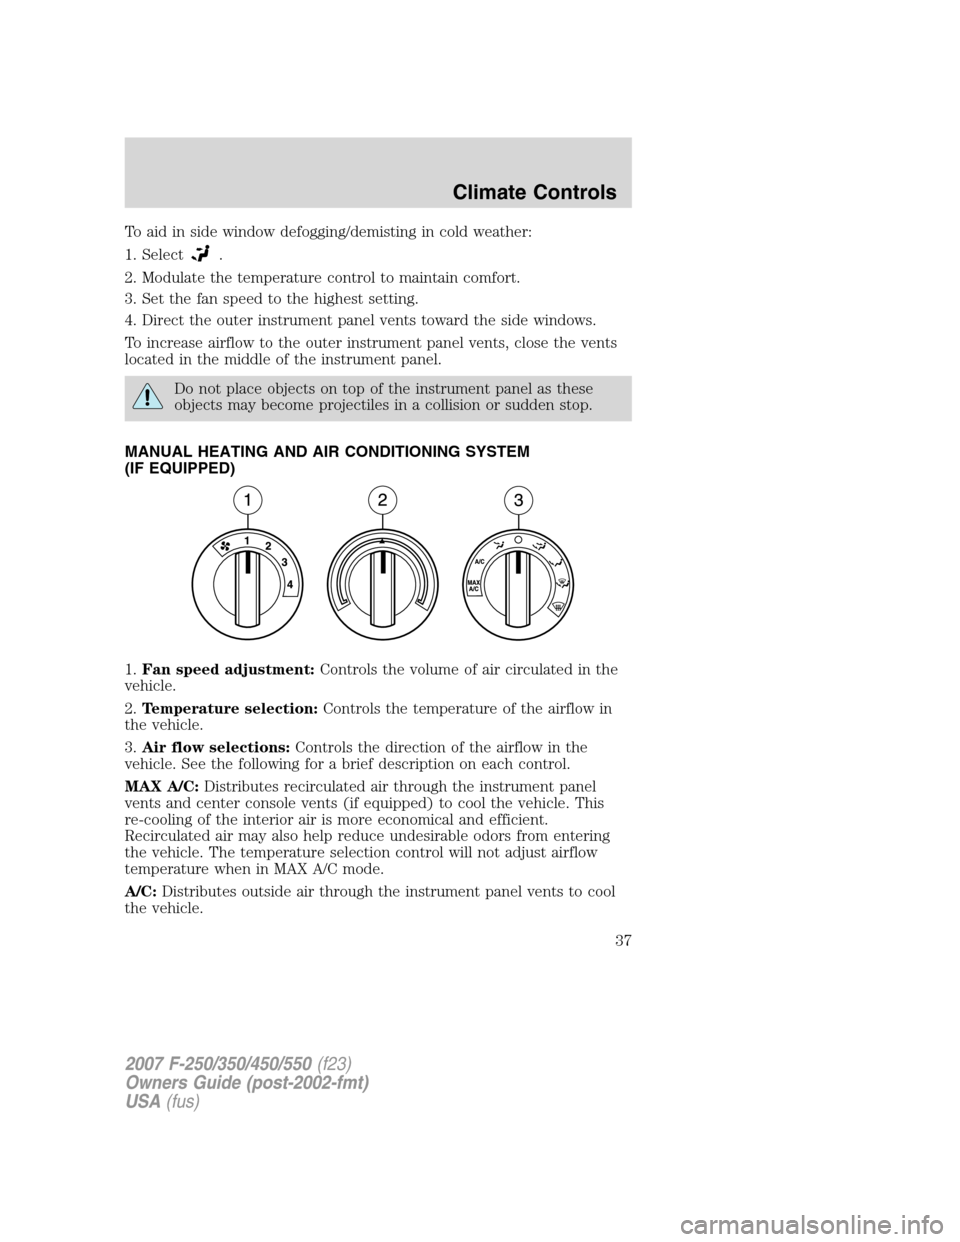
MANUAL HEATING AND AIR CONDITIONING SYSTEM
(IF EQUIPPED)
1.Fan speed adjustment:Controls the volume of air circulated in the
vehicle.
2.Temperature selection:Controls the temperature of the airflow in
the vehicle.
3.Air flow selections:Controls the direction of the airflow in the
vehicle. See the following for a brief description on each control.
MAX A/C:Distributes recirculated air through the instrument panel
vents and center console vents (if equipped) to cool the vehicle. This
re-cooling of the interior air is more economical and efficient.
Recirculated air may also help reduce undesirable odors from entering
the vehicle. The temperature selection control will not adjust airflow
temperature when in MAX A/C mode.
A/C:Distributes outside air through the instrument panel vents to cool
the vehicle.
2007 F-250/350/450/550(f23)
Owners Guide (post-2002-fmt)
USA(fus)
Climate Controls
37
Page 40 of 312
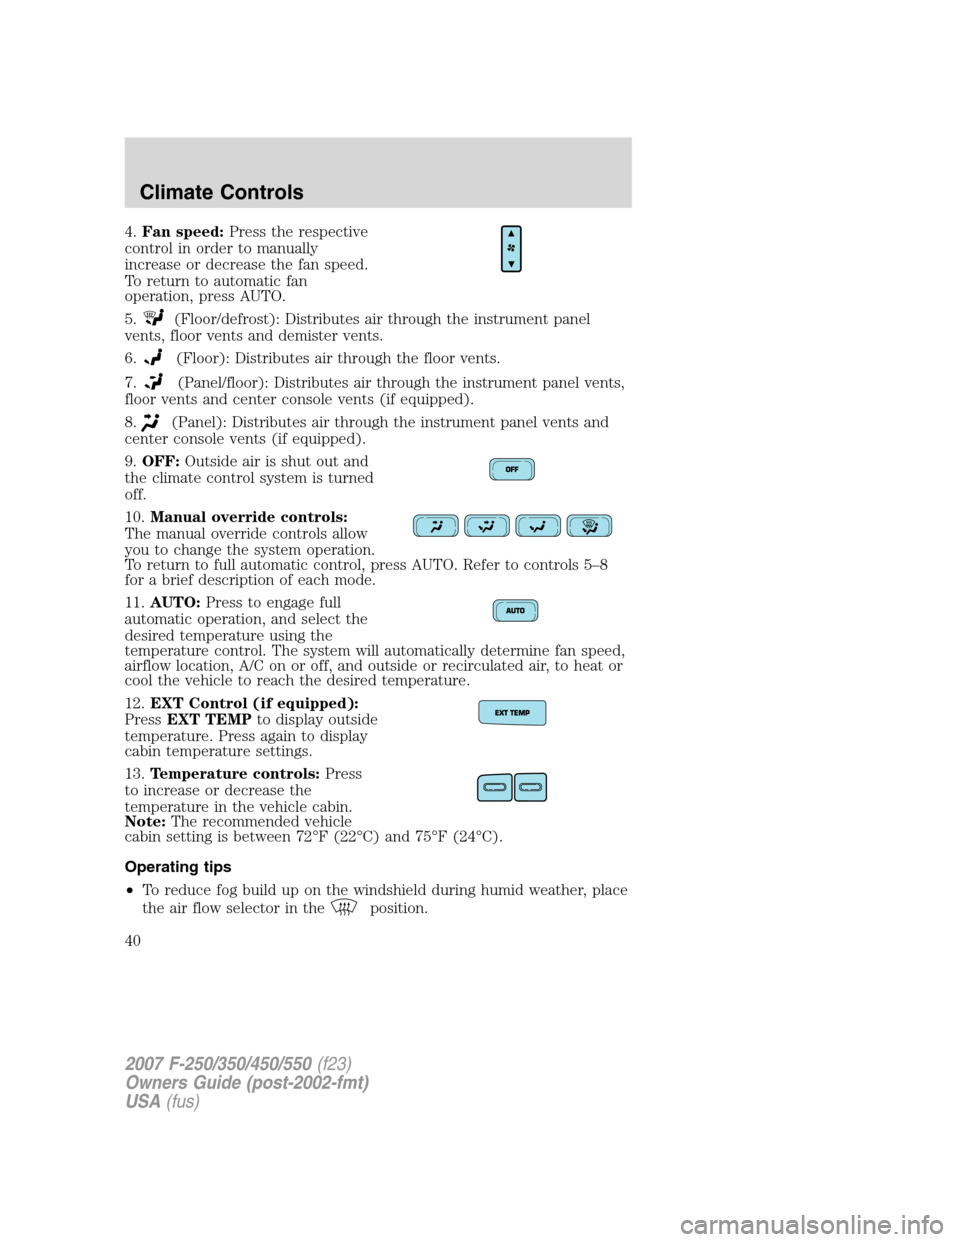
4.Fan speed:Press the respective
control in order to manually
increase or decrease the fan speed.
To return to automatic fan
operation, press AUTO.
5.
(Floor/defrost): Distributes air through the instrument panel
vents, floor vents and demister vents.
6.
(Floor): Distributes air through the floor vents.
7.
(Panel/floor): Distributes air through the instrument panel vents,
floor vents and center console vents (if equipped).
8.
(Panel): Distributes air through the instrument panel vents and
center console vents (if equipped).
9.OFF:Outside air is shut out and
the climate control system is turned
off.
10.Manual override controls:
The manual override controls allow
you to change the system operation.
To return to full automatic control, press AUTO. Refer to controls 5–8
for a brief description of each mode.
11.AUTO:Press to engage full
automatic operation, and select the
desired temperature using the
temperature control. The system will automatically determine fan speed,
airflow location, A/C on or off, and outside or recirculated air, to heat or
cool the vehicle to reach the desired temperature.
12.EXT Control (if equipped):
PressEXT TEMPto display outside
temperature. Press again to display
cabin temperature settings.
13.Temperature controls:Press
to increase or decrease the
temperature in the vehicle cabin.
Note:The recommended vehicle
cabin setting is between 72°F (22°C) and 75°F (24°C).
Operating tips
•To reduce fog build up on the windshield during humid weather, place
the air flow selector in the
position.
2007 F-250/350/450/550(f23)
Owners Guide (post-2002-fmt)
USA(fus)
Climate Controls
40
Page 41 of 312
•To reduce humidity build up inside the vehicle, do not drive with the
air flow selector in OFF or with recirculated air engaged.
•Do not put objects under the front seats that will interfere with the
airflow to the rear seats.
•Remove any snow, ice or leaves from the air intake area at the base of
the windshield.
•To improve the A/C cool down, drive with the windows slightly open
for 2–3 minutes after start up or until the vehicle has been “aired out.”
For maximum cooling performance in AUTO mode:
•Press AUTO control and set to desired temperature.
For maximum cooling performance using manual override modes:
•Press
(panel), A/C, with recirculated air. Set the temperature to
60°F (16°C) and the fan to the highest setting.
To aid in side window defogging and demisting in cold weather:
1. Select
.
2. Select A/C.
3. Set the temperature control to maintain comfort.
4. Set the fan speed to highest setting.
5. Direct the outer instrument panel vents towards the side windows. To
increase airflow to the outer instrument panel vents, close the vents
located in the middle of the instrument panel.
To increase airflow to the outer instrument panel vents, close the vents
located in the middle of the instrument panel.
Do not place objects on top of the instrument panel as these
objects may become projectiles in a collision or sudden stop.
2007 F-250/350/450/550(f23)
Owners Guide (post-2002-fmt)
USA(fus)
Climate Controls
41
Page 80 of 312
LOW BRAKE FLUID LEVEL.Indicates the brake fluid level is low and
the brake system should be inspected immediately. Refer toChecking
and adding brake fluidin theMaintenance and Specifications
chapter.
LOW OIL PRESSURE.Displayed when the engine oil pressure is low. If
this warning message is displayed, check the level of the engine oil.
Refer toEngine oilin theMaintenance and Specificationschapter for
information about adding engine oil. If the oil level is OK and this
warning persists, shut down the engine immediately and contact your
authorized dealer for service.
CHECK FUEL CAP.Displayed when the fuel filler cap is not properly
installed. Check the fuel filler cap for proper installation. Refer toFuel
filler capunder theFuel Information sectionin theMaintenance and
Specificationschapter.
ENGINE FAILSAFE MODE.Displayed when the engine has defaulted
to a ’limp-home’ operation. If the warning stays on or continues to come
on, contact your authorized dealer as soon as possible.
CHECK COMPASS MODULE.Displayed when the compass is not
operating properly. If the warning stays on or continues to come on,
contact your authorized dealer as soon as possible.
TRAILER DISCONNECTED (if equipped):Displayed when a trailer
connection becomes disconnected, either intentionally or unintentionally,
and has been sensed during a given ignition cycle. Refer toIntegrated
trailer brake controllerin theTires, Wheels and Loadingchapter for
more information.
TRAILER FAULT (if equipped):Displayed if there is a short circuit on
the electric brake output wire or the trailer brakes are drawing too much
current. Refer toIntegrated trailer brake controllerin theTires,
Wheels and Loadingchapter for more information.
TBC FAULT (if equipped):Displayed in response to faults sensed by
the trailer brake controller (TBC). In the event this message is seen,
please take your vehicle to an authorized dealer for diagnosis and repair.
Refer toIntegrated trailer brake controllerin theTires, Wheels and
Loadingchapter for more information.
WATER IN FUEL (diesel only):Refer toInstrument Clusterin your
6.0 Liter Power Stroke Direct Injection Turbo Diesel Owner’s Guide
Supplement.
CHECK AIR FILTER (diesel only):Refer toInstrument Clusterin
your6.0 Liter Power Stroke Direct Injection Turbo Diesel Owner’s
Guide Supplement.
2007 F-250/350/450/550(f23)
Owners Guide (post-2002-fmt)
USA(fus)
Driver Controls
80
Page 89 of 312
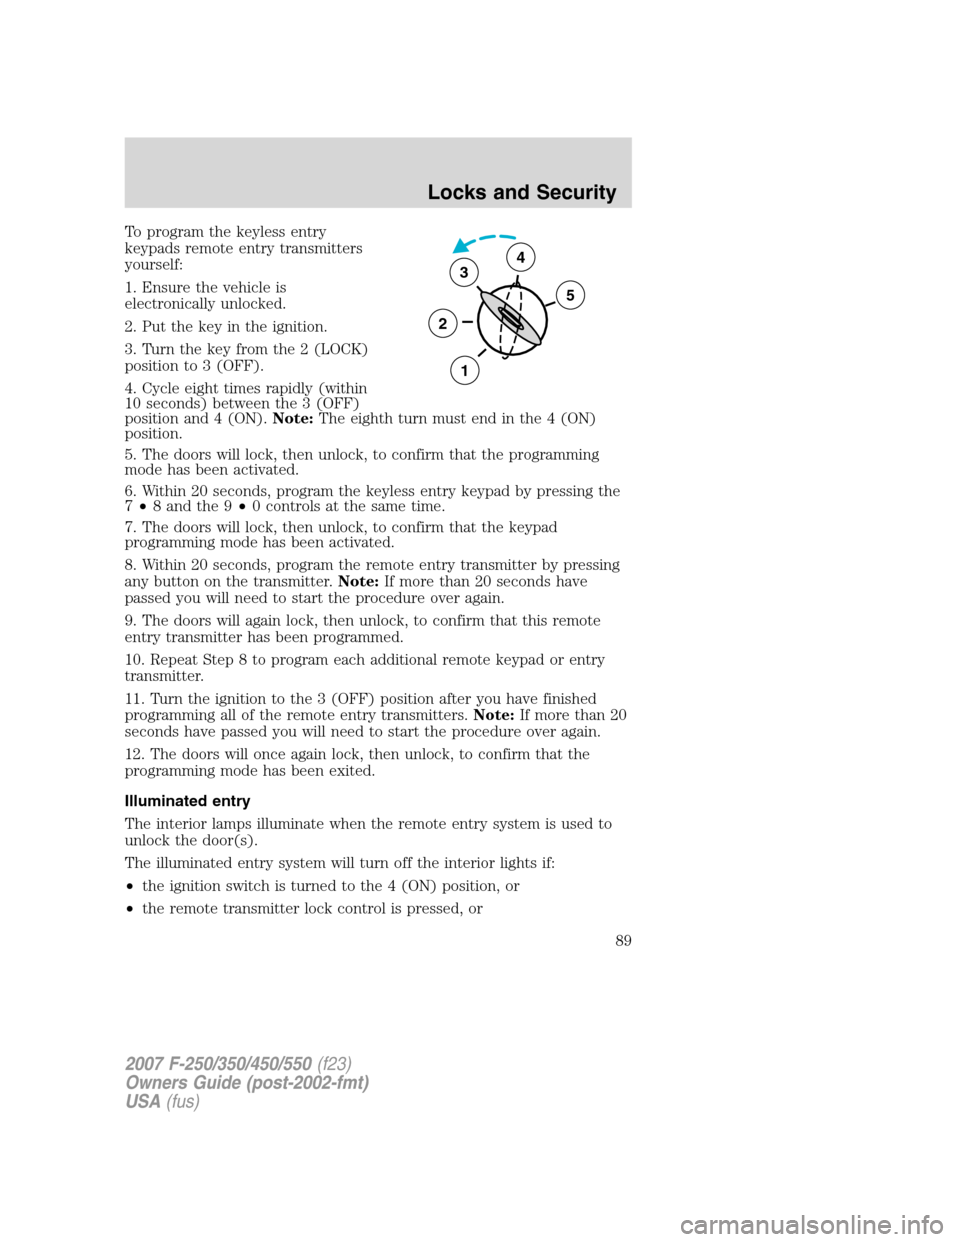
To program the keyless entry
keypads remote entry transmitters
yourself:
1. Ensure the vehicle is
electronically unlocked.
2. Put the key in the ignition.
3. Turn the key from the 2 (LOCK)
position to 3 (OFF).
4. Cycle eight times rapidly (within
10 seconds) between the 3 (OFF)
position and 4 (ON).Note:The eighth turn must end in the 4 (ON)
position.
5. The doors will lock, then unlock, to confirm that the programming
mode has been activated.
6. Within 20 seconds, program the keyless entry keypad by pressing the
7•8 and the 9•0 controls at the same time.
7. The doors will lock, then unlock, to confirm that the keypad
programming mode has been activated.
8. Within 20 seconds, program the remote entry transmitter by pressing
any button on the transmitter.Note:If more than 20 seconds have
passed you will need to start the procedure over again.
9. The doors will again lock, then unlock, to confirm that this remote
entry transmitter has been programmed.
10. Repeat Step 8 to program each additional remote keypad or entry
transmitter.
11. Turn the ignition to the 3 (OFF) position after you have finished
programming all of the remote entry transmitters.Note:If more than 20
seconds have passed you will need to start the procedure over again.
12. The doors will once again lock, then unlock, to confirm that the
programming mode has been exited.
Illuminated entry
The interior lamps illuminate when the remote entry system is used to
unlock the door(s).
The illuminated entry system will turn off the interior lights if:
•the ignition switch is turned to the 4 (ON) position, or
•the remote transmitter lock control is pressed, or
3
2
1
5
4
2007 F-250/350/450/550(f23)
Owners Guide (post-2002-fmt)
USA(fus)
Locks and Security
89