clock setting FORD SUPER DUTY 2009 2.G Navigation System Manual
[x] Cancel search | Manufacturer: FORD, Model Year: 2009, Model line: SUPER DUTY, Model: FORD SUPER DUTY 2009 2.GPages: 194, PDF Size: 2.84 MB
Page 3 of 194
Introduction 5
System introduction 5
Driving restrictions 6
What is SYNC? 7
Safety information 8
How to get going 8
System overview 14
Map display options 21
Status bars 22
Home screen 22
Loading pictures 23
Reverse camera 24
Quick reference chart 25
Setting the clock 27
Voice recognition system overview 31
How to use voice commands 32
Adjusting the voice prompt volume 35
Voice recognition tutorial 36
Voice name tags 37
User profiles 37
Audio features 40
AM/FM 41
Satellite radio (if equipped) 46
CD 49
Playing a DVD in the system 53
Jukebox features 56
Recording (saving) music to your jukebox 56
Accessing the music in your jukebox 57
Creating a playlist 59
User Device (if equipped) 62
DVD (if equipped) 65
Climate features (if equipped) 66
Table of Contents
1
2009 Centerstack (ng1)
Supplement
USA (fus)
Page 19 of 194
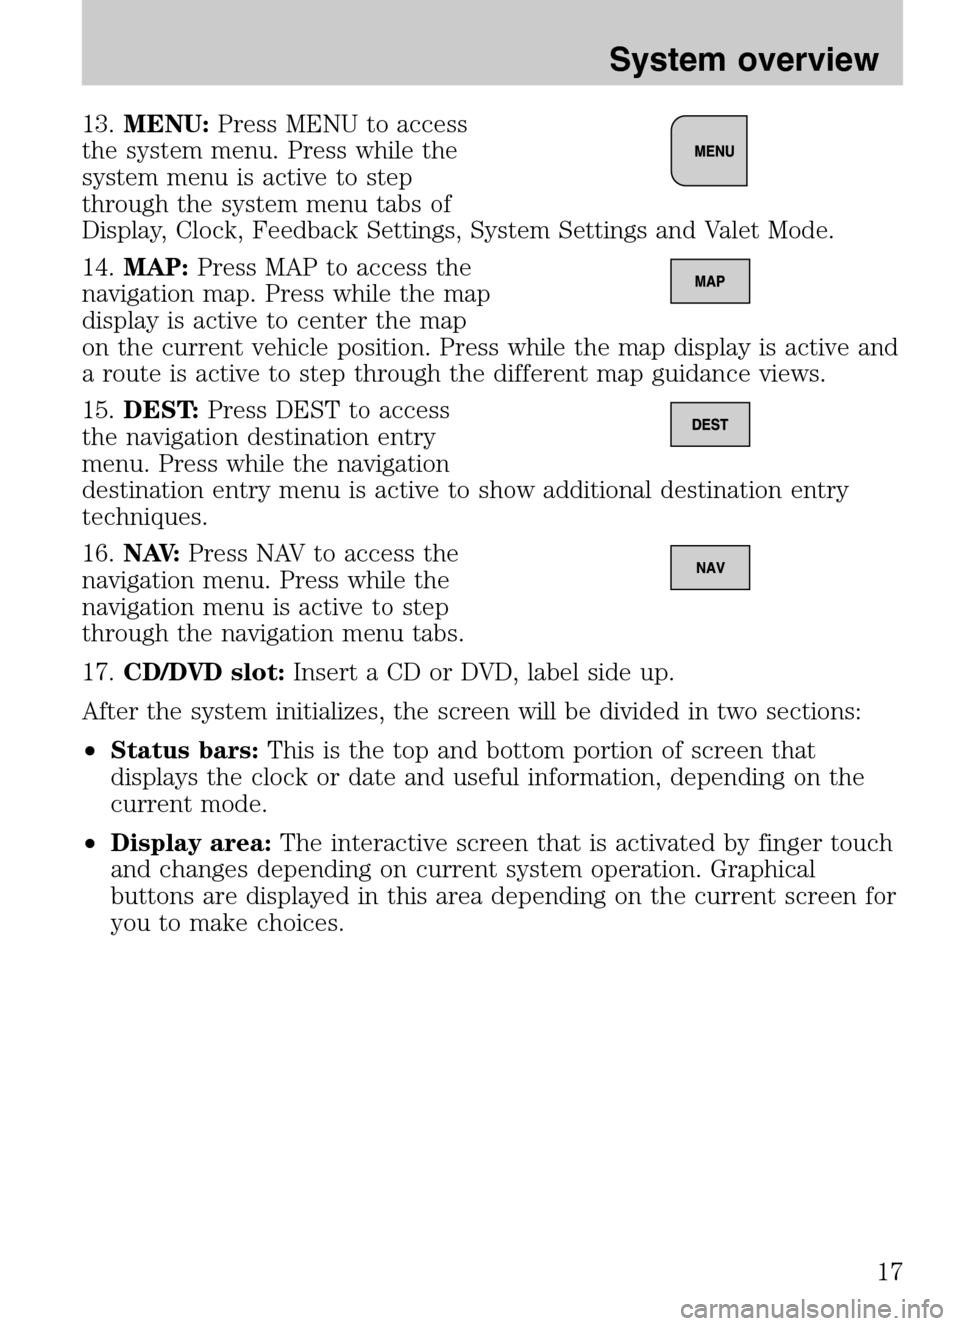
13.MENU: Press MENU to access
the system menu. Press while the
system menu is active to step
through the system menu tabs of
Display, Clock, Feedback Settings, System Settings and Valet Mode.
14. MAP: Press MAP to access the
navigation map. Press while the map
display is active to center the map
on the current vehicle position. Press while the map display is active and
a route is active to step through the different map guidance views.
15. DEST: Press DEST to access
the navigation destination entry
menu. Press while the navigation
destination entry menu is active to show additional destination entry
techniques.
16. N AV: Press NAV to access the
navigation menu. Press while the
navigation menu is active to step
through the navigation menu tabs.
17. CD/DVD slot: Insert a CD or DVD, label side up.
After the system initializes, the screen will be divided in two sections:
• Status bars: This is the top and bottom portion of screen that
displays the clock or date and useful information, depending on the
current mode.
• Display area: The interactive screen that is activated by finger touch
and changes depending on current system operation. Graphical
buttons are displayed in this area depending on the current screen for
you to make choices.
2009 Centerstack (ng1)
Supplement
USA (fus)
System overview
17
Page 22 of 194
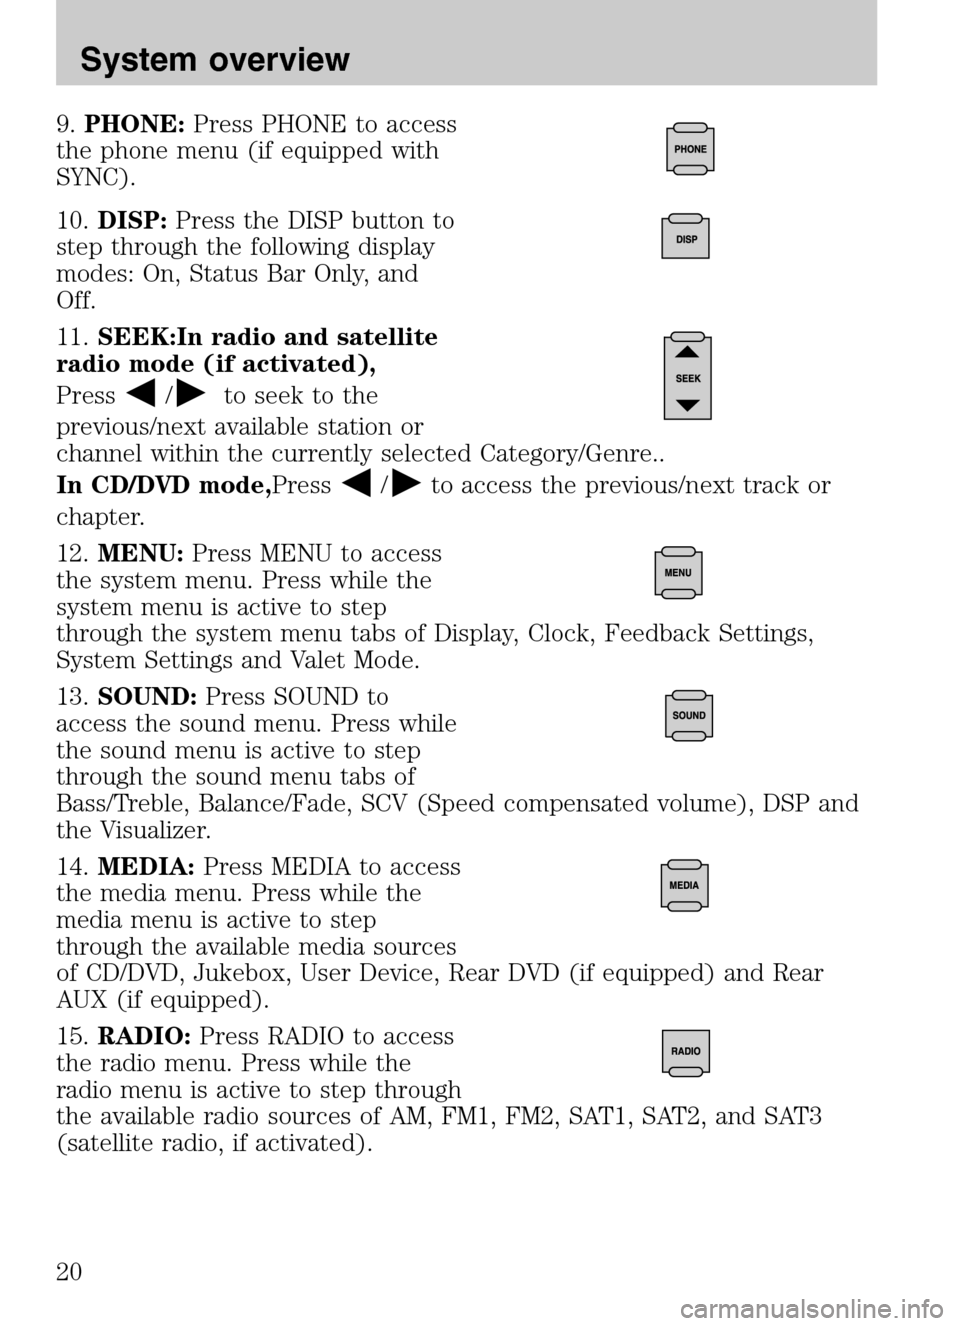
9.PHONE: Press PHONE to access
the phone menu (if equipped with
SYNC).
10. DISP: Press the DISP button to
step through the following display
modes: On, Status Bar Only, and
Off.
11. SEEK:In radio and satellite
radio mode (if activated),
Press
/to seek to the
previous/next available station or
channel within the currently selected Category/Genre..
In CD/DVD mode, Press
/to access the previous/next track or
chapter.
12. MENU: Press MENU to access
the system menu. Press while the
system menu is active to step
through the system menu tabs of Display, Clock, Feedback Settings,
System Settings and Valet Mode.
13. SOUND: Press SOUND to
access the sound menu. Press while
the sound menu is active to step
through the sound menu tabs of
Bass/Treble, Balance/Fade, SCV (Speed compensated volume), DSP and
the Visualizer.
14. MEDIA: Press MEDIA to access
the media menu. Press while the
media menu is active to step
through the available media sources
of CD/DVD, Jukebox, User Device, Rear DVD (if equipped) and Rear
AUX (if equipped).
15. RADIO: Press RADIO to access
the radio menu. Press while the
radio menu is active to step through
the available radio sources of AM, FM1, FM2, SAT1, SAT2, and SAT3
(satellite radio, if activated).
2009 Centerstack (ng1)
Supplement
USA (fus)
System overview
20
Page 29 of 194
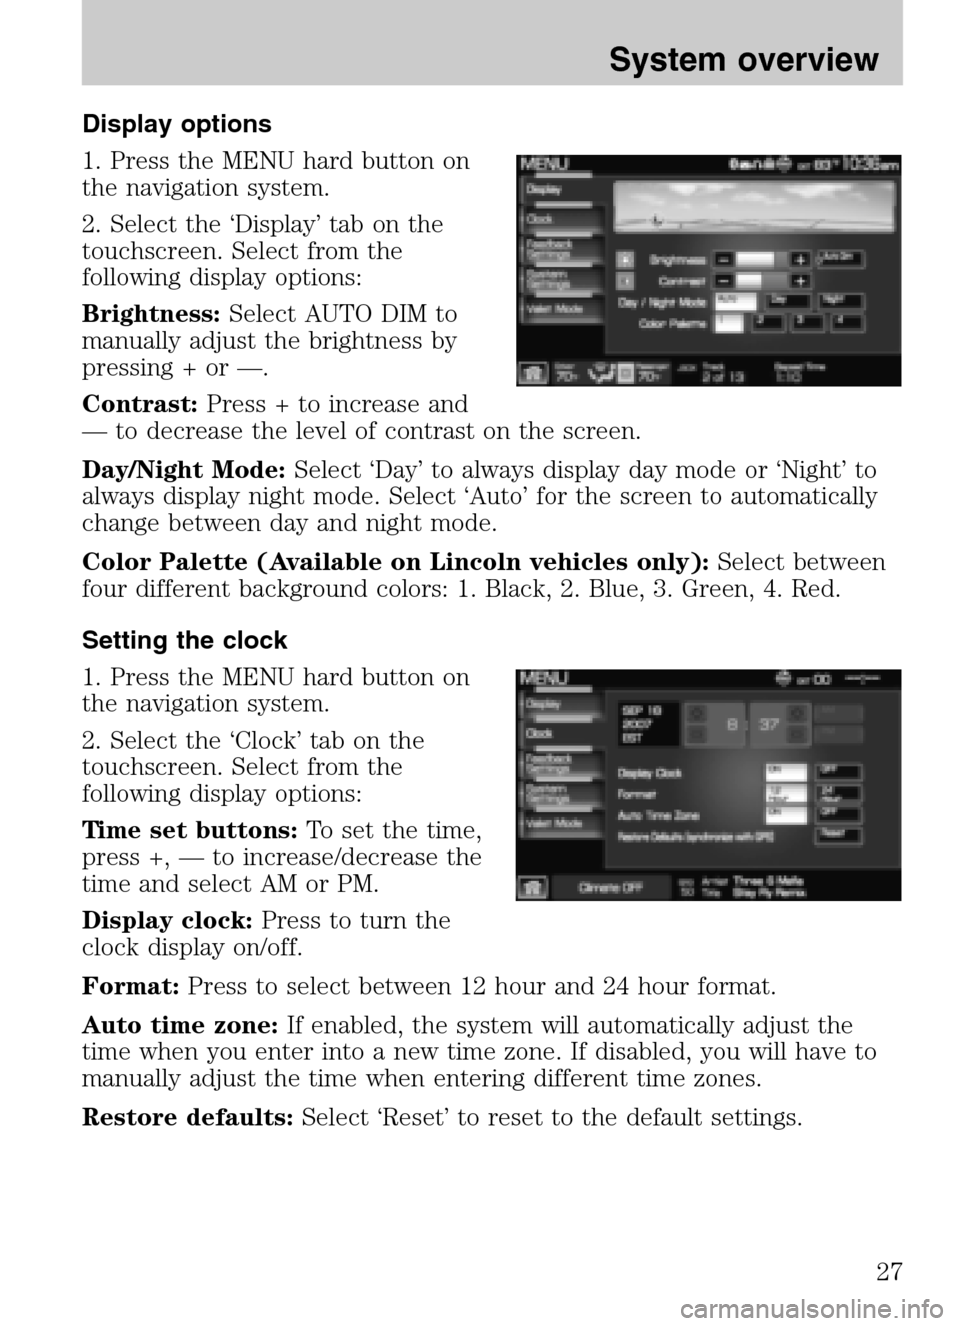
Display options
1. Press the MENU hard button on
the navigation system.
2. Select the ‘Display’ tab on the
touchscreen. Select from the
following display options:
Brightness: Select AUTO DIM to
manually adjust the brightness by
pressing + or —.
Contrast: Press + to increase and
— to decrease the level of contrast on the screen.
Day/Night Mode: Select ‘Day’ to always display day mode or ‘Night’ to
always display night mode. Select ‘Auto’ for the screen to automatically
change between day and night mode.
Color Palette (Available on Lincoln vehicles only): Select between
four different background colors: 1. Black, 2. Blue, 3. Green, 4. Red.
Setting the clock
1. Press the MENU hard button on
the navigation system.
2. Select the ‘Clock’ tab on the
touchscreen. Select from the
following display options:
Time set buttons: To set the time,
press +, — to increase/decrease the
time and select AM or PM.
Display clock: Press to turn the
clock display on/off.
Format: Press to select between 12 hour and 24 hour format.
Auto time zone: If enabled, the system will automatically adjust the
time when you enter into a new time zone. If disabled, you will have to
manually adjust the time when entering different time zones.
Restore defaults: Select ‘Reset’ to reset to the default settings.
2009 Centerstack(ng1)
Supplement
USA (fus)
System overview
27
Page 186 of 194
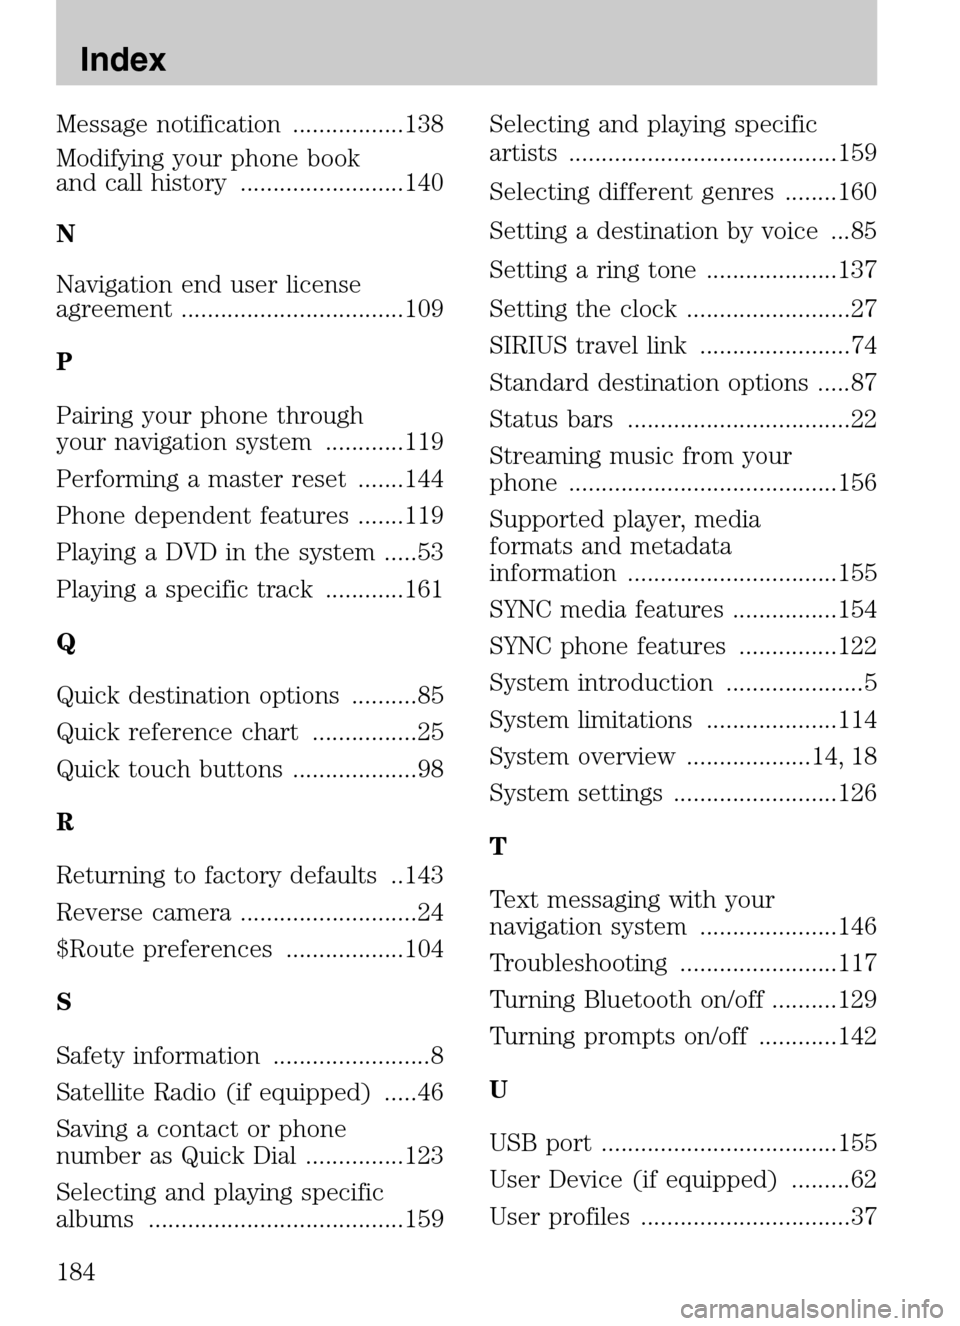
Message notification .................138
Modifying your phone book
and call history .........................140
N
Navigation end user license
agreement ..................................109
P
Pairing your phone through
your navigation system ............119
Performing a master reset .......144
Phone dependent features .......119
Playing a DVD in the system .....53
Playing a specific track ............161
Q
Quick destination options ..........85
Quick reference chart ................25
Quick touch buttons ...................98
R
Returning to factory defaults ..143
Reverse camera ...........................24
$Route preferences ..................104
S
Safety information ........................8
Satellite Radio (if equipped) .....46
Saving a contact or phone
number as Quick Dial ...............123
Selecting and playing specific
albums .......................................159 Selecting and playing specific
artists .........................................159
Selecting different genres ........160
Setting a destination by voice ...85
Setting a ring tone ....................137
Setting the clock .........................27
SIRIUS travel link .......................74
Standard destination options .....87
Status bars ..................................22
Streaming music from your
phone .........................................156
Supported player, media
formats and metadata
information ................................155
SYNC media features ................154
SYNC phone features ...............122
System introduction .....................5
System limitations ....................114
System overview ...................14, 18
System settings .........................126
T
Text messaging with your
navigation system .....................146
Troubleshooting ........................117
Turning Bluetooth on/off ..........129
Turning prompts on/off ............142
U
USB port ....................................155
User Device (if equipped) .........62
User profiles ................................37
2009 Centerstack
(ng1)
Supplement
USA (fus)
Index
184