battery FORD SUPER DUTY 2014 3.G Owners Manual
[x] Cancel search | Manufacturer: FORD, Model Year: 2014, Model line: SUPER DUTY, Model: FORD SUPER DUTY 2014 3.GPages: 458, PDF Size: 5.3 MB
Page 7 of 458
Fuse Specification Chart...........................214
Maintenance
General Information....................................222
Opening and Closing the Hood..............222
Under Hood Overview - 6.2L...................223
Under Hood Overview - 6.8L...................224
Engine Oil Dipstick.......................................225
Engine Oil Check..........................................225
Engine Coolant Check
...............................226
Automatic Transmission Fluid Check...........................................................230
Transfer Case Fluid Check........................233
Brake Fluid Check
........................................233
Power Steering Fluid Check.....................233
Washer Fluid Check....................................234
Fuel Filter
........................................................234
Changing the 12V Battery.........................234
Checking the Wiper Blades
.....................236
Changing the Wiper Blades.....................236
Adjusting the Headlamps.........................237
Removing a Headlamp..............................238
Changing a Bulb..........................................240
Bulb Specification Chart...........................242
Changing the Engine Air Filter................244
Vehicle Care
General Information
...................................246
Cleaning Products
.......................................246
Cleaning the Exterior..................................246
Waxing.............................................................247
Cleaning the Engine
....................................247
Cleaning the Exhaust.................................248
Cleaning the Windows and Wiper Blades..........................................................248
Cleaning the Interior...................................249
Cleaning the Instrument Panel and Instrument Cluster Lens.......................249
Cleaning Leather Seats
.............................250
Repairing Minor Paint Damage................251 Cleaning the Alloy Wheels
........................251
Vehicle Storage
..............................................251
Wheels and Tires
General Information
...................................254
Tire Care
..........................................................256
Using Snow Chains
......................................273
Tire Pressure Monitoring System
...........273
Changing a Road Wheel
............................279
Technical Specifications
..........................290
Capacities and Specific- ations
Engine Specifications
................................292
Motorcraft Parts
...........................................293
Vehicle Identification Number................294
Vehicle Certification Label.......................294
Transmission Code Designation............295
Technical Specifications..........................296
Audio System
General Information
..................................300
Audio unit - Vehicles With: AM/FM.......301
Audio unit - Vehicles With: AM/FM/CD/SYNC...................................302
Audio unit - Vehicles With: Sony AM/FM/CD................................................304
Digital Audio..................................................305
Satellite Radio
..............................................308
Auxiliary Input Jack......................................310
USB Port
............................................................311
Media Hub
........................................................311
SYNC™
General Information
....................................312
Using Voice Recognition............................314
Using SYNC™ With Your Phone.............316
SYNC™ Applications and Services
.......327
Using SYNC™ With Your Media Player...........................................................334
4
Super Duty (TFA) Table of Contents
Page 11 of 458
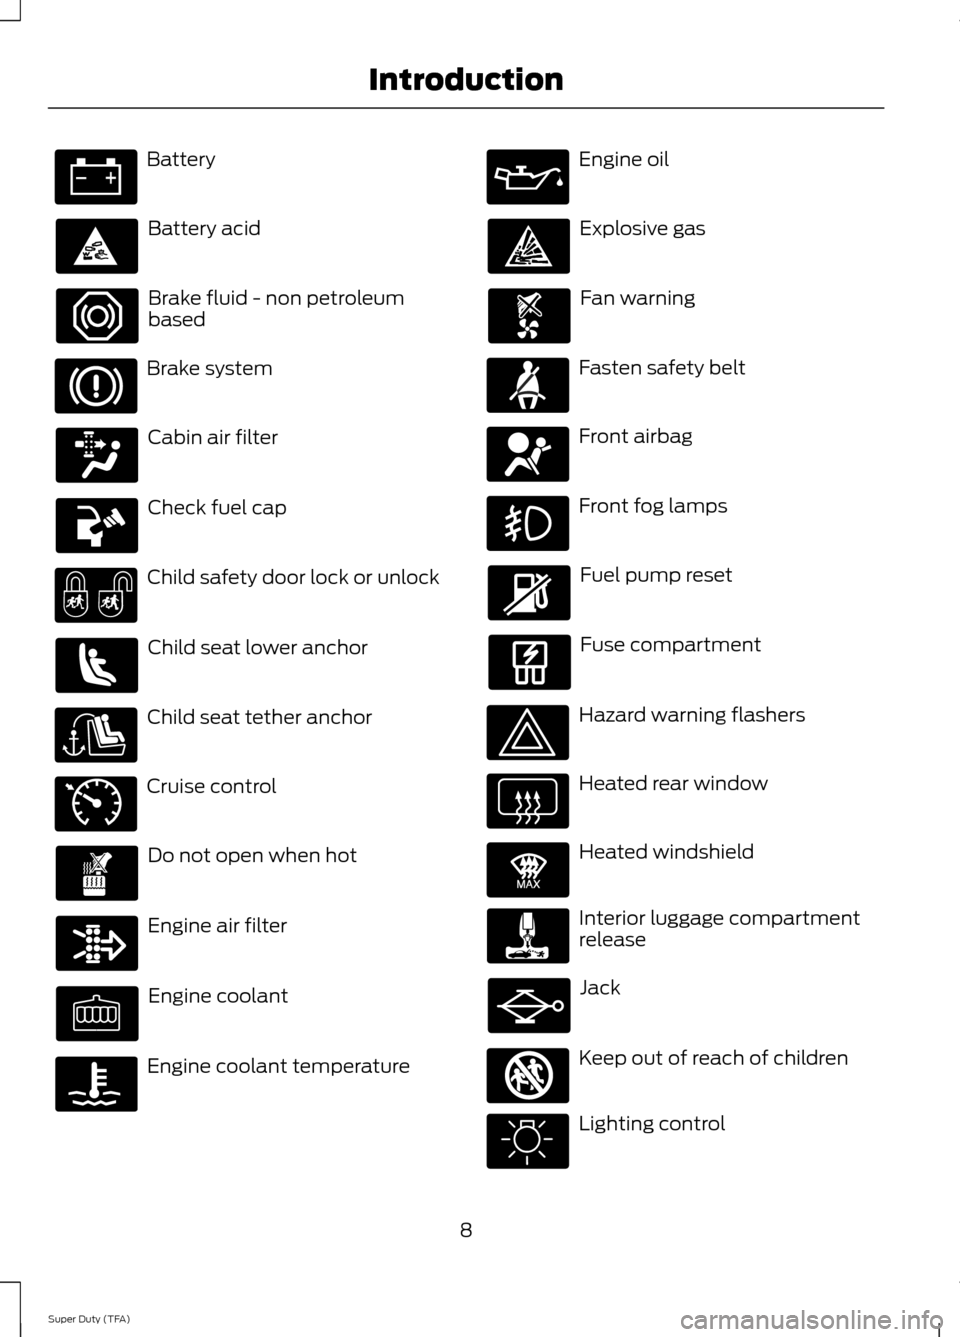
Battery
Battery acid
Brake fluid - non petroleum
based
Brake system
Cabin air filter
Check fuel cap
Child safety door lock or unlock
Child seat lower anchor
Child seat tether anchor
Cruise control
Do not open when hot
Engine air filter
Engine coolant
Engine coolant temperature Engine oil
Explosive gas
Fan warning
Fasten safety belt
Front airbag
Front fog lamps
Fuel pump reset
Fuse compartment
Hazard warning flashers
Heated rear window
Heated windshield
Interior luggage compartment
release
Jack
Keep out of reach of children
Lighting control
8
Super Duty (TFA) Introduction E71340 E91392 E161353
Page 48 of 458
GENERAL INFORMATION ON
RADIO FREQUENCIES
This device complies with Part 15 of the
FCC Rules and with Industry Canada
license-exempt RSS standard(s).
Operation is subject to the following two
conditions: (1) This device may not cause
harmful interference, and (2) This device
must accept any interference received,
including interference that may cause
undesired operation.
Note:
Changes or modifications not
expressively approved by the party
responsible for compliance could void the
user's authority to operate the equipment.
The term IC before the radio certification
number only signifies that Industry Canada
technical specifications were met.
The typical operating range for your
transmitter is approximately 33 feet (10
meters). Vehicles with the remote start
feature will have a greater range. One of
the following could cause a decrease in
operating range:
• weather conditions
• nearby radio towers
• structures around the vehicle
• other vehicles parked next to your
vehicle
The radio frequency used by your remote
control can also be used by other short
distance radio transmissions, for example
amateur radios, medical equipment,
wireless headphones, remote controls and
alarm systems. If the frequencies are
jammed, you will not be able to use your
remote control. You can lock and unlock
the doors with the key.
Note: Make sure to lock your vehicle before
leaving it unattended.
Note: If you are in range, the remote control
will operate if you press any button
unintentionally. REMOTE CONTROL
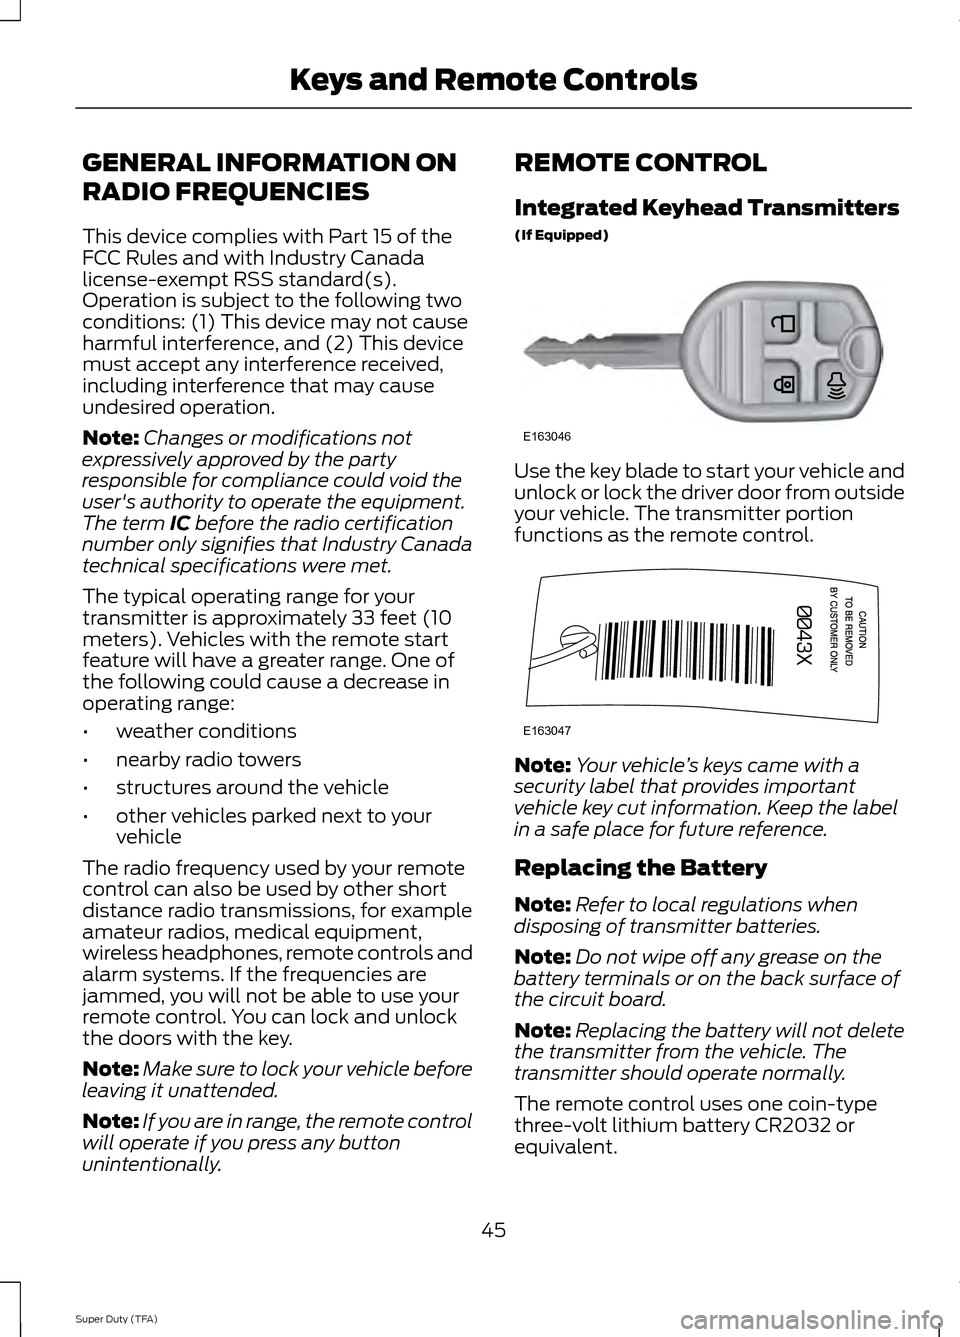
Integrated Keyhead Transmitters
(If Equipped)
Use the key blade to start your vehicle and
unlock or lock the driver door from outside
your vehicle. The transmitter portion
functions as the remote control.
Note:
Your vehicle ’s keys came with a
security label that provides important
vehicle key cut information. Keep the label
in a safe place for future reference.
Replacing the Battery
Note: Refer to local regulations when
disposing of transmitter batteries.
Note: Do not wipe off any grease on the
battery terminals or on the back surface of
the circuit board.
Note: Replacing the battery will not delete
the transmitter from the vehicle. The
transmitter should operate normally.
The remote control uses one coin-type
three-volt lithium battery CR2032 or
equivalent.
45
Super Duty (TFA) Keys and Remote ControlsE163046 E163047
Page 49 of 458
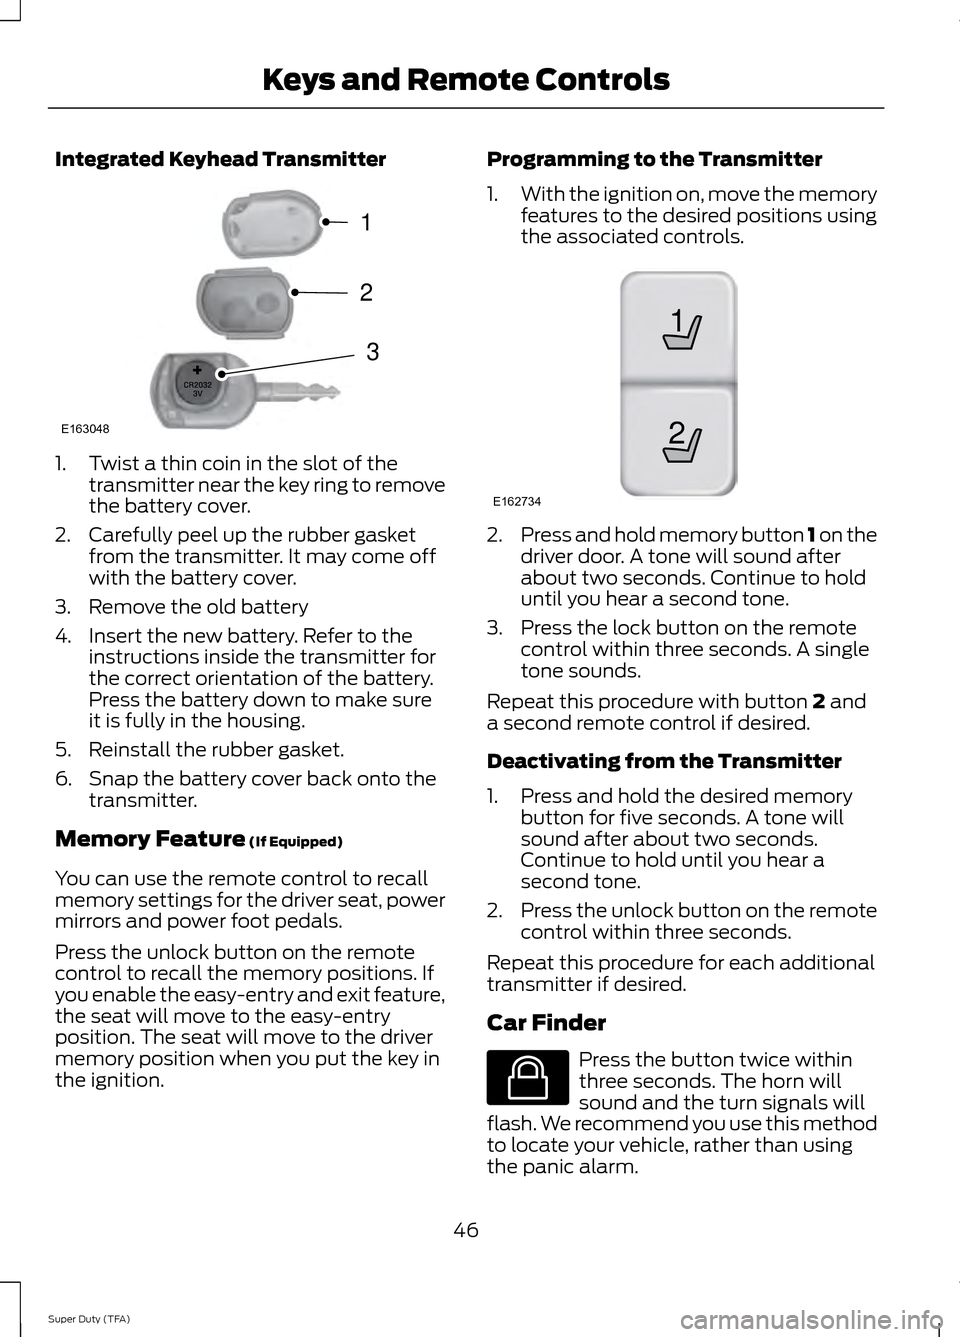
Integrated Keyhead Transmitter
1. Twist a thin coin in the slot of the
transmitter near the key ring to remove
the battery cover.
2. Carefully peel up the rubber gasket from the transmitter. It may come off
with the battery cover.
3. Remove the old battery
4. Insert the new battery. Refer to the instructions inside the transmitter for
the correct orientation of the battery.
Press the battery down to make sure
it is fully in the housing.
5. Reinstall the rubber gasket.
6. Snap the battery cover back onto the transmitter.
Memory Feature (If Equipped)
You can use the remote control to recall
memory settings for the driver seat, power
mirrors and power foot pedals.
Press the unlock button on the remote
control to recall the memory positions. If
you enable the easy-entry and exit feature,
the seat will move to the easy-entry
position. The seat will move to the driver
memory position when you put the key in
the ignition. Programming to the Transmitter
1.
With the ignition on, move the memory
features to the desired positions using
the associated controls. 2.
Press and hold memory button 1 on the
driver door. A tone will sound after
about two seconds. Continue to hold
until you hear a second tone.
3. Press the lock button on the remote control within three seconds. A single
tone sounds.
Repeat this procedure with button
2 and
a second remote control if desired.
Deactivating from the Transmitter
1. Press and hold the desired memory button for five seconds. A tone will
sound after about two seconds.
Continue to hold until you hear a
second tone.
2. Press the unlock button on the remote
control within three seconds.
Repeat this procedure for each additional
transmitter if desired.
Car Finder Press the button twice within
three seconds. The horn will
sound and the turn signals will
flash. We recommend you use this method
to locate your vehicle, rather than using
the panic alarm.
46
Super Duty (TFA) Keys and Remote ControlsE163048
3
2
1 21
E162734 E138623
Page 50 of 458
Sounding a Panic Alarm
Note:
The panic alarm will only operate
when the ignition is off. Press the button to activate the
alarm. Press the button again or
turn the ignition on to deactivate
it.
Remote Start (If Equipped) WARNING
To avoid exhaust fumes, do not use
remote start if your vehicle is parked
indoors or areas that are not well
ventilated. Note:
Do not use remote start if your vehicle
is low on fuel. The remote start button is on the
transmitter.
This feature allows you to start your
vehicle from outside the vehicle. The
transmitter has an extended operating
range.
Vehicles with automatic climate control
can be set to operate when you remote
start the vehicle. See
Climate Control
(page 102). A manual climate control
system will run at the setting it was set to
when you switch the vehicle off.
Many states and provinces have
restrictions for the use of remote start.
Check your local and state or provincial
laws for specific requirements regarding
remote start systems.
The remote start system will not work if:
• the ignition is on
• the alarm system is triggered
• you disable the feature
• the hood is open
• the transmission is not in
P •
the vehicle battery voltage is too low
• the service engine soon indicator is on.
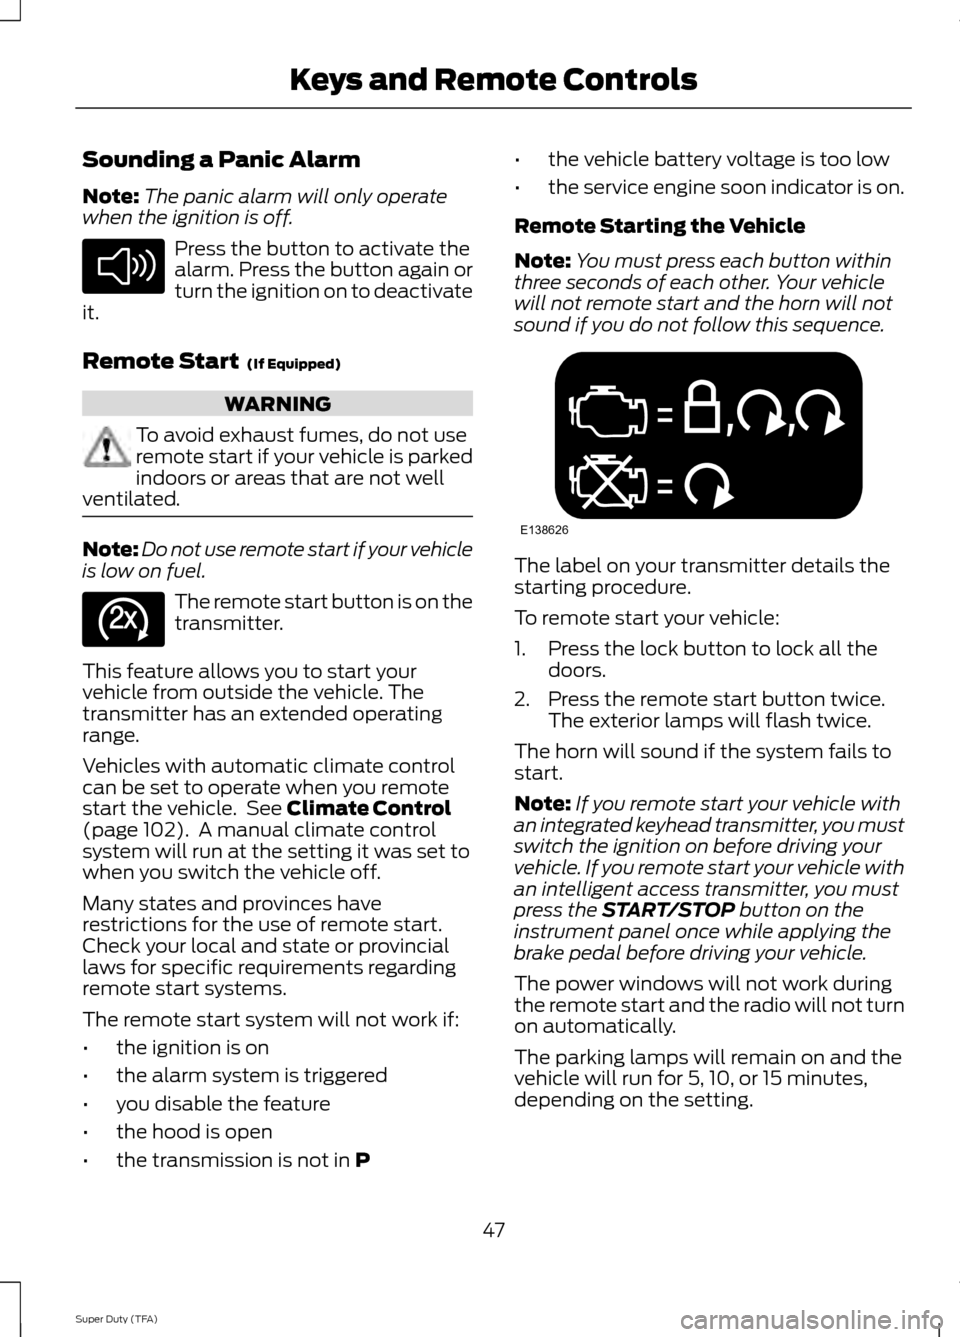
Remote Starting the Vehicle
Note: You must press each button within
three seconds of each other. Your vehicle
will not remote start and the horn will not
sound if you do not follow this sequence. The label on your transmitter details the
starting procedure.
To remote start your vehicle:
1. Press the lock button to lock all the
doors.
2. Press the remote start button twice. The exterior lamps will flash twice.
The horn will sound if the system fails to
start.
Note: If you remote start your vehicle with
an integrated keyhead transmitter, you must
switch the ignition on before driving your
vehicle. If you remote start your vehicle with
an intelligent access transmitter, you must
press the
START/STOP button on the
instrument panel once while applying the
brake pedal before driving your vehicle.
The power windows will not work during
the remote start and the radio will not turn
on automatically.
The parking lamps will remain on and the
vehicle will run for 5, 10, or 15 minutes,
depending on the setting.
47
Super Duty (TFA) Keys and Remote ControlsE138624 E138625 E138626
Page 57 of 458
The autolock feature will unlock all the
doors when:
•
autolock has locked the doors
• you stop the vehicle and switch the
ignition off or to accessory mode, and
• you open the driver door within 10
minutes.
Note: The doors will not autounlock if you
have electronically locked them before
opening the driver door.
Enabling or Disabling
You can enable or disable these features
in the information display or your
authorized dealer can do it for you. See
General Information (page 80).
Note: You can enable or disable the
autolock and autounlock features
independently of each other.
Illuminated Entry
The interior lamps and select exterior
lamps will illuminate when you unlock the
doors with the remote entry system.
The illuminated entry system will turn off
the lights if:
• the ignition is on
• you press the remote control lock
button, or
• after 25 seconds of illumination.
The dome lamp will not turn on if the
control is set to the off position.
The lights will not turn off if:
• you turn them on with the dimmer
control, or
• any door is open. Battery Saver
The battery saver turns off the interior
lamps 30 minutes after you switch the
ignition off if a door is open and the dome
lamp switch is on. It turns off the interior
lamps after 10 minutes if the dome lamp
switch is off.
KEYLESS ENTRY
(IF EQUIPPED)
SECURICODE™ KEYLESS ENTRY
KEYPAD
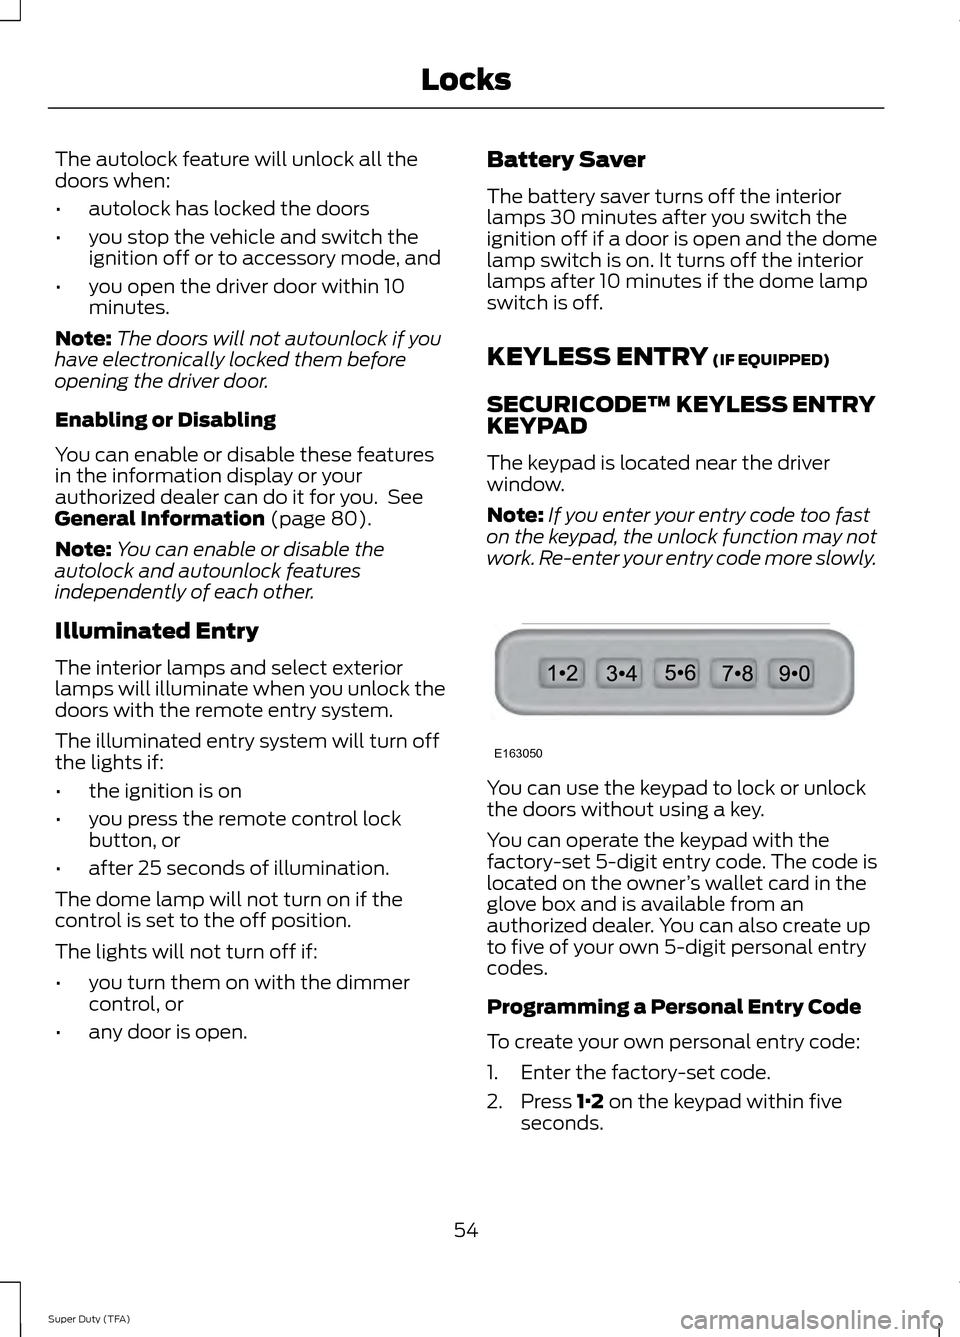
The keypad is located near the driver
window.
Note: If you enter your entry code too fast
on the keypad, the unlock function may not
work. Re-enter your entry code more slowly. You can use the keypad to lock or unlock
the doors without using a key.
You can operate the keypad with the
factory-set 5-digit entry code. The code is
located on the owner
’s wallet card in the
glove box and is available from an
authorized dealer. You can also create up
to five of your own 5-digit personal entry
codes.
Programming a Personal Entry Code
To create your own personal entry code:
1. Enter the factory-set code.
2. Press
1·2 on the keypad within five
seconds.
54
Super Duty (TFA) LocksE163050
Page 71 of 458
POWER WINDOWS (IF EQUIPPED)
WARNINGS
Do not leave children unattended in
your vehicle and do not let them play
with the power windows. They may
seriously injure themselves. When closing the power windows,
you should verify they are free of
obstructions and make sure that
children and pets are not in the proximity
of the window openings. Note:
You may hear a pulsing noise when
just one of the windows is open. Lower the
opposite window slightly to reduce this
noise.
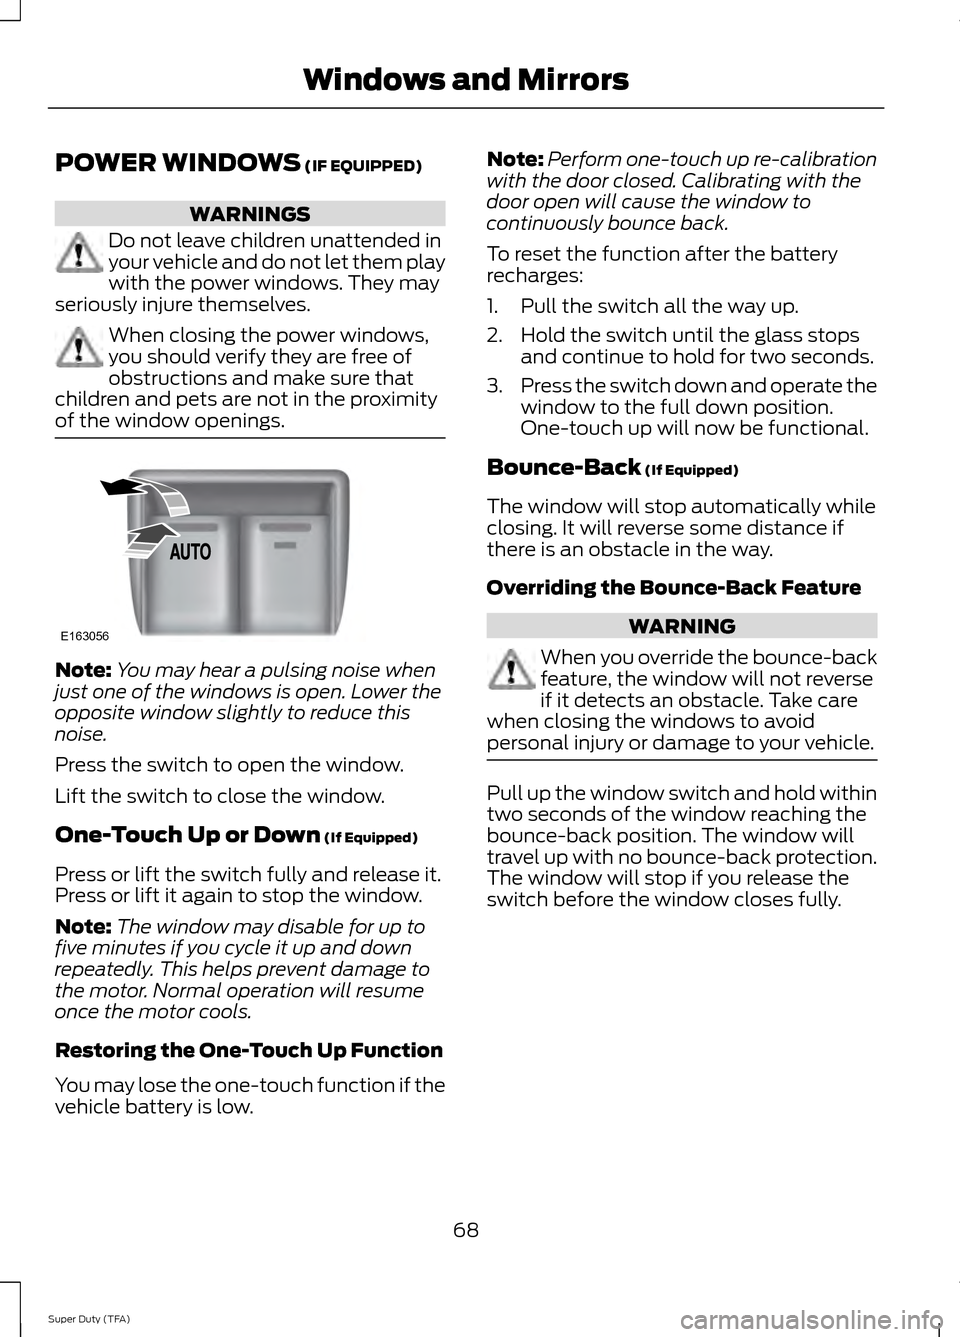
Press the switch to open the window.
Lift the switch to close the window.
One-Touch Up or Down
(If Equipped)
Press or lift the switch fully and release it.
Press or lift it again to stop the window.
Note: The window may disable for up to
five minutes if you cycle it up and down
repeatedly. This helps prevent damage to
the motor. Normal operation will resume
once the motor cools.
Restoring the One-Touch Up Function
You may lose the one-touch function if the
vehicle battery is low. Note:
Perform one-touch up re-calibration
with the door closed. Calibrating with the
door open will cause the window to
continuously bounce back.
To reset the function after the battery
recharges:
1. Pull the switch all the way up.
2. Hold the switch until the glass stops and continue to hold for two seconds.
3. Press the switch down and operate the
window to the full down position.
One-touch up will now be functional.
Bounce-Back
(If Equipped)
The window will stop automatically while
closing. It will reverse some distance if
there is an obstacle in the way.
Overriding the Bounce-Back Feature WARNING
When you override the bounce-back
feature, the window will not reverse
if it detects an obstacle. Take care
when closing the windows to avoid
personal injury or damage to your vehicle. Pull up the window switch and hold within
two seconds of the window reaching the
bounce-back position. The window will
travel up with no bounce-back protection.
The window will stop if you release the
switch before the window closes fully.
68
Super Duty (TFA) Windows and MirrorsE163056
Page 79 of 458
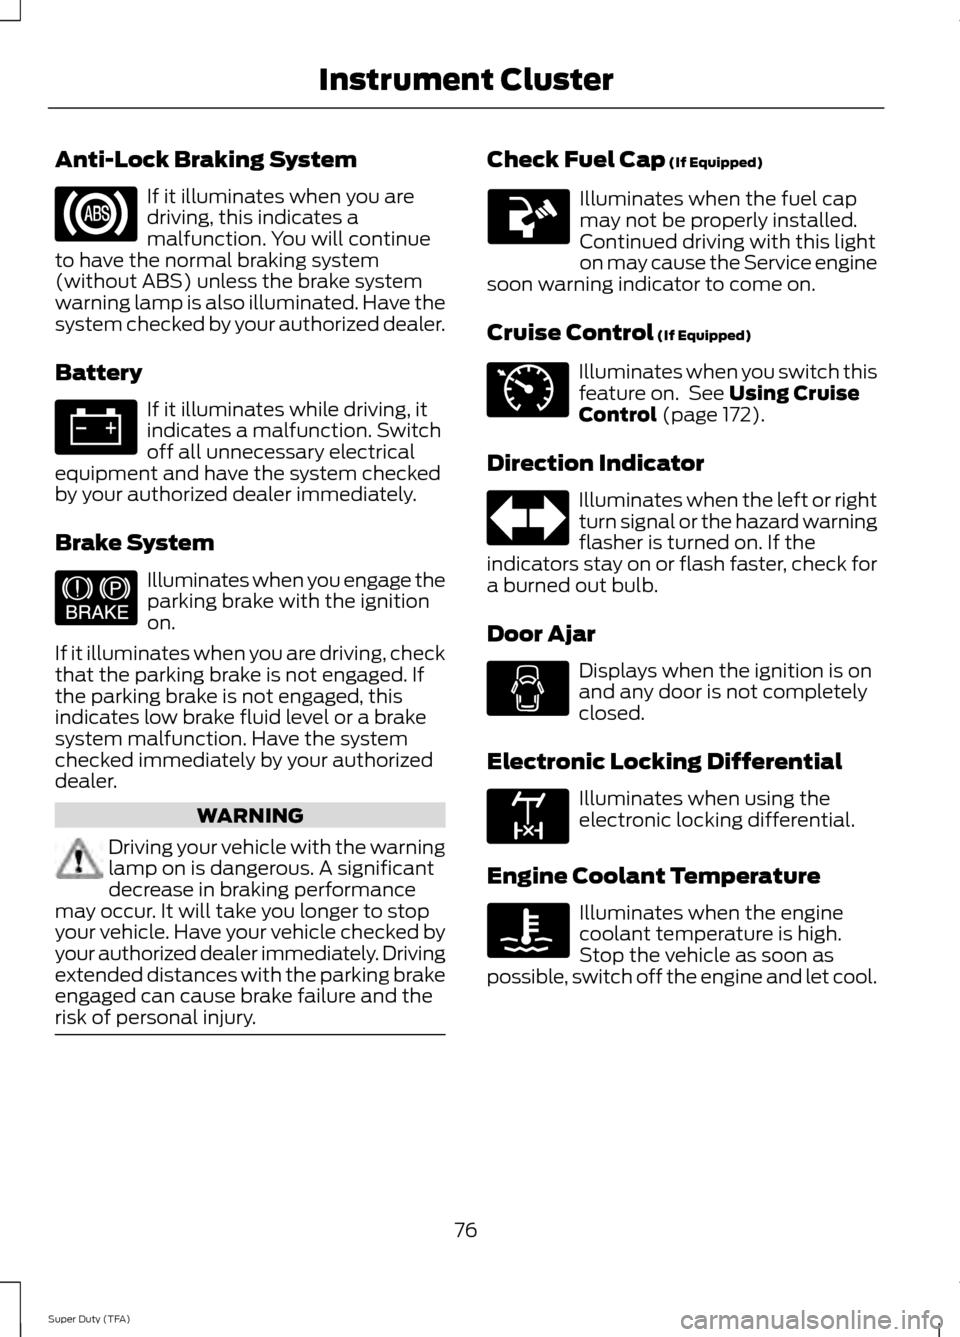
Anti-Lock Braking System
If it illuminates when you are
driving, this indicates a
malfunction. You will continue
to have the normal braking system
(without ABS) unless the brake system
warning lamp is also illuminated. Have the
system checked by your authorized dealer.
Battery If it illuminates while driving, it
indicates a malfunction. Switch
off all unnecessary electrical
equipment and have the system checked
by your authorized dealer immediately.
Brake System Illuminates when you engage the
parking brake with the ignition
on.
If it illuminates when you are driving, check
that the parking brake is not engaged. If
the parking brake is not engaged, this
indicates low brake fluid level or a brake
system malfunction. Have the system
checked immediately by your authorized
dealer. WARNING
Driving your vehicle with the warning
lamp on is dangerous. A significant
decrease in braking performance
may occur. It will take you longer to stop
your vehicle. Have your vehicle checked by
your authorized dealer immediately. Driving
extended distances with the parking brake
engaged can cause brake failure and the
risk of personal injury. Check Fuel Cap (If Equipped)
Illuminates when the fuel cap
may not be properly installed.
Continued driving with this light
on may cause the Service engine
soon warning indicator to come on.
Cruise Control
(If Equipped) Illuminates when you switch this
feature on. See
Using Cruise
Control (page 172).
Direction Indicator Illuminates when the left or right
turn signal or the hazard warning
flasher is turned on. If the
indicators stay on or flash faster, check for
a burned out bulb.
Door Ajar Displays when the ignition is on
and any door is not completely
closed.
Electronic Locking Differential Illuminates when using the
electronic locking differential.
Engine Coolant Temperature Illuminates when the engine
coolant temperature is high.
Stop the vehicle as soon as
possible, switch off the engine and let cool.
76
Super Duty (TFA) Instrument Cluster E144522 E71340 E163170
Page 84 of 458
INFO
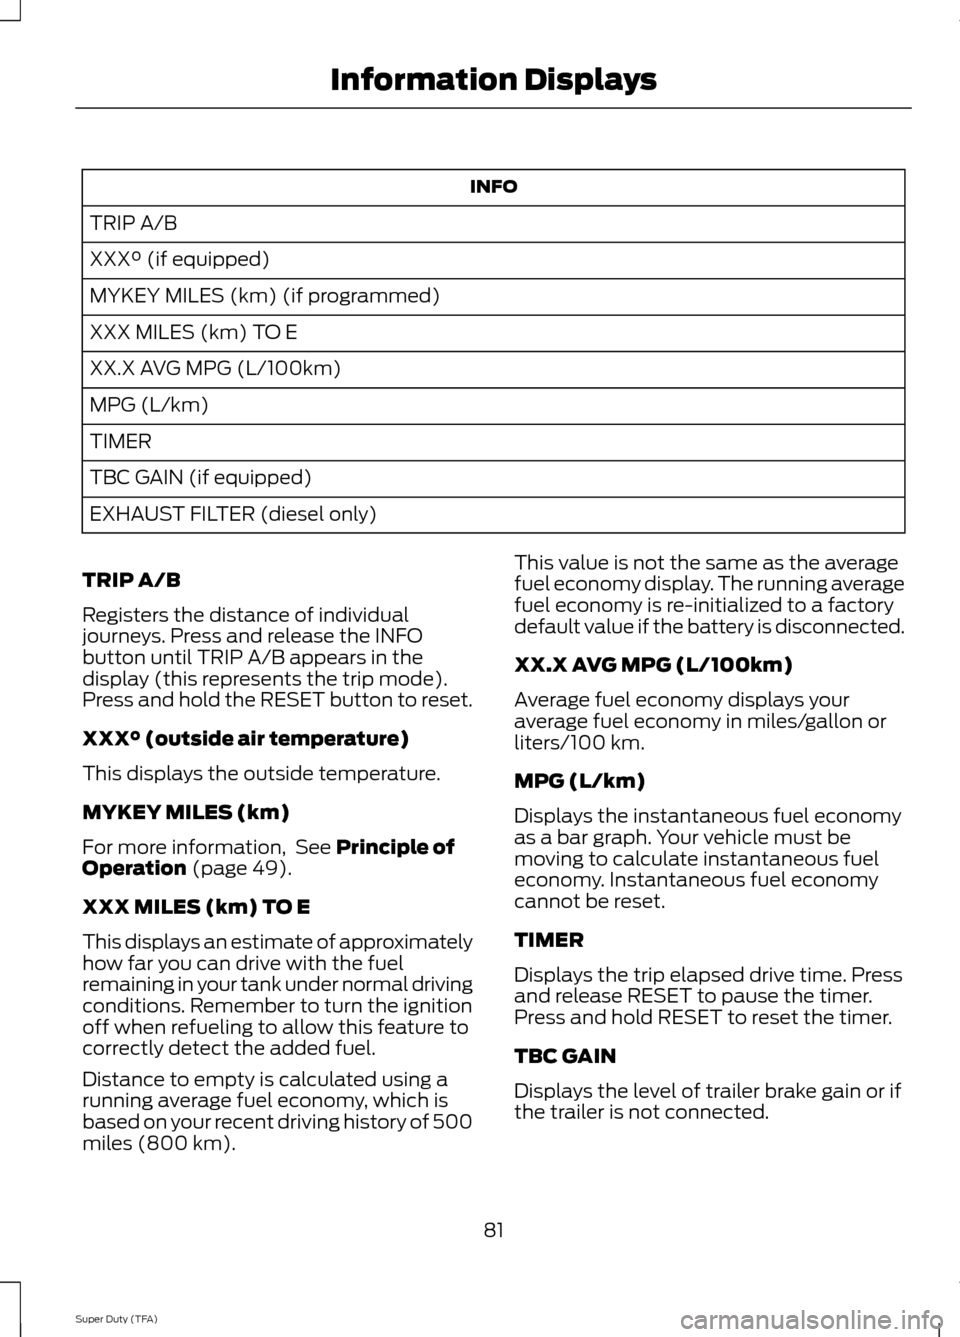
TRIP A/B
XXX° (if equipped)
MYKEY MILES (km) (if programmed)
XXX MILES (km) TO E
XX.X AVG MPG (L/100km)
MPG (L/km)
TIMER
TBC GAIN (if equipped)
EXHAUST FILTER (diesel only)
TRIP A/B
Registers the distance of individual
journeys. Press and release the INFO
button until TRIP A/B appears in the
display (this represents the trip mode).
Press and hold the RESET button to reset.
XXX° (outside air temperature)
This displays the outside temperature.
MYKEY MILES (km)
For more information, See Principle of
Operation (page 49).
XXX MILES (km) TO E
This displays an estimate of approximately
how far you can drive with the fuel
remaining in your tank under normal driving
conditions. Remember to turn the ignition
off when refueling to allow this feature to
correctly detect the added fuel.
Distance to empty is calculated using a
running average fuel economy, which is
based on your recent driving history of 500
miles (800 km). This value is not the same as the average
fuel economy display. The running average
fuel economy is re-initialized to a factory
default value if the battery is disconnected.
XX.X AVG MPG (L/100km)
Average fuel economy displays your
average fuel economy in miles/gallon or
liters/100 km.
MPG (L/km)
Displays the instantaneous fuel economy
as a bar graph. Your vehicle must be
moving to calculate instantaneous fuel
economy. Instantaneous fuel economy
cannot be reset.
TIMER
Displays the trip elapsed drive time. Press
and release RESET to pause the timer.
Press and hold RESET to reset the timer.
TBC GAIN
Displays the level of trailer brake gain or if
the trailer is not connected.
81
Super Duty (TFA) Information Displays
Page 99 of 458
Action
Message
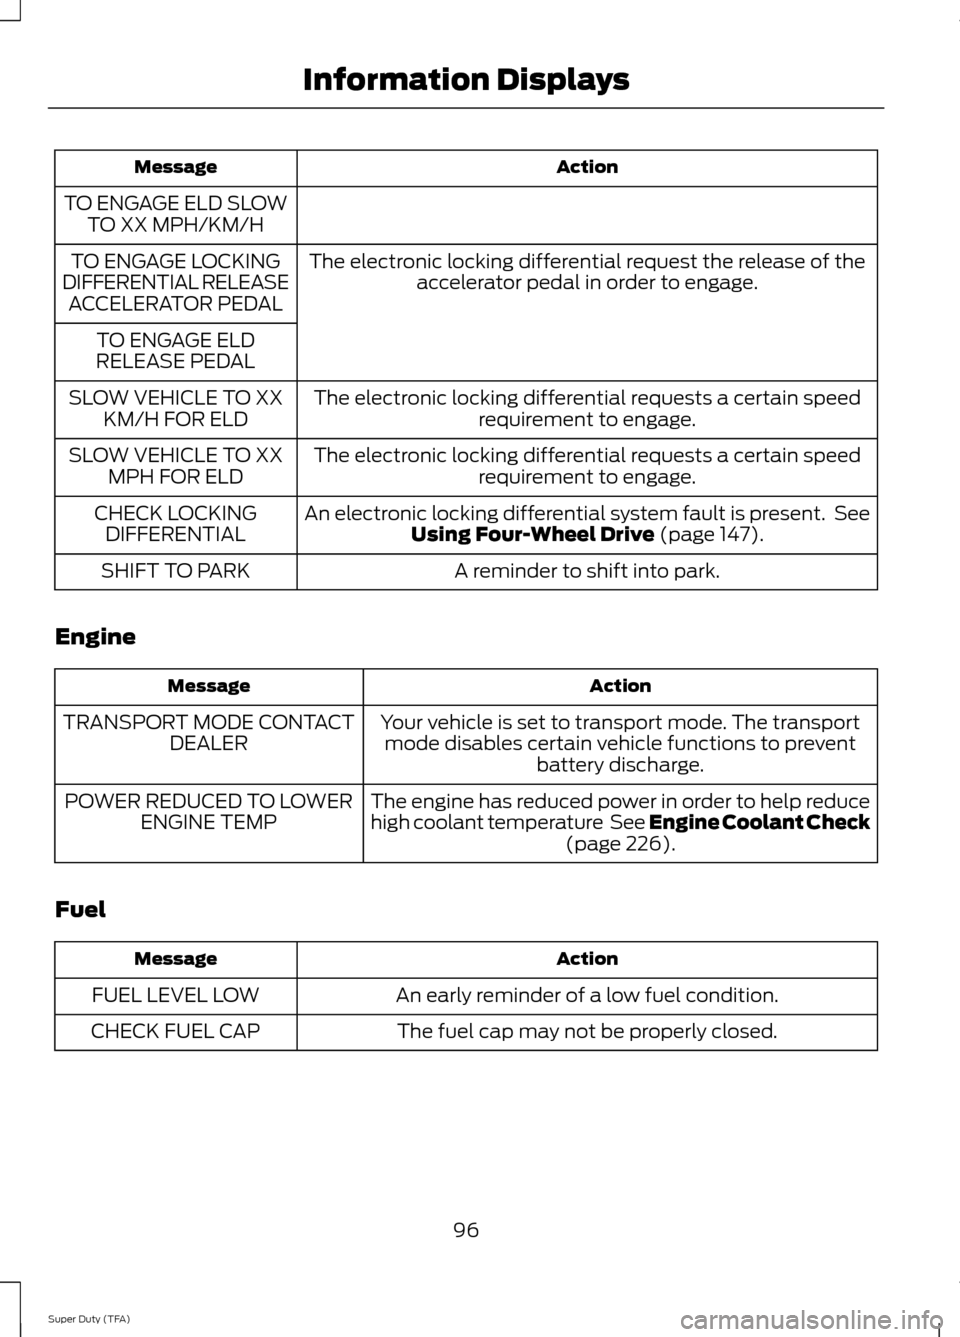
TO ENGAGE ELD SLOW TO XX MPH/KM/H
The electronic locking differential request the release of theaccelerator pedal in order to engage.
TO ENGAGE LOCKING
DIFFERENTIAL RELEASE ACCELERATOR PEDAL
TO ENGAGE ELD
RELEASE PEDAL
The electronic locking differential requests a certain speedrequirement to engage.
SLOW VEHICLE TO XX
KM/H FOR ELD
The electronic locking differential requests a certain speedrequirement to engage.
SLOW VEHICLE TO XX
MPH FOR ELD
An electronic locking differential system fault is present. SeeUsing Four-Wheel Drive (page 147).
CHECK LOCKING
DIFFERENTIAL
A reminder to shift into park.
SHIFT TO PARK
Engine Action
Message
Your vehicle is set to transport mode. The transportmode disables certain vehicle functions to prevent battery discharge.
TRANSPORT MODE CONTACT
DEALER
The engine has reduced power in order to help reduce
high coolant temperature See Engine Coolant Check(page
226).
POWER REDUCED TO LOWER
ENGINE TEMP
Fuel Action
Message
An early reminder of a low fuel condition.
FUEL LEVEL LOW
The fuel cap may not be properly closed.
CHECK FUEL CAP
96
Super Duty (TFA) Information Displays