stop start FORD SUPER DUTY 2015 3.G Owner's Manual
[x] Cancel search | Manufacturer: FORD, Model Year: 2015, Model line: SUPER DUTY, Model: FORD SUPER DUTY 2015 3.GPages: 470, PDF Size: 18.24 MB
Page 161 of 470
If your vehicle has anti-lock brakes, applythe brakes steadily. Do not pump thebrakes.
Driving on Snow and Ice
WARNING
If you are driving in slipperyconditions that require tire chains orcables, then it is critical that you drivecautiously. Keep speeds down, allow forlonger stopping distances and avoidaggressive steering to reduce the chancesof a loss of vehicle control which can leadto serious injury or death. If the rear end ofyour vehicle slides while cornering, steer inthe direction of the slide until you regaincontrol of your vehicle.
Note:Excessive tire slippage can causetransmission damage.
Four-wheel drive vehicles have advantagesover two-wheel drive vehicles in snow andice but can skid like any other vehicle.Should you start to slide while driving onsnowy or icy roads, turn the steering wheelin the direction of the slide until you regaincontrol.
Avoid sudden applications of power andquick changes of direction on snow andice. Apply the accelerator slowly andsteadily when starting from a full stop.
Avoid sudden braking. Although afour-wheel drive vehicle may acceleratebetter than a two-wheel drive vehicle insnow and ice, it will not stop any faster asbraking occurs at all four wheels. Do notbecome overconfident as to roadconditions.
Make sure you allow sufficient distancebetween you and other vehicles forstopping. Drive slower than usual andconsider using one of the lower gears. Inemergency stopping situations, apply thebrake steadily. Do not pump the brakepedal. See Hints on Driving WithAnti-Lock Brakes (page 162).
If Your Vehicle Gets Stuck In Mud orSnow
WARNING
Do not spin the wheels at over 35mph (56 km/h). The tires may failand injure a passenger or bystander.
If your vehicle gets stuck in mud or snow,it may be rocked out by shifting betweenforward and reverse gears, stoppingbetween shifts in a steady pattern. Presslightly on the accelerator in each gear.
Note:Do not rock your vehicle if the engineis not at normal operating temperature,damage to the transmission may occur.
Note:Do not rock your vehicle for morethan a minute, damage to the transmissionand tires may occur or the engine mayoverheat.
Parking
WARNINGS
If the parking brake is fully released,but the brake warning lamp remainsilluminated, the brakes may not beworking properly. See your authorizeddealer.
Always set the parking brake fullyand make sure the gearshift islatched in P (Park). Turn the ignitionto the off position and remove the keywhenever you leave your vehicle.
158Super Duty (), enUSAFour-Wheel Drive (If Equipped)
Page 165 of 470
GENERAL INFORMATION
Note:Occasional brake noise is normal. Ifa metal-to-metal, continuous grinding orcontinuous squeal sound is present, thebrake linings may be worn-out. Have thesystem checked by an authorized dealer. Ifyour vehicle has continuous vibration orshudder in the steering wheel while braking,have it checked by an authorized dealer.
Note:Brake dust may accumulate on thewheels, even under normal drivingconditions. Some dust is inevitable as thebrakes wear and does not contribute tobrake noise. See Cleaning the AlloyWheels (page 261).
See Warning Lamps andIndicators (page 77).
Wet brakes result in reduced brakingefficiency. Gently press the brake pedal afew times when driving from a car wash orstanding water to dry the brakes.
Brake Over Accelerator
In the event the accelerator pedalbecomes stuck or entrapped, apply steadyand firm pressure to the brake pedal toslow the vehicle and reduce engine power.If you experience this condition, apply thebrakes and bring your vehicle to a safestop. Move the transmission selector leverto position P, switch the engine off andapply the parking brake. Inspect theaccelerator pedal for any interference. Ifnone are found and the condition persists,have your vehicle towed to the nearestauthorized dealer.
Brake Assist
Brake assist detects when you brakerapidly by measuring the rate at which youpress the brake pedal. It providesmaximum braking efficiency as long as youpress the pedal, and can reduce stoppingdistances in critical situations.
Anti-lock Brake System
This system helps you maintain steeringcontrol during emergency stops by keepingthe brakes from locking.
This lamp momentarilyilluminates when you turn theignition on. If the light does notilluminate during start up, remains on orflashes, the system may be disabled. Havethe system checked by an authorizeddealer.
If the system is disabled, normalbraking is still effective. If thebrake warning lamp illuminateswhen you release the parking brake, havethe system checked by an authorizeddealer.
HINTS ON DRIVING WITH
ANTI-LOCK BRAKES
Note:When the system is operating, thebrake pedal will pulse and may travelfurther. Maintain pressure on the brakepedal. You may also hear a noise from thesystem. This is normal.
The anti-lock braking system will noteliminate the risks when:
•you drive too closely to the vehicle infront of you
•your vehicle is hydroplaning
•you take corners too fast
•the road surface is poor.
162Super Duty (), enUSABrakesE144522 E144522
Page 193 of 470
TRAILER SWAY CONTROL (IF
EQUIPPED)
WARNING
Turning off trailer sway controlincreases the risk of loss of vehiclecontrol, serious injury or death. Forddoes not recommend disabling this featureexcept in situations where speed reductionmay be detrimental (such as hill climbing),the driver has significant trailer towingexperience, and can control trailer swayand maintain safe operation.
Note:This feature does not prevent trailersway, but reduces it once it begins.
Note:This feature cannot stop all trailersfrom swaying.
Note:In some cases, if vehicle speed is toohigh, the system may activate multipletimes, gradually reducing vehicle speed.
This feature applies your vehicle brakes atindividual wheels and, if necessary, reducesengine power. If the trailer begins to sway,the stability control light flashes and themessage TRAILER SWAY REDUCESPEED appears in the information display.The first thing to do is slow your vehicledown, then pull safely to the side of theroad and check for proper tongue load andtrailer load distribution. See LoadCarrying (page 178).
RECOMMENDED TOWING
WEIGHTS
Note:Do not exceed a trailerweight of 5000 pounds (2268kilograms) when towing with, orby, bumper only.
Note:Make sure to take intoconsideration trailer frontal area.Do not exceed 60 feet2 (5.6
meters2) trailer frontal area.
Note:Exceeding this limitationmay significantly reduce theperformance of your towingvehicle. Selecting a trailer with alow aerodynamic drag and roundedfront design helps optimizeperformance and fuel economy.
Note:For high altitude operation,reduce the gross combined weightby 2% per 1000 feet (300 meters)starting at the 1000 foot (300meter) elevation point.
Note:Certain states requireelectric trailer brakes for trailersover a specified weight. Be sure tocheck state regulations for thisspecified weight. The maximumtrailer weights listed may be limitedto this specified weight, as yourvehicle's electrical system may notinclude the wiring connectorneeded to use electric trailerbrakes.
Your vehicle may tow a class I, II,III and IV trailer or fifth-wheeltrailer provided the maximumtrailer weight is less than or equalto the maximum trailer weightlisted for your vehicleconfiguration on the followingchart.
190Super Duty (), enUSATowing
Page 206 of 470
•When you switch the engineoff, the controller output isdisabled and the display andmodule shut down. Thecontroller module and displayturn on when you switch theignition on.
•The trailer brake controller isonly a factory-installed ordealer-installed item. Ford isnot responsible for warranty orperformance of the controllerdue to misuse or customerinstallation.
Trailer Lamps
WARNING
Never connect any trailerlamp wiring to the vehicle'stail lamp wiring; this may damagethe electrical system resulting infire. Contact your authorizeddealer as soon as possible forassistance in proper trailer towwiring installation. Additionalelectrical equipment may berequired.
Trailer lamps are required on mosttowed vehicles. Make sure allrunning lights, brake lights, turnsignals and hazard lights areworking.
Using a Step Bumper (IfEquipped)
The rear bumper is equipped withan integral hitch and only requiresa ball with a one-inch (25.4millimeter) shank diameter. Thebumper has a 5000-pound (2268kilogram) trailer weight and a500-pound (227 kilogram) tongueweight capacity
If it is necessary to relocate thehitch ball position, you must installa frame-mounted trailer hitch.
Before Towing a Trailer
Practice turning, stopping andbacking up to get the feel of yourvehicle-trailer combination beforestarting on a trip. When turning,
make wider turns so the trailerwheels clear curbs and otherobstacles.
When Towing a Trailer
•Do not drive faster than 70mph (113 km/h) during the first500 miles (800 kilometers).
•Do not make full-throttlestarts.
•Check your hitch, electricalconnections and trailer wheel
lug nuts thoroughly after youhave traveled 50 miles (80kilometers).
203Super Duty (), enUSATowing
Page 216 of 470
HAZARD WARNING FLASHERS
Note:The hazard warning flashers willoperate when the ignition is in any positionor if the key is not in the ignition. If usedwhen the engine is not running, the batterywill lose charge. As a result, there may beinsufficient power to restart your engine.
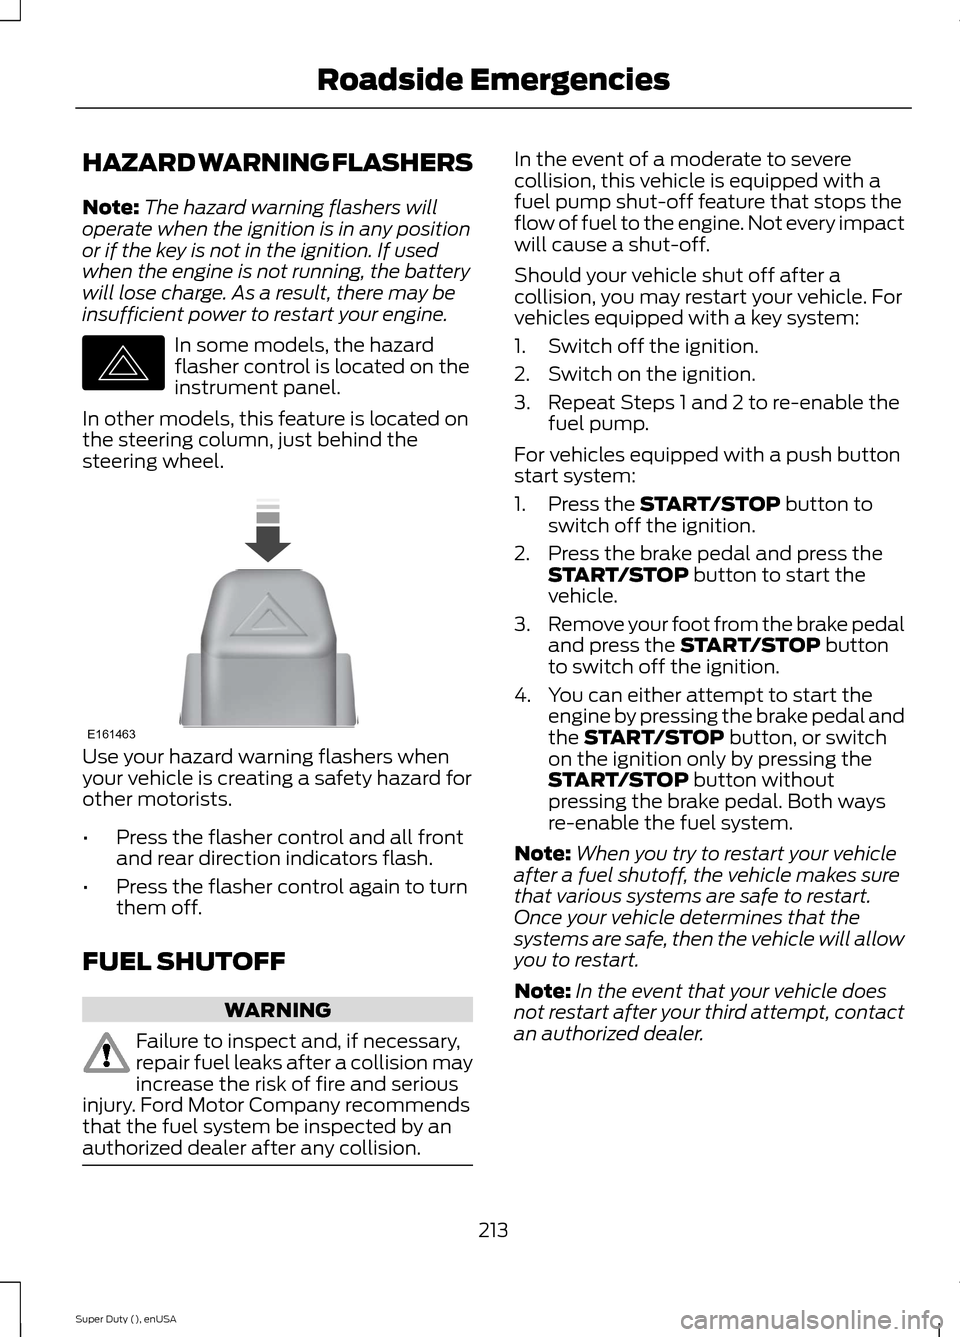
In some models, the hazardflasher control is located on theinstrument panel.
In other models, this feature is located onthe steering column, just behind thesteering wheel.
Use your hazard warning flashers whenyour vehicle is creating a safety hazard forother motorists.
•Press the flasher control and all frontand rear direction indicators flash.
•Press the flasher control again to turnthem off.
FUEL SHUTOFF
WARNING
Failure to inspect and, if necessary,repair fuel leaks after a collision mayincrease the risk of fire and seriousinjury. Ford Motor Company recommendsthat the fuel system be inspected by anauthorized dealer after any collision.
In the event of a moderate to severecollision, this vehicle is equipped with afuel pump shut-off feature that stops theflow of fuel to the engine. Not every impactwill cause a shut-off.
Should your vehicle shut off after acollision, you may restart your vehicle. Forvehicles equipped with a key system:
1.Switch off the ignition.
2.Switch on the ignition.
3.Repeat Steps 1 and 2 to re-enable thefuel pump.
For vehicles equipped with a push buttonstart system:
1.Press the START/STOP button toswitch off the ignition.
2.Press the brake pedal and press theSTART/STOP button to start thevehicle.
3.Remove your foot from the brake pedaland press the START/STOP buttonto switch off the ignition.
4.You can either attempt to start theengine by pressing the brake pedal andthe START/STOP button, or switchon the ignition only by pressing theSTART/STOP button withoutpressing the brake pedal. Both waysre-enable the fuel system.
Note:When you try to restart your vehicleafter a fuel shutoff, the vehicle makes surethat various systems are safe to restart.Once your vehicle determines that thesystems are safe, then the vehicle will allowyou to restart.
Note:In the event that your vehicle doesnot restart after your third attempt, contactan authorized dealer.
213Super Duty (), enUSARoadside EmergenciesE142663 E161463
Page 248 of 470
Note:Electrical or electronic accessoriesor components added to the vehicle by thedealer or the owner may adversely affectbattery performance and durability.
Your vehicle is equipped with a Motorcraftmaintenance-free battery which normallydoes not require additional water duringits life of service.
For longer, trouble-free operation, keep thetop of the battery clean and dry. Also,make certain the battery cables are alwaystightly fastened to the battery terminals.
If you see any corrosion on the battery orterminals, remove the cables from theterminals and clean with a wire brush. Youcan neutralize the acid with a solution ofbaking soda and water.
It is recommended that the negativebattery cable terminal be disconnectedfrom the battery if you plan to store yourvehicle for an extended period of time.
Because your vehicle’s engine iselectronically controlled by a computer,some control conditions are maintainedby power from the battery. When thebattery is disconnected or a new batteryis installed, the engine must relearn its idleand fuel trim strategy for optimumdriveability and performance. Flexible fuelvehicles (FFV) must also relearn theethanol content of the fuel for optimumdriveability and performance. To begin thisprocess
1.With the vehicle at a complete stop,set the parking brake.
2.Put the gearshift in P, turn off allaccessories.
3.Start the engine. Run the engine untilit reaches normal operatingtemperature.
4.Allow the engine to idle for at least oneminute.
5.Turn the A/C on and allow the engineto idle for at least one minute.
6.Release the parking brake. With yourfoot on the brake pedal and with theA/C on, put the vehicle in D and allowthe engine to idle for at least oneminute.
•If you do not allow the engine torelearn its idle trim, the idle qualityof your vehicle may be adverselyaffected until the idle trim iseventually relearned.
7.Drive the vehicle to complete therelearning process
•The vehicle may need to be driven10 mi (16 km) or more to relearn theidle and fuel trim strategy alongwith the ethanol content for flexiblefuel vehicles.
•For flexible fuel vehicles, if you areoperating on E85, you mayexperience poor starts or aninability to start the engine anddriveability problems until the fueltrim and ethanol content have beenrelearned.
If the battery has been disconnected or anew battery has been installed, the clockand radio settings must be reset once thebattery is reconnected.
Always dispose of automotivebatteries in a responsible manner.Follow your local authorized standardsfor disposal. Call your local authorizedrecycling center to find out more aboutrecycling automotive batteries.
Battery Management System (IfEquipped)
The battery management system (BMS)monitors battery conditions and takesactions to extend battery life. If excessivebattery drain is detected, the system maytemporarily disable certain electricalfeatures to protect the battery. Thoseelectrical accessories affected include therear defrost, heated/cooled seats, climate
245Super Duty (), enUSAMaintenance
Page 283 of 470
*Avoid fast starts, stops and turns
*Avoid potholes and objects onthe road
*Do not run over curbs or hit thetire against a curb when parking
Highway Hazards
No matter how carefully you drivethere’s always the possibility thatyou may eventually have a flat tireon the highway. Drive slowly to theclosest safe area out of traffic.This may further damage the flattire, but your safety is moreimportant.
If you feel a sudden vibration orride disturbance while driving, oryou suspect your tire or vehiclehas been damaged, immediately
reduce your speed. Drive withcaution until you can safely pulloff the road. Stop and inspect thetires for damage. If a tire isunder-inflated or damaged,deflate it, remove wheel andreplace it with your spare tire andwheel. If you cannot detect acause, have the vehicle towed tothe nearest repair facility or tiredealer to have the vehicleinspected.
Tire and Wheel Alignment
A bad jolt from hitting a curb orpothole can cause the front endof your vehicle to becomemisaligned or cause damage toyour tires. If your vehicle seems topull to one side when you’redriving, the wheels may be out ofalignment. Have an authorizeddealer check the wheel alignmentperiodically.
Wheel misalignment in the frontor the rear can cause uneven andrapid treadwear of your tires andshould be corrected by anauthorized dealer. Front-wheeldrive vehicles and those with anindependent rear suspension mayrequire alignment of all fourwheels.
The tires should also be balancedperiodically. An unbalanced tireand wheel assembly may result inirregular tire wear.
Tire Rotation
WARNING
If the tire label showsdifferent tire pressures for thefront and rear tires and the vehicleis equipped with a tire pressuremonitoring system, then thesettings for the system sensorsneed to be updated. Alwaysperform the system resetprocedure after tire rotation. If thesystem is not reset, it may notprovide a low tire pressurewarning when necessary.
280Super Duty (), enUSAWheels and Tires
Page 286 of 470
Each tire, including the spare (ifprovided), should be checkedmonthly when cold and inflatedto the inflation pressurerecommended by the vehicle manufactureron the vehicle placard or tire inflationpressure label. (If your vehicle has tires ofa different size than the size indicated onthe vehicle placard or tire inflation pressurelabel, you should determine the proper tireinflation pressure for those tires.)
As an added safety feature, your vehiclehas been equipped with a Tire PressureMonitoring System (TPMS) thatilluminates a low tire pressure telltalewhen one or more of your tires issignificantly under-inflated. Accordingly,when the low tire pressure telltaleilluminates, you should stop and checkyour tires as soon as possible, and inflatethem to the proper pressure. Driving on asignificantly under-inflated tire causes thetire to overheat and can lead to tire failure.Under-inflation also reduces fuel efficiencyand tire tread life, and may affect thevehicle’s handling and stopping ability.
Please note that the TPMS is not asubstitute for proper tire maintenance, andit is the driver’s responsibility to maintaincorrect tire pressure, even if under-inflationhas not reached the level to triggerillumination of the TPMS low tire pressuretelltale.
Your vehicle has also been equipped witha TPMS malfunction indicator to indicatewhen the system is not operating properly.The TPMS malfunction indicator iscombined with the low tire pressuretelltale. When the system detects amalfunction, the telltale will flash forapproximately one minute and then remaincontinuously illuminated. This sequencewill continue upon subsequent vehiclestart-ups as long as the malfunction exists.
When the malfunction indicator isilluminated, the system may not be ableto detect or signal low tire pressure asintended. TPMS malfunctions may occurfor a variety of reasons, including theinstallation of replacement or alternatetires or wheels on the vehicle that preventthe TPMS from functioning properly.Always check the TPMS malfunctiontelltale after replacing one or more tires orwheels on your vehicle to ensure that thereplacement or alternate tires and wheelsallow the TPMS to continue to functionproperly.
The tire pressure monitoring systemcomplies with part 15 of the FCC rules andwith RSS-210 of Industry Canada.Operation is subject to the following twoconditions: (1) This device may not causeharmful interference, and (2) This devicemust accept any interference received,including interference that may causeundesired operation.
Changing Tires With a TirePressure Monitoring System
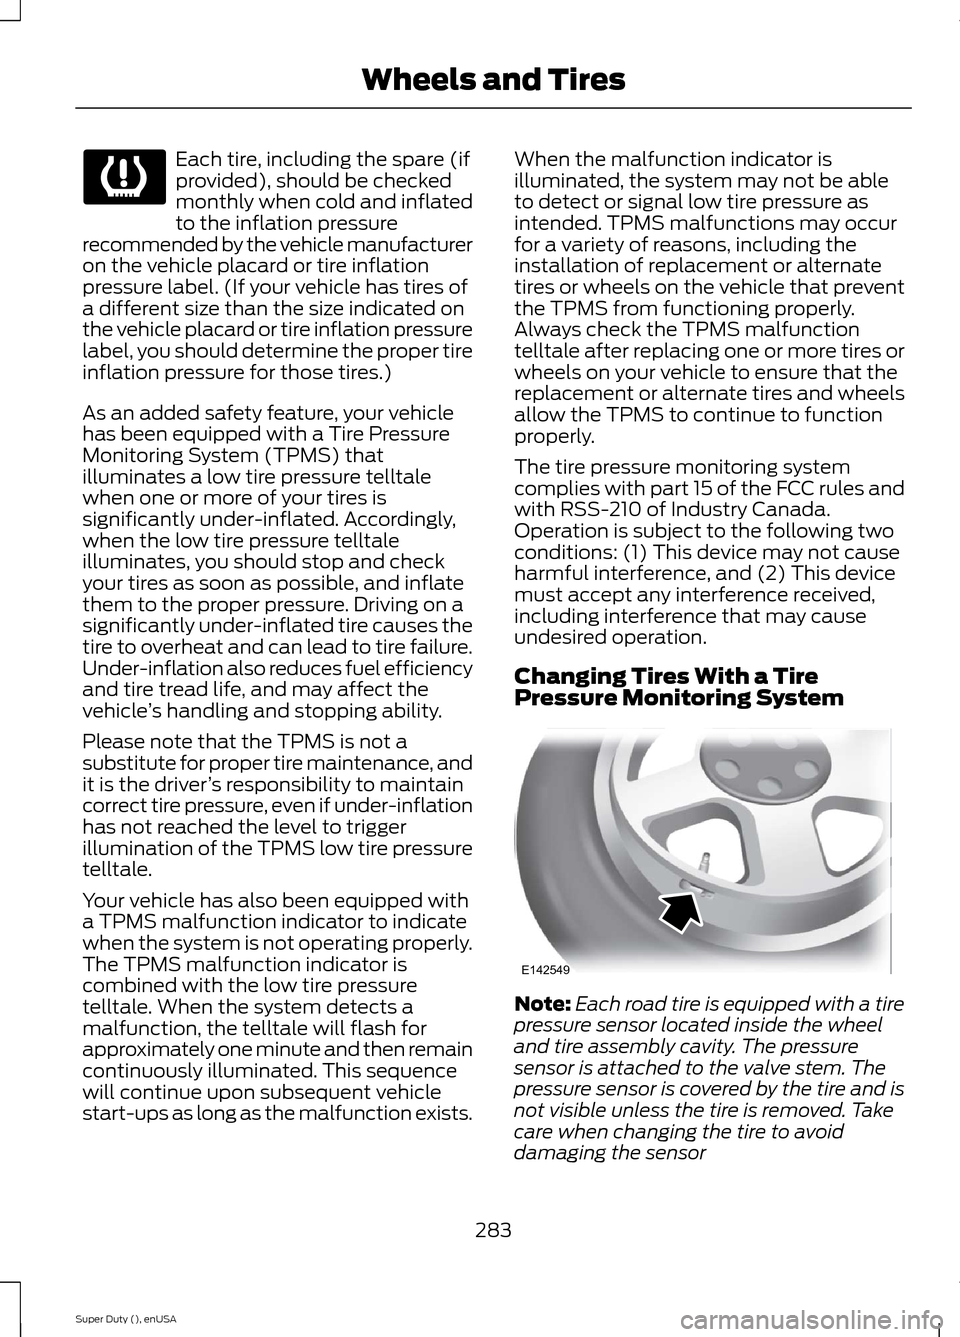
Note:Each road tire is equipped with a tirepressure sensor located inside the wheeland tire assembly cavity. The pressuresensor is attached to the valve stem. Thepressure sensor is covered by the tire and isnot visible unless the tire is removed. Takecare when changing the tire to avoiddamaging the sensor
283Super Duty (), enUSAWheels and Tires E142549
Page 290 of 470
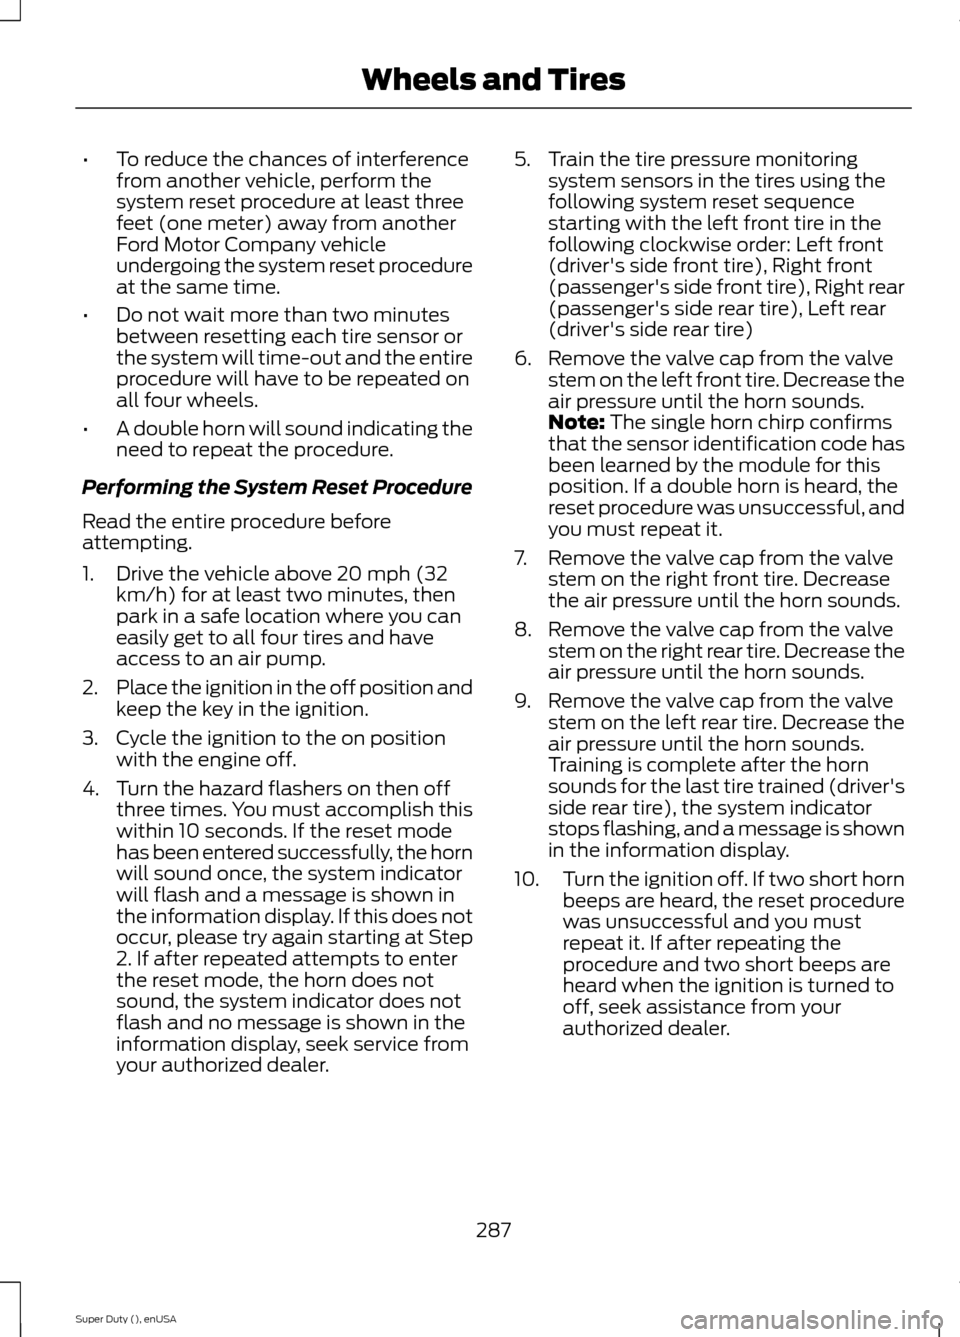
•To reduce the chances of interferencefrom another vehicle, perform thesystem reset procedure at least threefeet (one meter) away from anotherFord Motor Company vehicleundergoing the system reset procedureat the same time.
•Do not wait more than two minutesbetween resetting each tire sensor orthe system will time-out and the entireprocedure will have to be repeated onall four wheels.
•A double horn will sound indicating theneed to repeat the procedure.
Performing the System Reset Procedure
Read the entire procedure beforeattempting.
1.Drive the vehicle above 20 mph (32km/h) for at least two minutes, thenpark in a safe location where you caneasily get to all four tires and haveaccess to an air pump.
2.Place the ignition in the off position andkeep the key in the ignition.
3.Cycle the ignition to the on positionwith the engine off.
4.Turn the hazard flashers on then offthree times. You must accomplish thiswithin 10 seconds. If the reset modehas been entered successfully, the hornwill sound once, the system indicatorwill flash and a message is shown inthe information display. If this does notoccur, please try again starting at Step2. If after repeated attempts to enterthe reset mode, the horn does notsound, the system indicator does notflash and no message is shown in theinformation display, seek service fromyour authorized dealer.
5.Train the tire pressure monitoringsystem sensors in the tires using thefollowing system reset sequencestarting with the left front tire in thefollowing clockwise order: Left front(driver's side front tire), Right front(passenger's side front tire), Right rear(passenger's side rear tire), Left rear(driver's side rear tire)
6.Remove the valve cap from the valvestem on the left front tire. Decrease theair pressure until the horn sounds.Note: The single horn chirp confirmsthat the sensor identification code hasbeen learned by the module for thisposition. If a double horn is heard, thereset procedure was unsuccessful, andyou must repeat it.
7.Remove the valve cap from the valvestem on the right front tire. Decreasethe air pressure until the horn sounds.
8.Remove the valve cap from the valvestem on the right rear tire. Decrease theair pressure until the horn sounds.
9.Remove the valve cap from the valvestem on the left rear tire. Decrease theair pressure until the horn sounds.Training is complete after the hornsounds for the last tire trained (driver'sside rear tire), the system indicatorstops flashing, and a message is shownin the information display.
10.Turn the ignition off. If two short hornbeeps are heard, the reset procedurewas unsuccessful and you mustrepeat it. If after repeating theprocedure and two short beeps areheard when the ignition is turned tooff, seek assistance from yourauthorized dealer.
287Super Duty (), enUSAWheels and Tires
Page 393 of 470
Playing Video from Your Device
To access and play video from your device,your vehicle's transmission must be inposition P with the ignition in accessorymode. See Starting and Stopping theEngine (page 132).
SD Card and USB Voice Commands
If you are listening to a USBdevice or an SD card, press thevoice button on the steeringwheel controls. When prompted, say anyof the following commands.
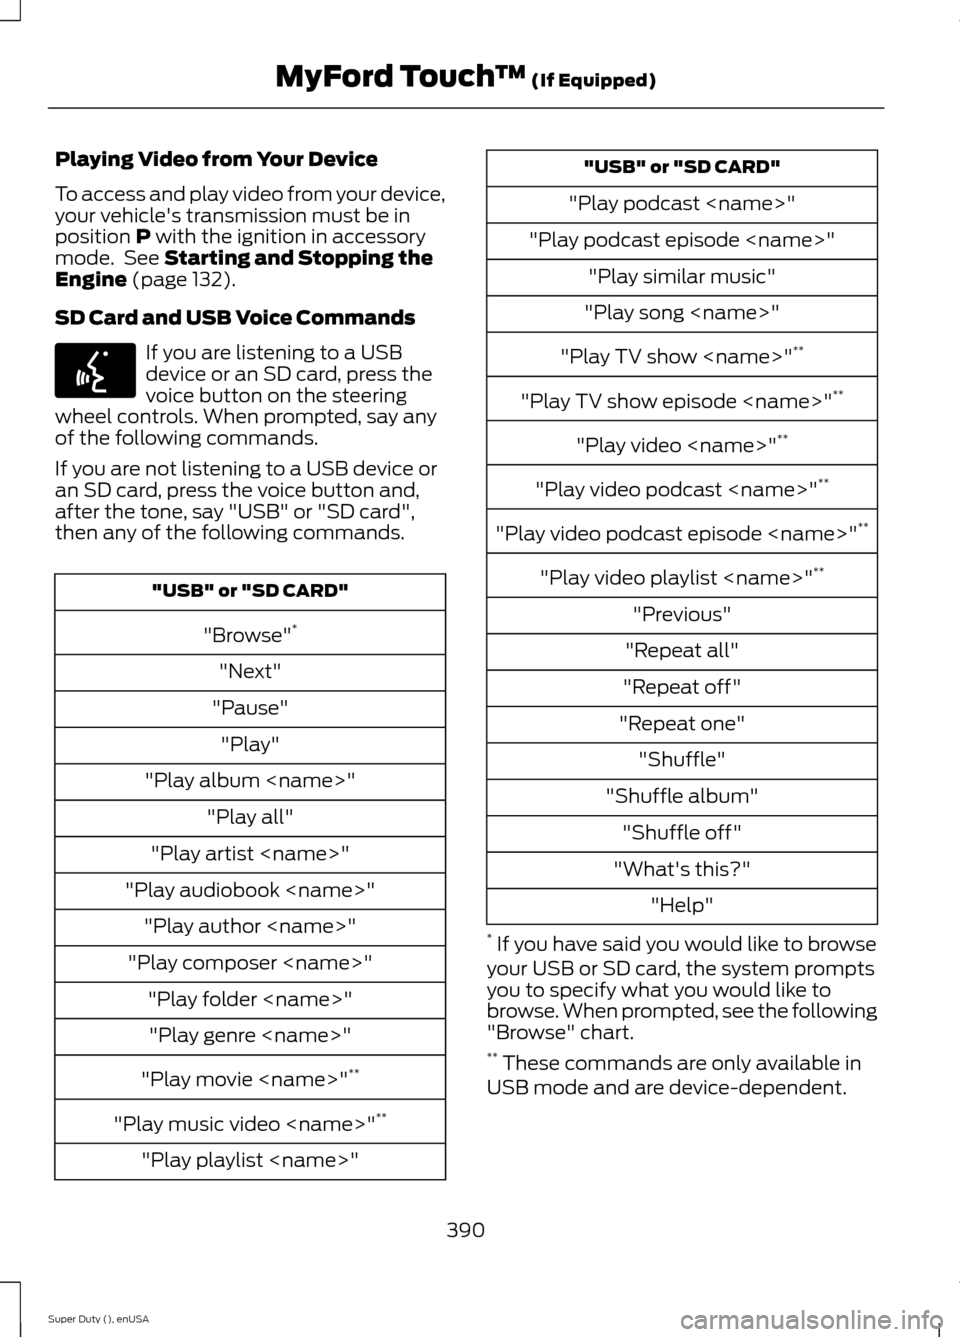
If you are not listening to a USB device oran SD card, press the voice button and,after the tone, say "USB" or "SD card",then any of the following commands.
"USB" or "SD CARD"
"Browse"*
"Next"
"Pause"
"Play"
"Play album
"Play all"
"Play artist
"Play audiobook
"Play author
"Play composer
"Play folder
"Play genre
"Play movie
"Play music video
"Play playlist
"USB" or "SD CARD"
"Play podcast
"Play podcast episode
"Play similar music"
"Play song
"Play TV show
"Play TV show episode
"Play video
"Play video podcast
"Play video podcast episode
"Play video playlist
"Previous"
"Repeat all"
"Repeat off"
"Repeat one"
"Shuffle"
"Shuffle album"
"Shuffle off"
"What's this?"
"Help"
* If you have said you would like to browseyour USB or SD card, the system promptsyou to specify what you would like tobrowse. When prompted, see the following"Browse" chart.** These commands are only available inUSB mode and are device-dependent.
390Super Duty (), enUSAMyFord Touch™ (If Equipped)E142599