FORD TAURUS 1998 3.G Manual Online
Manufacturer: FORD, Model Year: 1998, Model line: TAURUS, Model: FORD TAURUS 1998 3.GPages: 192, PDF Size: 1.66 MB
Page 81 of 192
Built-in child seat retractors
The belts on built-in child seats are equipped with a
retractor that locks when both tongues are latched
into the crotch safety belt buckle. The retractor will
automatically snug the belts around the child. If the
belts do not remain snug, take the vehicle to the
dealer for child seat repair. The belts will not snug
during a collision.
Placing your child in the built-in child seat
Failure to follow all of the instructions on
the use of this child restraint system can
result in your child striking the vehicle's interior
during a sudden stop or crash.
Never use the Built-In Child Seat as a
booster cushion with the adult safety belts.
A child using the adult belts could slide forward
and out from under the safety belts.
The rear seatback must be fully locked
before operating the child restraint system.
Seating and safety restraints
81
Page 82 of 192
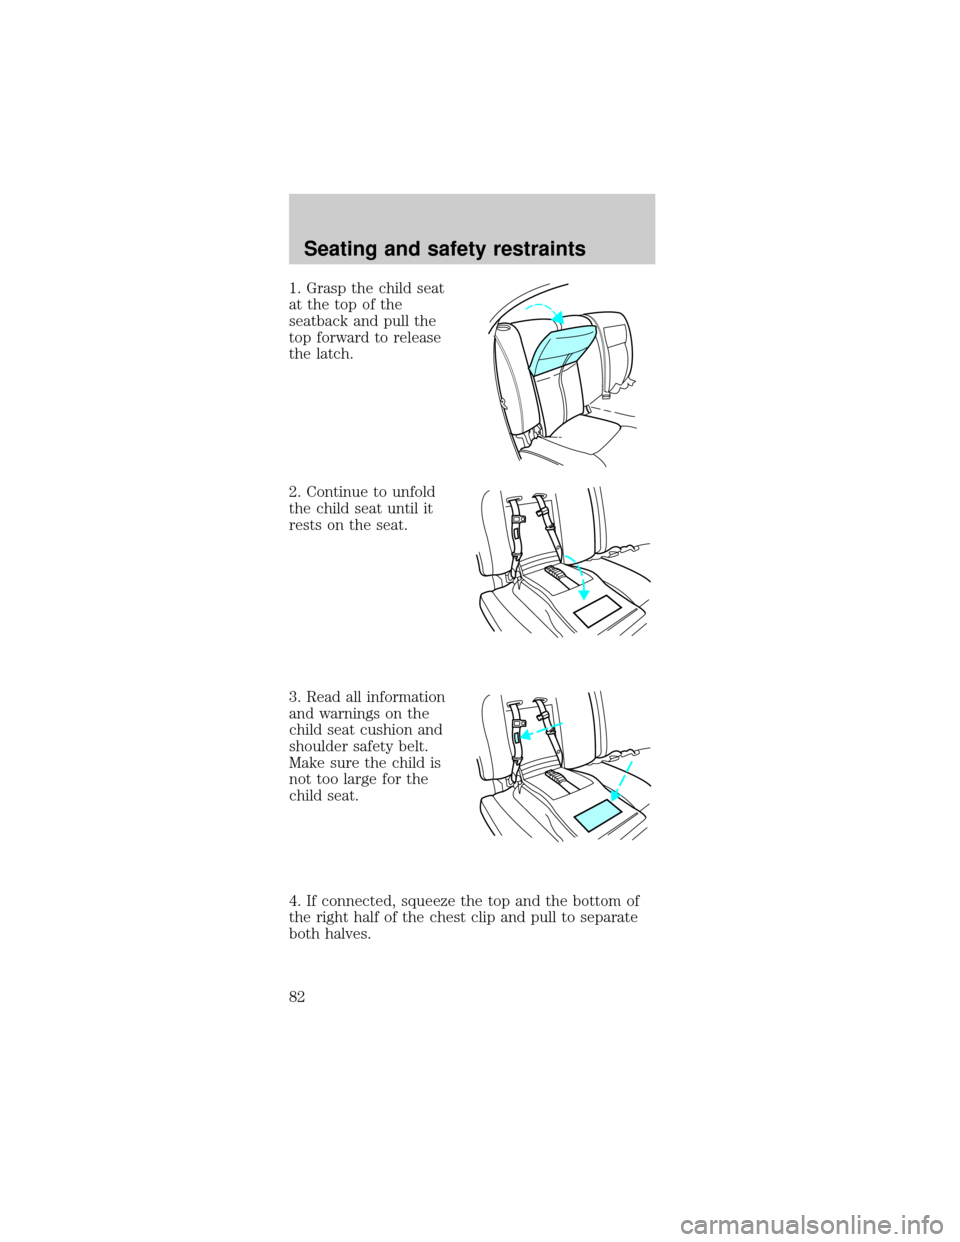
1. Grasp the child seat
at the top of the
seatback and pull the
top forward to release
the latch.
2. Continue to unfold
the child seat until it
rests on the seat.
3. Read all information
and warnings on the
child seat cushion and
shoulder safety belt.
Make sure the child is
not too large for the
child seat.
4. If connected, squeeze the top and the bottom of
the right half of the chest clip and pull to separate
both halves.
Seating and safety restraints
82
Page 83 of 192

5. Place the child on the child seat and position the
shoulder belts over each shoulder.
6. Insert either the left
or the right safety belt
tongue into the single
opening of the crotch
safety belt buckle (it
doesn't matter which
tongue is inserted
first). Insert other
tongue. The color
green must appear in the indicator window on the
crotch safety belt buckle when buckled. Allow belts
to retract and fit snugly.
7. Fasten both halves
of the chest clip below
the child's shoulders
and adjust it to
comfortably hold the shoulder belts in place on the
child's chest. The color green must appear in the
indicator window when fastened.
8. Pull the shoulder belts toward you to make sure
the crotch safety belt buckle is properly fastened
and the retractor is locked.
9. If the belts become too tight, unbuckle the crotch
safety belt buckle to unlock the retractors, then
reinsert both belt tongues.
Seating and safety restraints
83
Page 84 of 192
Removing your child from the built-in child seat
1. Squeeze the tabs on the top and the bottom of
the chest clip and pull the halves apart to open the
chest clip.
2. Press the release button on the crotch safety belt
buckle.
3. Slide the shoulder belts off the child's shoulders
and remove the child.
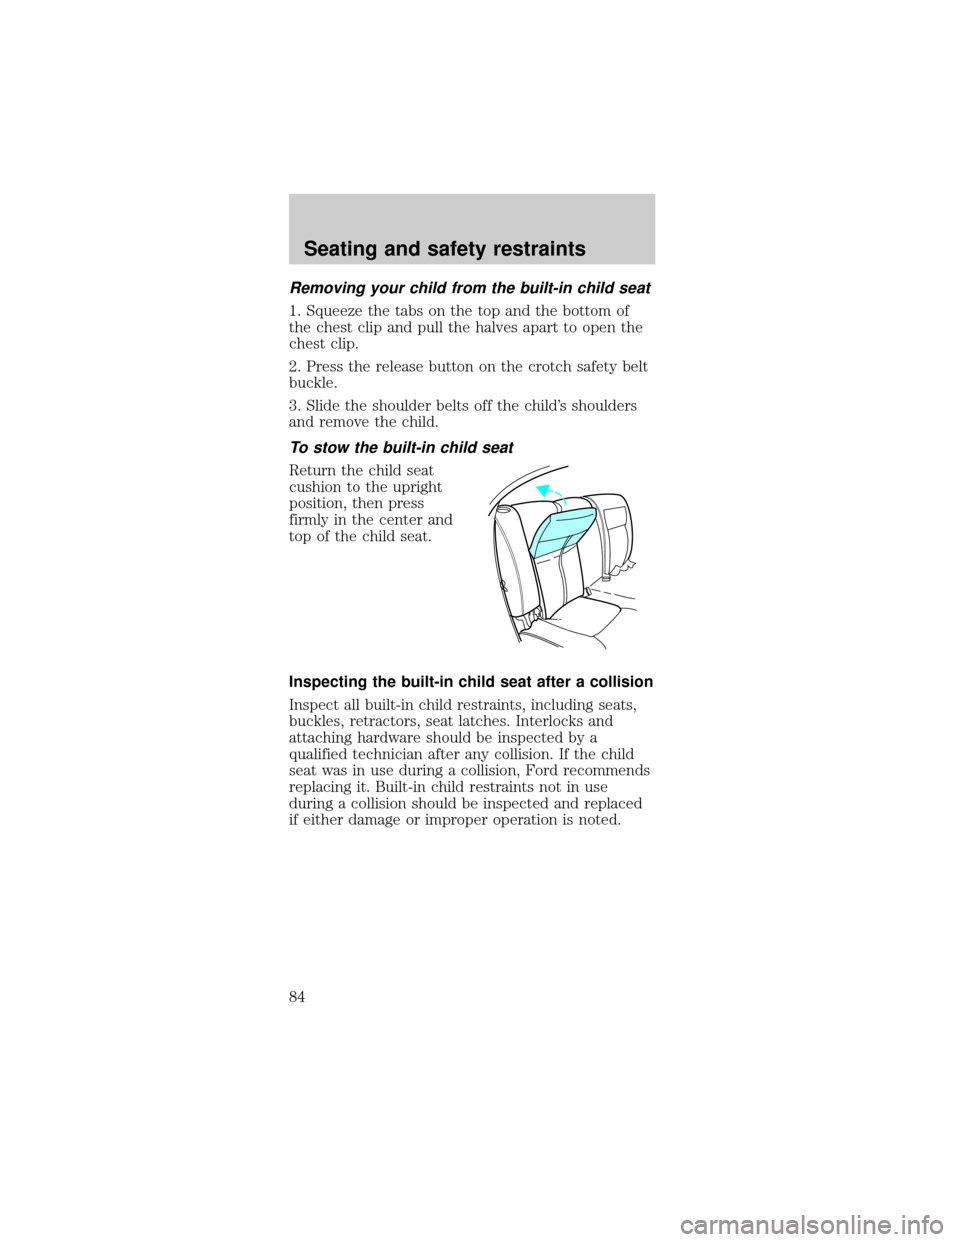
To stow the built-in child seat
Return the child seat
cushion to the upright
position, then press
firmly in the center and
top of the child seat.
Inspecting the built-in child seat after a collision
Inspect all built-in child restraints, including seats,
buckles, retractors, seat latches. Interlocks and
attaching hardware should be inspected by a
qualified technician after any collision. If the child
seat was in use during a collision, Ford recommends
replacing it. Built-in child restraints not in use
during a collision should be inspected and replaced
if either damage or improper operation is noted.
Seating and safety restraints
84
Page 85 of 192
PREPARING TO START YOUR VEHICLE
Engine starting is controlled by the ignition system.
This system meets all Canadian Interference-Causing
Equipment standard requirements regulating the
impulse electrical field strength of radio noise.
When starting a fuel-injected engine, avoid pressing
the accelerator before or during starting. Only use
the accelerator when you have difficulty starting the
engine. For more information on starting the vehicle,
refer toStarting the enginein this chapter.
Extended idling at high engine speeds can
produce very high temperatures in the
engine and exhaust system, creating the risk of
fire or other damage.
Do not park, idle, or drive your vehicle in
dry grass or other dry ground cover. The
emission system heats up the engine compartment
and exhaust system, which can start a fire.
Do not start your vehicle in a closed garage
or in other enclosed areas. Exhaust fumes
can be toxic. Always open the garage door before
you start the engine. SeeGuarding against
exhaust fumesin this chapter for more
instructions.
Starting
85
Page 86 of 192
If you smell exhaust fumes inside your
vehicle, have your dealer inspect your
vehicle immediately. Do not drive if you smell
exhaust fumes.
Important safety precautions
A computer system controls the engine's idle
revolutions per minute (RPM). When the engine
starts, the idle RPM runs faster to warm the engine.
If the engine idle speed does not slow down
automatically, have the vehicle checked. Do not
allow the vehicle to idle for more than ten minutes.
Before starting the vehicle:
1. Make sure all vehicle occupants have buckled
their safety belts. For more information on safety
belts and their proper usage, refer to theSeating
and safety restraintschapter.
2. Make sure the headlamps and vehicle accessories
are off.
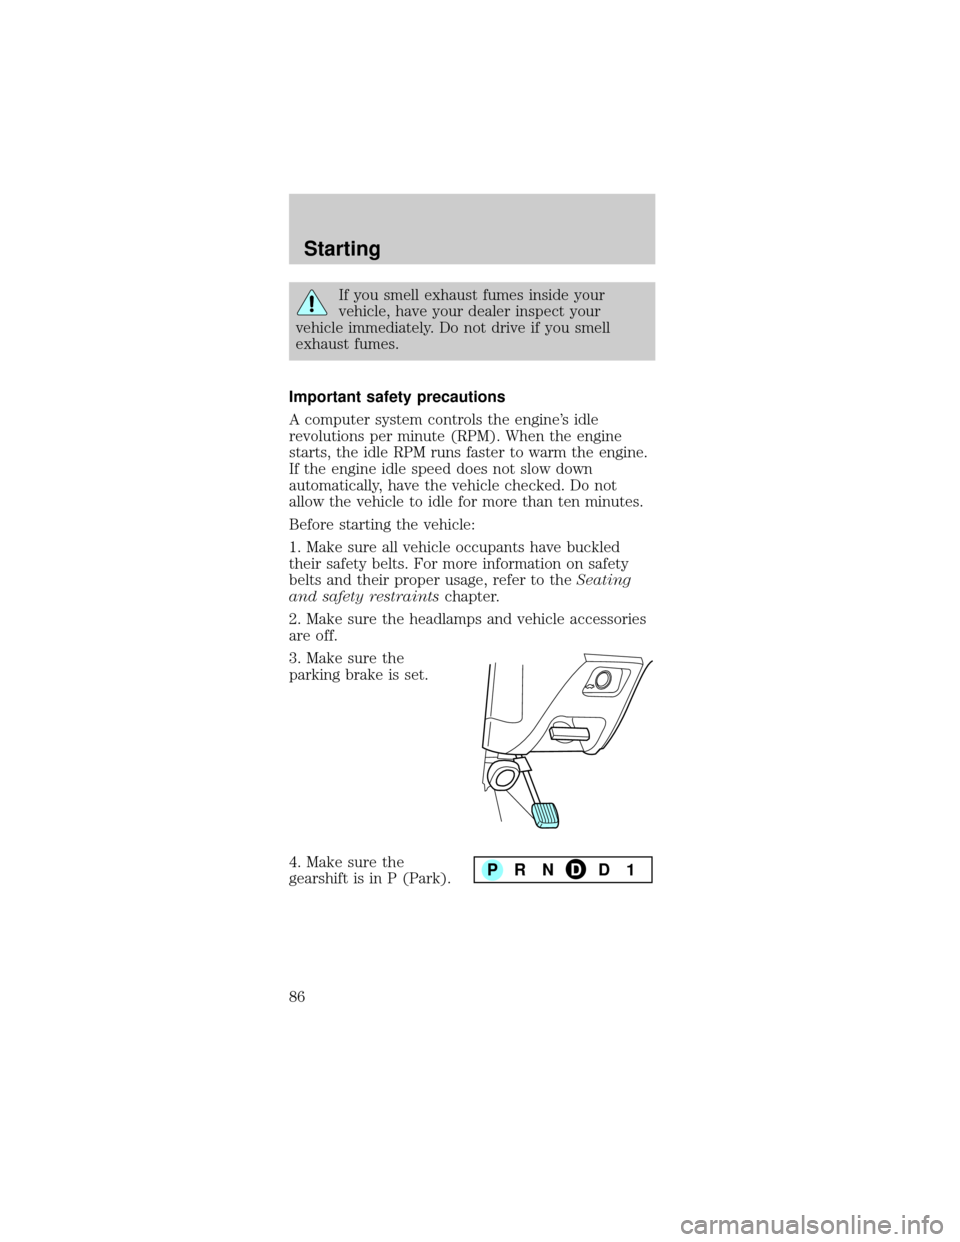
3. Make sure the
parking brake is set.
4. Make sure the
gearshift is in P (Park).
PRNDD1
Starting
86
Page 87 of 192
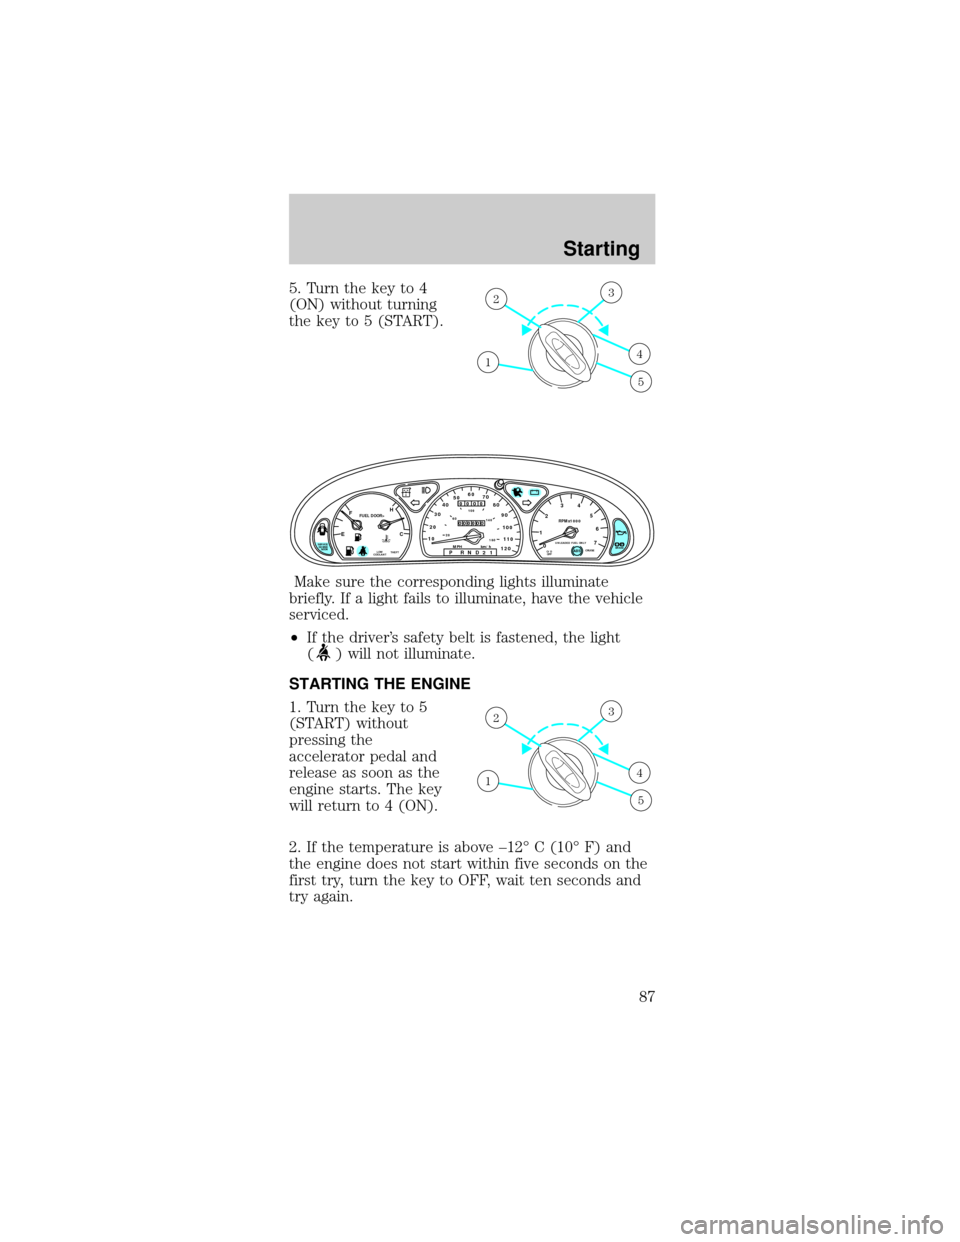
5. Turn the key to 4
(ON) without turning
the key to 5 (START).
Make sure the corresponding lights illuminate
briefly. If a light fails to illuminate, have the vehicle
serviced.
²If the driver's safety belt is fastened, the light
(
) will not illuminate.
STARTING THE ENGINE
1. Turn the key to 5
(START) without
pressing the
accelerator pedal and
release as soon as the
engine starts. The key
will return to 4 (ON).
2. If the temperature is above ±12É C (10É F) and
the engine does not start within five seconds on the
first try, turn the key to OFF, wait ten seconds and
try again.
1
23
4
5
CRUISE
RPMx1000
0 1234
5
6
7EFC H
FUEL DOOR>
SERVICE
ENGINE
SOONP!
BRAKEABS
+ –
UNLEADED FUEL ONLY
THEFT LOW
COOLANTO/D
OFF102030405060
70
80
90
100
1202060100
140
180
P R N D 2 1MPH km/h
00
000
00000
110
1
23
4
5
Starting
87
Page 88 of 192
3. If the temperature is below -12ÉC (10ÉF) and the
engine does not start in fifteen seconds on the first
try, turn the key OFF and wait ten seconds and try
again. If the engine does not start in two attempts,
depress the accelerator and start the engine while
holding the accelerator down to the floor. Release
the accelerator when the engine starts.
4. After idling for a few seconds, apply the brake
and release the parking brake.
Using the engine block heater (if equipped)
An engine block heater warms the engine coolant,
which improves starting, warms up the engine faster
and allows the heater-defroster system to respond
quickly. Use of an engine block heater is strongly
recommended if you live in a region where
temperatures reach -23ÉC (-10ÉF) or below.
For best results, plug the heater in at least three
hours before starting the vehicle. Using the heater
for longer than three hours will not harm the engine,
so the heater can be plugged in the night before
starting the vehicle.
To prevent electrical shock, do not use your
heater with ungrounded electrical systems
or two-pronged (cheater) adapters.
Guarding against exhaust fumes
Although odorless and colorless, carbon monoxide is
present in exhaust fumes. Take precautions to avoid
its dangerous effects.
Starting
88
Page 89 of 192
If you ever smell exhaust fumes of any kind
inside your vehicle, have your dealer inspect
and fix your vehicle immediately. Do not drive if
you smell exhaust fumes. These fumes are harmful
and could kill you.
Have the exhaust and body ventilation systems
checked whenever:
²the vehicle is raised for service.
²the sound of the exhaust system changes.
²the vehicle has been damaged in a collision.
Engine exhaust, some of its constituents,
and certain vehicle components contain or
emit chemicals known to the State of California to
cause cancer, and birth defects or other
reproductive harm.
Important ventilating information
If the engine is idling while the vehicle is stopped in
an open area for long periods of time, open the
windows at least 2.5 cm (one inch).
Adjust the heating or air conditioning (if equipped)
to bring in fresh air.
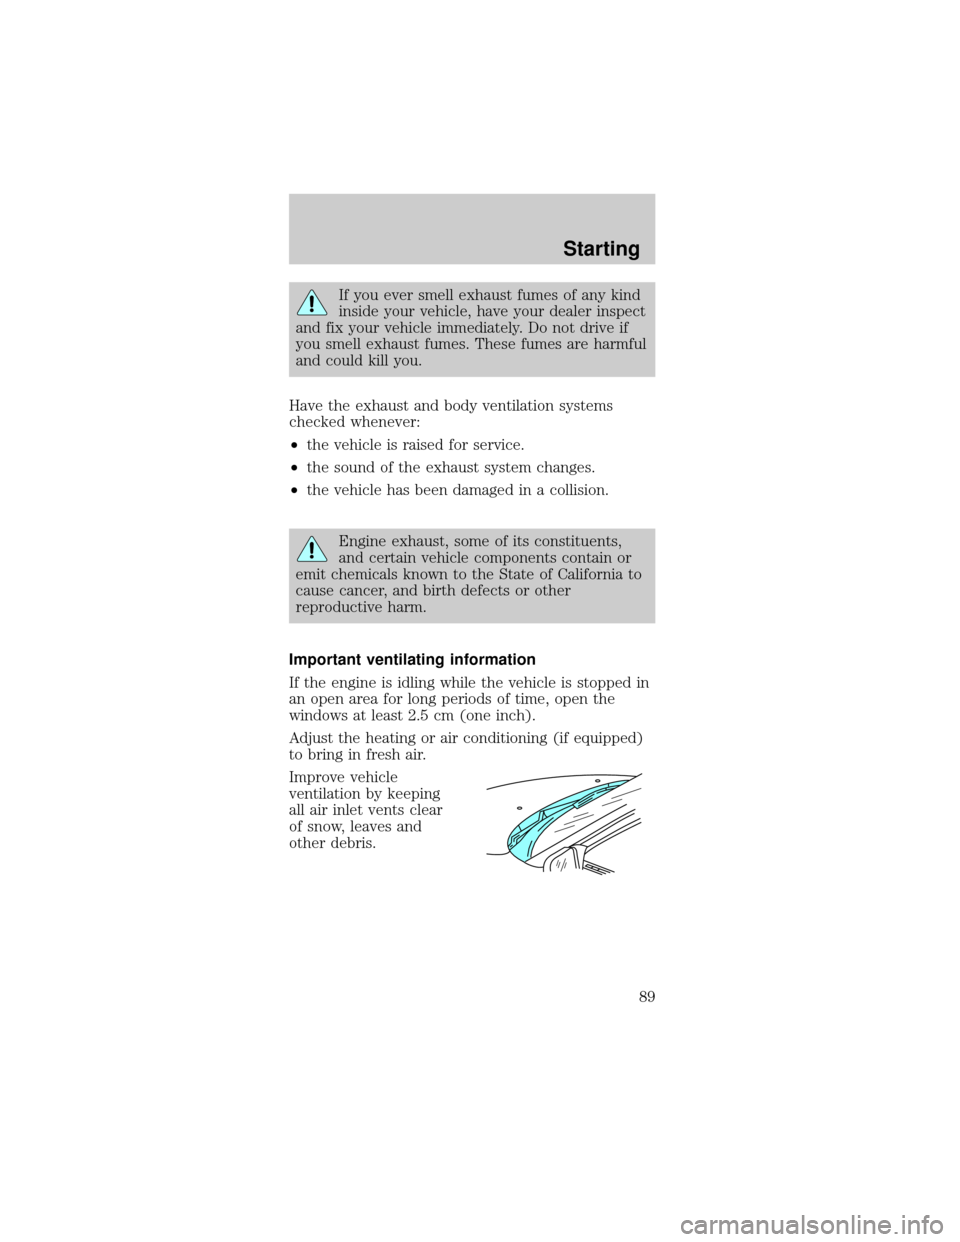
Improve vehicle
ventilation by keeping
all air inlet vents clear
of snow, leaves and
other debris.
Starting
89
Page 90 of 192
BRAKES
Your brakes are self-adjusting. Refer to the ªService
Guideº for scheduled maintenance.
Occasional brake noise is normal and often does not
indicate a performance concern with the vehicle's
brake system. In normal operation, automotive brake
systems may emit occasional or intermittent squeal
or groan noises when the brakes are applied. Such
noises are usually heard during the first few brake
applications in the morning; however, they may be
heard at any time while braking and can be
aggravated by environmental conditions such as
cold, heat, moisture, road dust, salt or mud. If a
ªmetal-to-metal,º ªcontinuous grindingº or
ªcontinuous squealº sound is present while braking,
the brake linings may be worn-out and should be
inspected by a qualified service technician.
Anti-lock brake system (ABS) (if equipped)
On vehicles equipped with an anti-lock braking
system (ABS), a noise from the hydraulic pump
motor and pulsation in the pedal may be observed
during ABS braking events. Pedal pulsation coupled
with noise while braking under panic conditions or
on loose gravel, bumps, wet or snowy roads is
normal and indicates proper functioning of the
vehicle's anti-lock brake system. If the vehicle has
continuous vibration or shudder in the steering
wheel while braking, the vehicle should be inspected
by a qualified service technician.
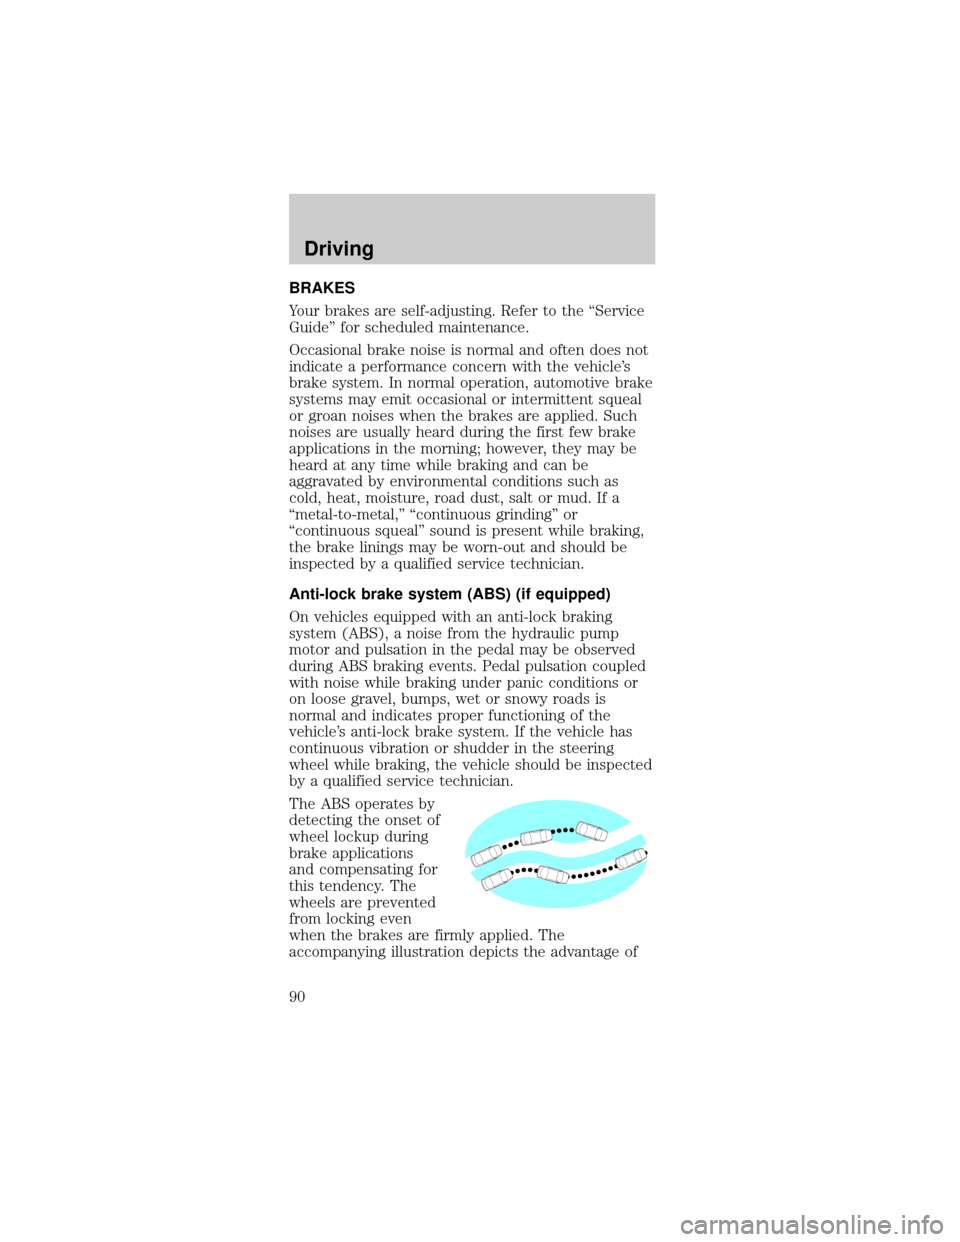
The ABS operates by
detecting the onset of
wheel lockup during
brake applications
and compensating for
this tendency. The
wheels are prevented
from locking even
when the brakes are firmly applied. The
accompanying illustration depicts the advantage of
Driving
90