parking brake FORD TAURUS 1999 3.G Owners Manual
[x] Cancel search | Manufacturer: FORD, Model Year: 1999, Model line: TAURUS, Model: FORD TAURUS 1999 3.GPages: 224, PDF Size: 1.42 MB
Page 4 of 224

CRUISE
RPMx10000 1234
5
6
7EFC HFUEL DOOR>
SERVICE
ENGINE
SOON1020304050 60
70
80
90
100
110
00 20406080100
120
140
160
180P R N D D 1MPH km/h0012200013P!
BRAKEABS
+ –
UNLEADED FUEL ONLY
THEFT LOW
COOLANTO/D
OFF
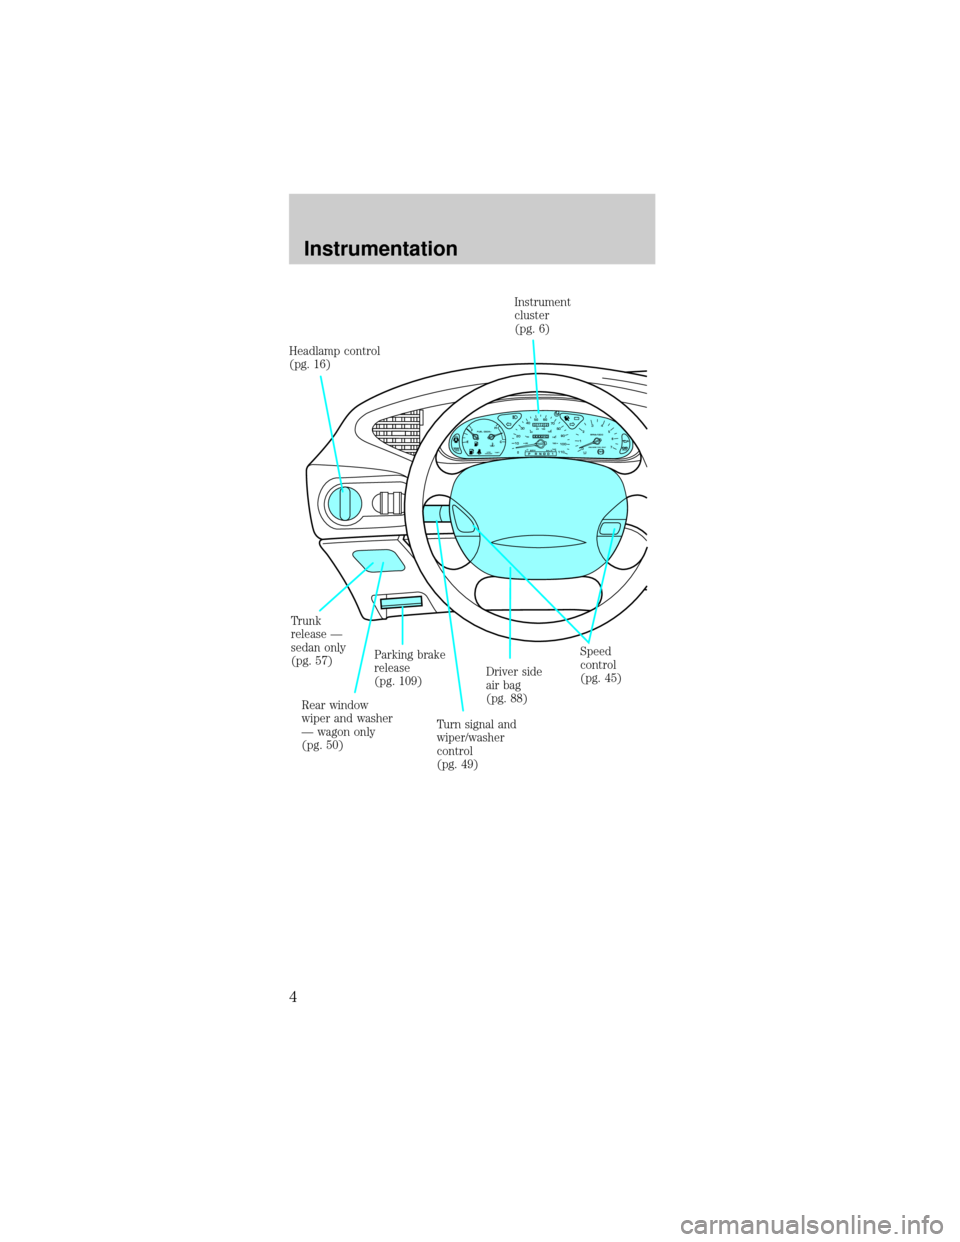
Parking brake
release
(pg. 109) Headlamp control
(pg. 16)
Speed
control
(pg. 45) Driver side
air bag
(pg. 88) Trunk
release Ð
sedan only
(pg. 57)
Rear window
wiper and washer
Ð wagon only
(pg. 50)Turn signal and
wiper/washer
control
(pg. 49)Instrument
cluster
(pg. 6)
Instrumentation
4
Page 9 of 224

of a tank indicated on the fuel gauge (refer toFuel
gaugein this chapter for more information). The
ignition must be in the ON position for this lamp to
illuminate. The lamp will also illuminate for several
seconds after the ignition is turned to the ON
position regardless of the fuel level.
Low coolant (if equipped)
This lamp will
illuminate when the
engine coolant inside
the reservoir is low.
This lamp will come on
when the ignition is first turned on, but then should
turn off. If the lamp stays on, you should check the
coolant level inside the reservoir. For instructions on
adding coolant, seeEngine coolantin the
Maintenance and carechapter.
Anti-theft system (if equipped)
Refer toPerimeter
alarm system (if
equipped)and
SecuriLockypassive
anti-theft systemin theControls and features
chapter.
Anti-lock brake system (ABS) (If equipped)
Momentarily illuminates
when the ignition is
turned on and the
engine is off. If the
light does not illuminate momentarily at start up,
remains on or continues to flash, the ABS needs to
be serviced. With the ABS light on, the anti-lock
brake system is disabled and normal braking is still
effective unless the brake warning light also remains
illuminated with parking brake released.
LOW
COOLANT
THEFT
ABS
Instrumentation
9
Page 10 of 224

Speed control (if equipped)
This light comes on
when either the
SET/ACCEL or
RESUME controls are
pressed. It turns off
when the speed control OFF control is pressed, the
brake is applied or the ignition is turned to the OFF
position.
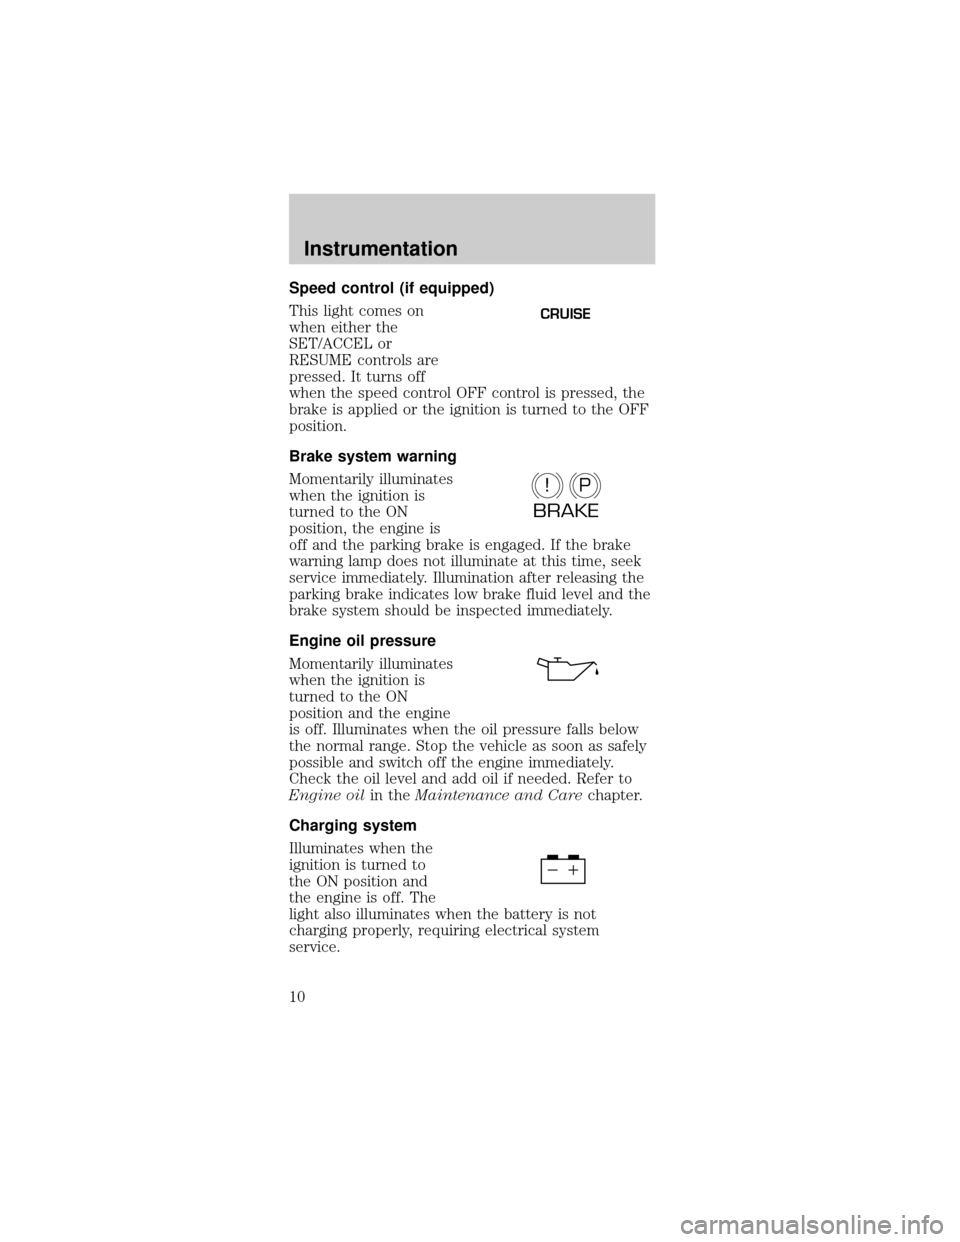
Brake system warning
Momentarily illuminates
when the ignition is
turned to the ON
position, the engine is
off and the parking brake is engaged. If the brake
warning lamp does not illuminate at this time, seek
service immediately. Illumination after releasing the
parking brake indicates low brake fluid level and the
brake system should be inspected immediately.
Engine oil pressure
Momentarily illuminates
when the ignition is
turned to the ON
position and the engine
is off. Illuminates when the oil pressure falls below
the normal range. Stop the vehicle as soon as safely
possible and switch off the engine immediately.
Check the oil level and add oil if needed. Refer to
Engine oilin theMaintenance and Carechapter.
Charging system
Illuminates when the
ignition is turned to
the ON position and
the engine is off. The
light also illuminates when the battery is not
charging properly, requiring electrical system
service.
CRUISE
P!
BRAKE
Instrumentation
10
Page 103 of 224

Important safety precautions
A computer system controls the engine's idle
revolutions per minute (RPM). When the engine
starts, the idle RPM runs faster to warm the engine.
If the engine idle speed does not slow down
automatically, have the vehicle checked. Do not
allow the vehicle to idle for more than ten minutes
at the higher engine RPM.
Before starting the vehicle:
1. Make sure all vehicle occupants have buckled
their safety belts. For more information on safety
belts and their proper usage, refer to theSeating
and safety restraintschapter.
2. Make sure the headlamps and vehicle accessories
are off.
3. Make sure the
parking brake is set.
4. Make sure the
gearshift is in P (Park).
5. Turn the key to 4
(ON) without turning
the key to 5 (START).
PRNDD1
1
23
4
5
Starting
103
Page 104 of 224

Make sure the corresponding lights illuminate briefly.
If a light fails to illuminate, have the vehicle
serviced.
²If the driver's safety belt is fastened, the
light
may not illuminate.
STARTING THE ENGINE
1. Turn the key to 5
(START) without
pressing the
accelerator pedal and
release as soon as the
engine starts. The key
will return to 4 (ON).
2. If the temperature is above ±12É C (10É F) and
the engine does not start within five seconds on the
first try, turn the key to OFF, wait ten seconds and
try again.
3. If the temperature is below -12ÉC (10ÉF) and the
engine does not start in fifteen seconds on the first
try, turn the key OFF and wait ten seconds and try
again. If the engine does not start in two attempts,
depress the accelerator and start the engine while
holding the accelerator down to the floor. Release
the accelerator when the engine starts.
4. After idling for a few seconds, apply the brake
and release the parking brake.
CRUISE
RPMx1000
0 1234
5
6
7EFC H
FUEL DOOR>
SERVICE
ENGINE
SOONP!
BRAKEABS
+ –
UNLEADED FUEL ONLY
THEFT LOW
COOLANTO/D
OFF102030405060
70
80
90
100
1202060100
140
180
P R N D 2 1MPH km/h
00
000
00000
110
1
23
4
5
Starting
104
Page 108 of 224

The ABS operates by
detecting the onset of
wheel lockup during
brake applications
and compensating for
this tendency. The
wheels are prevented
from locking even
when the brakes are firmly applied. The
accompanying illustration depicts the advantage of
an ABS equipped vehicle (on bottom) to a non-ABS
equipped vehicle (on top) during hard braking with
loss of front braking traction.
ABS warning lamp
The
ABSwarning lamp in the instrument cluster
momentarily illuminates when the ignition is turned
on and the engine is off. If the light does not
illuminate momentarily at start up, remains on or
continues to flash, the ABS needs to be serviced.
With the ABS light on,
the anti-lock brake
system is disabled and
normal braking is still
effective unless the brake warning light also remains
illuminated with parking brake released. (If your
brake warning lamp illuminates, have your vehicle
serviced immediately).
Using ABS
²In an emergency or when maximum efficiency
from the ABS is required, apply continuous full
force on the brake. The ABS will be activated
immediately, thus allowing you to retain full
steering control of your vehicle and, providing
there is sufficient space, will enable you to avoid
obstacles and bring the vehicle to a controlled
stop.
²The Anti-Lock system does not decrease the time
necessary to apply the brakes or always reduce
P!
BRAKE
Driving
108
Page 109 of 224

stopping distance. Always leave enough room
between your vehicle and the vehicle in front of
you to stop.
²We recommend that you familiarize yourself with
this braking technique. However, avoid taking any
unnecessary risks.
Parking brake
Apply the parking
brake whenever the
vehicle is parked. To
set the parking brake,
press the parking brake
pedal down until the
pedal stops.
The BRAKE warning
lamp in the instrument
cluster illuminates and
remains illuminated
(when the ignition is turned ON) until the parking
brake is released.
Always set the parking brake fully and make
sure that the gearshift is securely latched in
P (Park).
The parking brake is not recommended to stop a
moving vehicle. However, if the normal brakes fail,
the parking brake can be used to stop your vehicle
in an emergency. Since the parking brake applies
only the rear brakes, the vehicle's stopping distance
will increase greatly and the handling of your vehicle
will be adversely affected.
P!
BRAKE
Driving
109
Page 110 of 224

Pull the release lever
to release the brake.
Driving with the
parking brake on will
cause the brakes to
wear out quickly and
reduce fuel economy.
STEERING
Your vehicle is equipped with power steering. Power
steering uses energy from the engine to help steer
the vehicle.
To prevent damage to the power steering pump:
²Never hold the steering wheel to the extreme
right or the extreme left for more than a few
seconds when the engine is running.
²Do not operate the vehicle with a low power
steering pump fluid level.
If the power steering system breaks down (or if the
engine is turned off), you can steer the vehicle
manually, but it takes more effort.
If the steering wanders or pulls, the condition could
be caused by any of the following:
²underinflated tire(s) on any wheel(s)
²high crown in center of road
²high crosswinds
²wheels out of alignment
²loose or worn components in steering linkage
Driving
110
Page 111 of 224

AUTOMATIC TRANSAXLE OPERATION
Brake-shift interlock
This vehicle is equipped with a brake-shift interlock
feature that prevents the gearshift from being moved
from P (Park) unless the brake pedal is depressed.
If you cannot move the gearshift out of P (Park)
with the brake pedal depressed:
1. Apply the parking brake, turn ignition key to
LOCK, then remove the key.
2. Insert the key and turn it to OFF. Apply the brake
pedal and shift to N (Neutral).
3. Start the vehicle.
If it is necessary to use the above procedure to
move the gearshift, it is possible that a fuse has
blown or the vehicle's brakelamps are not operating
properly. Refer toFuses and relaysin theRoadside
emergencieschapter.
Do not drive your vehicle until you verify
that the brakelamps are working.
If your vehicle gets stuck in mud or snow it may be
rocked out by shifting from forward and reverse
gears, stopping between shifts, in a steady pattern.
Press lightly on the accelerator in each gear.
Do not rock the vehicle for more than a few
minutes. The transmission and tires may be
damaged or the engine may overheat.
Always set the parking brake fully and make
sure the gearshift is latched in P (Park).
Turn off the ignition whenever you leave your
vehicle.
Driving
111
Page 112 of 224

If the parking brake is fully released, but the
brake warning lamp remains illuminated, the
brakes may not be working properly. See your
dealer or a qualified service technician.
Driving with an automatic overdrive transaxle
Your automatic transaxle electronically controls the
shift feel by using an adaptive learning strategy. This
feature is designed to optimize shift smoothness. It
is normal for your transaxle to shift firmly during the
first few hundred kilometers (miles) of operation
until the adaptive strategy has been learned. The
adaptive learning strategy is maintained by power
from the battery. When the battery is disconnected
or a new battery is installed, the transaxle must
relearn its adaptive strategy. Optimal shifting will
resume within a few hundred kilometers (miles) of
operation.
Your automatic
overdrive transaxle
provides fully
automatic operation in
either
(Overdrive)
or D (Drive). Driving
with the shift selector
in
(Overdrive) gives
the best fuel economy
for normal driving conditions. For manual control
start in 1 (First) and then shift manually.
If your vehicle is
equipped with a
console mounted
gearshift, you must
press the thumb button
on the side of the
gearshift to move the
gearshift from P
(Park).
Driving
112