engine FORD TAURUS 2005 4.G User Guide
[x] Cancel search | Manufacturer: FORD, Model Year: 2005, Model line: TAURUS, Model: FORD TAURUS 2005 4.GPages: 248, PDF Size: 2.66 MB
Page 64 of 248
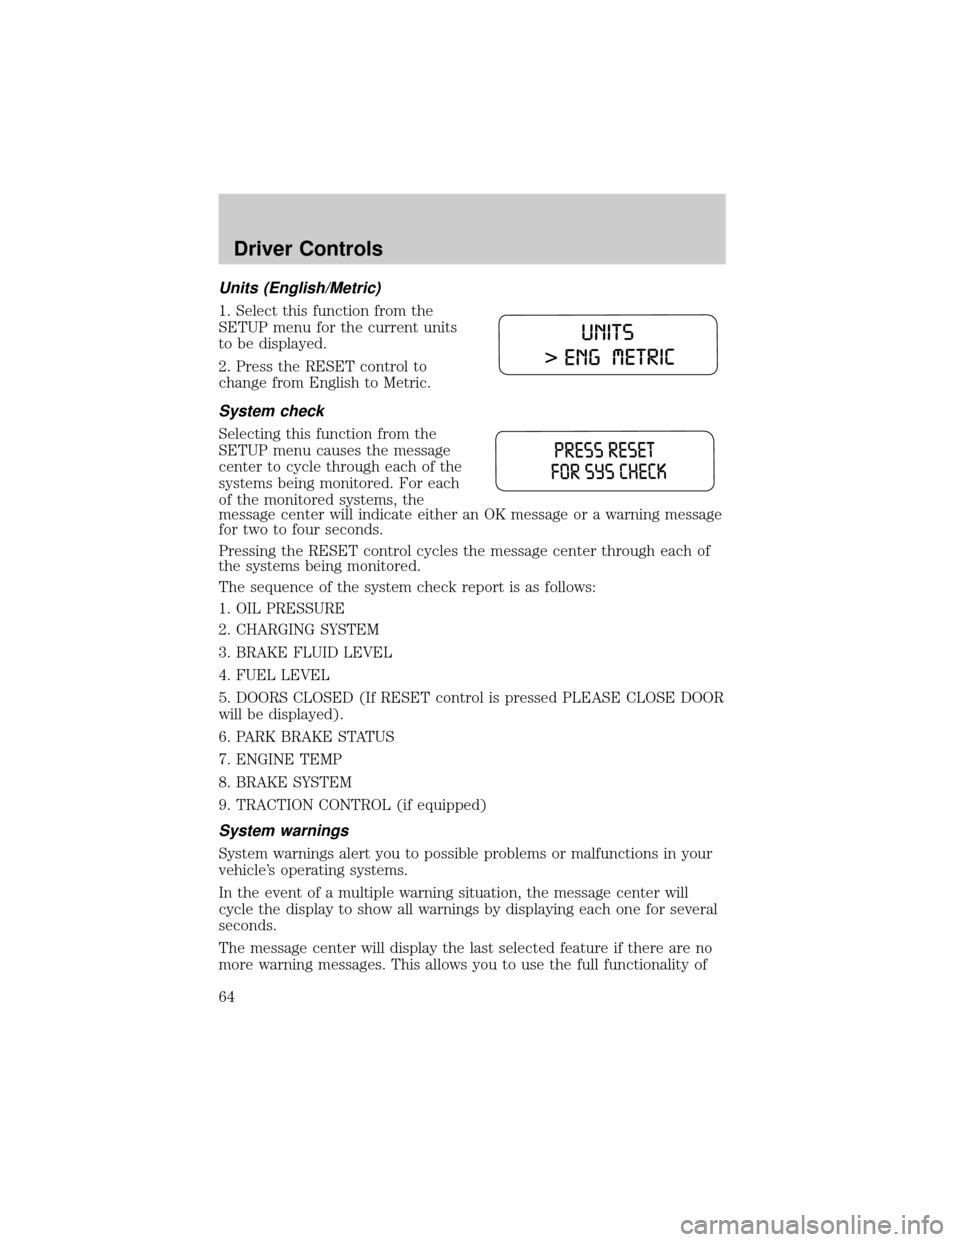
Units (English/Metric)
1. Select this function from the
SETUP menu for the current units
to be displayed.
2. Press the RESET control to
change from English to Metric.
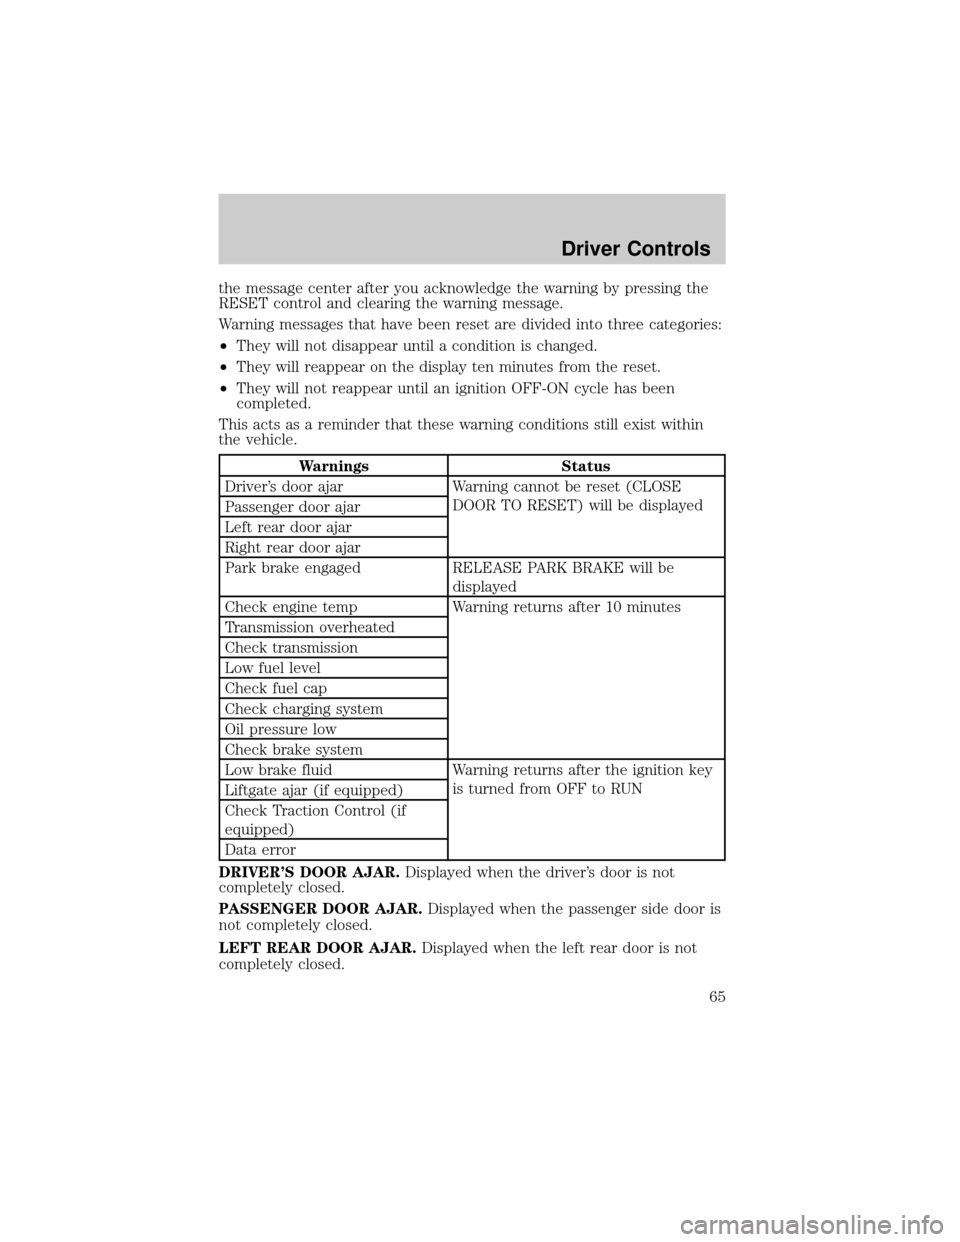
System check
Selecting this function from the
SETUP menu causes the message
center to cycle through each of the
systems being monitored. For each
of the monitored systems, the
message center will indicate either an OK message or a warning message
for two to four seconds.
Pressing the RESET control cycles the message center through each of
the systems being monitored.
The sequence of the system check report is as follows:
1. OIL PRESSURE
2. CHARGING SYSTEM
3. BRAKE FLUID LEVEL
4. FUEL LEVEL
5. DOORS CLOSED (If RESET control is pressed PLEASE CLOSE DOOR
will be displayed).
6. PARK BRAKE STATUS
7. ENGINE TEMP
8. BRAKE SYSTEM
9. TRACTION CONTROL (if equipped)
System warnings
System warnings alert you to possible problems or malfunctions in your
vehicle's operating systems.
In the event of a multiple warning situation, the message center will
cycle the display to show all warnings by displaying each one for several
seconds.
The message center will display the last selected feature if there are no
more warning messages. This allows you to use the full functionality of
Driver Controls
64
Page 65 of 248
the message center after you acknowledge the warning by pressing the
RESET control and clearing the warning message.
Warning messages that have been reset are divided into three categories:
²They will not disappear until a condition is changed.
²They will reappear on the display ten minutes from the reset.
²They will not reappear until an ignition OFF-ON cycle has been
completed.
This acts as a reminder that these warning conditions still exist within
the vehicle.
Warnings Status
Driver's door ajar Warning cannot be reset (CLOSE
DOOR TO RESET) will be displayed
Passenger door ajar
Left rear door ajar
Right rear door ajar
Park brake engaged RELEASE PARK BRAKE will be
displayed
Check engine temp Warning returns after 10 minutes
Transmission overheated
Check transmission
Low fuel level
Check fuel cap
Check charging system
Oil pressure low
Check brake system
Low brake fluid Warning returns after the ignition key
is turned from OFF to RUN
Liftgate ajar (if equipped)
Check Traction Control (if
equipped)
Data error
DRIVER'S DOOR AJAR.Displayed when the driver's door is not
completely closed.
PASSENGER DOOR AJAR.Displayed when the passenger side door is
not completely closed.
LEFT REAR DOOR AJAR.Displayed when the left rear door is not
completely closed.
Driver Controls
65
Page 66 of 248

RIGHT REAR DOOR AJAR.Displayed when the right rear door is not
completely closed.
PARK BRAKE ENGAGED.Displayed when the park brake is engaged.
If the warning stays on after the park brake is off, contact your dealer as
soon as possible.
CHECK ENGINE TEMPERATURE.Displayed when the engine
coolant is overheating. Stop the vehicle as soon as safely possible, turn
off the engine and let it cool. Check the coolant and coolant level. Refer
toEngine coolantin theMaintenance and specificationschapter. If
the warning stays on or continues to come on, contact your dealer as
soon as possible.
TRANSMISSION OVERHEATED.Indicates the transmission is
overheating. This warning may appear when towing heavy loads or when
driving in a low gear at a high speed for an extended period of time.
Stop the vehicle as soon as safely possible, turn off the engine and let it
cool. Refer toTransmission fluidin theMaintenance and
specificationschapter. If the warning stays on or continues to come on,
contact your dealer for transmission service as soon as possible.
CHECK TRANSMISSION.Indicates the transmission is not operating
properly. If this warning stays on, contact your dealer as soon as
possible.
LOW FUEL LEVEL.Displayed as an early reminder of a low fuel
condition.
CHECK FUEL CAP.Displayed when the fuel filler cap is not properly
installed. Check the fuel filler cap for proper installation. Refer toFuel
filler capin theMaintenance and specificationschapter.
CHECK CHARGING SYSTEM.Displayed when the electrical system is
not maintaining proper voltage. If you are operating electrical accessories
when the engine is idling at a low speed, turn off as many of the
electrical loads as possible. If the warning stays on or comes on when the
engine is operating at normal speeds, have the electrical system checked
as soon as possible.
OIL PRESSURE LOW.Displayed when the engine oil level is low. If this
warning message is displayed, check the level of the engine oil. Refer to
Engine oilin theMaintenance and specificationschapter for
information about adding engine oil.
CHECK BRAKE SYSTEM.Displayed when the brake system needs
servicing. If the warning stays on or continues to come on, contact your
dealer as soon as possible.
Driver Controls
66
Page 67 of 248

LOW BRAKE FLUID.Indicates the brake fluid level is low and the
brake system should be inspected immediately. Refer toChecking and
adding brake fluidin theMaintenance and specificationschapter.
LIFTGATE AJAR (if equipped).Displayed when the liftgate is not
completely closed.
CHECK TRACTION CONTROL (if equipped).Displayed when the
Traction Controlysystem is not operating properly. If this warning stays
on, contact your dealer for service as soon as possible. For further
information, refer toTraction controlyin theDrivingchapter.
DATA ERR.These messages indicate improper operation of the vehicle
network communication between electronic modules.
²Fuel computer
²Charging system
²Coolant system
²Traction control (if equipped)
²Door sensor
²Brake fluid
²Compass (if equipped)
²Outside temperature (if equipped)
²Engine sensor
²Transmission sensor
²Fuel cap sensor
²Seat belt sensor
²Park brake
²Oil pressure sensor
Contact your dealer as soon as possible if these messages occur on a
regular basis.
CENTER CONSOLE
Your vehicle may be equipped with a variety of console features. These
include:
²Utility compartment
²Bin mat (snap-in)
²Cupholders (front and rear)
Driver Controls
67
Page 82 of 248

2. Press and release the 1²2 within five seconds of completing Step 1.
3. Press and hold the 1²2 for two seconds to erase the customer
programmed codes.
All personal codes are now erased and only the factory set 5±digit code
will work.
Note:To exit programming mode, either wait 5 seconds after pressing 1
²2 on the keypad, or press the 7²8 and 9²0 pads simultaneously to
lock all vehicle doors and end programming mode.
Unlocking and locking the doors using keyless entry
To unlock the driver's door,enter the factory set 5-digit code or your
personal code. Each number must be pressed within five seconds of each
other. The interior lamps will illuminate.
To unlock all doors and the liftgate (wagon),enter the factory set
code or your personal code, then press the 3²4 control within five
seconds.
To unlock the trunk or unlock the liftgate (wagon),enter the
factory set code or your personal code, then press the 5²6 control
within five seconds.
To lock all doors,press the 7²8 and the 9²0 at the same time. You
do notneed to enter the keypad code first.
Autolock (if equipped)
This feature automatically locks all vehicle doors when the following
conditions are met:
²all the doors are closed,
²the engine is running,
²you shift into gear, putting the vehicle in motion, and.
²the vehicle's speed is greater than 3 mph (5 km/h).
Relock
The autolock feature repeats when the following conditions are met:
²any door is opened then closed while the engine is running, and
²you shift into gear, putting the vehicle in motion, and
²the vehicle's speed is greater than 3 mph (5 km/h).
To deactivate/reactivate the autolock feature using the power door
unlock control
You must complete Steps 1-7 within 30 seconds or the procedure will
have to be repeated. If the procedure needs to be repeated, you must
wait 30 seconds.
Locks and Security
82
Page 83 of 248

1. Turn the ignition key to the 4 (ON) position.
2. Press the power door unlock control three times.
3. Turn the ignition key from the 4 (ON) to the 3 (OFF) position.
4. Press the power door unlock control three times.
5. Turn the ignition back to the 4 (ON) position. The horn will chirp.
6. Press the unlock control, then press the lock control.Note:The horn
will chirp twice if autolock was deactivated or chirp twice then honk
(two short and one long chirp) if autolock was activated.
7. Press the power door unlock control and then the lock control again
in order to toggle the autolock/relock states.
8. Turn the ignition to the 3 (OFF) position. The horn will chirp once to
confirm the procedure is complete.
SECURILOCKYPASSIVE ANTI-THEFT SYSTEM
SecuriLockypassive anti-theft system is an engine immobilization
system. This system is designed to prevent the engine from being started
unless acoded key programmed to your vehicleis used. The use of
the wrong type of coded key may lead to a ªno-startº condition.
Your vehicle comes with two coded keys; additional coded keys may be
purchased from your dealer. The dealer can program your spare keys to
your vehicle or you can program the keys yourself. Refer to
Programming spare keysfor instructions on how to program the coded
key.
Note:The SecuriLockypassive anti-theft system is not compatible with
non-Ford aftermarket remote start systems. Use of these systems may
result in vehicle starting problems and a loss of security protection.
Note:Large metallic objects, electronic devices that are used to
purchase gasoline or similar items, or a second coded key on the same
key chain may cause vehicle starting issues. You need to prevent these
objects from touching the coded key while starting the engine. These
objects will not cause damage to the coded key, but may cause a
momentary issue if they are too close to the key when starting the
engine. If a problem occurs, turn the ignition off, remove all objects on
the key chain away from the coded key and restart the engine.
Theft indicator
The theft indicator is located in the instrument cluster.
²When the ignition is in the 2 (LOCK) position, the indicator will flash
once every 2 seconds to indicate the SecuriLockysystem is
functioning as a theft deterrent.
Locks and Security
83
Page 85 of 248
²Only use Securilockykeys.
²You must have two previously programmed coded keys (keys that
already operate your vehicle's engine) and the new unprogrammed
key(s) readily accessible.
²If no previously programmed coded keys are available, you must take
your vehicle to your dealer to have the spare key(s) programmed.
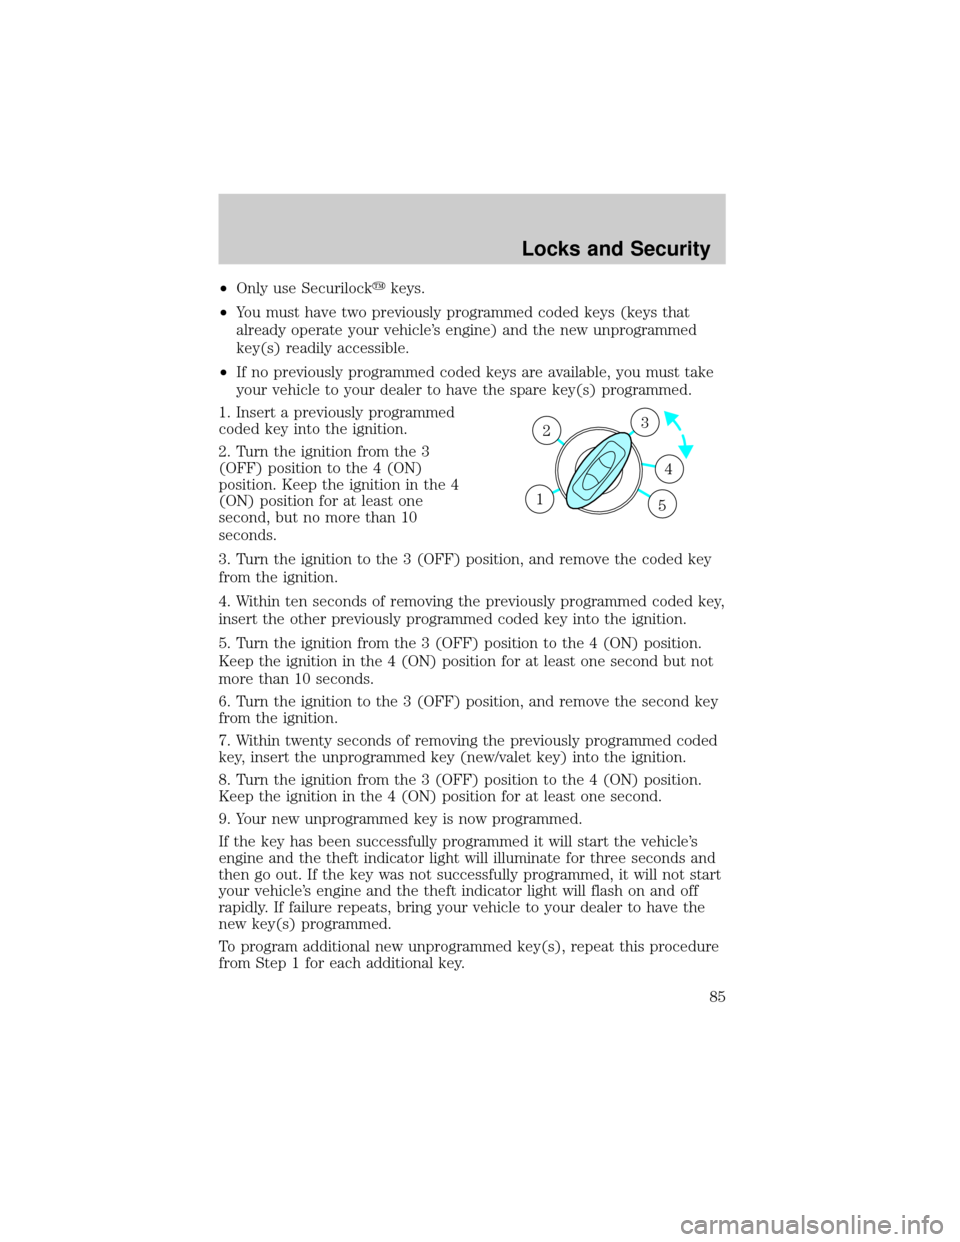
1. Insert a previously programmed
coded key into the ignition.
2. Turn the ignition from the 3
(OFF) position to the 4 (ON)
position. Keep the ignition in the 4
(ON) position for at least one
second, but no more than 10
seconds.
3. Turn the ignition to the 3 (OFF) position, and remove the coded key
from the ignition.
4. Within ten seconds of removing the previously programmed coded key,
insert the other previously programmed coded key into the ignition.
5. Turn the ignition from the 3 (OFF) position to the 4 (ON) position.
Keep the ignition in the 4 (ON) position for at least one second but not
more than 10 seconds.
6. Turn the ignition to the 3 (OFF) position, and remove the second key
from the ignition.
7. Within twenty seconds of removing the previously programmed coded
key, insert the unprogrammed key (new/valet key) into the ignition.
8. Turn the ignition from the 3 (OFF) position to the 4 (ON) position.
Keep the ignition in the 4 (ON) position for at least one second.
9. Your new unprogrammed key is now programmed.
If the key has been successfully programmed it will start the vehicle's
engine and the theft indicator light will illuminate for three seconds and
then go out. If the key was not successfully programmed, it will not start
your vehicle's engine and the theft indicator light will flash on and off
rapidly. If failure repeats, bring your vehicle to your dealer to have the
new key(s) programmed.
To program additional new unprogrammed key(s), repeat this procedure
from Step 1 for each additional key.
3
4
1 2
5
Locks and Security
85
Page 107 of 248
To reduce the risk of injury, do not deactivate/activate the Belt
Minder feature while driving the vehicle.
1. Turn the ignition switch to the RUN (or ON) position. (DO NOT
START THE ENGINE)
2. Wait until the safety belt warning light turns off. (Approximately 1
minute)
²Step 3 must be completed within 50 seconds after the safety belt
warning light turns off.
3. For the seating position being disabled, buckle then unbuckle the
safety belt 9 times, ending in the unbuckled state. (Step 3 must be
completed within 50 seconds after the safety belt warning light turns
off.)
²After step 3, the restraint system warning light (airbag light) will be
turned on for three seconds.
4. Within 10 seconds of the light turning on, buckle then unbuckle the
safety belt.
²This will disable the BeltMinder feature for that seating position if it is
currently enabled. As confirmation, the restraint system warning light
will flash 4 times per second for 3 seconds.
²This will enable the BeltMinder feature for that seating position if it is
currently disabled. As confirmation, the restraint system warning light
will flash 4 times per second for 3 seconds, followed by 3 seconds with
the light off, then followed by the restraint system warning light
flashing 4 times per second for 3 seconds again.
Safety belt extension assembly
If the safety belt is too short when fully extended, there is a 8 inch
(20 cm) safety belt extension assembly that can be added (part number
611C22). This assembly can be obtained from your dealer at no cost.
Use only extensions manufactured by the same supplier as the safety
belt. Manufacturer identification is located at the end of the webbing on
the label. Also, use the safety belt extension only if the safety belt is too
short for you when fully extended.
Do not use extensions to change the fit of the shoulder belt
across the torso.
Safety belt maintenance
Inspect the safety belt systems periodically to make sure they work
properly and are not damaged. Inspect the safety belts to make sure
Seating and Safety Restraints
107
Page 130 of 248
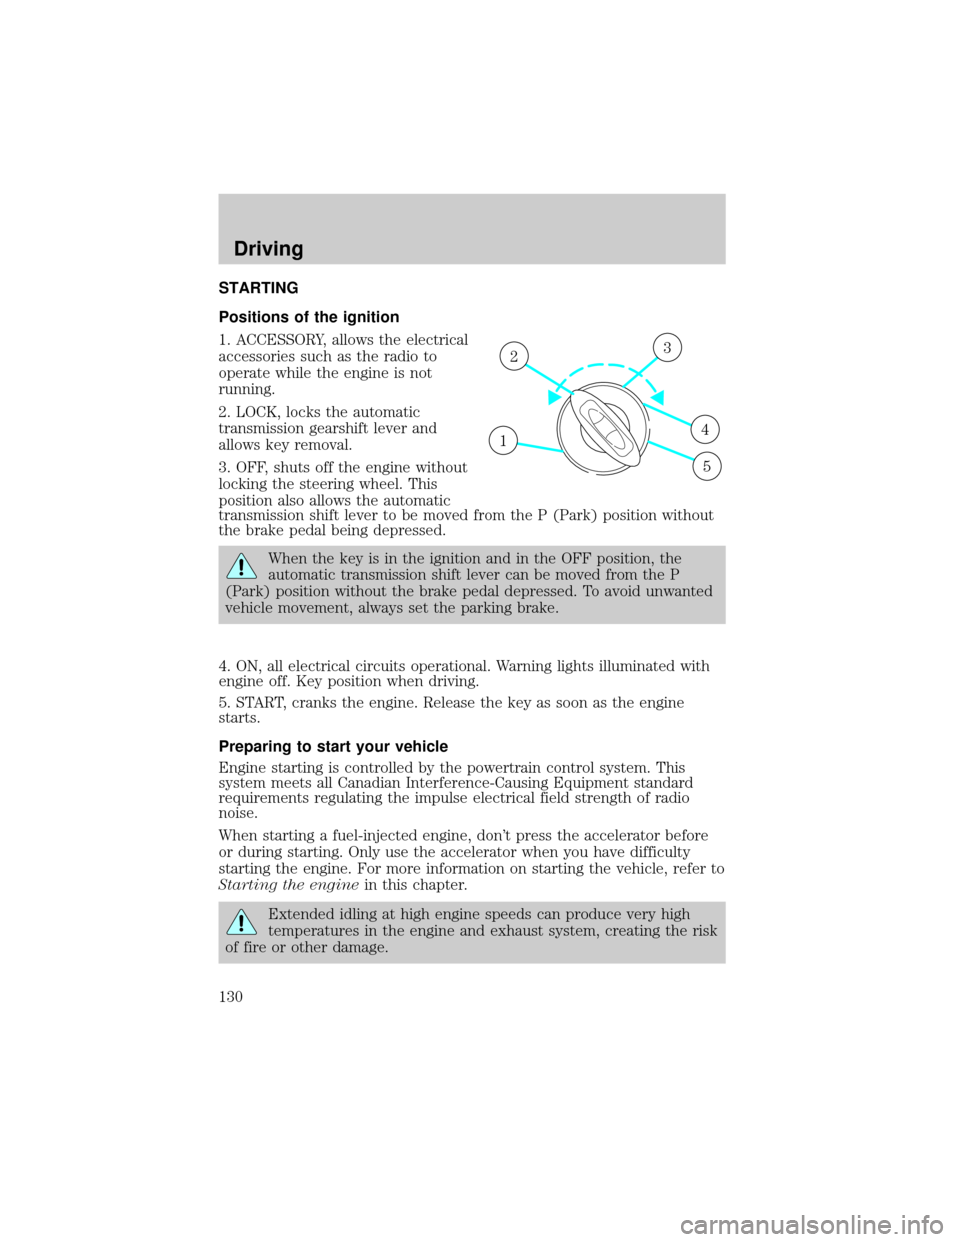
STARTING
Positions of the ignition
1. ACCESSORY, allows the electrical
accessories such as the radio to
operate while the engine is not
running.
2. LOCK, locks the automatic
transmission gearshift lever and
allows key removal.
3. OFF, shuts off the engine without
locking the steering wheel. This
position also allows the automatic
transmission shift lever to be moved from the P (Park) position without
the brake pedal being depressed.
When the key is in the ignition and in the OFF position, the
automatic transmission shift lever can be moved from the P
(Park) position without the brake pedal depressed. To avoid unwanted
vehicle movement, always set the parking brake.
4. ON, all electrical circuits operational. Warning lights illuminated with
engine off. Key position when driving.
5. START, cranks the engine. Release the key as soon as the engine
starts.
Preparing to start your vehicle
Engine starting is controlled by the powertrain control system. This
system meets all Canadian Interference-Causing Equipment standard
requirements regulating the impulse electrical field strength of radio
noise.
When starting a fuel-injected engine, don't press the accelerator before
or during starting. Only use the accelerator when you have difficulty
starting the engine. For more information on starting the vehicle, refer to
Starting the enginein this chapter.
Extended idling at high engine speeds can produce very high
temperatures in the engine and exhaust system, creating the risk
of fire or other damage.
1
23
4
5
Driving
Driving
130
Page 131 of 248
Do not park, idle, or drive your vehicle in dry grass or other dry
ground cover. The emission system heats up the engine
compartment and exhaust system, which can start a fire.
Do not start your vehicle in a closed garage or in other enclosed
areas. Exhaust fumes can be toxic. Always open the garage door
before you start the engine. SeeGuarding against exhaust fumesin
this chapter for more instructions.
If you smell exhaust fumes inside your vehicle, have your dealer
inspect your vehicle immediately. Do not drive if you smell
exhaust fumes.
Important safety precautions
A computer system controls the engine's idle revolutions per minute
(RPM). When the engine starts, the idle RPM runs higher than normal in
order to warm the engine. If the engine idle speed does not slow down
automatically, have the vehicle checked. Do not allow the vehicle to idle
for more than 10 minutes at the higher engine RPM.
Before starting the vehicle:
1. Make sure all occupants buckle their safety belts. For more
information on safety belts and their proper usage, refer to theSeating
and Safety Restraintschapter.
2. Make sure the headlamps and electrical accessories are off.
Driving
131