seat adjustment FORD TAURUS 2013 6.G Owners Manual
[x] Cancel search | Manufacturer: FORD, Model Year: 2013, Model line: TAURUS, Model: FORD TAURUS 2013 6.GPages: 541, PDF Size: 6.11 MB
Page 1 of 541
Introduction 10
Child Safety 18
Child seats...........................................20
Child seat positioning...................................20
Booster seats.........................................22
Installing child seats with lap and shoulder belts................25
Installing child safety seats with lower anchors and tethers for
children.............................................28
Installing child safety seats with tether straps..................30
Child safety locks......................................32
Safety Belts 33
Fastening the safety belts................................35
Safety belt height adjustment.............................38
Safetybeltwarninglightandindicatorchime..................38
Safety belt-minder.....................................39
Child restraint and safety belt maintenance...................41
Personal Safety System 42
Supplementary Restraints System 43
Driver and passenger airbags..............................45
Front passenger sensing system............................46
Side airbags..........................................50
Safety canopy curtain airbags.............................51
Crash sensors and airbag indicator..........................53
Airbag disposal........................................54
Keys and Remote Control 55
General information on radio frequencies.....................55
Remote control........................................56
Keys...............................................56
Replacing a lost key or remote control.......................62
Table of Contents1
2013 Taurus
Owners Guide gf, 1st Printing
USA(fus)
Page 36 of 541
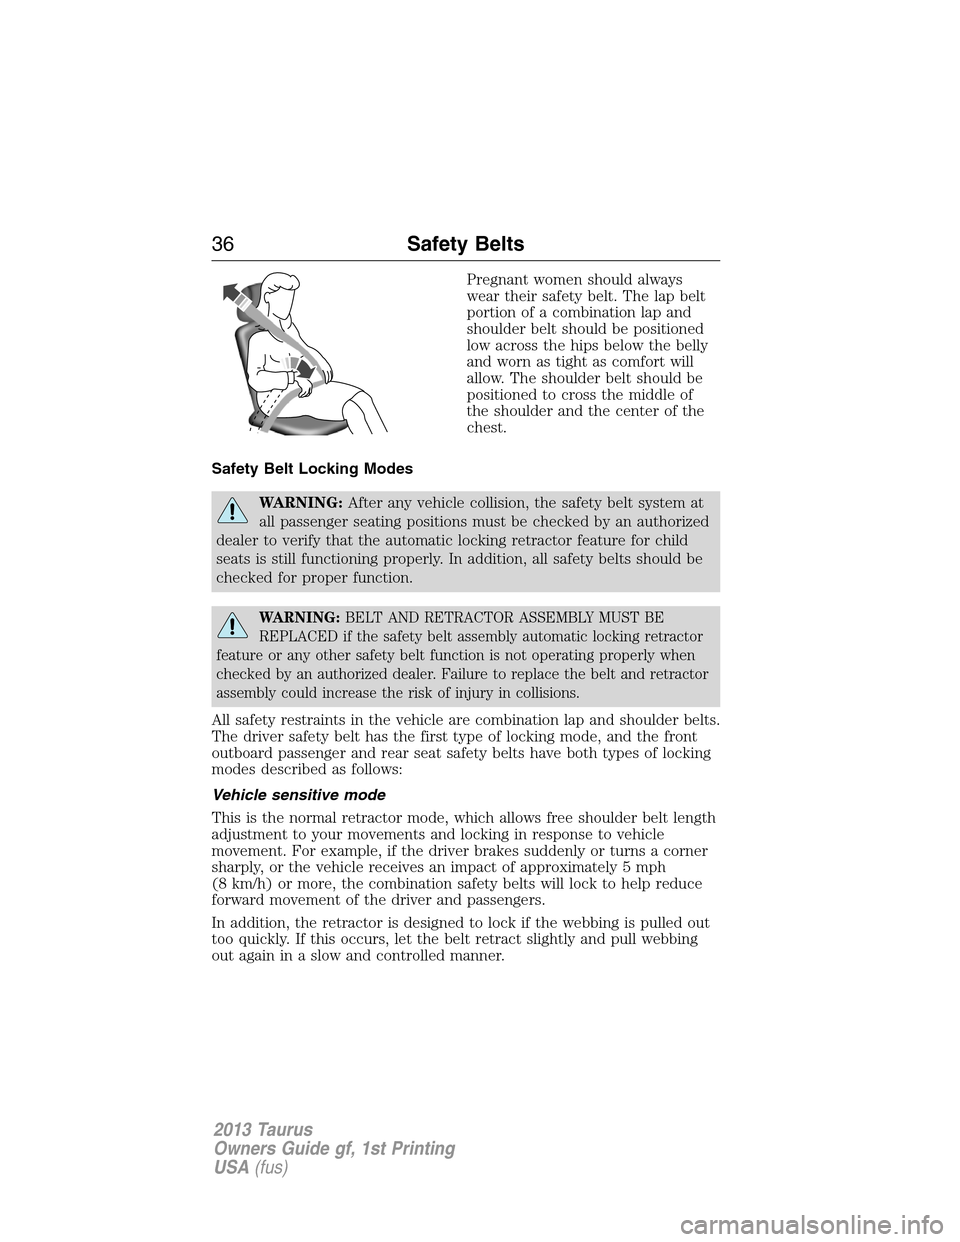
Pregnant women should always
wear their safety belt. The lap belt
portion of a combination lap and
shoulder belt should be positioned
low across the hips below the belly
and worn as tight as comfort will
allow. The shoulder belt should be
positioned to cross the middle of
the shoulder and the center of the
chest.
Safety Belt Locking Modes
WARNING:After any vehicle collision, the safety belt system at
all passenger seating positions must be checked by an authorized
dealer to verify that the automatic locking retractor feature for child
seats is still functioning properly. In addition, all safety belts should be
checked for proper function.
WARNING:BELT AND RETRACTOR ASSEMBLY MUST BE
REPLACED if the safety belt assembly automatic locking retractor
feature or any other safety belt function is not operating properly when
checked by an authorized dealer. Failure to replace the belt and retractor
assembly could increase the risk of injury in collisions.
All safety restraints in the vehicle are combination lap and shoulder belts.
The driver safety belt has the first type of locking mode, and the front
outboard passenger and rear seat safety belts have both types of locking
modes described as follows:
Vehicle sensitive mode
This is the normal retractor mode, which allows free shoulder belt length
adjustment to your movements and locking in response to vehicle
movement. For example, if the driver brakes suddenly or turns a corner
sharply, or the vehicle receives an impact of approximately 5 mph
(8 km/h) or more, the combination safety belts will lock to help reduce
forward movement of the driver and passengers.
In addition, the retractor is designed to lock if the webbing is pulled out
too quickly. If this occurs, let the belt retract slightly and pull webbing
out again in a slow and controlled manner.
36Safety Belts
2013 Taurus
Owners Guide gf, 1st Printing
USA(fus)
Page 45 of 541
DRIVER AND PASSENGER AIRBAGS
WARNING:Never place your arm or any objects over an airbag
module. Placing your arm over a deploying airbag can result in
serious arm fractures or other injuries. Objects placed on or over the
airbag inflation area may cause those objects to be propelled by the
airbag into your face and torso causing serious injury.
WARNING:Airbags can kill or injure a child in a child seat.
Never place a rear-facing child seat in front of an active airbag. If
you must use a forward-facing child seat in the front seat, move the
seat all the way back.
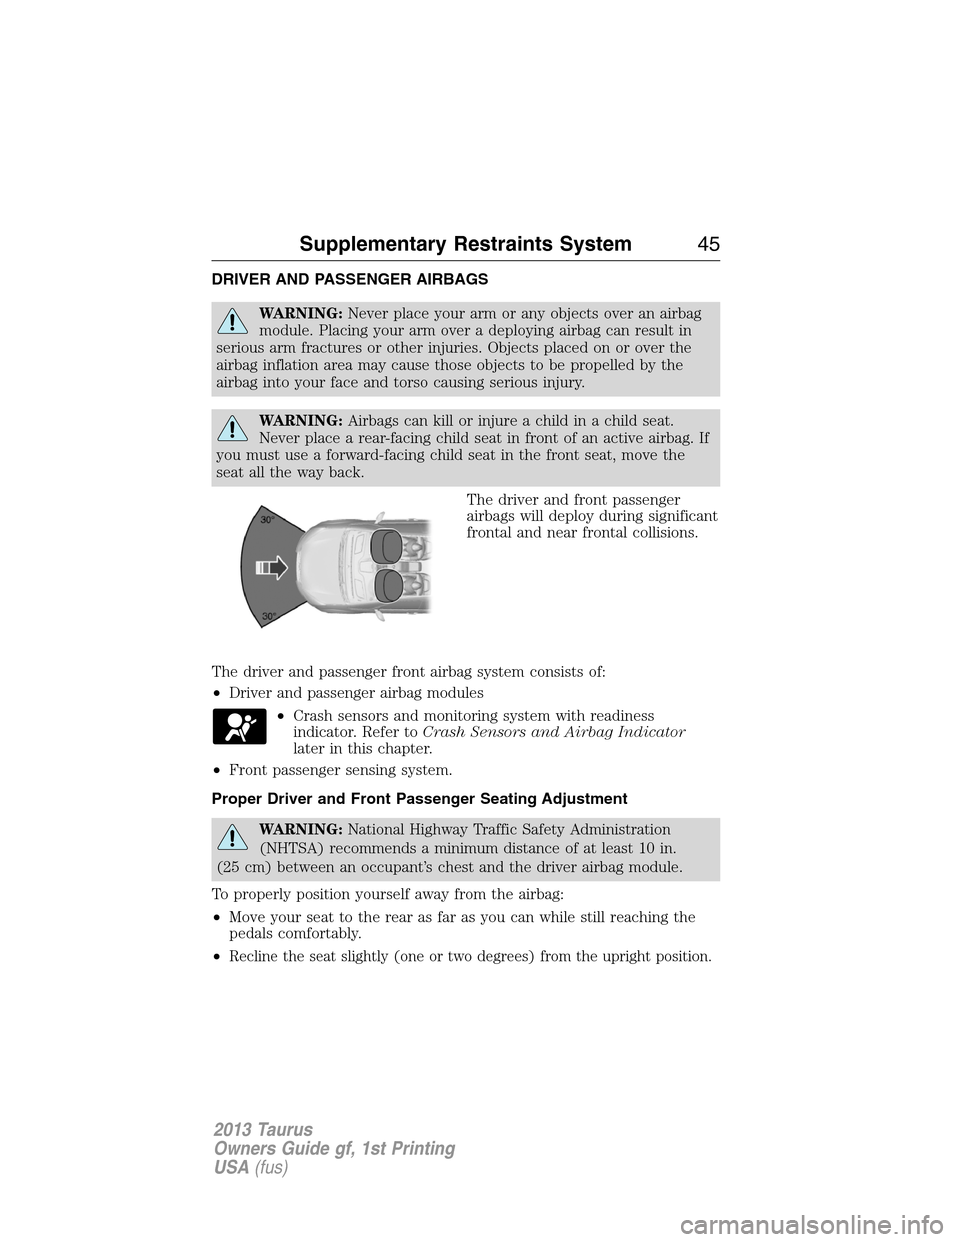
The driver and front passenger
airbags will deploy during significant
frontal and near frontal collisions.
The driver and passenger front airbag system consists of:
•Driver and passenger airbag modules
•Crash sensors and monitoring system with readiness
indicator. Refer toCrash Sensors and Airbag Indicator
later in this chapter.
•Front passenger sensing system.
Proper Driver and Front Passenger Seating Adjustment
WARNING:National Highway Traffic Safety Administration
(NHTSA) recommends a minimum distance of at least 10 in.
(25 cm) between an occupant’s chest and the driver airbag module.
To properly position yourself away from the airbag:
•Move your seat to the rear as far as you can while still reaching the
pedals comfortably.
•
Recline the seat slightly (one or two degrees) from the upright position.
Supplementary Restraints System45
2013 Taurus
Owners Guide gf, 1st Printing
USA(fus)
Page 82 of 541
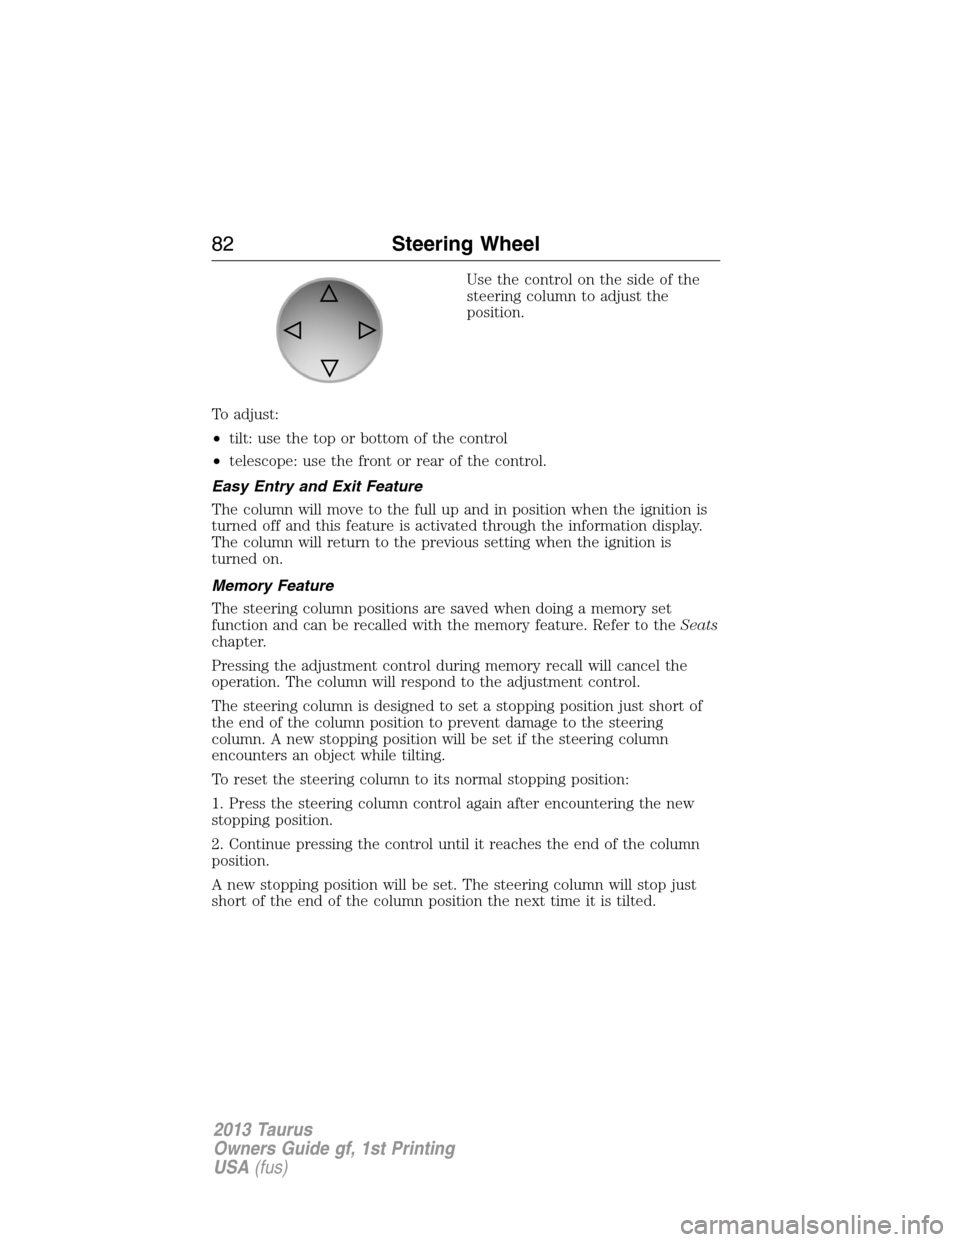
Use the control on the side of the
steering column to adjust the
position.
To adjust:
•tilt: use the top or bottom of the control
•telescope: use the front or rear of the control.
Easy Entry and Exit Feature
The column will move to the full up and in position when the ignition is
turned off and this feature is activated through the information display.
The column will return to the previous setting when the ignition is
turned on.
Memory Feature
The steering column positions are saved when doing a memory set
function and can be recalled with the memory feature. Refer to theSeats
chapter.
Pressing the adjustment control during memory recall will cancel the
operation. The column will respond to the adjustment control.
The steering column is designed to set a stopping position just short of
the end of the column position to prevent damage to the steering
column. A new stopping position will be set if the steering column
encounters an object while tilting.
To reset the steering column to its normal stopping position:
1. Press the steering column control again after encountering the new
stopping position.
2. Continue pressing the control until it reaches the end of the column
position.
A new stopping position will be set. The steering column will stop just
short of the end of the column position the next time it is tilted.
82Steering Wheel
2013 Taurus
Owners Guide gf, 1st Printing
USA(fus)
Page 97 of 541
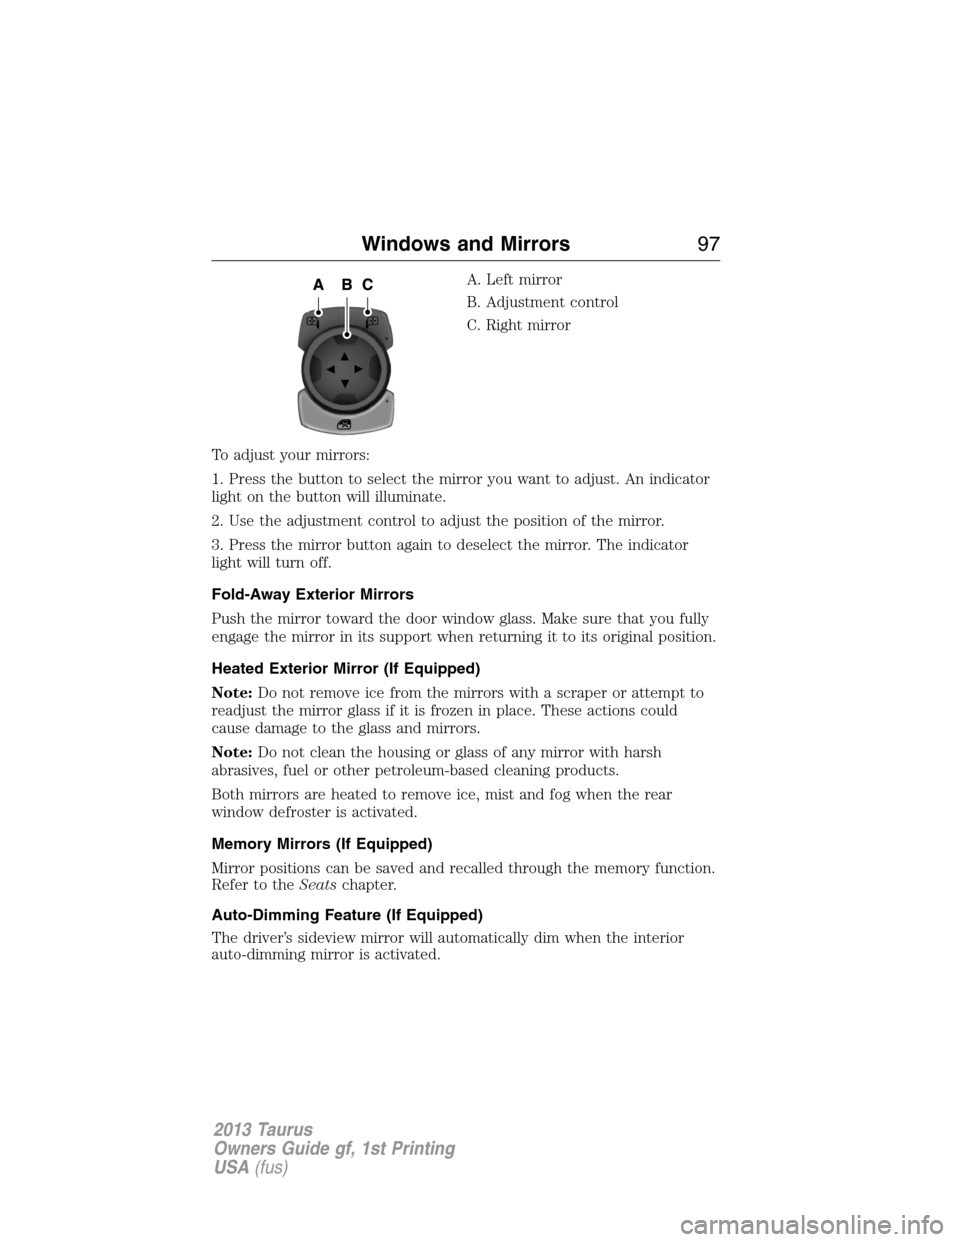
A. Left mirror
B. Adjustment control
C. Right mirror
To adjust your mirrors:
1. Press the button to select the mirror you want to adjust. An indicator
light on the button will illuminate.
2. Use the adjustment control to adjust the position of the mirror.
3. Press the mirror button again to deselect the mirror. The indicator
light will turn off.
Fold-Away Exterior Mirrors
Push the mirror toward the door window glass. Make sure that you fully
engage the mirror in its support when returning it to its original position.
Heated Exterior Mirror (If Equipped)
Note:Do not remove ice from the mirrors with a scraper or attempt to
readjust the mirror glass if it is frozen in place. These actions could
cause damage to the glass and mirrors.
Note:Do not clean the housing or glass of any mirror with harsh
abrasives, fuel or other petroleum-based cleaning products.
Both mirrors are heated to remove ice, mist and fog when the rear
window defroster is activated.
Memory Mirrors (If Equipped)
Mirror positions can be saved and recalled through the memory function.
Refer to theSeatschapter.
Auto-Dimming Feature (If Equipped)
The driver’s sideview mirror will automatically dim when the interior
auto-dimming mirror is activated.
Windows and Mirrors97
2013 Taurus
Owners Guide gf, 1st Printing
USA(fus)
Page 152 of 541
CABIN AIR FILTER
Note:A cabin air filter must be installed at all times to prevent foreign
objects from entering the system. Running the system without a filter in
place could result in degradation or damage to the system.
Your vehicle is equipped with a cabin air filter, which is located just in
front of the windshield under the cowl grille on the passenger side of the
vehicle.
The particulate air filtration system is designed to reduce the
concentration of airborne particles such as dust, spores and pollen in the
air being supplied to the interior of the vehicle. The particulate filtration
system gives the following benefits to customers:
•Improves the customer’s driving comfort by reducing particle
concentration
•Improves the interior compartment cleanliness
•Protects the climate control components from particle deposits
For more information regarding the interval at which you should replace
the cabin air filter, refer to theScheduled Maintenancechapter.
For additional cabin air filter information, or to replace the filter, see an
authorized dealer.
REMOTE START CLIMATE OPERATION (IF EQUIPPED)
The climate control system adjusts the cabin temperature during remote
start.
You cannot adjust the system during remote start operation. Turn the
ignition on to return the system to its previous settings. You can now
make adjustments. You will need to turn certain vehicle-dependent
features back on, such as:
•Heated seats.
•Cooled seats.
•Heated steering wheel.
•Heated mirrors.
•Rear defroster.
You can adjust the settings using the information display controls. See
theInformation Displayschapter.
152Climate Control
2013 Taurus
Owners Guide gf, 1st Printing
USA(fus)
Page 156 of 541
Note:Before adjusting any head restraint, adjust the seatback to an
upright driving/riding position. Properly adjust the head restraint so that
the top of the head restraint is even with the top of your head and
positioned as close as possible to the back of your head. For occupants
of extremely tall stature, adjust the head restraint to its full up position.
To adjust the head restraint, do the following:
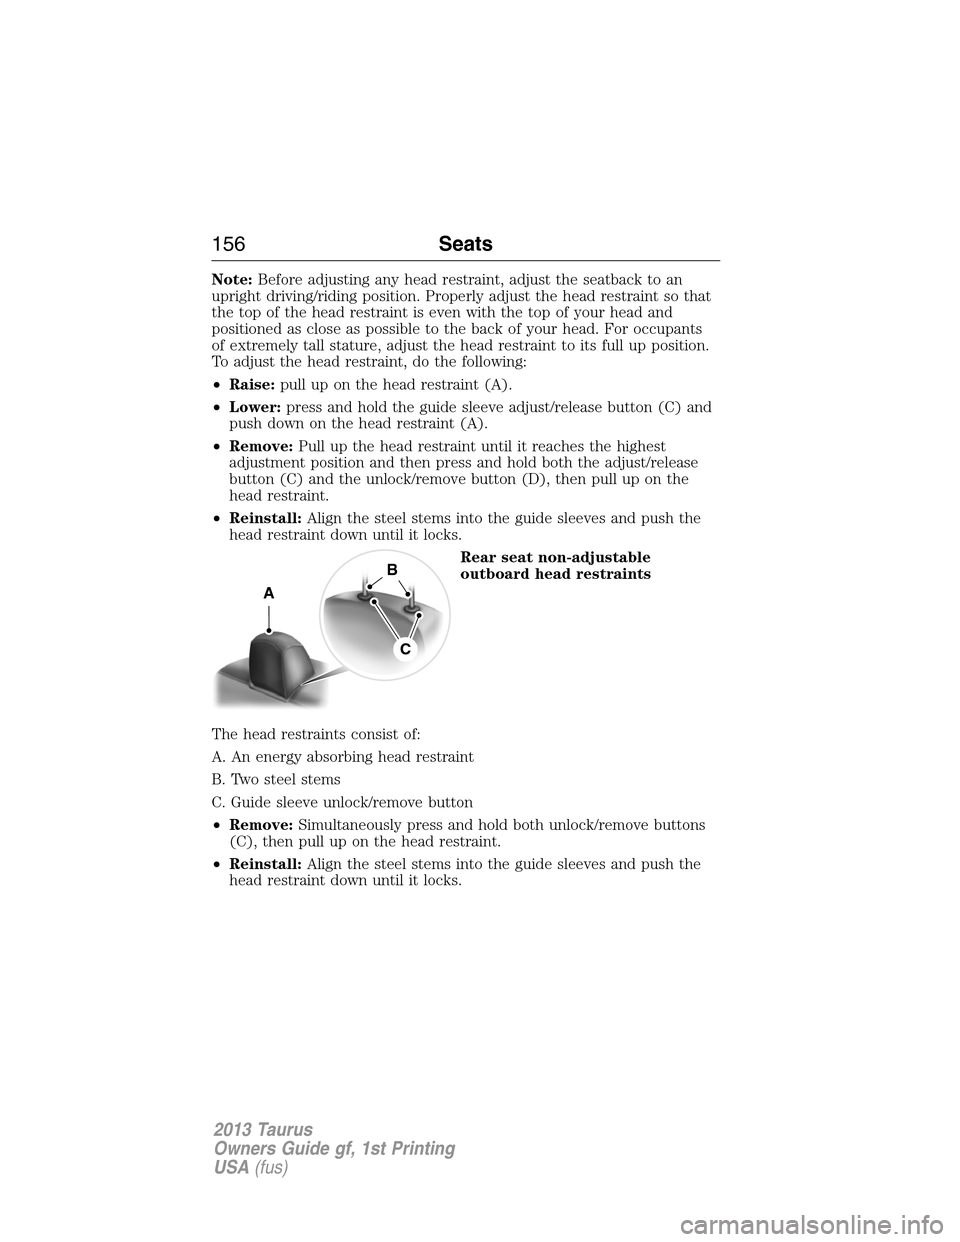
•Raise:pull up on the head restraint (A).
•Lower:press and hold the guide sleeve adjust/release button (C) and
push down on the head restraint (A).
•Remove:Pull up the head restraint until it reaches the highest
adjustment position and then press and hold both the adjust/release
button (C) and the unlock/remove button (D), then pull up on the
head restraint.
•Reinstall:Align the steel stems into the guide sleeves and push the
head restraint down until it locks.
Rear seat non-adjustable
outboard head restraints
The head restraints consist of:
A. An energy absorbing head restraint
B. Two steel stems
C. Guide sleeve unlock/remove button
•Remove:Simultaneously press and hold both unlock/remove buttons
(C), then pull up on the head restraint.
•Reinstall:Align the steel stems into the guide sleeves and push the
head restraint down until it locks.
A
B
C
156Seats
2013 Taurus
Owners Guide gf, 1st Printing
USA(fus)
Page 158 of 541
WARNING:Before returning the seatback to its original position,
make sure that cargo or any objects are not trapped behind the
seatback. After returning the seatback to its original position, pull on
the seatback to ensure that it has fully latched. An unlatched seat may
become dangerous in the event of a sudden stop or collision.
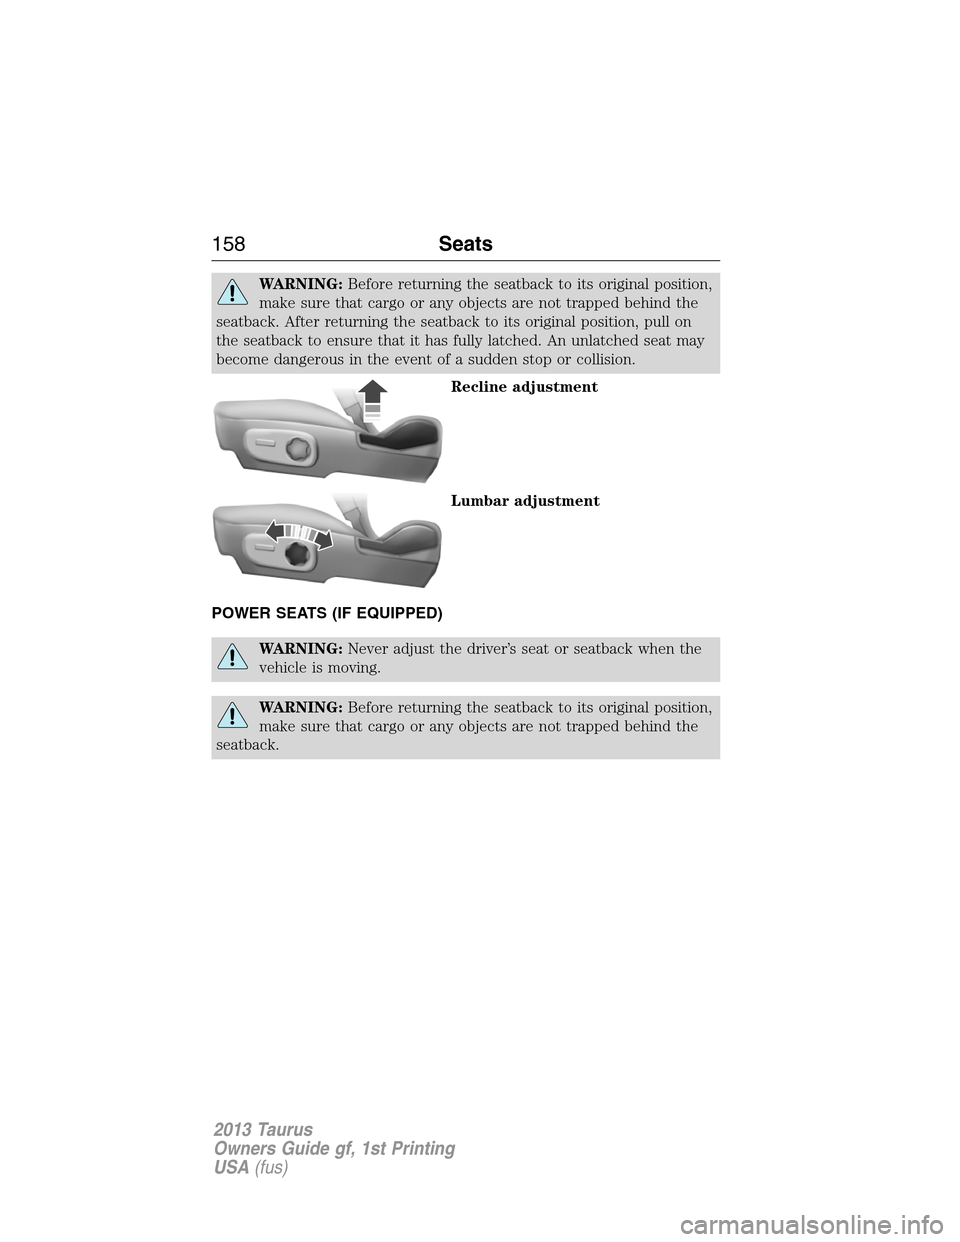
Recline adjustment
Lumbar adjustment
POWER SEATS (IF EQUIPPED)
WARNING:Never adjust the driver’s seat or seatback when the
vehicle is moving.
WARNING:Before returning the seatback to its original position,
make sure that cargo or any objects are not trapped behind the
seatback.
158Seats
2013 Taurus
Owners Guide gf, 1st Printing
USA(fus)
Page 302 of 541
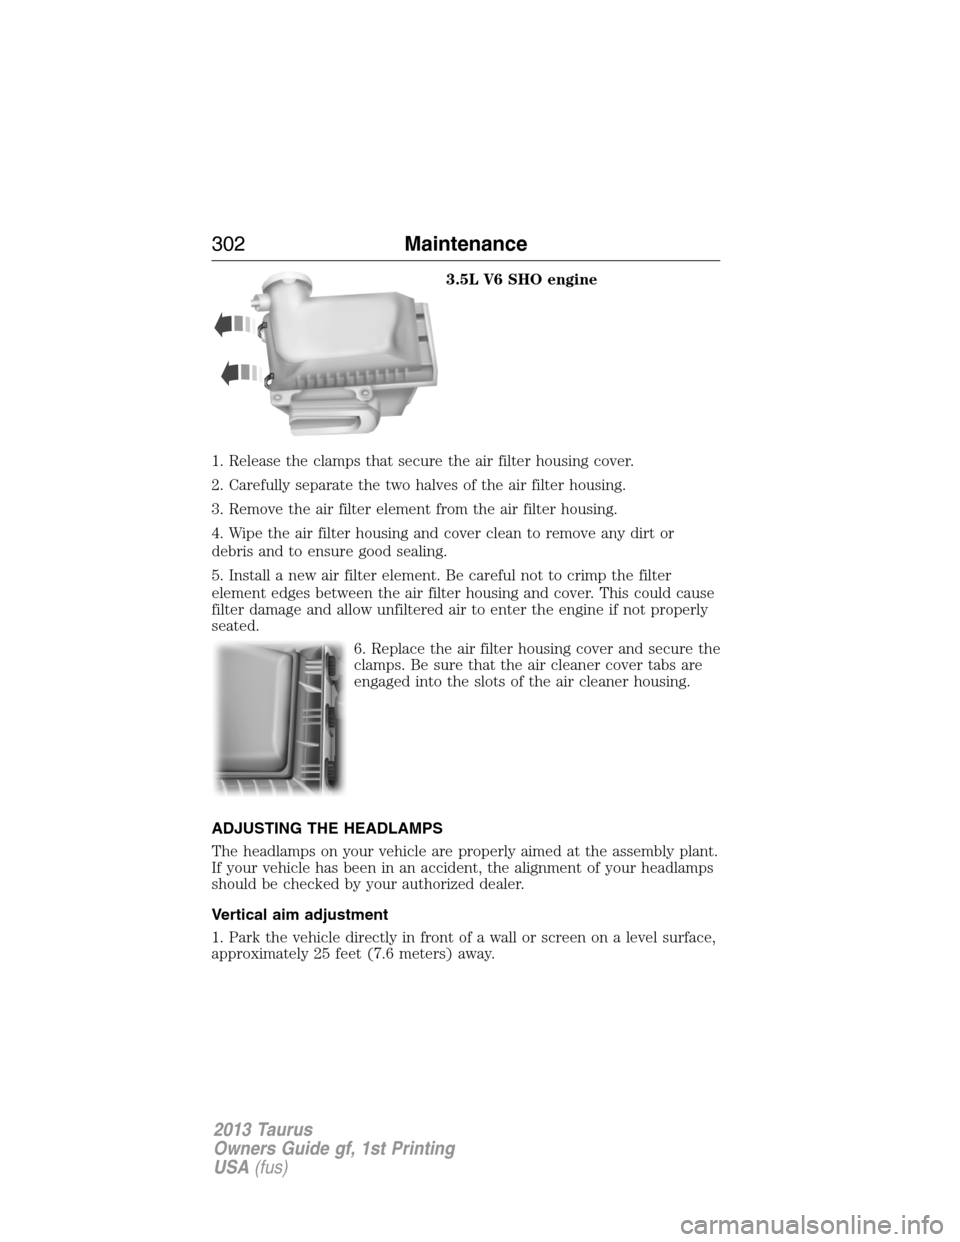
3.5L V6 SHO engine
1. Release the clamps that secure the air filter housing cover.
2. Carefully separate the two halves of the air filter housing.
3. Remove the air filter element from the air filter housing.
4. Wipe the air filter housing and cover clean to remove any dirt or
debris and to ensure good sealing.
5. Install a new air filter element. Be careful not to crimp the filter
element edges between the air filter housing and cover. This could cause
filter damage and allow unfiltered air to enter the engine if not properly
seated.
6. Replace the air filter housing cover and secure the
clamps. Be sure that the air cleaner cover tabs are
engaged into the slots of the air cleaner housing.
ADJUSTING THE HEADLAMPS
The headlamps on your vehicle are properly aimed at the assembly plant.
If your vehicle has been in an accident, the alignment of your headlamps
should be checked by your authorized dealer.
Vertical aim adjustment
1. Park the vehicle directly in front of a wall or screen on a level surface,
approximately 25 feet (7.6 meters) away.
302Maintenance
2013 Taurus
Owners Guide gf, 1st Printing
USA(fus)
Page 438 of 541
•SOUND: Touch the word to access the Sound menu where you can make
adjustments to settings such as: Bass, Treble, Midrange, Balance and
Fade, THX Deep Note Demo (if equipped), DSP (if equipped),
Occupancy Mode (if equipped), and Speed Compensated Volume settings.
•Hazard flasher: Press the button to turn the hazard flashers on or off.
Cleaning the Touchscreen Display
Clean the display with a clean, soft cloth such as one used for cleaning
glasses. If dirt or finger prints are still visible, apply a small amount of
alcohol to the cloth. Do not pour or spray alcohol onto the display. Do
not use detergent or any type of solvent to clean the display.
Support
The SYNC support team is available to help you with any questions you
aren’t able to answer on your own.
Monday-Saturday, 8:30 am-8pm EST
In the United States, call: 1–888–270–1055
In Canada, call: 1–800–565–3673
Times are subject to change due to holidays.
Safety Information
WARNING:Driving while distracted can result in loss of vehicle
control, accident and injury. Ford strongly recommends that
drivers use extreme caution when using any device that may take their
focus off the road. Your primary responsibility is the safe operation of
the vehicle. We recommend against the use of any handheld device
while driving, encourage the use of voice-operated systems when
possible and that you become aware of applicable state and local laws
that may affect use of electronic devices while driving.
When using SYNC, do not:
•Operate playing devices if the power cords or cables are broken, split
or damaged. Carefully place cords and cables where they cannot be
stepped on or interfere with the operation of pedals, seats,
compartments or safe driving abilities.
•Leave playing devices in the vehicle during extreme conditions as it
could cause them damage. Refer to your device’s user guide for further
information.
•Attempt to service or repair the system. See your authorized dealer.
438MyFord Touch™ (If Equipped)
2013 Taurus
Owners Guide gf, 1st Printing
USA(fus)