light FORD THUNDERBIRD 2002 11.G User Guide
[x] Cancel search | Manufacturer: FORD, Model Year: 2002, Model line: THUNDERBIRD, Model: FORD THUNDERBIRD 2002 11.GPages: 248, PDF Size: 2.1 MB
Page 20 of 248
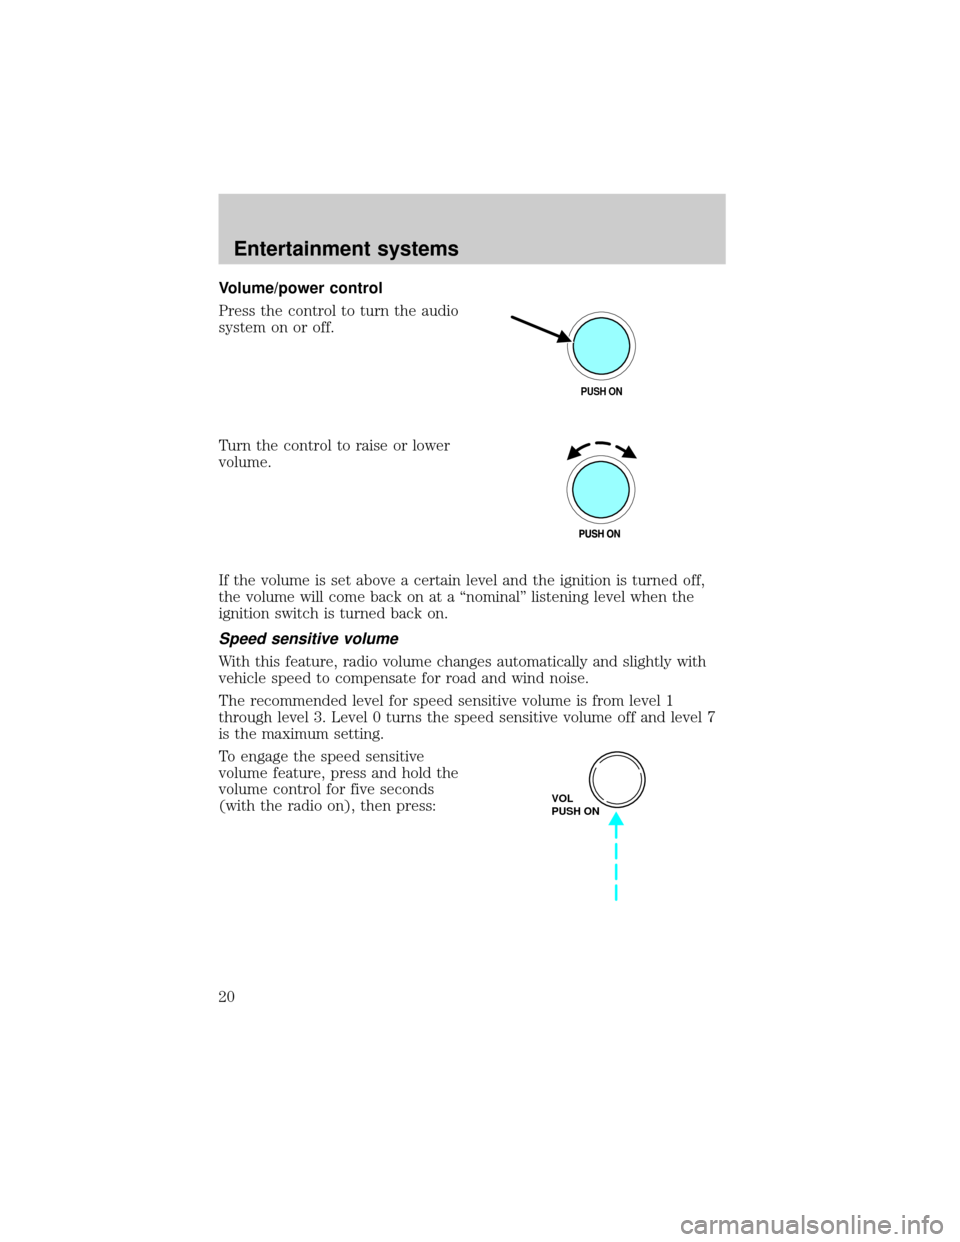
Volume/power control
Press the control to turn the audio
system on or off.
Turn the control to raise or lower
volume.
If the volume is set above a certain level and the ignition is turned off,
the volume will come back on at a ªnominalº listening level when the
ignition switch is turned back on.
Speed sensitive volume
With this feature, radio volume changes automatically and slightly with
vehicle speed to compensate for road and wind noise.
The recommended level for speed sensitive volume is from level 1
through level 3. Level 0 turns the speed sensitive volume off and level 7
is the maximum setting.
To engage the speed sensitive
volume feature, press and hold the
volume control for five seconds
(with the radio on), then press:
PUSH ON
VOL
PUSH ON
Entertainment systems
20
Page 24 of 248
Starting autostore
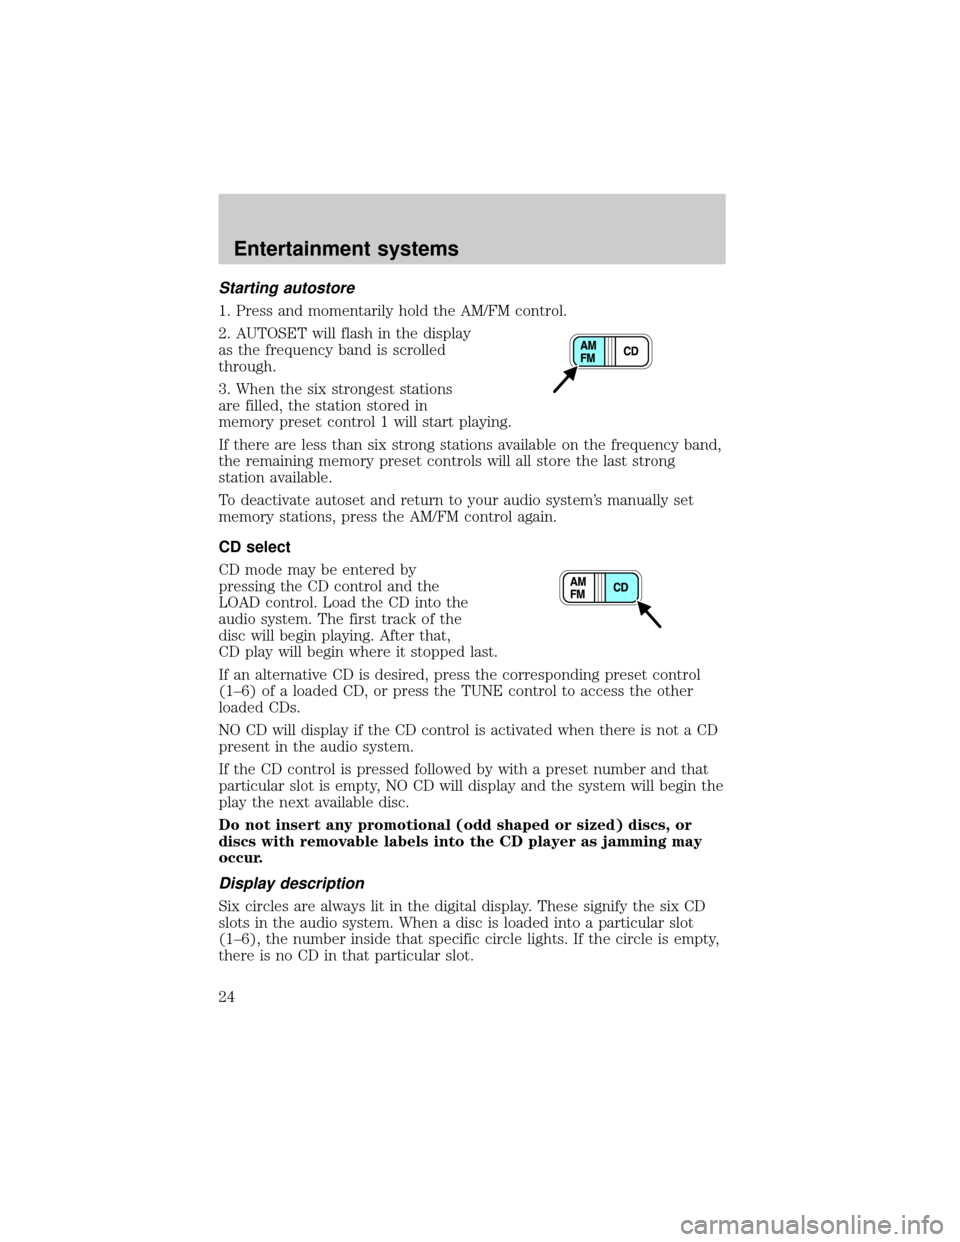
1. Press and momentarily hold the AM/FM control.
2. AUTOSET will flash in the display
as the frequency band is scrolled
through.
3. When the six strongest stations
are filled, the station stored in
memory preset control 1 will start playing.
If there are less than six strong stations available on the frequency band,
the remaining memory preset controls will all store the last strong
station available.
To deactivate autoset and return to your audio system's manually set
memory stations, press the AM/FM control again.
CD select
CD mode may be entered by
pressing the CD control and the
LOAD control. Load the CD into the
audio system. The first track of the
disc will begin playing. After that,
CD play will begin where it stopped last.
If an alternative CD is desired, press the corresponding preset control
(1±6) of a loaded CD, or press the TUNE control to access the other
loaded CDs.
NO CD will display if the CD control is activated when there is not a CD
present in the audio system.
If the CD control is pressed followed by with a preset number and that
particular slot is empty, NO CD will display and the system will begin the
play the next available disc.
Do not insert any promotional (odd shaped or sized) discs, or
discs with removable labels into the CD player as jamming may
occur.
Display description
Six circles are always lit in the digital display. These signify the six CD
slots in the audio system. When a disc is loaded into a particular slot
(1±6), the number inside that specific circle lights. If the circle is empty,
there is no CD in that particular slot.
Entertainment systems
24
Page 33 of 248
Setting the clock
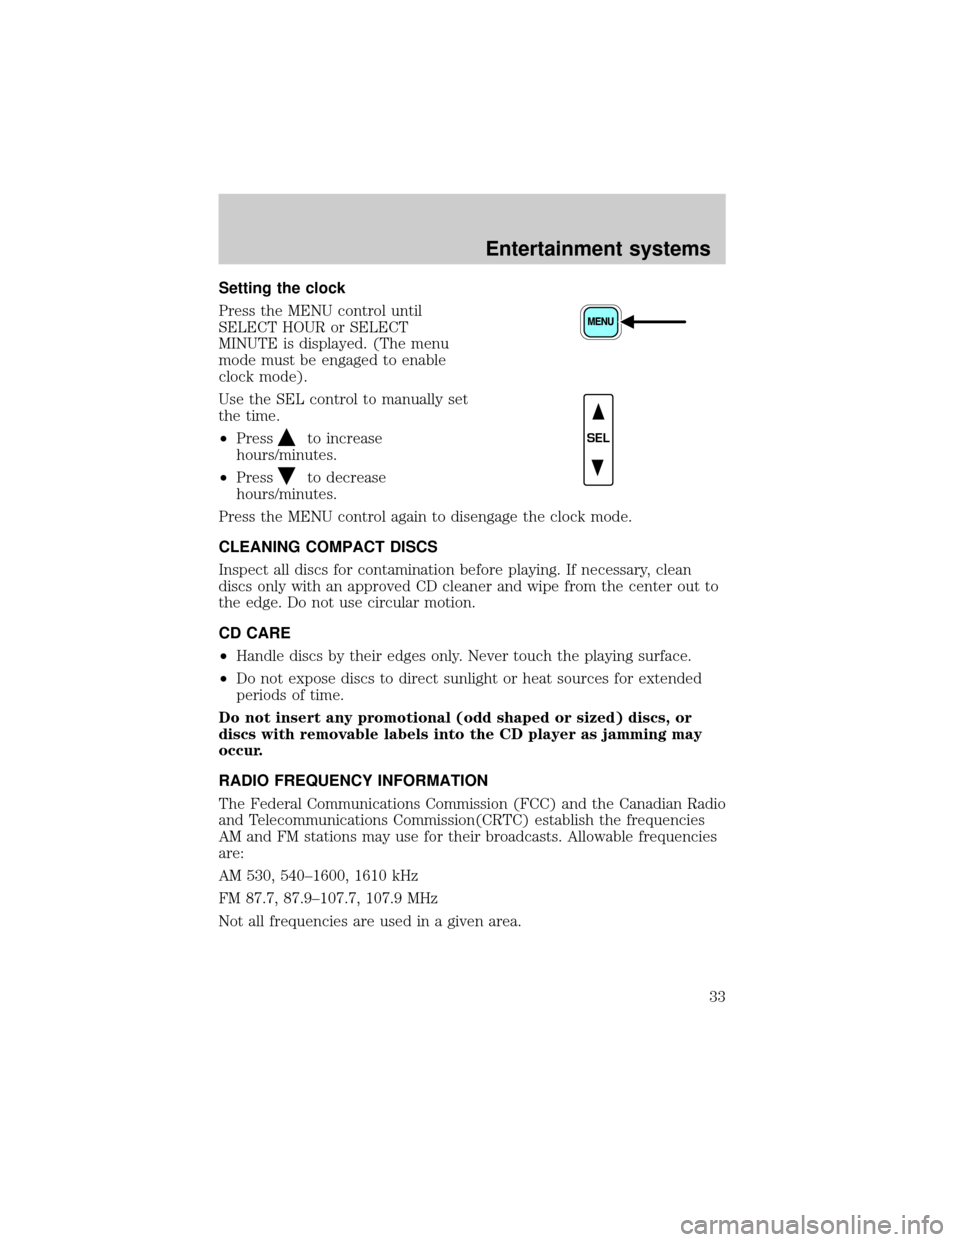
Press the MENU control until
SELECT HOUR or SELECT
MINUTE is displayed. (The menu
mode must be engaged to enable
clock mode).
Use the SEL control to manually set
the time.
²Press
to increase
hours/minutes.
²Press
to decrease
hours/minutes.
Press the MENU control again to disengage the clock mode.
CLEANING COMPACT DISCS
Inspect all discs for contamination before playing. If necessary, clean
discs only with an approved CD cleaner and wipe from the center out to
the edge. Do not use circular motion.
CD CARE
²Handle discs by their edges only. Never touch the playing surface.
²Do not expose discs to direct sunlight or heat sources for extended
periods of time.
Do not insert any promotional (odd shaped or sized) discs, or
discs with removable labels into the CD player as jamming may
occur.
RADIO FREQUENCY INFORMATION
The Federal Communications Commission (FCC) and the Canadian Radio
and Telecommunications Commission(CRTC) establish the frequencies
AM and FM stations may use for their broadcasts. Allowable frequencies
are:
AM 530, 540±1600, 1610 kHz
FM 87.7, 87.9±107.7, 107.9 MHz
Not all frequencies are used in a given area.
SEL
Entertainment systems
33
Page 34 of 248

RADIO RECEPTION FACTORS
Three factors can affect radio reception:
²Distance/strength.The further an FM signal travels, the weaker it is.
The listenable range of the average FM station is approximately 40 km
(24 miles). This range can be affected by ªsignal modulation.º Signal
modulation is a process radio stations use to increase their
strength/volume relative to other stations.
²Terrain.Hills, mountains and tall buildings between your vehicle's
antenna and the radio station signal can cause FM reception problems.
Static can be caused on AM stations by power lines, electric fences,
traffic lights and thunderstorms. Moving away from an interfering
structure (out of its ªshadowº) returns your reception to normal.
²Station overload.Weak signals are sometimes captured by stronger
signals when you pass a broadcast tower. A stronger signal may
temporarily overtake a weaker signal and play while the weak station
frequency is displayed.
The audio system automatically switches to single channel reception if it
will improve the reception of a station normally received in stereo.
AUDIO SYSTEM WARRANTIES AND SERVICE
Refer to theWarranty Guidefor audio system warranty information.
If service is necessary, see your dealer or a qualified technician.
Entertainment systems
34
Page 38 of 248
DATC automatic operation
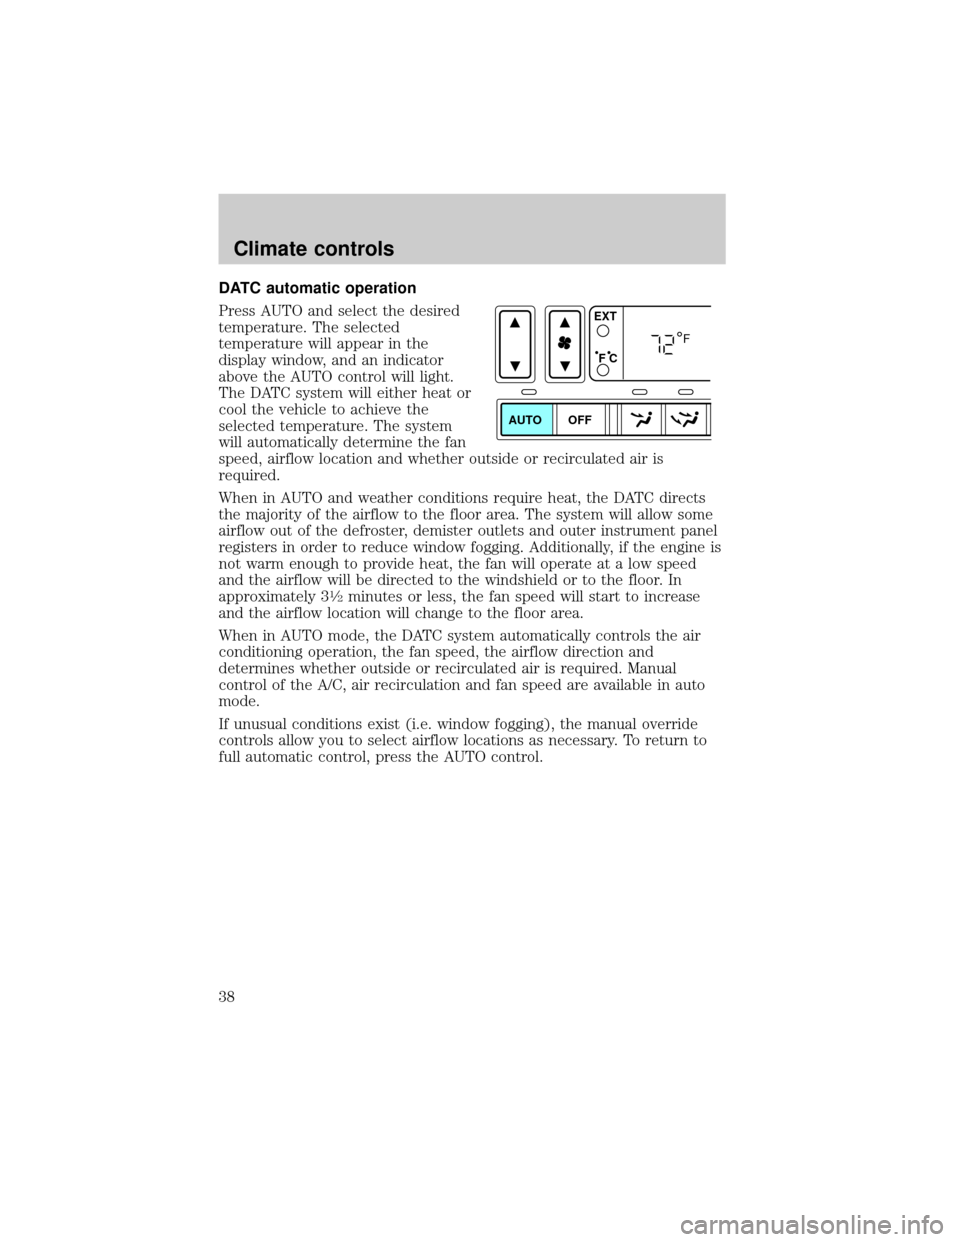
Press AUTO and select the desired
temperature. The selected
temperature will appear in the
display window, and an indicator
above the AUTO control will light.
The DATC system will either heat or
cool the vehicle to achieve the
selected temperature. The system
will automatically determine the fan
speed, airflow location and whether outside or recirculated air is
required.
When in AUTO and weather conditions require heat, the DATC directs
the majority of the airflow to the floor area. The system will allow some
airflow out of the defroster, demister outlets and outer instrument panel
registers in order to reduce window fogging. Additionally, if the engine is
not warm enough to provide heat, the fan will operate at a low speed
and the airflow will be directed to the windshield or to the floor. In
approximately 3
1¤2minutes or less, the fan speed will start to increase
and the airflow location will change to the floor area.
When in AUTO mode, the DATC system automatically controls the air
conditioning operation, the fan speed, the airflow direction and
determines whether outside or recirculated air is required. Manual
control of the A/C, air recirculation and fan speed are available in auto
mode.
If unusual conditions exist (i.e. window fogging), the manual override
controls allow you to select airflow locations as necessary. To return to
full automatic control, press the AUTO control.
AUTO OFFEXT
F C
F
Climate controls
38
Page 43 of 248
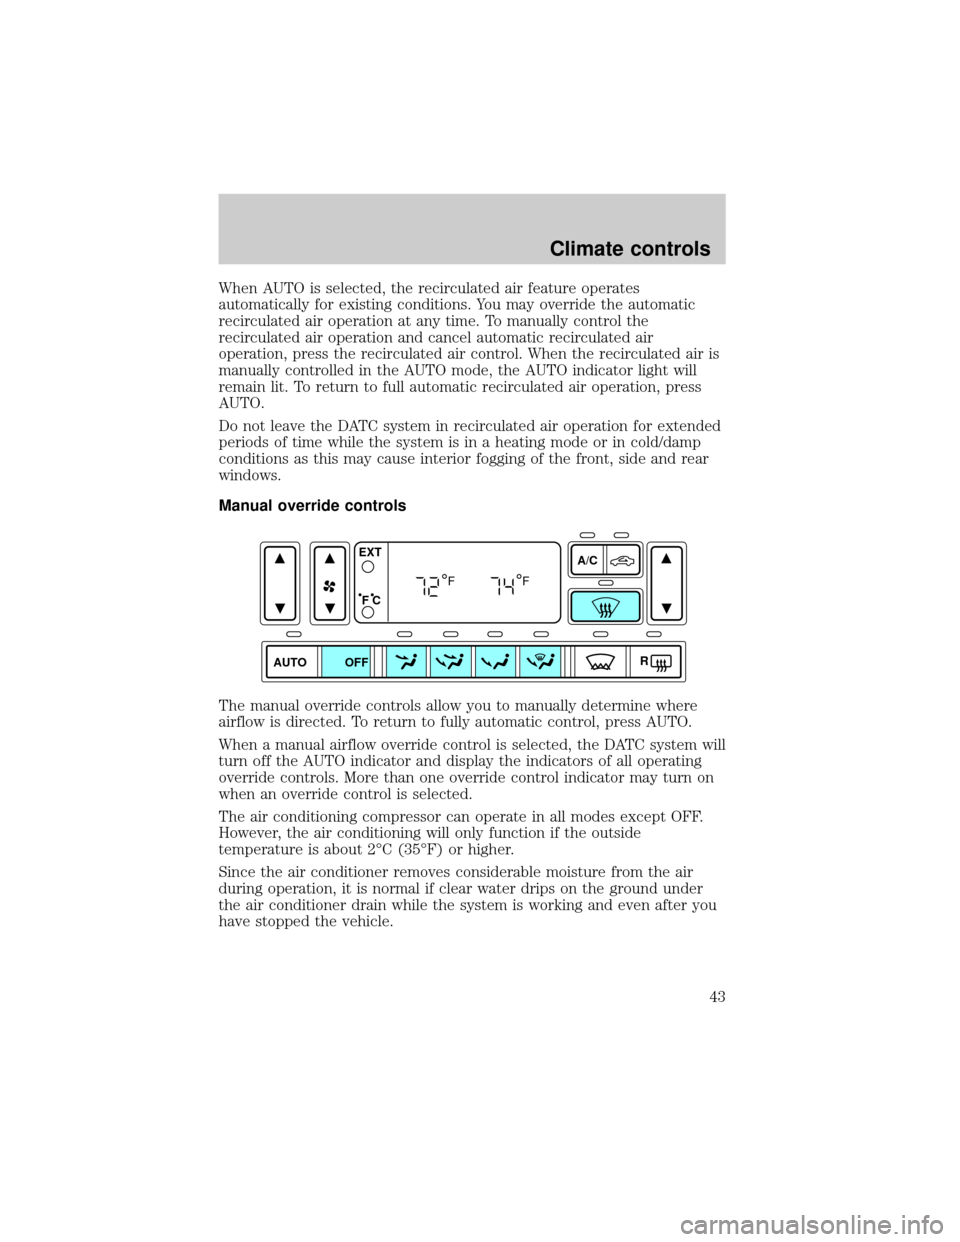
When AUTO is selected, the recirculated air feature operates
automatically for existing conditions. You may override the automatic
recirculated air operation at any time. To manually control the
recirculated air operation and cancel automatic recirculated air
operation, press the recirculated air control. When the recirculated air is
manually controlled in the AUTO mode, the AUTO indicator light will
remain lit. To return to full automatic recirculated air operation, press
AUTO.
Do not leave the DATC system in recirculated air operation for extended
periods of time while the system is in a heating mode or in cold/damp
conditions as this may cause interior fogging of the front, side and rear
windows.
Manual override controls
The manual override controls allow you to manually determine where
airflow is directed. To return to fully automatic control, press AUTO.
When a manual airflow override control is selected, the DATC system will
turn off the AUTO indicator and display the indicators of all operating
override controls. More than one override control indicator may turn on
when an override control is selected.
The air conditioning compressor can operate in all modes except OFF.
However, the air conditioning will only function if the outside
temperature is about 2ÉC (35ÉF) or higher.
Since the air conditioner removes considerable moisture from the air
during operation, it is normal if clear water drips on the ground under
the air conditioner drain while the system is working and even after you
have stopped the vehicle.
AUTO
A/C
R EXT
F C
FF
OFF
Climate controls
43
Page 44 of 248
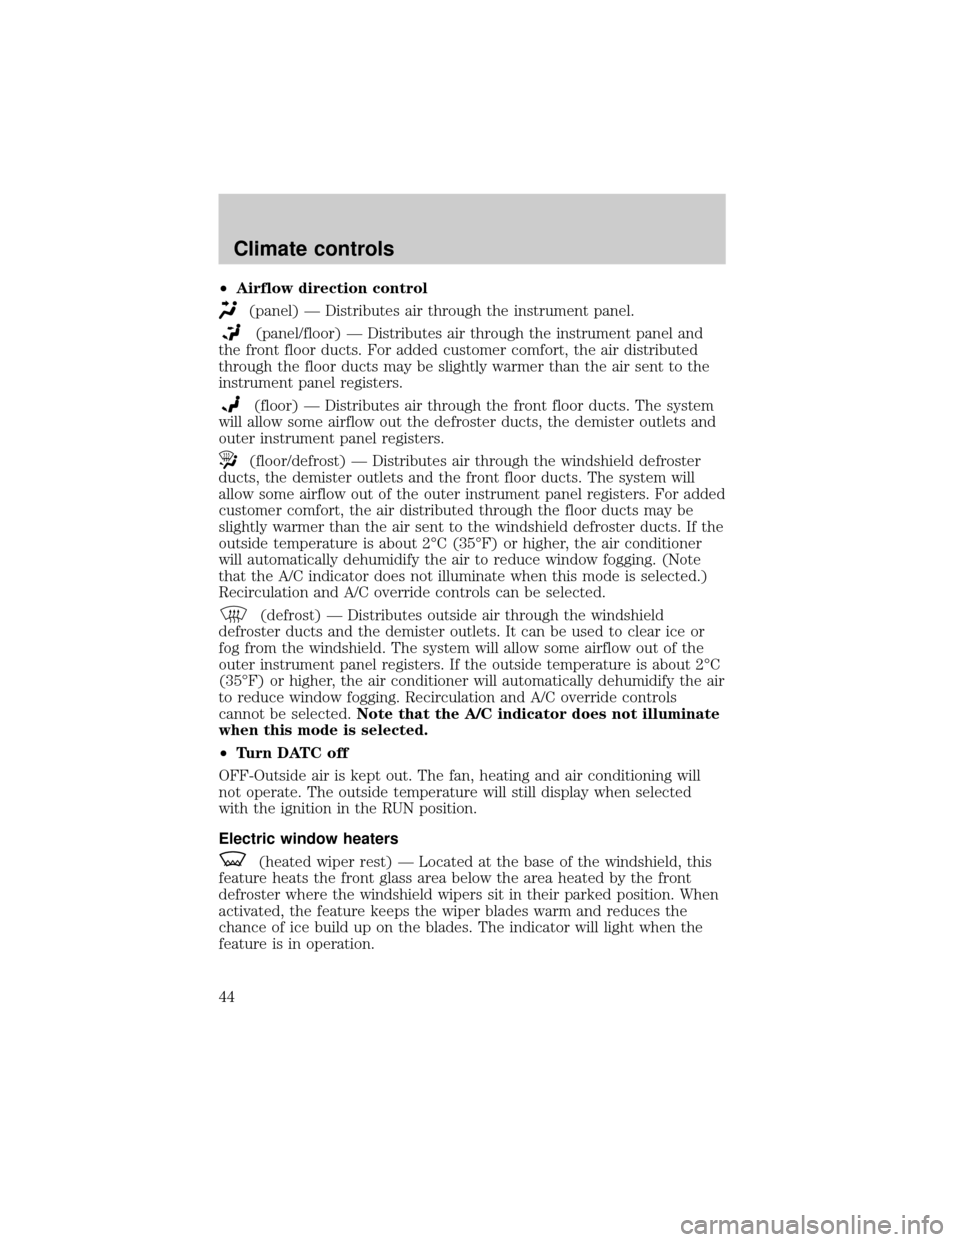
²Airflow direction control
(panel) Ð Distributes air through the instrument panel.
(panel/floor) Ð Distributes air through the instrument panel and
the front floor ducts. For added customer comfort, the air distributed
through the floor ducts may be slightly warmer than the air sent to the
instrument panel registers.
(floor) Ð Distributes air through the front floor ducts. The system
will allow some airflow out the defroster ducts, the demister outlets and
outer instrument panel registers.
(floor/defrost) Ð Distributes air through the windshield defroster
ducts, the demister outlets and the front floor ducts. The system will
allow some airflow out of the outer instrument panel registers. For added
customer comfort, the air distributed through the floor ducts may be
slightly warmer than the air sent to the windshield defroster ducts. If the
outside temperature is about 2ÉC (35ÉF) or higher, the air conditioner
will automatically dehumidify the air to reduce window fogging. (Note
that the A/C indicator does not illuminate when this mode is selected.)
Recirculation and A/C override controls can be selected.
(defrost) Ð Distributes outside air through the windshield
defroster ducts and the demister outlets. It can be used to clear ice or
fog from the windshield. The system will allow some airflow out of the
outer instrument panel registers. If the outside temperature is about 2ÉC
(35ÉF) or higher, the air conditioner will automatically dehumidify the air
to reduce window fogging. Recirculation and A/C override controls
cannot be selected.Note that the A/C indicator does not illuminate
when this mode is selected.
²Turn DATC off
OFF-Outside air is kept out. The fan, heating and air conditioning will
not operate. The outside temperature will still display when selected
with the ignition in the RUN position.
Electric window heaters
(heated wiper rest) Ð Located at the base of the windshield, this
feature heats the front glass area below the area heated by the front
defroster where the windshield wipers sit in their parked position. When
activated, the feature keeps the wiper blades warm and reduces the
chance of ice build up on the blades. The indicator will light when the
feature is in operation.
Climate controls
44
Page 49 of 248
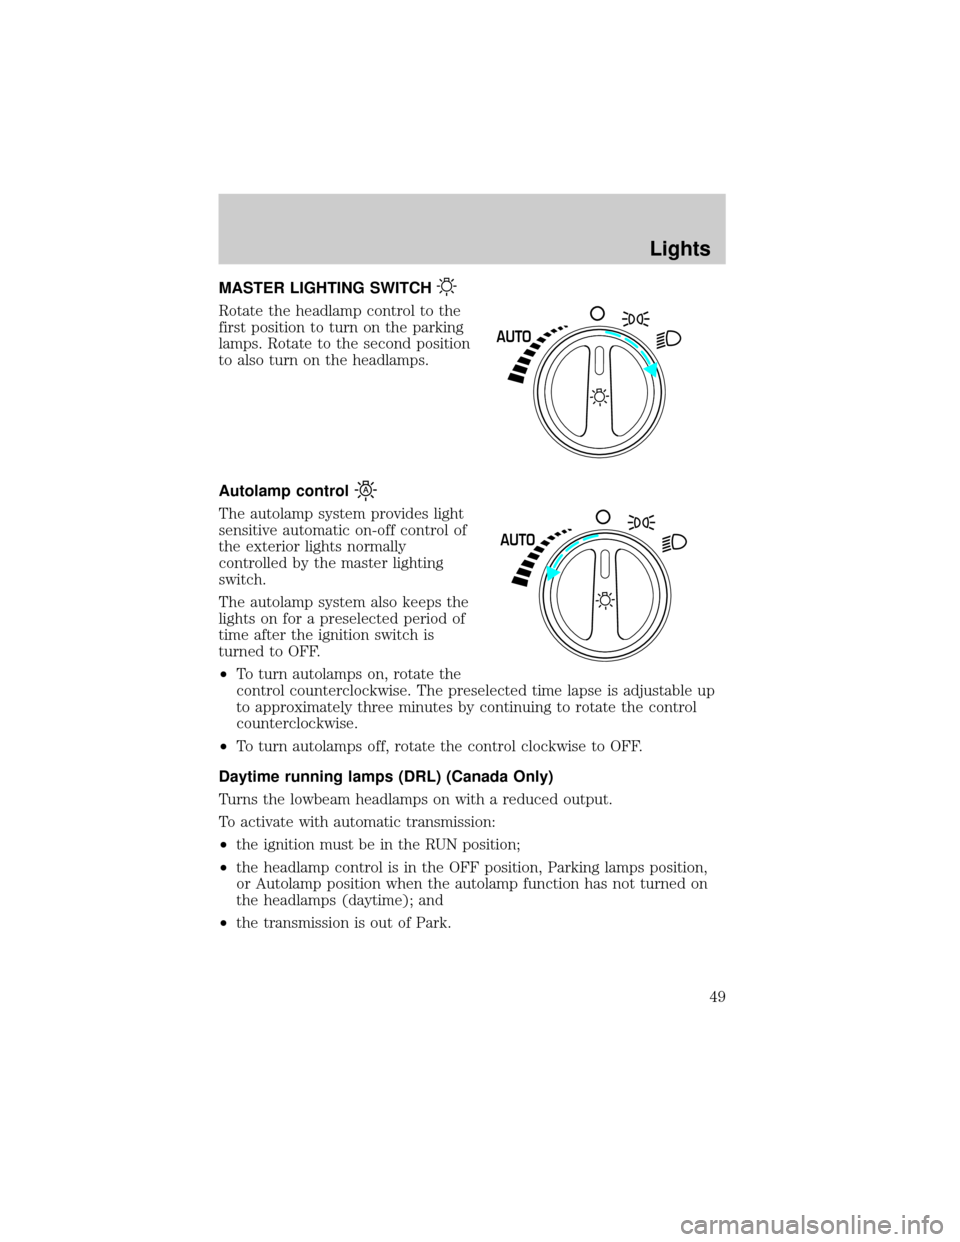
MASTER LIGHTING SWITCH
Rotate the headlamp control to the
first position to turn on the parking
lamps. Rotate to the second position
to also turn on the headlamps.
Autolamp control
The autolamp system provides light
sensitive automatic on-off control of
the exterior lights normally
controlled by the master lighting
switch.
The autolamp system also keeps the
lights on for a preselected period of
time after the ignition switch is
turned to OFF.
²To turn autolamps on, rotate the
control counterclockwise. The preselected time lapse is adjustable up
to approximately three minutes by continuing to rotate the control
counterclockwise.
²To turn autolamps off, rotate the control clockwise to OFF.
Daytime running lamps (DRL) (Canada Only)
Turns the lowbeam headlamps on with a reduced output.
To activate with automatic transmission:
²the ignition must be in the RUN position;
²the headlamp control is in the OFF position, Parking lamps position,
or Autolamp position when the autolamp function has not turned on
the headlamps (daytime); and
²the transmission is out of Park.
AUTO
AUTO
Lights
49
Page 50 of 248
Always remember to turn on your headlamps at dusk or during
inclement weather. The Daytime Running Light (DRL) System
does not activate your tail lamps and generally may not provide
adequate lighting during these conditions. Failure to activate your
headlamps under these conditions may result in a collision.
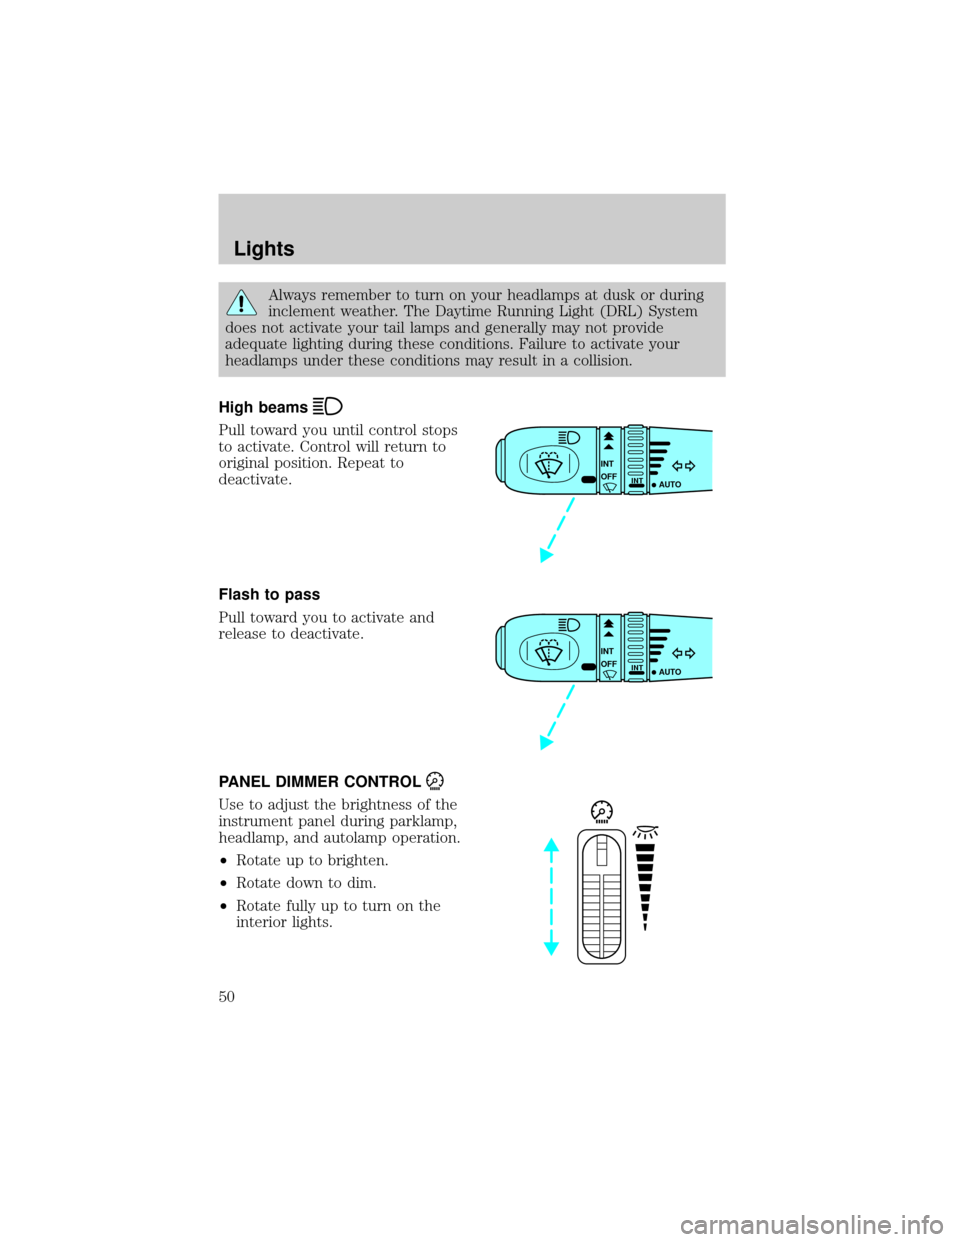
High beams
Pull toward you until control stops
to activate. Control will return to
original position. Repeat to
deactivate.
Flash to pass
Pull toward you to activate and
release to deactivate.
PANEL DIMMER CONTROL
Use to adjust the brightness of the
instrument panel during parklamp,
headlamp, and autolamp operation.
²Rotate up to brighten.
²Rotate down to dim.
²Rotate fully up to turn on the
interior lights.
INT
INTOFF
AUTO
INT
INTOFF
AUTO
Lights
50
Page 51 of 248
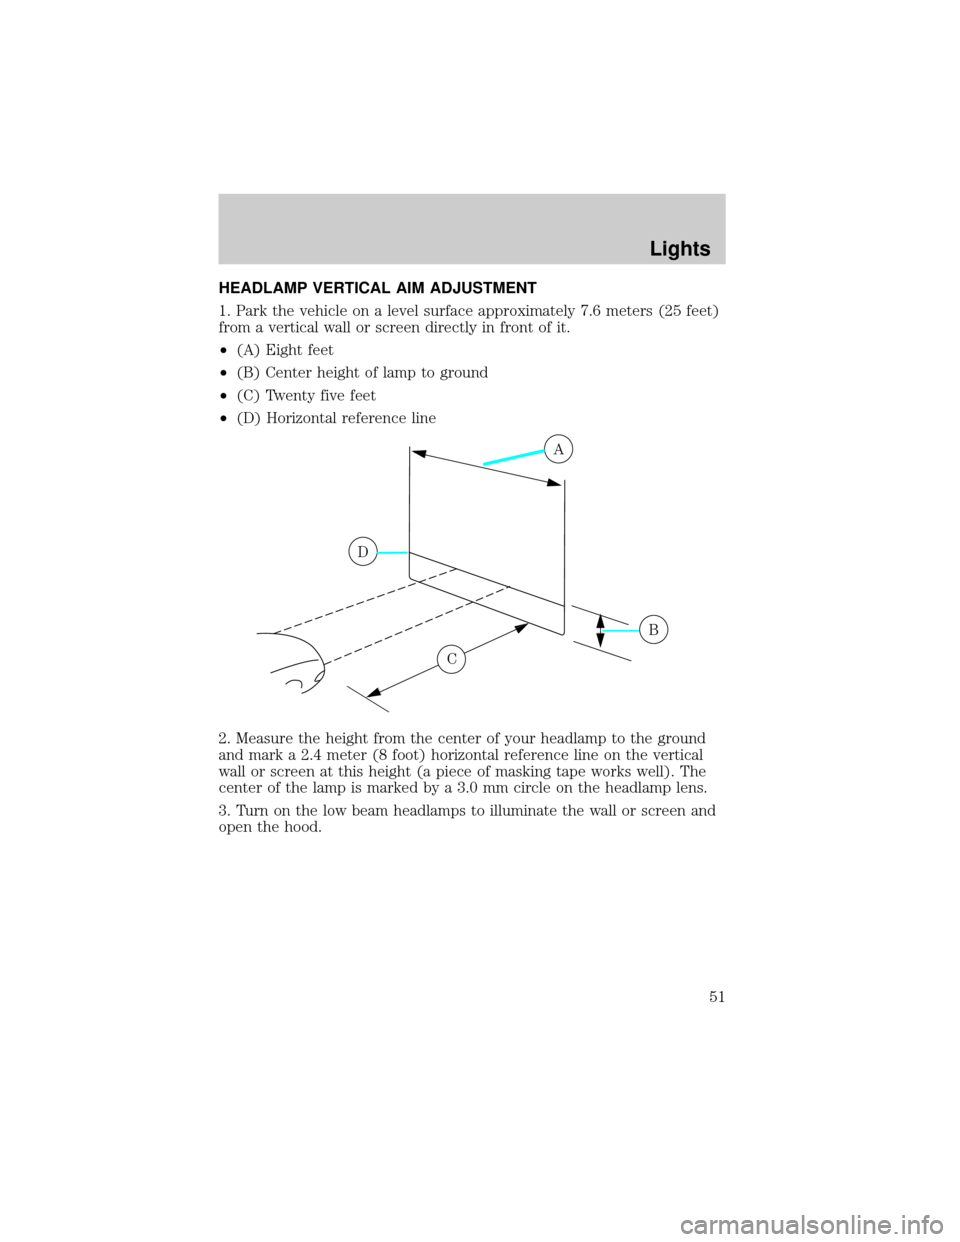
HEADLAMP VERTICAL AIM ADJUSTMENT
1. Park the vehicle on a level surface approximately 7.6 meters (25 feet)
from a vertical wall or screen directly in front of it.
²(A) Eight feet
²(B) Center height of lamp to ground
²(C) Twenty five feet
²(D) Horizontal reference line
2. Measure the height from the center of your headlamp to the ground
and mark a 2.4 meter (8 foot) horizontal reference line on the vertical
wall or screen at this height (a piece of masking tape works well). The
center of the lamp is marked by a 3.0 mm circle on the headlamp lens.
3. Turn on the low beam headlamps to illuminate the wall or screen and
open the hood.
A
D
B
C
Lights
51