key FORD THUNDERBIRD 2002 11.G Owners Manual
[x] Cancel search | Manufacturer: FORD, Model Year: 2002, Model line: THUNDERBIRD, Model: FORD THUNDERBIRD 2002 11.GPages: 248, PDF Size: 2.1 MB
Page 1 of 248
Introduction 4
Congratulations 4
Safety and environment protection 5
Symbol glossary 8
Instrument cluster 10
Warning and control lights 10
Gauges 16
Entertainment systems 19
AM/FM stereo with CD 19
Climate controls 35
Electronic automatic temperature control 35
Lights 49
Headlamps 49
Bulb replacement 53
Driver controls 60
Steering wheel adjustment 62
Power windows 63
Mirrors 65
Locks and security 84
Keys 84
Locks 84
Anti-theft system 86
Table of contents
1
Page 15 of 248
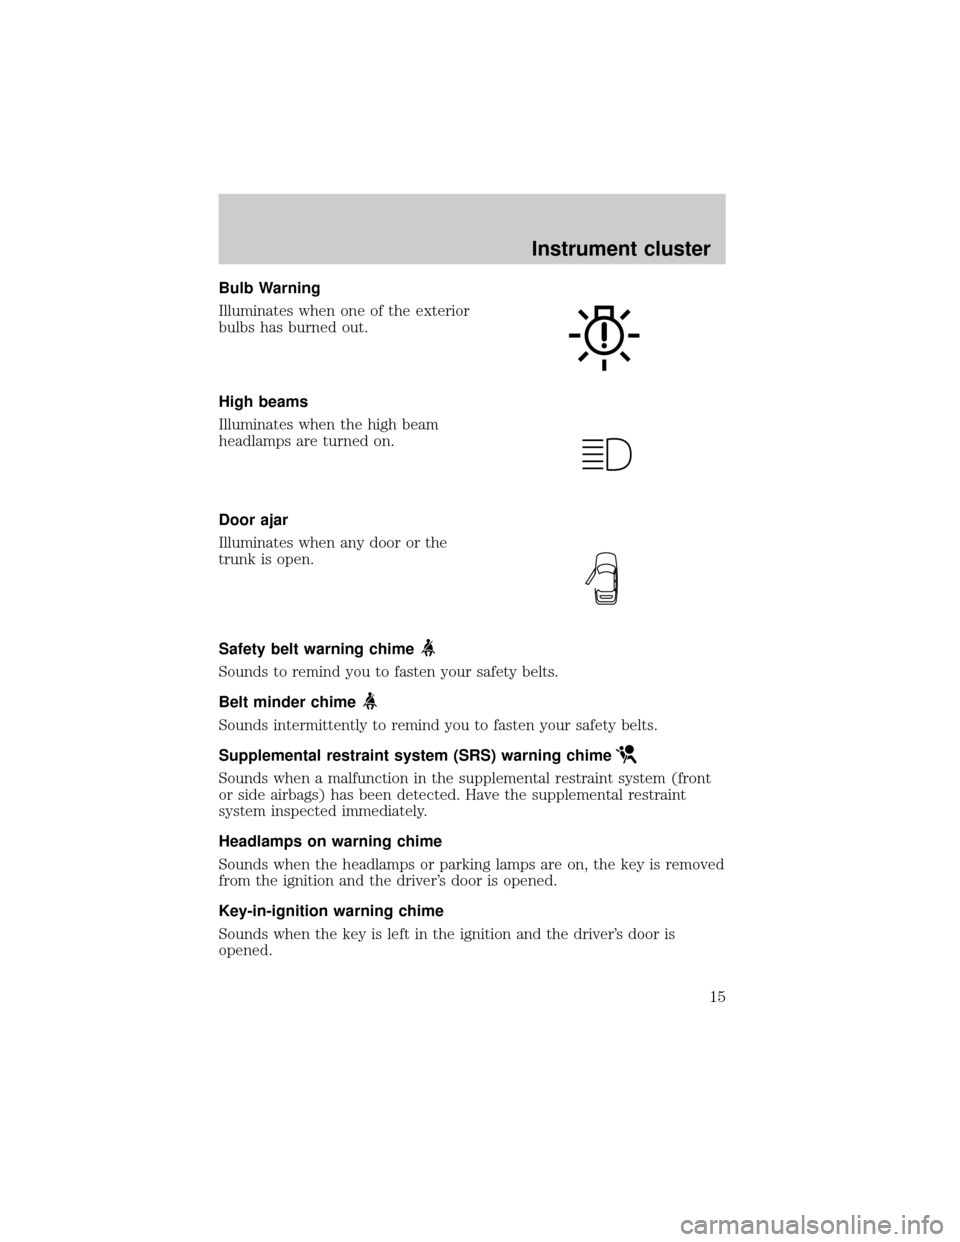
Bulb Warning
Illuminates when one of the exterior
bulbs has burned out.
High beams
Illuminates when the high beam
headlamps are turned on.
Door ajar
Illuminates when any door or the
trunk is open.
Safety belt warning chime
Sounds to remind you to fasten your safety belts.
Belt minder chime
Sounds intermittently to remind you to fasten your safety belts.
Supplemental restraint system (SRS) warning chime
Sounds when a malfunction in the supplemental restraint system (front
or side airbags) has been detected. Have the supplemental restraint
system inspected immediately.
Headlamps on warning chime
Sounds when the headlamps or parking lamps are on, the key is removed
from the ignition and the driver's door is opened.
Key-in-ignition warning chime
Sounds when the key is left in the ignition and the driver's door is
opened.
Instrument cluster
15
Page 47 of 248
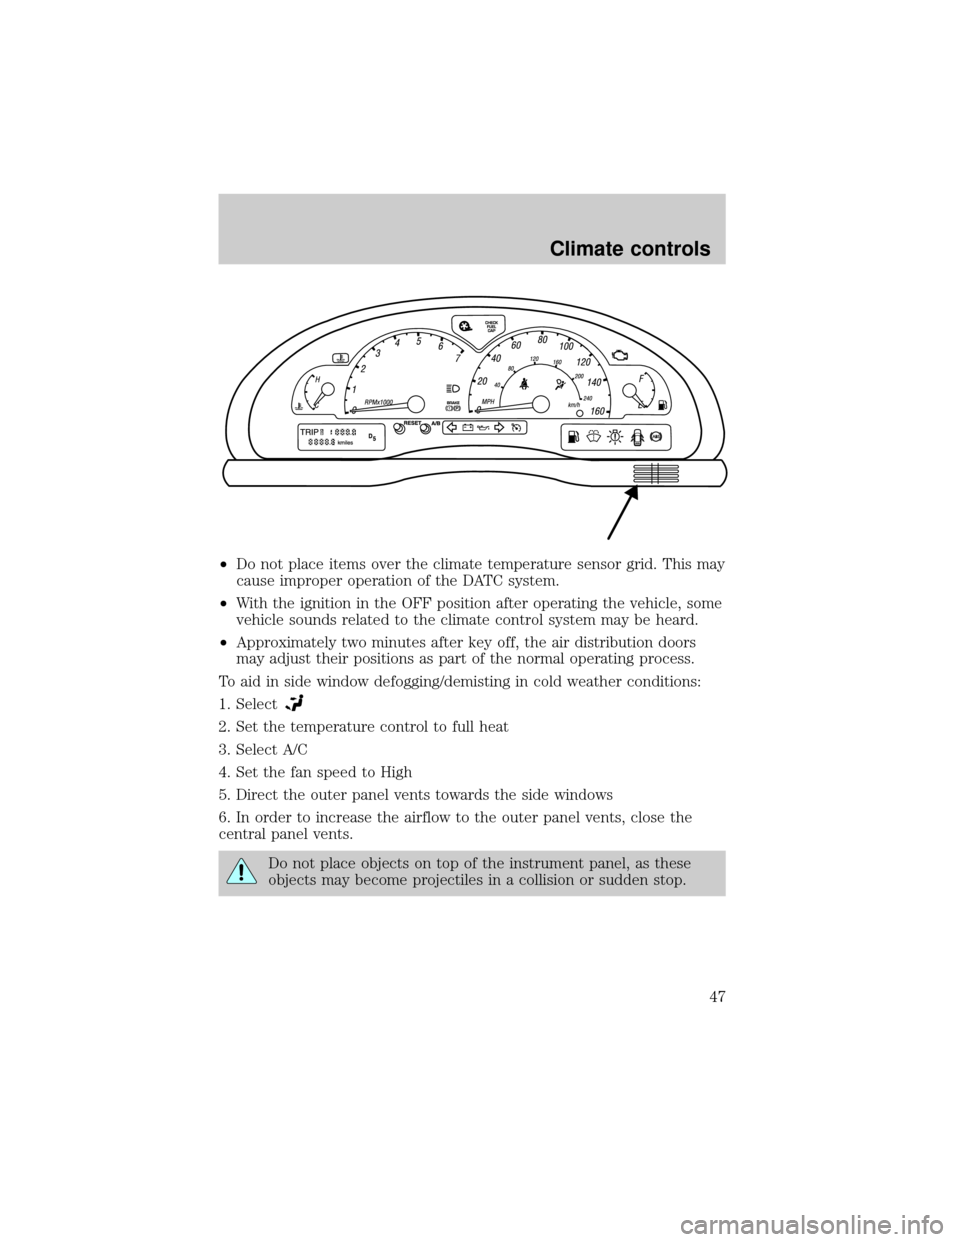
²Do not place items over the climate temperature sensor grid. This may
cause improper operation of the DATC system.
²With the ignition in the OFF position after operating the vehicle, some
vehicle sounds related to the climate control system may be heard.
²Approximately two minutes after key off, the air distribution doors
may adjust their positions as part of the normal operating process.
To aid in side window defogging/demisting in cold weather conditions:
1. Select
2. Set the temperature control to full heat
3. Select A/C
4. Set the fan speed to High
5. Direct the outer panel vents towards the side windows
6. In order to increase the airflow to the outer panel vents, close the
central panel vents.
Do not place objects on top of the instrument panel, as these
objects may become projectiles in a collision or sudden stop.
Climate controls
47
Page 62 of 248
TILT/TELESCOPE STEERING COLUMN
Power tilt/telescope steering column
Never adjust the steering wheel when the vehicle is moving.
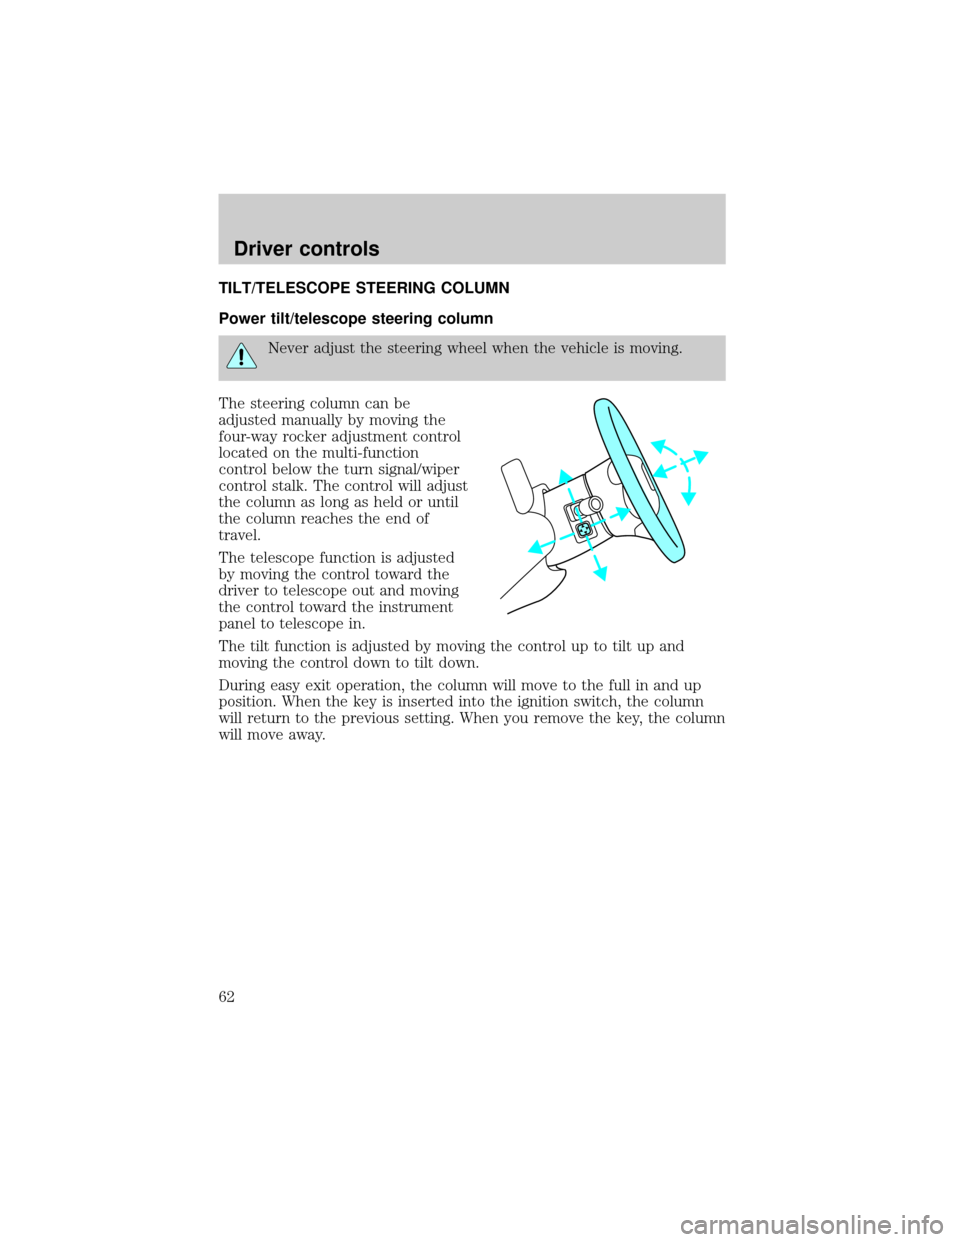
The steering column can be
adjusted manually by moving the
four-way rocker adjustment control
located on the multi-function
control below the turn signal/wiper
control stalk. The control will adjust
the column as long as held or until
the column reaches the end of
travel.
The telescope function is adjusted
by moving the control toward the
driver to telescope out and moving
the control toward the instrument
panel to telescope in.
The tilt function is adjusted by moving the control up to tilt up and
moving the control down to tilt down.
During easy exit operation, the column will move to the full in and up
position. When the key is inserted into the ignition switch, the column
will return to the previous setting. When you remove the key, the column
will move away.
Driver controls
62
Page 65 of 248
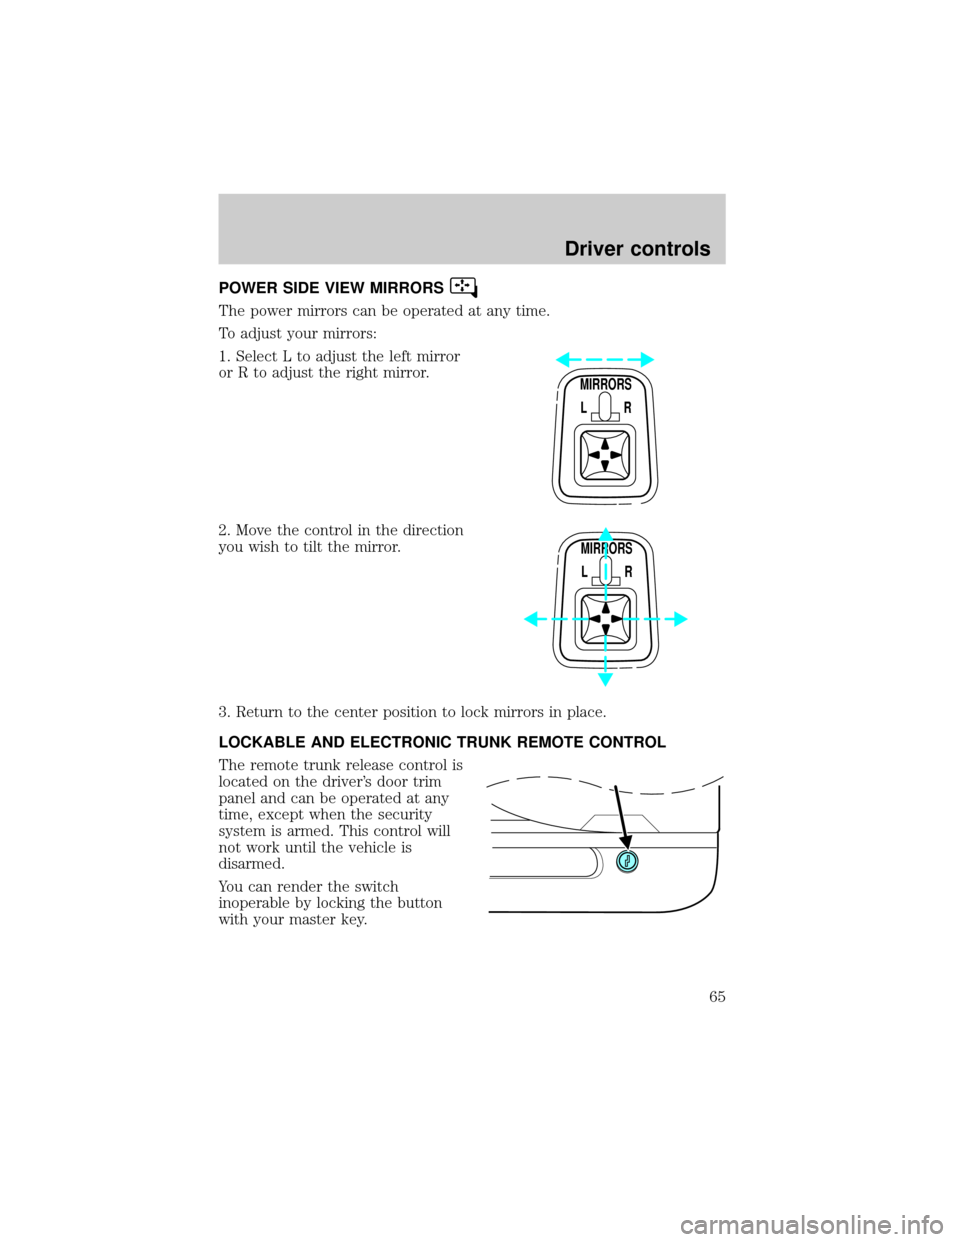
POWER SIDE VIEW MIRRORS
The power mirrors can be operated at any time.
To adjust your mirrors:
1. Select L to adjust the left mirror
or R to adjust the right mirror.
2. Move the control in the direction
you wish to tilt the mirror.
3. Return to the center position to lock mirrors in place.
LOCKABLE AND ELECTRONIC TRUNK REMOTE CONTROL
The remote trunk release control is
located on the driver's door trim
panel and can be operated at any
time, except when the security
system is armed. This control will
not work until the vehicle is
disarmed.
You can render the switch
inoperable by locking the button
with your master key.
MIRRORS
L R
MIRRORS
L R
Driver controls
65
Page 66 of 248
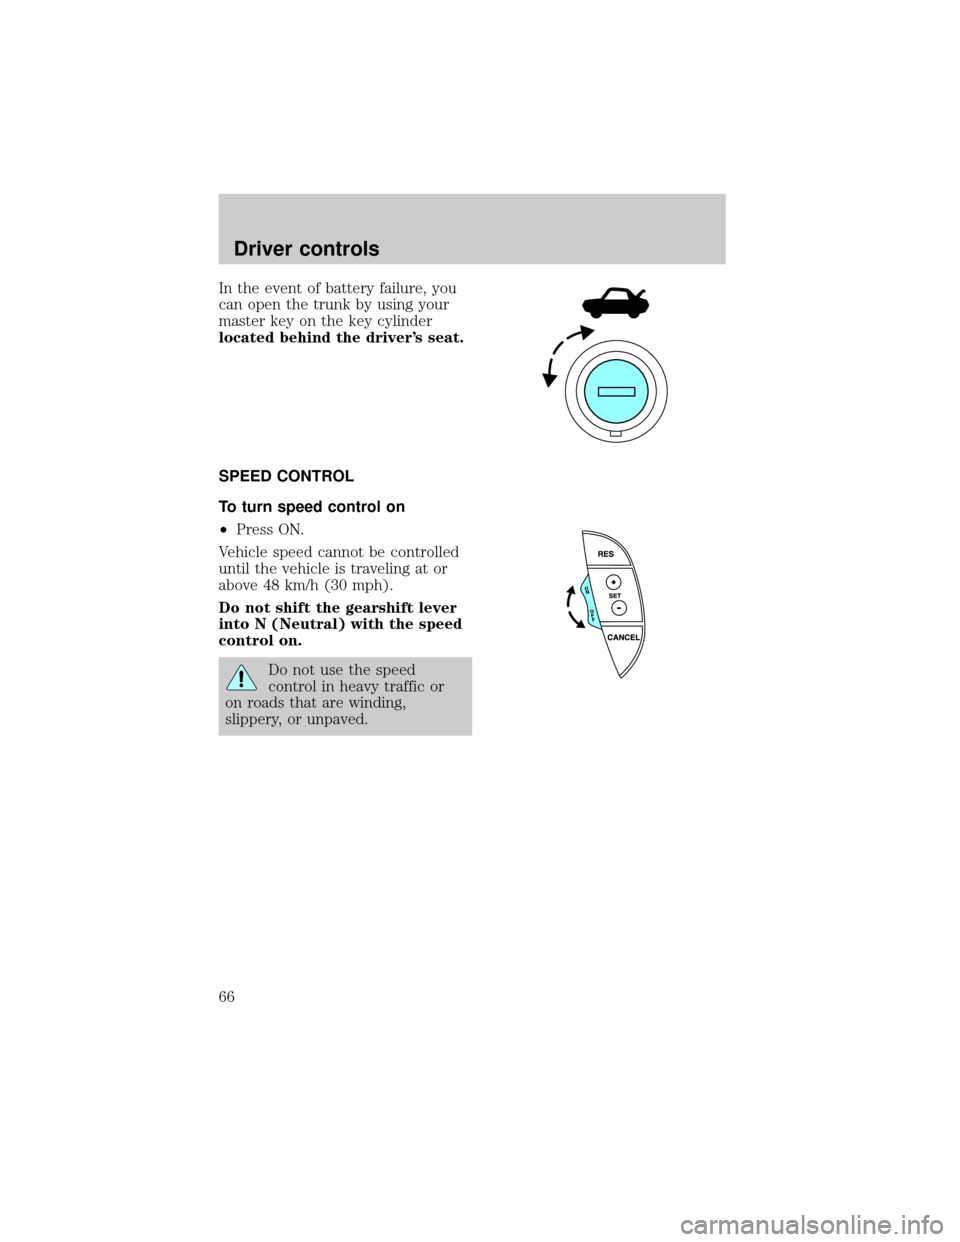
In the event of battery failure, you
can open the trunk by using your
master key on the key cylinder
located behind the driver's seat.
SPEED CONTROL
To turn speed control on
²Press ON.
Vehicle speed cannot be controlled
until the vehicle is traveling at or
above 48 km/h (30 mph).
Do not shift the gearshift lever
into N (Neutral) with the speed
control on.
Do not use the speed
control in heavy traffic or
on roads that are winding,
slippery, or unpaved.
Driver controls
66
Page 72 of 248
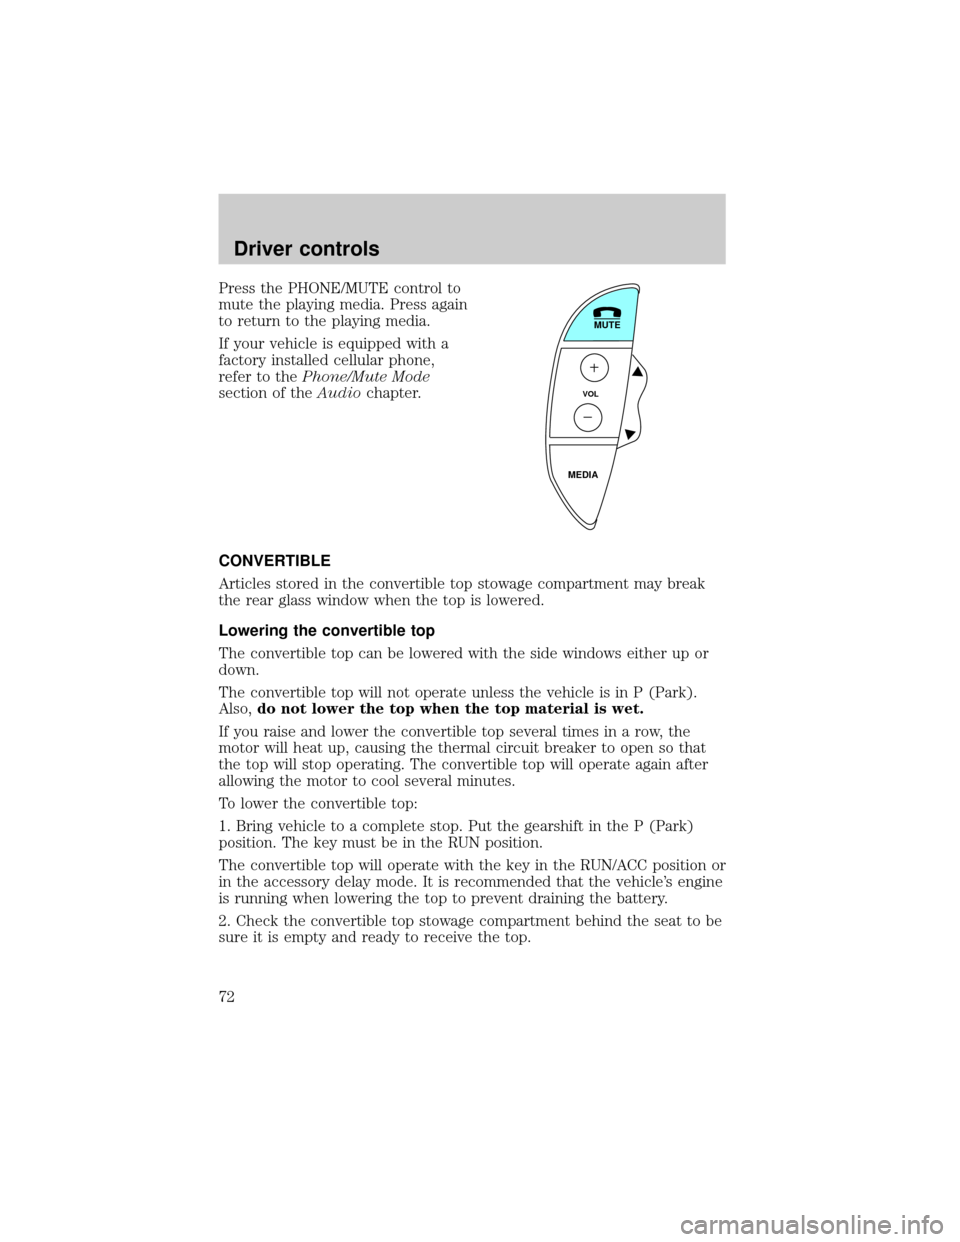
Press the PHONE/MUTE control to
mute the playing media. Press again
to return to the playing media.
If your vehicle is equipped with a
factory installed cellular phone,
refer to thePhone/Mute Mode
section of theAudiochapter.
CONVERTIBLE
Articles stored in the convertible top stowage compartment may break
the rear glass window when the top is lowered.
Lowering the convertible top
The convertible top can be lowered with the side windows either up or
down.
The convertible top will not operate unless the vehicle is in P (Park).
Also,do not lower the top when the top material is wet.
If you raise and lower the convertible top several times in a row, the
motor will heat up, causing the thermal circuit breaker to open so that
the top will stop operating. The convertible top will operate again after
allowing the motor to cool several minutes.
To lower the convertible top:
1. Bring vehicle to a complete stop. Put the gearshift in the P (Park)
position. The key must be in the RUN position.
The convertible top will operate with the key in the RUN/ACC position or
in the accessory delay mode. It is recommended that the vehicle's engine
is running when lowering the top to prevent draining the battery.
2. Check the convertible top stowage compartment behind the seat to be
sure it is empty and ready to receive the top.
MUTE
VOL
MEDIA
Driver controls
72
Page 74 of 248
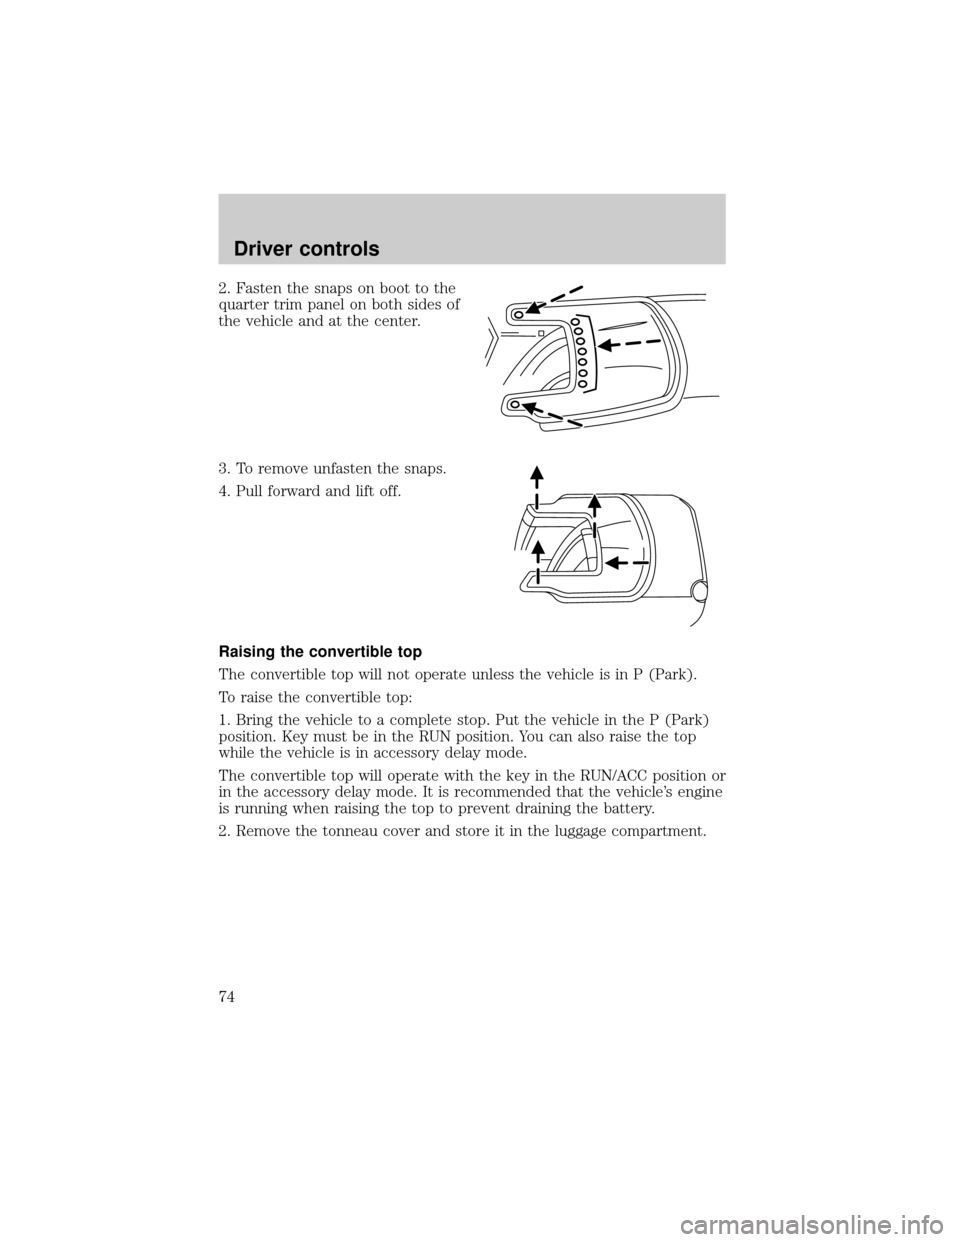
2. Fasten the snaps on boot to the
quarter trim panel on both sides of
the vehicle and at the center.
3. To remove unfasten the snaps.
4. Pull forward and lift off.
Raising the convertible top
The convertible top will not operate unless the vehicle is in P (Park).
To raise the convertible top:
1. Bring the vehicle to a complete stop. Put the vehicle in the P (Park)
position. Key must be in the RUN position. You can also raise the top
while the vehicle is in accessory delay mode.
The convertible top will operate with the key in the RUN/ACC position or
in the accessory delay mode. It is recommended that the vehicle's engine
is running when raising the top to prevent draining the battery.
2. Remove the tonneau cover and store it in the luggage compartment.
Driver controls
74
Page 78 of 248
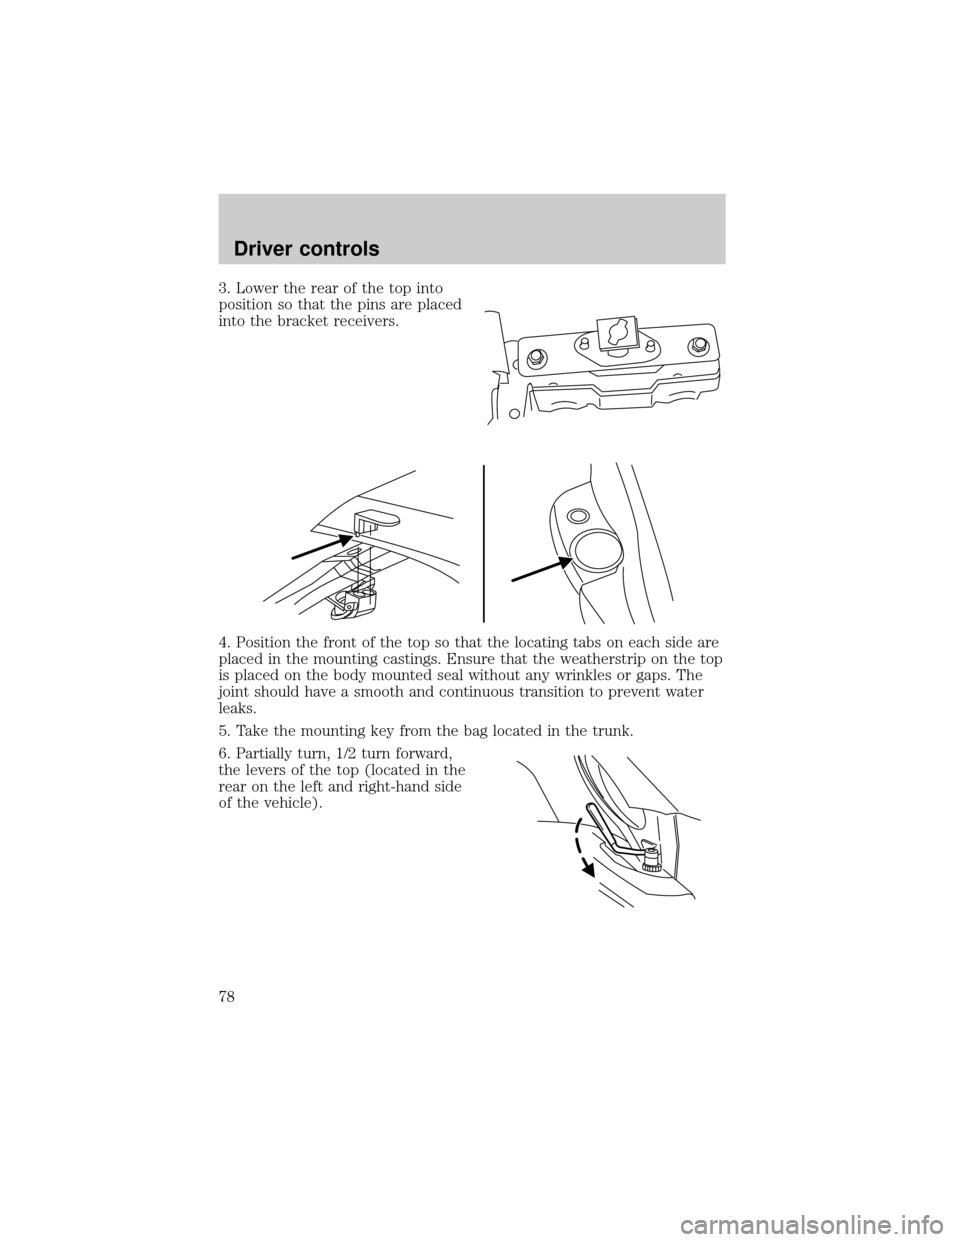
3. Lower the rear of the top into
position so that the pins are placed
into the bracket receivers.
4. Position the front of the top so that the locating tabs on each side are
placed in the mounting castings. Ensure that the weatherstrip on the top
is placed on the body mounted seal without any wrinkles or gaps. The
joint should have a smooth and continuous transition to prevent water
leaks.
5. Take the mounting key from the bag located in the trunk.
6. Partially turn, 1/2 turn forward,
the levers of the top (located in the
rear on the left and right-hand side
of the vehicle).
Driver controls
78
Page 79 of 248
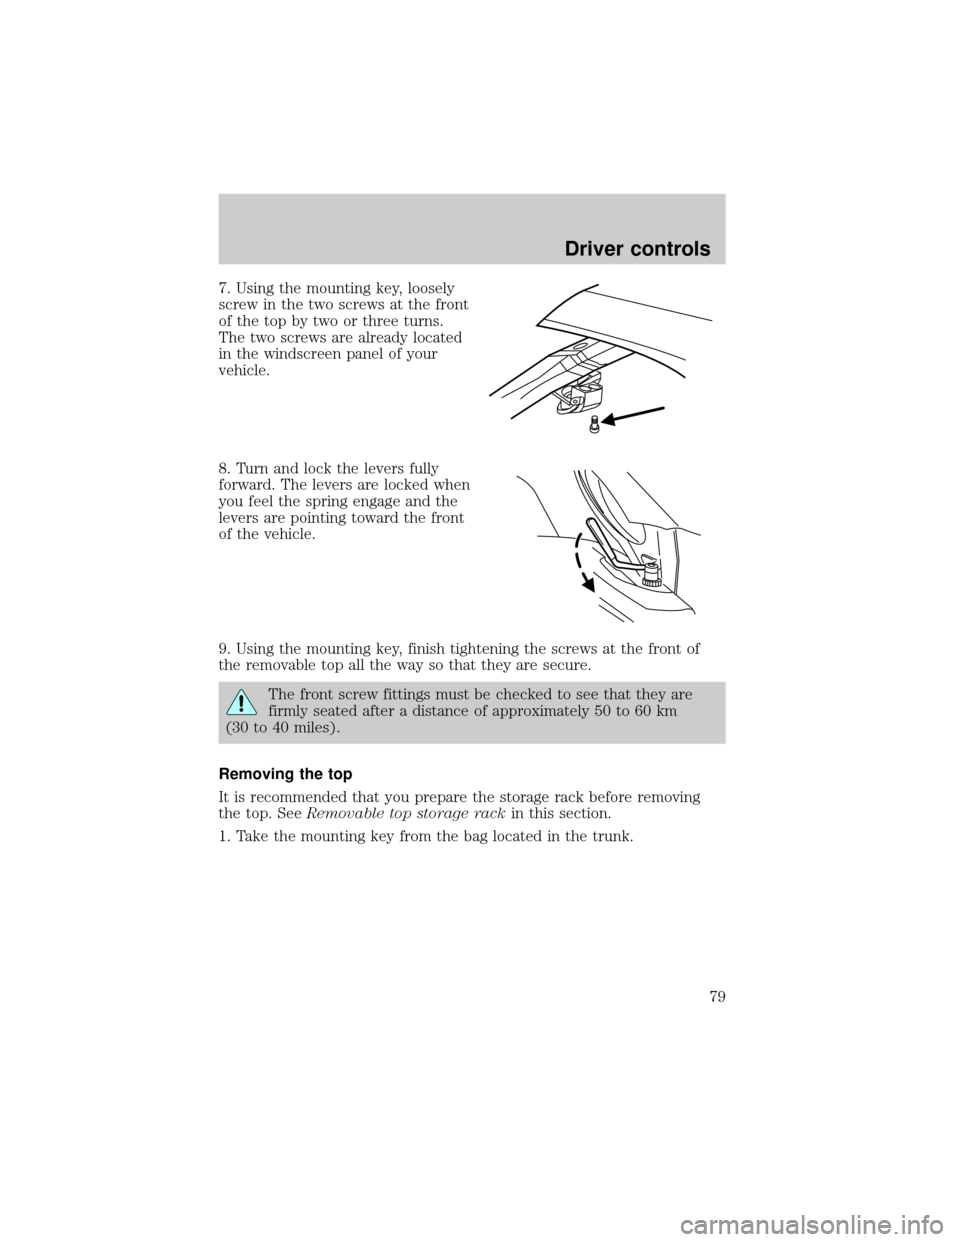
7. Using the mounting key, loosely
screw in the two screws at the front
of the top by two or three turns.
The two screws are already located
in the windscreen panel of your
vehicle.
8. Turn and lock the levers fully
forward. The levers are locked when
you feel the spring engage and the
levers are pointing toward the front
of the vehicle.
9. Using the mounting key, finish tightening the screws at the front of
the removable top all the way so that they are secure.
The front screw fittings must be checked to see that they are
firmly seated after a distance of approximately 50 to 60 km
(30 to 40 miles).
Removing the top
It is recommended that you prepare the storage rack before removing
the top. SeeRemovable top storage rackin this section.
1. Take the mounting key from the bag located in the trunk.
Driver controls
79