FORD TRANSIT CONNECT 2013 1.G Owners Manual
Manufacturer: FORD, Model Year: 2013, Model line: TRANSIT CONNECT, Model: FORD TRANSIT CONNECT 2013 1.GPages: 321, PDF Size: 4.5 MB
Page 91 of 321
D.Phone:Press this button to access the phone features of the SYNC®
system. See theSYNC®chapter for more information.
E.MENU:Press this button to access different audio system features.
•If your vehicle is equipped with satellite radio, you can access
different menus by pressingOK.
•Set the time by pressingMENUuntilSET HOURSorSET
MINUTESappears and using the arrow buttons to adjust the time.
•Set the strongest stations on the radio frequency by pressingMENU
untilAUTOSETappears.AUTOSETdoes not override your original
presets.
•SPEEDVOL(speed compensated volume) allows you to adjust radio
volume to compensate for noise levels when vehicle speed increases.
•Track/Folderis only available on MP3 files when in CD mode. In
track mode, pressing theSEEKarrows allows you to scroll through
all the tracks on the disc. In folder mode, pressing theSEEKarrows
allows you to scroll through all the tracks within the selected folder.
Press theFOLDERbuttons to access other folders.
•COMPRESS(Compression) is only available in CD and MP3 modes.
Switching compression on brings the soft and loud passages together
for a more consistent listening level. Use theSEEKbuttons and up
and down arrow buttons to switch it on and off.
F.AUX:Press this button to access the media features of the SYNC®
system. See theSYNC®chapter for more information.
G.SEEK:
•In radio mode, press and release these buttons to go to the next
(or previous) preset radio station or disc track.
•In CD and MP3 modes, press these buttons to select the next
(or previous) track, or press and hold to advance (or reverse) within
the same track.
H.Play, Pause and OK:
•
Play and Pause allow you to play or pause a track when listening to a
CD.
•OKallows you to confirm commands with phone and media features of
the SYNC system. See theSYNC®chapter for more information.
I.SHUFFLE:Play music on the selected CD or MP3 folder in random
order.
J.Folder:Press this button to access the next folder on an MP3 disc.
K.
Folder:Press this button to access the previous folder on an MP3 disc.
90Audio System
2013 Transit Connect(tst)
Owners Guide gf, 2nd Printing, November 2012
USA(fus)
Page 92 of 321
L.FF:Press this button to manually fast forward in a CD track or MP3 file.
M.REW:Press this button to manually rewind in a CD track or MP3 file.
N.Memory presets:Store your favorite radio stations. To store a radio
station, tune to the station, then press and hold a preset button until
sound returns.
O.TEXT/SCAN:
•In radio, CD and MP3 modes, press and hold to hear a brief sampling
of radio stations, CD tracks or MP3 files.
•In CD and MP3 modes, press and release to display track title, artist
name and disc title.
Note:In text mode, sometimes the display requires additional text to
show. When theindicatorison,pressTEXT and then use the
SEEK buttons to view the additional display text.
P.AM/FM:Press this button to select a frequency band.
Q.VOL-PUSH:
•Press this button to switch the system off and on.
•Turn it to adjust the volume.
R.CD:Press this button to enter CD or MP3 mode.
AUXILIARY INPUT JACK
WARNING:Driving while distracted can result in loss of vehicle
control, crash and injury. We strongly recommend that you use
extreme caution when using any device that may take your focus off
the road. Your primary responsibility is the safe operation of your
vehicle. We recommend against the use of any hand-held device while
driving and encourage the use of voice-operated systems when possible.
Make sure you are aware of all applicable local laws that may affect the
use of electronic devices while driving.
WARNING:For safety reasons, do not connect or adjust the
settings on your portable music player while your vehicle is
moving.
Audio System91
2013 Transit Connect(tst)
Owners Guide gf, 2nd Printing, November 2012
USA(fus)
Page 93 of 321
WARNING:Store the portable music player in a secure location,
such as the center console or the glove box, when your vehicle is
moving. Hard objects may become projectiles in a crash or sudden stop,
which may increase the risk of serious injury. The audio extension cable
must be long enough to allow the portable music player to be safely
stored while your vehicle is moving.
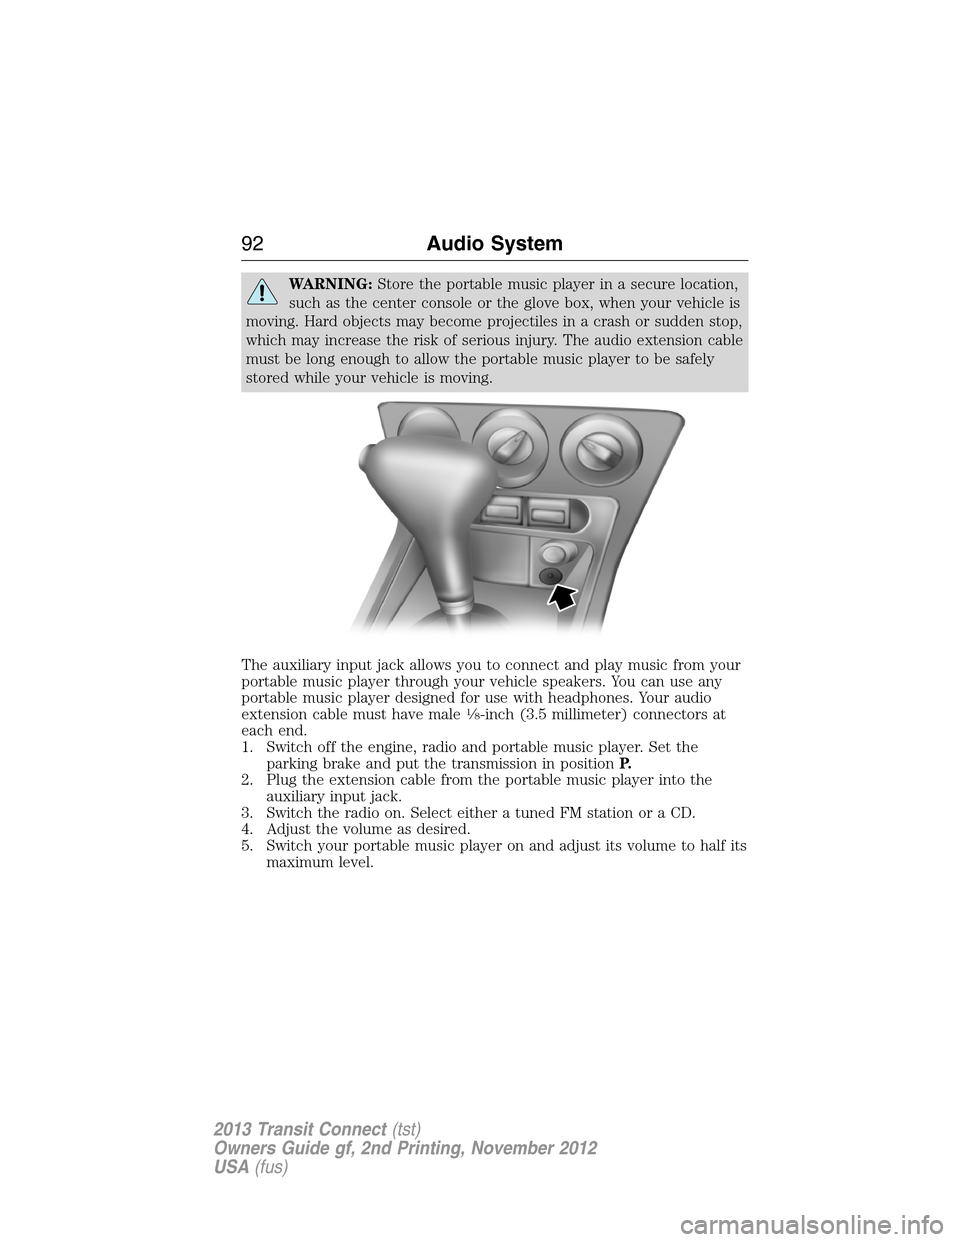
The auxiliary input jack allows you to connect and play music from your
portable music player through your vehicle speakers. You can use any
portable music player designed for use with headphones. Your audio
extension cable must have male
1�8-inch (3.5 millimeter) connectors at
each end.
1. Switch off the engine, radio and portable music player. Set the
parking brake and put the transmission in positionP.
2. Plug the extension cable from the portable music player into the
auxiliary input jack.
3. Switch the radio on. Select either a tuned FM station or a CD.
4. Adjust the volume as desired.
5. Switch your portable music player on and adjust its volume to half its
maximum level.
92Audio System
2013 Transit Connect(tst)
Owners Guide gf, 2nd Printing, November 2012
USA(fus)
Page 94 of 321
6. If your vehicle is not equipped with a CD player, press AM/FM until
IN appears in the display. If your vehicle is equipped with a CD
player, press AUX until LINE or LINE IN appears in the display.
You should hear music from your device even if it is low.
7. Adjust the volume on your portable music player until it reaches the
volume level of the FM station or CD. Do this by switching back and
forth between the AUX and FM or CD controls (if equipped with a
CD player) or switching back and forth between IN and FM (if not
equipped with a CD player).
USB PORT (IF EQUIPPED)
WARNING:Driving while distracted can result in loss of vehicle
control, crash and injury. We strongly recommend that you use
extreme caution when using any device that may take your focus off
the road. Your primary responsibility is the safe operation of your
vehicle. We recommend against the use of any hand-held device while
driving and encourage the use of voice-operated systems when possible.
Make sure you are aware of all applicable local laws that may affect the
use of electronic devices while driving.
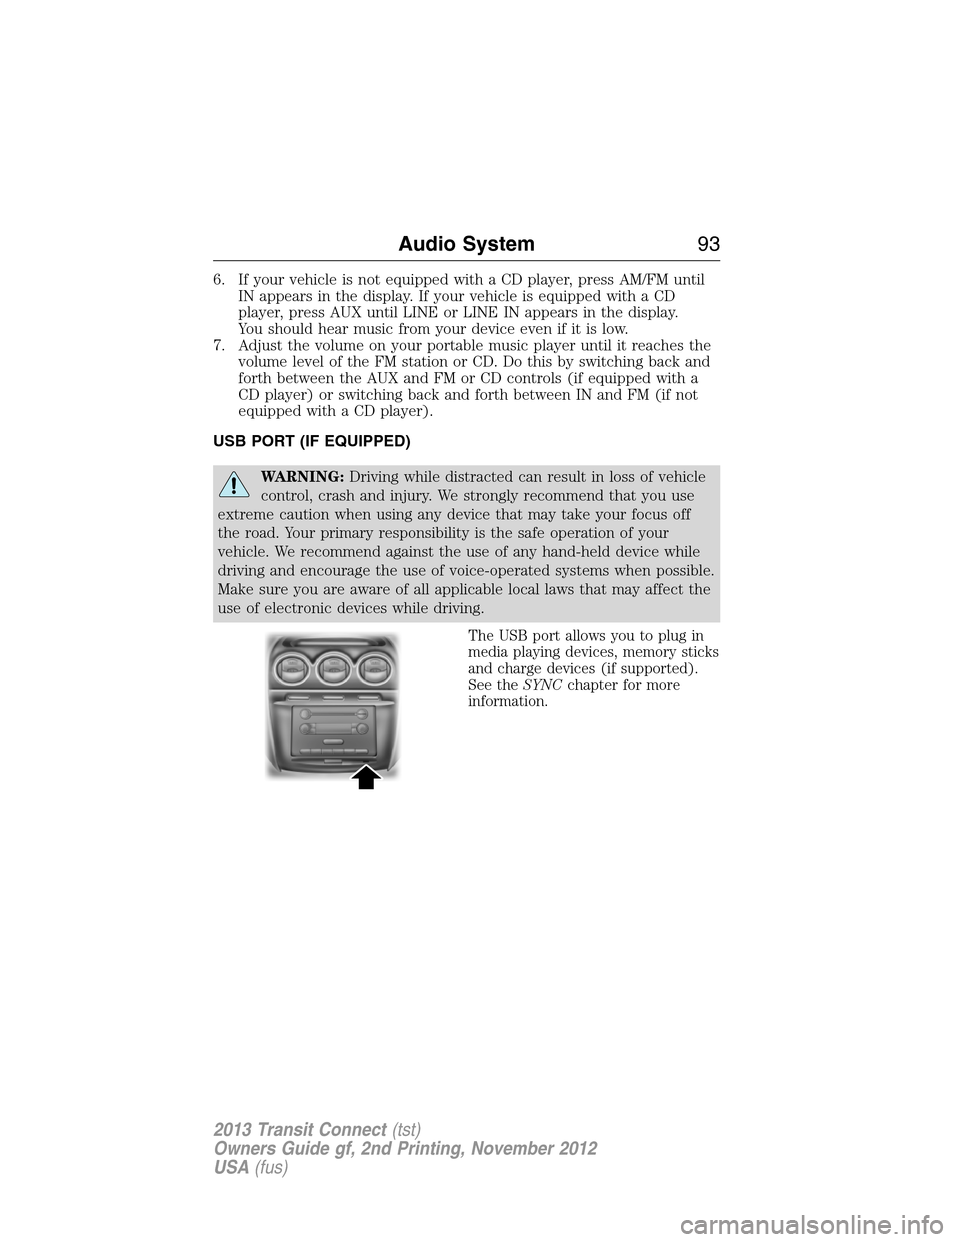
The USB port allows you to plug in
media playing devices, memory sticks
and charge devices (if supported).
See theSYNCchapter for more
information.
Audio System93
2013 Transit Connect(tst)
Owners Guide gf, 2nd Printing, November 2012
USA(fus)
Page 95 of 321
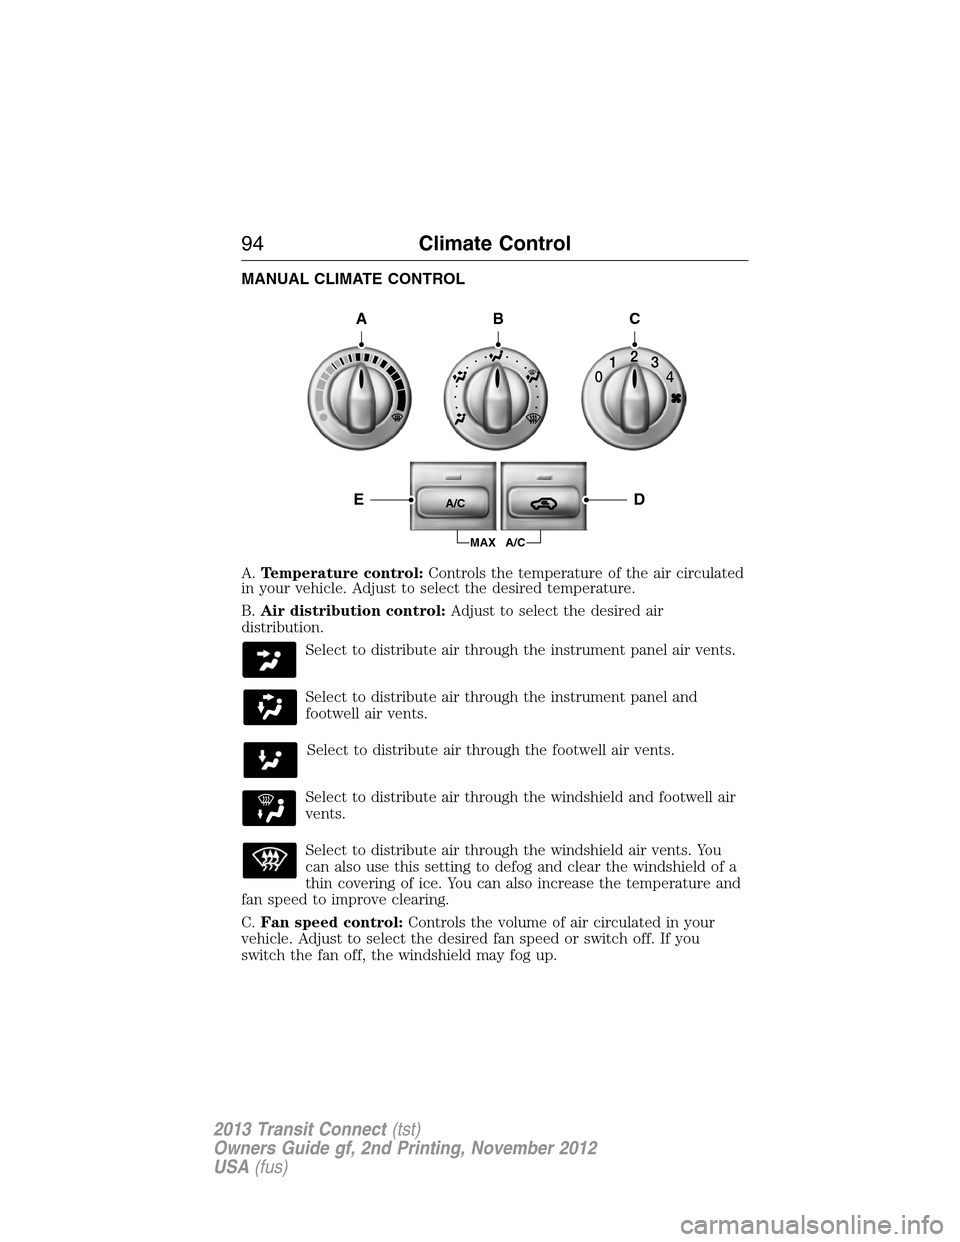
MANUAL CLIMATE CONTROL
A.Temperature control:Controls the temperature of the air circulated
in your vehicle. Adjust to select the desired temperature.
B.Air distribution control:Adjust to select the desired air
distribution.
Select to distribute air through the instrument panel air vents.
Select to distribute air through the instrument panel and
footwell air vents.
Select to distribute air through the footwell air vents.
Select to distribute air through the windshield and footwell air
vents.
Select to distribute air through the windshield air vents. You
can also use this setting to defog and clear the windshield of a
thin covering of ice. You can also increase the temperature and
fan speed to improve clearing.
C.Fan speed control:Controls the volume of air circulated in your
vehicle. Adjust to select the desired fan speed or switch off. If you
switch the fan off, the windshield may fog up.
A/C
MAX A/C
ABC
DE
94Climate Control
2013 Transit Connect(tst)
Owners Guide gf, 2nd Printing, November 2012
USA(fus)
Page 96 of 321
D.Recirculated air:Press to switch between outside air and
recirculated air. When you select recirculated air, the button illuminates
and the air currently in the passenger compartment recirculates. This
can reduce the time needed to cool the interior and reduce unwanted
odors from entering your vehicle.
E.Air conditioning:Press to switch the air conditioning off and on.
Air conditioning cools your vehicle using outside air. To improve air
conditioning when starting your vehicle, drive with the windows slightly
open for two to three minutes.
If you select recirculated air and A/C, the system distributes recirculated
air through the instrument panel air vents. This mode is more
economical and efficient than normal air conditioning.
AUXILIARY CLIMATE CONTROL (IF EQUIPPED)
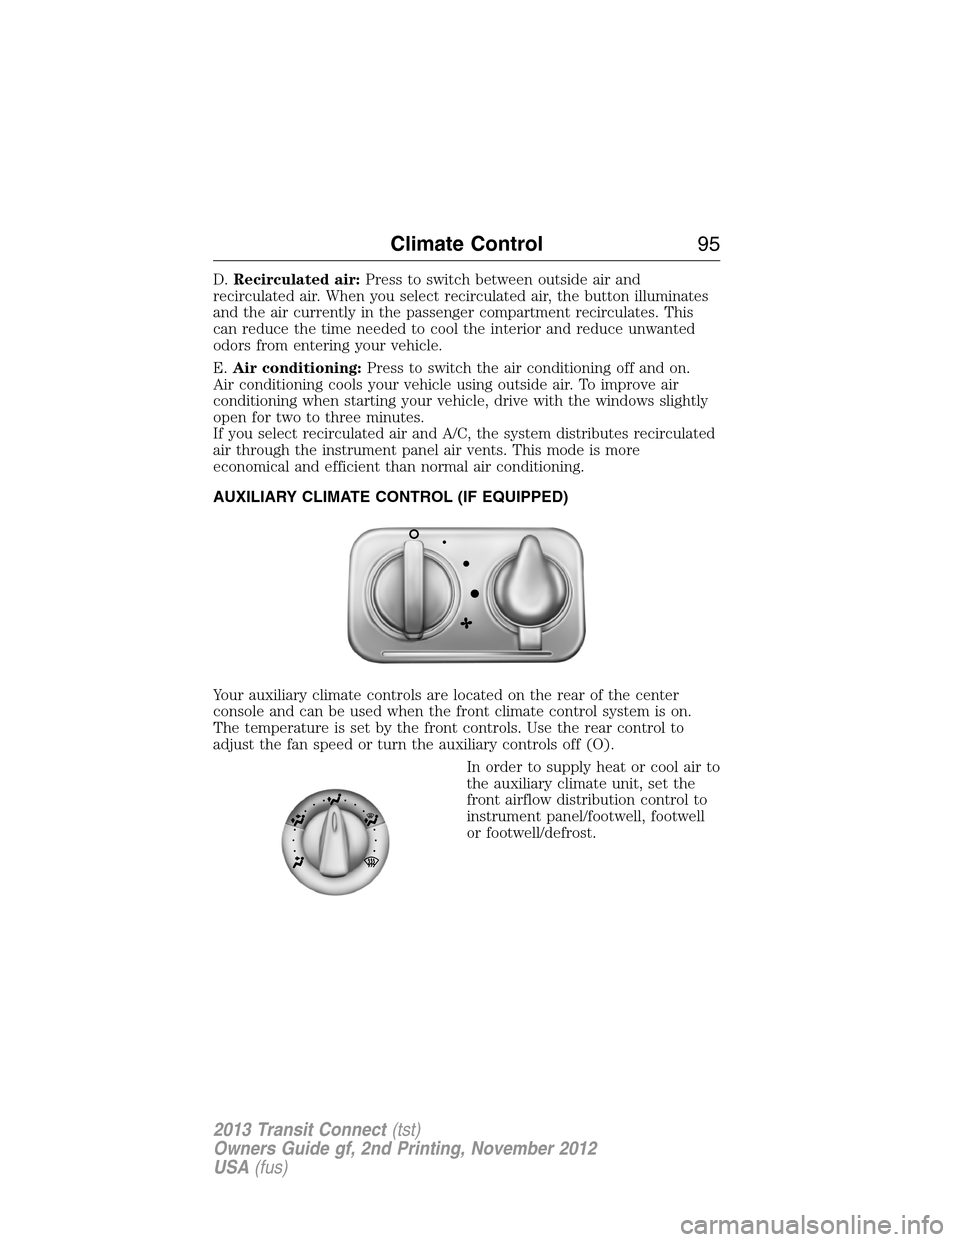
Your auxiliary climate controls are located on the rear of the center
console and can be used when the front climate control system is on.
The temperature is set by the front controls. Use the rear control to
adjust the fan speed or turn the auxiliary controls off (O).
In order to supply heat or cool air to
the auxiliary climate unit, set the
front airflow distribution control to
instrument panel/footwell, footwell
or footwell/defrost.
Climate Control95
2013 Transit Connect(tst)
Owners Guide gf, 2nd Printing, November 2012
USA(fus)
Page 97 of 321
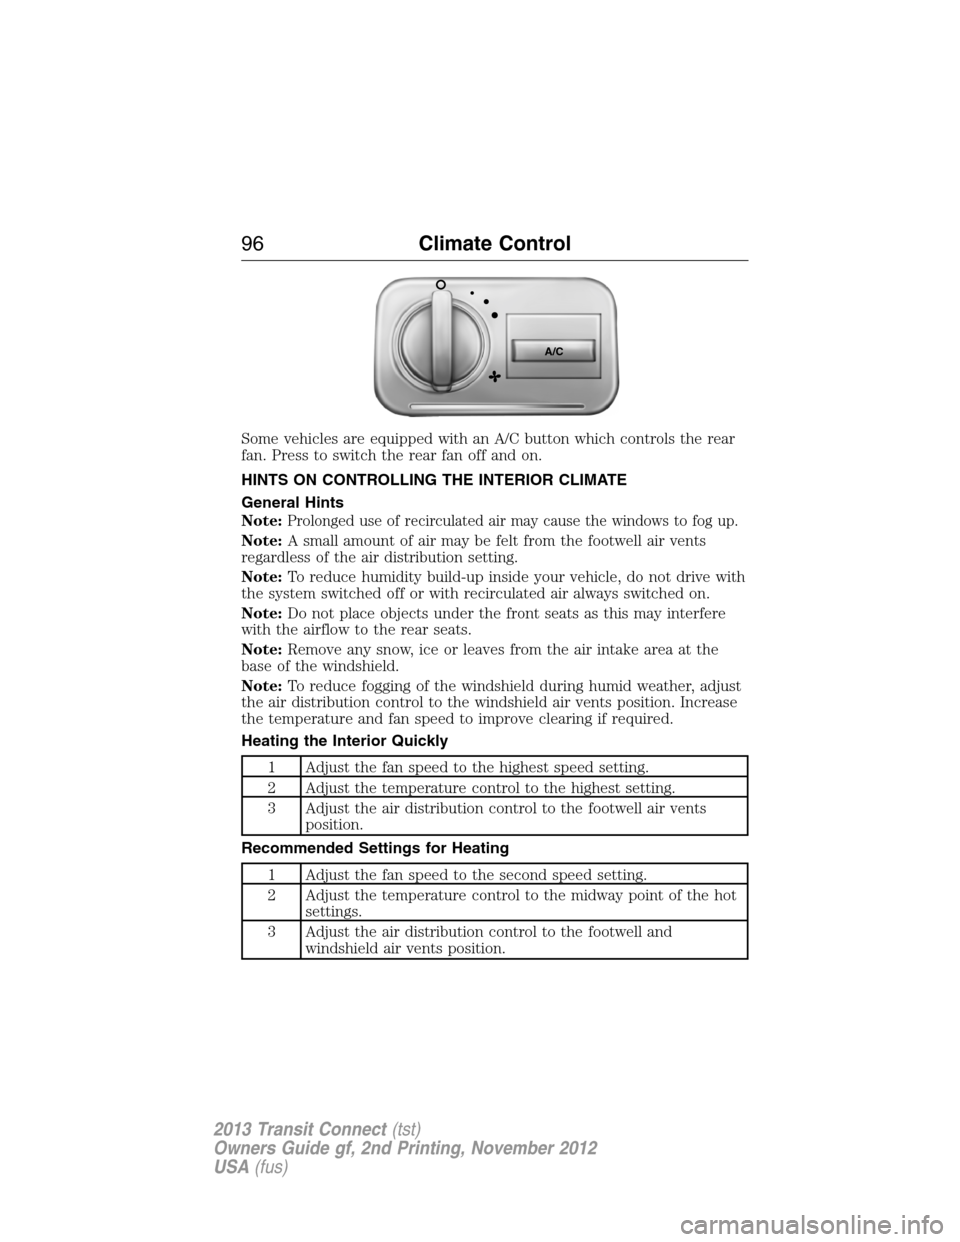
Some vehicles are equipped with an A/C button which controls the rear
fan. Press to switch the rear fan off and on.
HINTS ON CONTROLLING THE INTERIOR CLIMATE
General Hints
Note:
Prolonged use of recirculated air may cause the windows to fog up.
Note:A small amount of air may be felt from the footwell air vents
regardless of the air distribution setting.
Note:To reduce humidity build-up inside your vehicle, do not drive with
the system switched off or with recirculated air always switched on.
Note:Do not place objects under the front seats as this may interfere
with the airflow to the rear seats.
Note:Remove any snow, ice or leaves from the air intake area at the
base of the windshield.
Note:To reduce fogging of the windshield during humid weather, adjust
the air distribution control to the windshield air vents position. Increase
the temperature and fan speed to improve clearing if required.
Heating the Interior Quickly
1 Adjust the fan speed to the highest speed setting.
2 Adjust the temperature control to the highest setting.
3 Adjust the air distribution control to the footwell air vents
position.
Recommended Settings for Heating
1 Adjust the fan speed to the second speed setting.
2 Adjust the temperature control to the midway point of the hot
settings.
3 Adjust the air distribution control to the footwell and
windshield air vents position.
A/C
96Climate Control
2013 Transit Connect(tst)
Owners Guide gf, 2nd Printing, November 2012
USA(fus)
Page 98 of 321
Cooling the Interior Quickly
1 Adjust the fan speed to the highest speed setting.
2 Adjust the temperature control toMAX A/C.
3 Adjust the air distribution control to the instrument panel air
vents position.
Recommended Settings for Cooling
1 Adjust the fan speed to the second speed setting.
2 Adjust the temperature control to the midway point of the
cold settings.
3 Adjust the air distribution control to the instrument panel air
vents position.
Vehicle Stationary for Extended Periods During Extreme High
Ambient Temperatures
1 Apply the parking brake.
2 Move the transmission selector lever to positionP.
3 Adjust the temperature control toMAX A/C.
4 Adjust the fan speed to the lowest speed setting.
Side Window Defogging in Cold Weather
1 Adjust the air distribution control to the instrument panel and
footwell air vents positions.
2 PressA/C.
3 Adjust the temperature control to the desired setting.
4 Adjust the fan speed to the highest setting.
5 Direct the instrument panel side air vents toward the side
windows.
6 Close the instrument panel vents.
Maximum Cooling Performance in Instrument Panel or Instrument
Panel and Footwell Positions
1 Adjust the temperature control to the lowest setting.
2 Press the A/C and recirculated air buttons.
3 Adjust the fan speed to the highest setting initially and then
adjust it to suit the desired comfort level.
Climate Control97
2013 Transit Connect(tst)
Owners Guide gf, 2nd Printing, November 2012
USA(fus)
Page 99 of 321
HEATED WINDOWS AND MIRRORS (IF EQUIPPED)
Heated Rear Window
Note:The ignition must be switched on to use this feature.
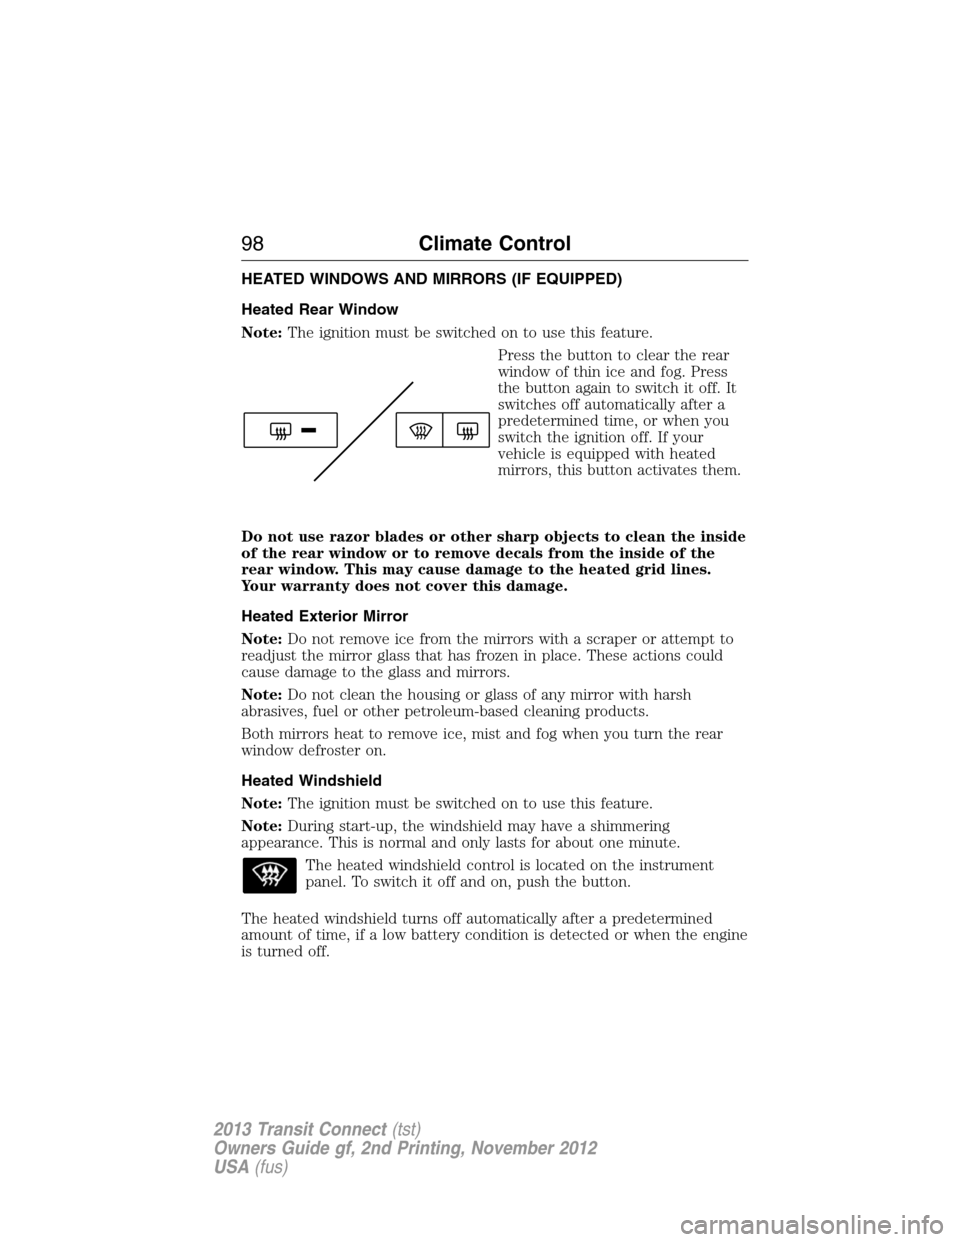
Press the button to clear the rear
window of thin ice and fog. Press
the button again to switch it off. It
switches off automatically after a
predetermined time, or when you
switch the ignition off. If your
vehicle is equipped with heated
mirrors, this button activates them.
Do not use razor blades or other sharp objects to clean the inside
of the rear window or to remove decals from the inside of the
rear window. This may cause damage to the heated grid lines.
Your warranty does not cover this damage.
Heated Exterior Mirror
Note:Do not remove ice from the mirrors with a scraper or attempt to
readjust the mirror glass that has frozen in place. These actions could
cause damage to the glass and mirrors.
Note:Do not clean the housing or glass of any mirror with harsh
abrasives, fuel or other petroleum-based cleaning products.
Both mirrors heat to remove ice, mist and fog when you turn the rear
window defroster on.
Heated Windshield
Note:The ignition must be switched on to use this feature.
Note:During start-up, the windshield may have a shimmering
appearance. This is normal and only lasts for about one minute.
The heated windshield control is located on the instrument
panel. To switch it off and on, push the button.
The heated windshield turns off automatically after a predetermined
amount of time, if a low battery condition is detected or when the engine
is turned off.
98Climate Control
2013 Transit Connect(tst)
Owners Guide gf, 2nd Printing, November 2012
USA(fus)
Page 100 of 321
SITTING IN THE CORRECT POSITION
WARNING:Sitting improperly out of position or with the seat
back reclined too far can take off weight from the seat cushion
and affect the decision of the passenger sensing system, resulting in
serious injury or death in a crash. Always sit upright against your seat
back, with your feet on the floor.
WARNING:Do not recline the seat back as this can cause the
occupant to slide under the seat’s safety belt, resulting in severe
personal injury in the event of a crash.
WARNING:Do not place objects higher than the seat backs to
reduce the risk of injury in a crash or during heavy braking or
when stopping suddenly.
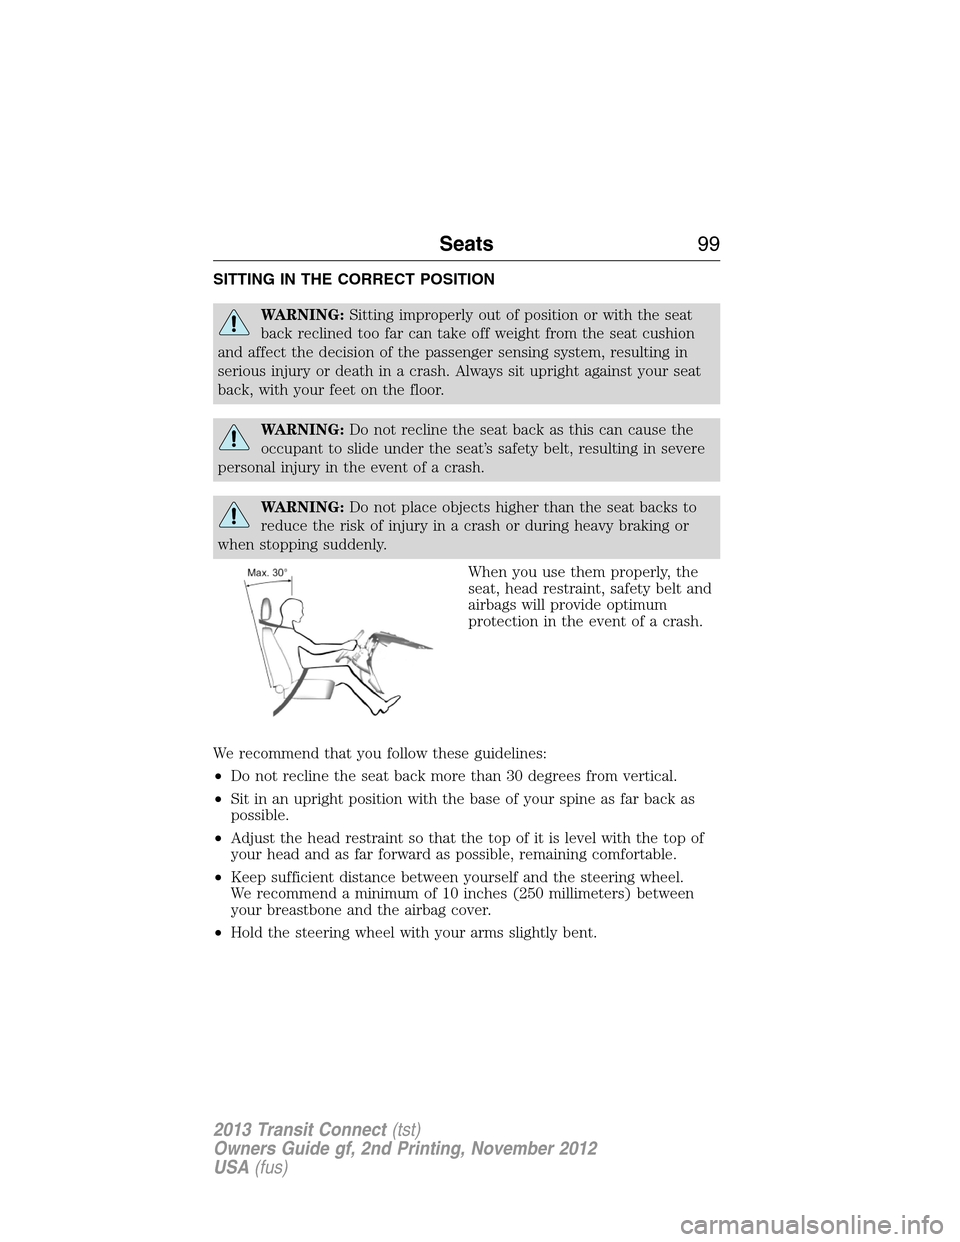
When you use them properly, the
seat, head restraint, safety belt and
airbags will provide optimum
protection in the event of a crash.
We recommend that you follow these guidelines:
•Do not recline the seat back more than 30 degrees from vertical.
•Sit in an upright position with the base of your spine as far back as
possible.
•Adjust the head restraint so that the top of it is level with the top of
your head and as far forward as possible, remaining comfortable.
•Keep sufficient distance between yourself and the steering wheel.
We recommend a minimum of 10 inches (250 millimeters) between
your breastbone and the airbag cover.
•Hold the steering wheel with your arms slightly bent.
Seats99
2013 Transit Connect(tst)
Owners Guide gf, 2nd Printing, November 2012
USA(fus)