stop start FORD TRANSIT CONNECT 2016 2.G Owners Manual
[x] Cancel search | Manufacturer: FORD, Model Year: 2016, Model line: TRANSIT CONNECT, Model: FORD TRANSIT CONNECT 2016 2.GPages: 439, PDF Size: 6.96 MB
Page 5 of 439
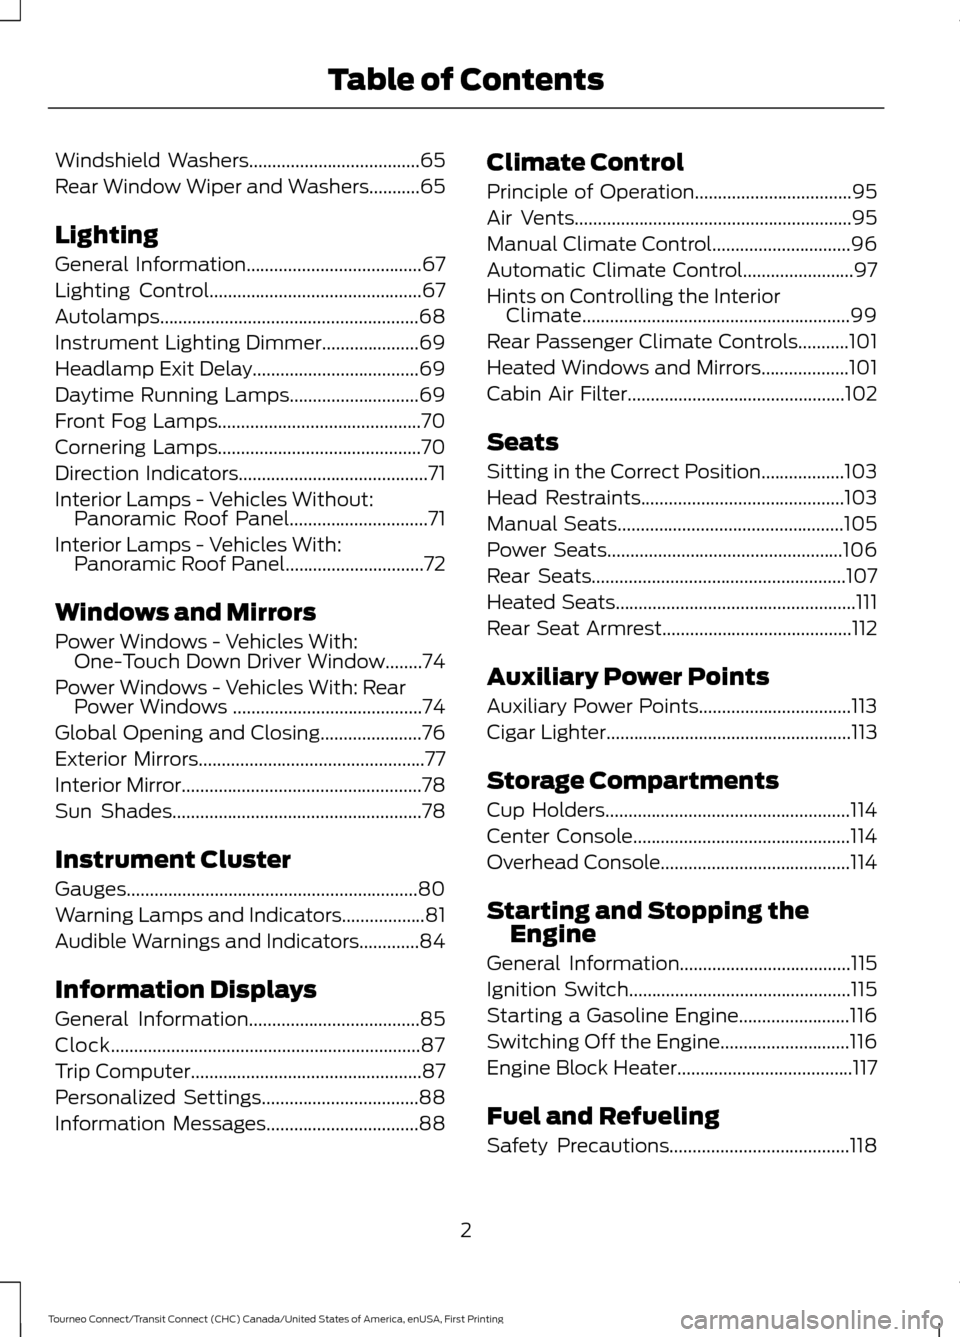
Windshield Washers.....................................65
Rear Window Wiper and Washers...........65
Lighting
General Information......................................67
Lighting Control
..............................................67
Autolamps
........................................................68
Instrument Lighting Dimmer
.....................69
Headlamp Exit Delay....................................69
Daytime Running Lamps
............................69
Front Fog Lamps
............................................70
Cornering Lamps
............................................70
Direction Indicators
.........................................71
Interior Lamps - Vehicles Without: Panoramic Roof Panel
..............................71
Interior Lamps - Vehicles With: Panoramic Roof Panel
..............................72
Windows and Mirrors
Power Windows - Vehicles With: One-Touch Down Driver Window........74
Power Windows - Vehicles With: Rear Power Windows .........................................74
Global Opening and Closing
......................76
Exterior Mirrors
.................................................77
Interior Mirror
....................................................78
Sun Shades
......................................................78
Instrument Cluster
Gauges...............................................................80
Warning Lamps and Indicators..................81
Audible Warnings and Indicators.............84
Information Displays
General Information
.....................................85
Clock...................................................................87
Trip Computer
..................................................87
Personalized Settings..................................88
Information Messages.................................88 Climate Control
Principle of Operation
..................................95
Air Vents............................................................95
Manual Climate Control..............................96
Automatic Climate Control
........................97
Hints on Controlling the Interior Climate
..........................................................99
Rear Passenger Climate Controls...........101
Heated Windows and Mirrors...................101
Cabin Air Filter...............................................102
Seats
Sitting in the Correct Position..................103
Head Restraints............................................103
Manual Seats
.................................................105
Power Seats
...................................................106
Rear Seats
.......................................................107
Heated Seats....................................................111
Rear Seat Armrest.........................................112
Auxiliary Power Points
Auxiliary Power Points.................................113
Cigar Lighter
.....................................................113
Storage Compartments
Cup Holders
.....................................................114
Center Console
...............................................114
Overhead Console
.........................................114
Starting and Stopping the Engine
General Information
.....................................115
Ignition Switch................................................115
Starting a Gasoline Engine........................116
Switching Off the Engine............................116
Engine Block Heater......................................117
Fuel and Refueling
Safety Precautions.......................................118
2
Tourneo Connect/Transit Connect (CHC) Canada/United States of America, enUSA, First Printing Table of Contents
Page 82 of 439
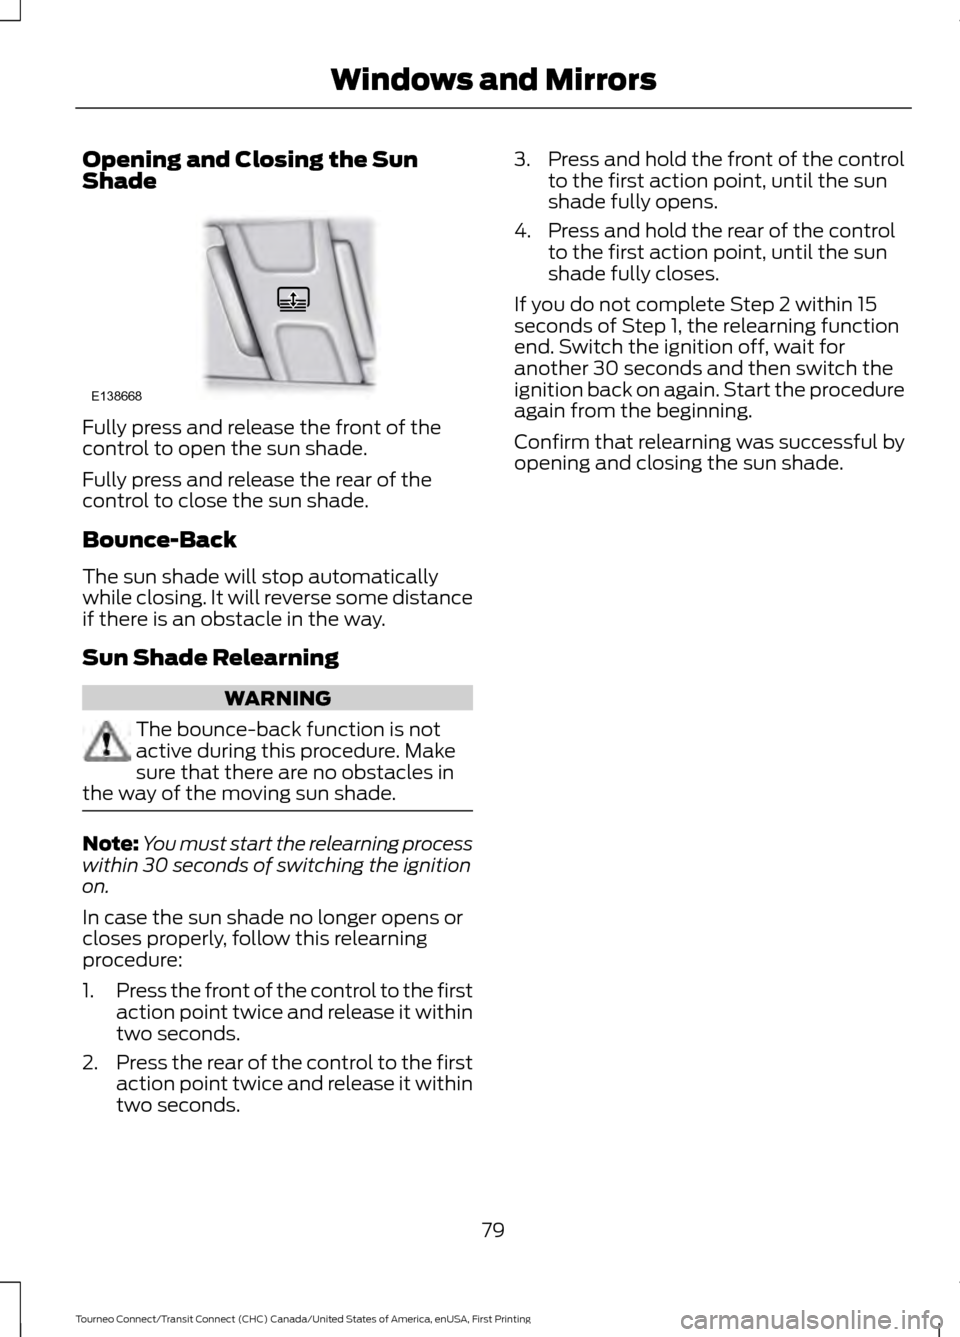
Opening and Closing the Sun
Shade
Fully press and release the front of the
control to open the sun shade.
Fully press and release the rear of the
control to close the sun shade.
Bounce-Back
The sun shade will stop automatically
while closing. It will reverse some distance
if there is an obstacle in the way.
Sun Shade Relearning
WARNING
The bounce-back function is not
active during this procedure. Make
sure that there are no obstacles in
the way of the moving sun shade. Note:
You must start the relearning process
within 30 seconds of switching the ignition
on.
In case the sun shade no longer opens or
closes properly, follow this relearning
procedure:
1. Press the front of the control to the first
action point twice and release it within
two seconds.
2. Press the rear of the control to the first
action point twice and release it within
two seconds. 3.
Press and hold the front of the control
to the first action point, until the sun
shade fully opens.
4. Press and hold the rear of the control to the first action point, until the sun
shade fully closes.
If you do not complete Step 2 within 15
seconds of Step 1, the relearning function
end. Switch the ignition off, wait for
another 30 seconds and then switch the
ignition back on again. Start the procedure
again from the beginning.
Confirm that relearning was successful by
opening and closing the sun shade.
79
Tourneo Connect/Transit Connect (CHC) Canada/United States of America, enUSA, First Printing Windows and MirrorsE138668
Page 84 of 439
If the needle enters the red section, the
engine is overheating. Stop the engine,
switch the ignition off and determine the
cause once the engine has cooled down.
See Engine Coolant Check (page 198).
Note: Do not restart the engine until the
cause of overheating has been resolved.
Fuel Gauge
Switch the ignition on. The fuel gauge will
indicate approximately how much remains
in the fuel tank. The fuel gauge may vary
slightly when your vehicle is moving or on
a gradient. The arrow adjacent to the fuel
pump symbol indicates on which side of
the vehicle the fuel filler door is located.
Low Fuel Level Reminder
Vehicles with Trip Computer
A low fuel level reminder displays and
sounds when the distance to empty
reaches
75 mi (120 km) to empty for
MyKey, and at 50 mi (80 km), 25 mi
(40 km), 10 mi (20 km) and 0 mi (0 km)
for all vehicle keys.
Vehicles without Trip Computer
A low fuel level reminder displays and
sounds when the fuel gauge needle is at
1/16th.
Note: The low fuel warning and
distance-to-empty warning can appear at
different fuel gauge positions depending on
fuel economy conditions. This variation is
normal. WARNING LAMPS AND
INDICATORS
The following warning lamps and
indicators will alert you to a vehicle
condition that may become serious. Some
lamps will illuminate when you start your
vehicle to make sure they work. If any
lamps remain on after starting your vehicle,
refer to the respective system warning
lamp for further information.
Note:
Some warning indicators appear in
the information display and function the
same as a warning lamp but do not display
when you start your vehicle.
Airbag - Front If it fails to illuminate when you
start your vehicle, continues to
flash or remains on, it indicates
a malfunction. Have the system checked
by your authorized dealer.
Anti-Lock Braking System If it illuminates when you are
driving, this indicates a
malfunction. You will continue
to have the normal braking system
(without ABS) unless the brake system
warning lamp is also illuminated. Have the
system checked by your authorized dealer.
Battery If it illuminates while driving, it
indicates a malfunction. Switch
off all unnecessary electrical
equipment and have the system checked
by your authorized dealer immediately.
81
Tourneo Connect/Transit Connect (CHC) Canada/United States of America, enUSA, First Printing Instrument Cluster
Page 118 of 439
GENERAL INFORMATION
WARNINGS
Extended idling at high engine
speeds can produce very high
temperatures in the engine and
exhaust system, creating the risk of fire or
other damage. Do not park, idle or drive your vehicle
on dry grass or other dry ground
cover. The emission system heats up
the engine compartment and exhaust
system, creating the risk of fire. Do not start the engine in a closed
garage or in other enclosed areas.
Exhaust fumes can be toxic. Always
open the garage door before you start the
engine. If you smell exhaust fumes inside
your vehicle, have your vehicle
checked by an authorized dealer
immediately. Do not drive your vehicle if
you smell exhaust fumes. If you disconnect the battery, your vehicle
may exhibit some unusual driving
characteristics for approximately 5 miles
(8 kilometers) after you reconnect it. This
is because the engine management system
must realign itself with the engine. You can
disregard any unusual driving
characteristics during this period.
The powertrain control system meets all
Canadian interference-causing equipment
standard requirements regulating the
impulse electrical field or radio noise.
When you start the engine, avoid pressing
the accelerator pedal before and during
operation. Only use the accelerator pedal
when you have difficulty starting the
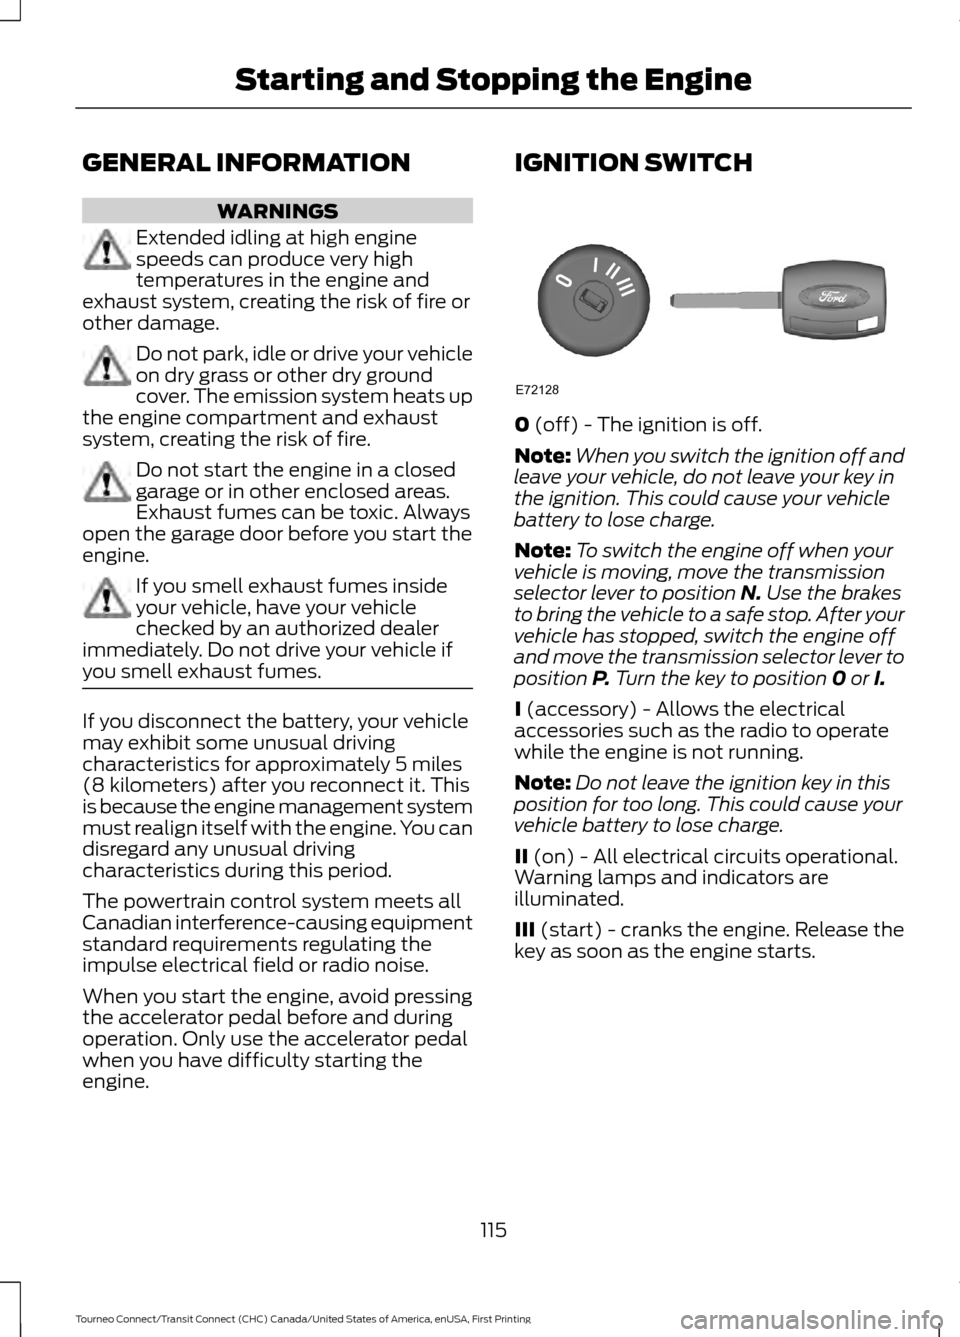
engine. IGNITION SWITCH
0 (off) - The ignition is off.
Note: When you switch the ignition off and
leave your vehicle, do not leave your key in
the ignition. This could cause your vehicle
battery to lose charge.
Note: To switch the engine off when your
vehicle is moving, move the transmission
selector lever to position
N. Use the brakes
to bring the vehicle to a safe stop. After your
vehicle has stopped, switch the engine off
and move the transmission selector lever to
position
P. Turn the key to position 0 or I.
I
(accessory) - Allows the electrical
accessories such as the radio to operate
while the engine is not running.
Note: Do not leave the ignition key in this
position for too long. This could cause your
vehicle battery to lose charge.
II
(on) - All electrical circuits operational.
Warning lamps and indicators are
illuminated.
III
(start) - cranks the engine. Release the
key as soon as the engine starts.
115
Tourneo Connect/Transit Connect (CHC) Canada/United States of America, enUSA, First Printing Starting and Stopping the EngineE72128
Page 119 of 439
STARTING A GASOLINE
ENGINE
Before starting the engine check the
following:
•
Make sure all occupants have fastened
their safety belts.
• Make sure the headlamps and
electrical accessories are off.
• Make sure the parking brake is on.
• Make sure the transmission is in park
(P).
When you start the engine, the idle speed
increases, this helps to warm up the
engine. If the engine idle speed does not
slow down automatically, have your
vehicle checked by an authorized dealer.
Note: Do not touch the accelerator pedal.
1. Fully press the brake pedal.
2. Turn the key to the on position to switch the ignition on.
3. Turn the key to the start position to start your vehicle. Release the key
when the engine starts.
Note: You can only operate the starter for
a limited period of time, for example 10
seconds. The number of start attempts is
limited to approximately six. If you exceed
this limit, the system will not allow you to
try again until a period of time has elapsed,
for example 30 minutes.
Engine Idle Speed after Starting
The speed at which the engine idles
immediately after starting will adjust
automatically to minimize vehicle
emissions and maximize cabin comfort
and fuel economy. The idle speed will vary depending on
certain factors. These include vehicle
component and ambient temperatures as
well as electrical and climate system
demands.
Cold or Hot Engine
If the engine does not start within 10
seconds, wait for a short period and try
again.
If the engine does not start after three
attempts, wait 10 seconds and follow the
flooded engine procedure.
If you have difficulty starting the engine
when the temperature is below -13°F
(-25°C), press the accelerator pedal to the
mid-way point of its travel and try again.
Flooded Engine
1. Shift into park (P).
2. Fully depress the accelerator pedal and
hold it there.
3. Start the engine.
Note: If the engine does not start, repeat
the cold or hot engine procedure.
SWITCHING OFF THE ENGINE
Vehicles With a Turbocharger WARNING
Do not switch the engine off when it
is running at high speed. If you do, the
turbocharger will continue running
after the engine oil pressure has dropped
to zero. This will lead to premature
turbocharger bearing wear. Release the accelerator pedal. Wait until
the engine has reached idle speed and then
switch it off.
116
Tourneo Connect/Transit Connect (CHC) Canada/United States of America, enUSA, First Printing Starting and Stopping the Engine
Page 120 of 439
ENGINE BLOCK HEATER
WARNINGS
Failure to follow engine block heater
instructions could result in property
damage or serious personal injury.
Do not use your heater with
ungrounded electrical systems or
two-pronged adapters. There is a risk
of electrical shock. Do not fully close the hood, or allow
it to drop under its own weight when
using the engine block heater. This
could damage the power cable and may
cause an electrical short resulting in fire,
injury and property damage. Note:
The heater is most effective when
outdoor temperatures are below 0°F
(-18°C).
The heater acts as a starting aid by
warming the engine coolant. This allows
the climate control system to respond
quickly. The equipment includes a heater
element (installed in the engine block) and
a wire harness. You can connect the
system to a grounded 120-volt AC
electrical source.
We recommend that you do the following
for a safe and correct operation:
• Use a 16-gauge outdoor extension cord
that is product certified by
Underwriter ’s Laboratory (UL) or
Canadian Standards Association
(CSA). This extension cord must be
suitable for use outdoors, in cold
temperatures, and be clearly marked
Suitable for Use with Outdoor
Appliances. Do not use an indoor
extension cord outdoors. This could
result in an electric shock or become a
fire hazard.
• Use as short an extension cord as
possible. •
Do not use multiple extension cords.
• Make sure that when in operation, the
extension cord plug and heater cord
plug connections are free and clear of
water. This could cause an electric
shock or fire.
• Make sure your vehicle is parked in a
clean area, clear of combustibles.
• Make sure the heater, heater cord and
extension cord are firmly connected.
• Check for heat anywhere in the
electrical hookup once the system has
been operating for approximately 30
minutes.
• Make sure the system is unplugged and
properly stowed before starting and
driving your vehicle. Make sure the
protective cover seals the prongs of the
block heater cord plug when not in use.
• Make sure the heater system is
checked for proper operation before
winter.
Using the Engine Block Heater
Make sure the receptacle terminals are
clean and dry prior to use. Clean them with
a dry cloth if necessary.
The heater uses 0.4 to 1.0 kilowatt-hours
of energy per hour of use. The system does
not have a thermostat. It achieves
maximum temperature after
approximately three hours of operation.
Using the heater longer than three hours
does not improve system performance and
unnecessarily uses electricity.
117
Tourneo Connect/Transit Connect (CHC) Canada/United States of America, enUSA, First Printing Starting and Stopping the Engine
Page 128 of 439
If the service engine soon indicator remains
on, have your vehicle serviced at the first
available opportunity. Although some
malfunctions detected by the OBD-II may
not have symptoms that are apparent,
continued driving with the service engine
soon indicator on can result in increased
emissions, lower fuel economy, reduced
engine and transmission smoothness, and
lead to more costly repairs.
Readiness for
Inspection/Maintenance (I/M)
Testing
Some state/provincial and local
governments may have
Inspection/Maintenance (I/M) programs
to inspect the emission control equipment
on your vehicle. Failure to pass this
inspection could prevent you from getting
a vehicle registration.
If the service engine soon
indicator is on or the bulb does
not work, you may need to have
the vehicle serviced. See On-Board
Diagnostics (OBD-II).
Your vehicle may not pass the I/M test if
the service engine soon indicator is on or
not working properly (bulb is burned out),
or if the OBD-II system has determined
that some of the emission control systems
have not been properly checked. In this
case, your vehicle is not ready for I/M
testing.
If the vehicle ’s engine or transmission has
just been serviced, or the battery has
recently run down or been replaced, the
OBD-II system may indicate that the
vehicle is not ready for I/M testing. To
determine if the vehicle is ready for I/M
testing, turn the ignition key to the on
position for 15 seconds without cranking the engine. If the service engine soon
indicator blinks eight times, it means that
the vehicle is not ready for I/M testing; if
the service engine soon indicator stays on
solid, it means that the vehicle is ready for
I/M testing.
The OBD-II system monitors the emission
control system during normal driving. A
complete check may take several days. If
the vehicle is not ready for I/M testing, you
may need to perform the following driving
cycle consisting of mixed city and highway
driving:
Drive on an expressway or highway for a
steady 15 minutes, followed by 20 minutes
of stop-and-go driving with at least four
30-second idle periods.
Allow the vehicle to sit for at least eight
hours without starting the engine. Then,
start the engine and complete the above
driving cycle. The engine must warm up to
its normal operating temperature. Once
started, do not turn off the engine until the
above driving cycle is complete. If the
vehicle is still not ready for I/M testing, you
will have to repeat the above driving cycle.
125
Tourneo Connect/Transit Connect (CHC) Canada/United States of America, enUSA, First Printing Fuel and Refueling
Page 129 of 439
AUTOMATIC TRANSMISSION
WARNINGS
Always set the parking brake fully
and make sure the gearshift is
latched in P (Park). Turn the ignition
to the off position and remove the key
whenever you leave your vehicle. Do not apply the brake pedal and
accelerator pedal simultaneously.
Applying both pedals simultaneously
for more than three seconds will limit
engine rpm, which may result in difficulty
maintaining speed in traffic and could lead
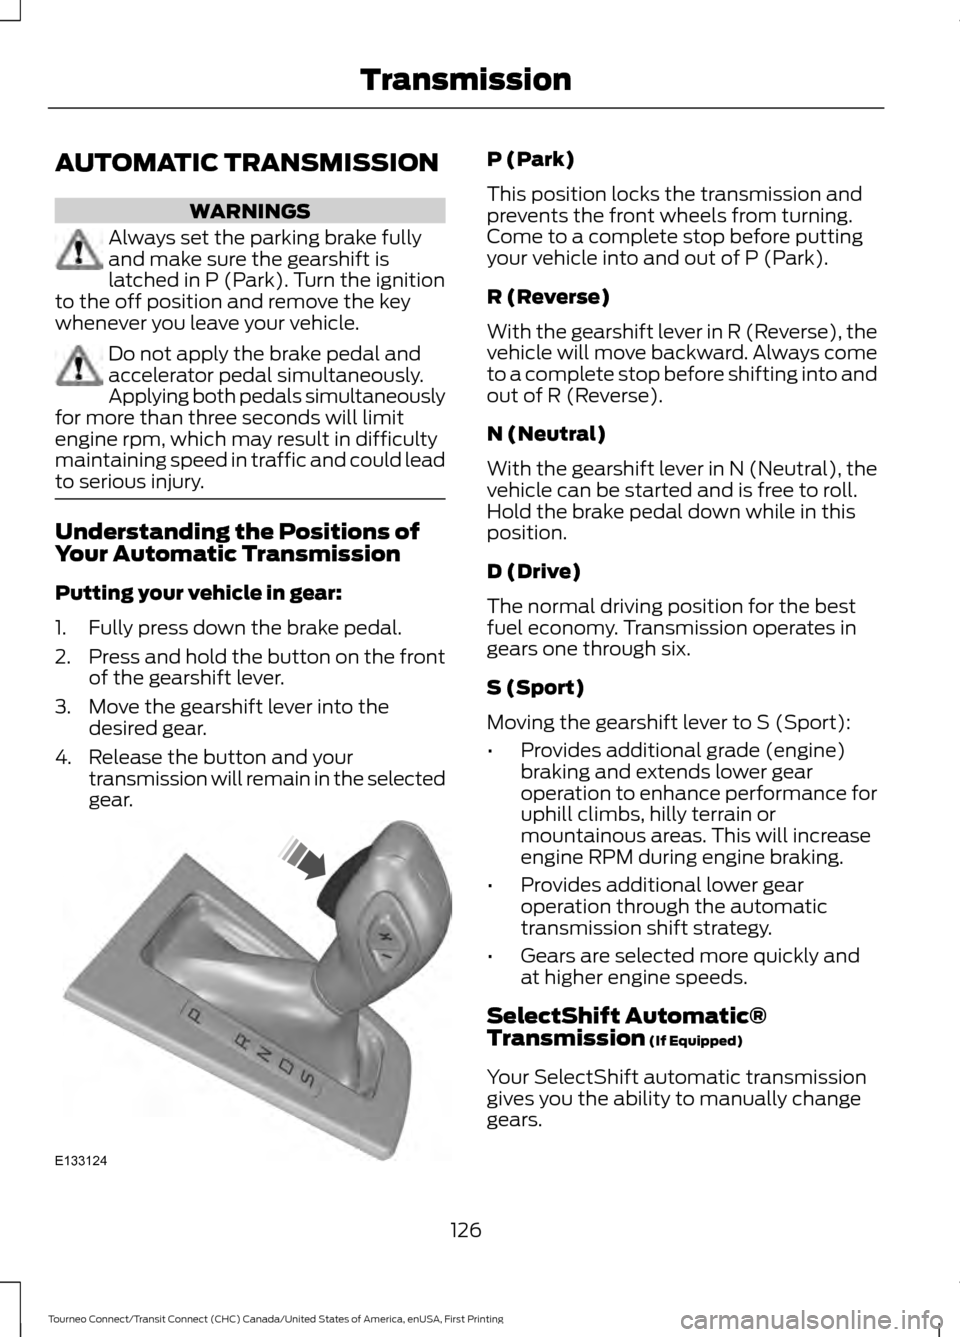
to serious injury. Understanding the Positions of
Your Automatic Transmission
Putting your vehicle in gear:
1. Fully press down the brake pedal.
2.
Press and hold the button on the front
of the gearshift lever.
3. Move the gearshift lever into the desired gear.
4. Release the button and your transmission will remain in the selected
gear. P (Park)
This position locks the transmission and
prevents the front wheels from turning.
Come to a complete stop before putting
your vehicle into and out of P (Park).
R (Reverse)
With the gearshift lever in R (Reverse), the
vehicle will move backward. Always come
to a complete stop before shifting into and
out of R (Reverse).
N (Neutral)
With the gearshift lever in N (Neutral), the
vehicle can be started and is free to roll.
Hold the brake pedal down while in this
position.
D (Drive)
The normal driving position for the best
fuel economy. Transmission operates in
gears one through six.
S (Sport)
Moving the gearshift lever to S (Sport):
•
Provides additional grade (engine)
braking and extends lower gear
operation to enhance performance for
uphill climbs, hilly terrain or
mountainous areas. This will increase
engine RPM during engine braking.
• Provides additional lower gear
operation through the automatic
transmission shift strategy.
• Gears are selected more quickly and
at higher engine speeds.
SelectShift Automatic®
Transmission (If Equipped)
Your SelectShift automatic transmission
gives you the ability to manually change
gears.
126
Tourneo Connect/Transit Connect (CHC) Canada/United States of America, enUSA, First Printing TransmissionE133124
Page 131 of 439
5.
While holding the white lever in the rear
position, move the shifter from the park
position.
6. Press the shifter bezel back into the top
finish panel until it snaps back into
position.
7. Apply the brake pedal, start the vehicle
and release the parking brake.
Note: See your authorized dealer as soon
as possible if this procedure is used.
If Your Vehicle Gets Stuck In Mud
or Snow
Note: Do not rock the vehicle if the engine
is not at normal operating temperature or
damage to the transmission may occur.
Note: Do not rock the vehicle for more than
a minute or damage to the transmission and
tires may occur, or the engine may overheat.
If your vehicle gets stuck in mud or snow,
it may be rocked out by shifting between
forward and reverse gears, stopping
between shifts in a steady pattern. Press
lightly on the accelerator in each gear.
128
Tourneo Connect/Transit Connect (CHC) Canada/United States of America, enUSA, First Printing Transmission
Page 132 of 439
GENERAL INFORMATION
Note:
Occasional brake noise is normal. If
a metal-to-metal, continuous grinding or
continuous squeal sound is present, the
brake linings may be worn-out. Have the
system checked by an authorized dealer. If
your vehicle has continuous vibration or
shudder in the steering wheel while braking,
have it checked by an authorized dealer.
Note: Brake dust may accumulate on the
wheels, even under normal driving
conditions. Some dust is inevitable as the
brakes wear and does not contribute to
brake noise. See Cleaning the Alloy
Wheels (page 218).
Note: Depending on applicable laws and
regulations in the country for which your
vehicle was originally built, your brake lamps
may flash during heavy braking. Following
this, your hazard lights may also flash when
your vehicle comes to a stop. See
Warning Lamps and
Indicators (page 81).
Wet brakes result in reduced braking
efficiency. Gently press the brake pedal a
few times when driving from a car wash or
standing water to dry the brakes.
Brake Over Accelerator
In the event the accelerator pedal
becomes stuck or entrapped, apply steady
and firm pressure to the brake pedal to
slow the vehicle and reduce engine power.
If you experience this condition, apply the
brakes and bring your vehicle to a safe
stop. Move the transmission to park (P),
switch the engine off and apply the parking
brake. Inspect the accelerator pedal for
any interference. If none are found and the
condition persists, have your vehicle towed
to the nearest authorized dealer. Brake Assist
Brake assist detects when you brake
rapidly by measuring the rate at which you
press the brake pedal. It provides
maximum braking efficiency as long as you
press the pedal, and can reduce stopping
distances in critical situations.
Anti-lock Brake System
This system helps you maintain steering
control during emergency stops by keeping
the brakes from locking.
This lamp momentarily
illuminates when you turn the
ignition on. If the light does not
illuminate during start up, remains on or
flashes, the system may be disabled. Have
the system checked by an authorized
dealer. If the anti-lock brake system is
disabled, normal braking is still effective. If the brake warning lamp
illuminates when you release the
parking brake, have the system
checked by an authorized dealer.
HINTS ON DRIVING WITH
ANTI-LOCK BRAKES
Note: When the system is operating, the
brake pedal will pulse and may travel
further. Maintain pressure on the brake
pedal. You may also hear a noise from the
system. This is normal.
The anti-lock braking system will not
eliminate the risks when:
• You drive too closely to the vehicle in
front of you.
• Your vehicle is hydroplaning.
• You take corners too fast.
• The road surface is poor.
129
Tourneo Connect/Transit Connect (CHC) Canada/United States of America, enUSA, First Printing BrakesE144522 E144522