mirror FORD TRANSIT CONNECT 2020 User Guide
[x] Cancel search | Manufacturer: FORD, Model Year: 2020, Model line: TRANSIT CONNECT, Model: FORD TRANSIT CONNECT 2020Pages: 509, PDF Size: 7.73 MB
Page 221 of 509
The system is designed to detect vehicles
that may have entered the blind spot zone.
The detection area is on both sides of your
vehicle, extending rearward from the
exterior mirrors to approximately 13 ft
(4 m) beyond the rear bumper. The
detection area extends to approximately
59 ft (18 m)
beyond the rear bumper when
the vehicle speed is greater than 30 mph
(48 km/h) to alert you of faster
approaching vehicles.
Note: The system does not prevent contact
with other vehicles. It is not designed to
detect parked vehicles, pedestrians, animals
or other infrastructures.
Using the Blind Spot Information
System
Vehicles with Automatic Transmission
The system turns on when all of the
following occur:
• You start your vehicle.
• You shift into drive (D).
• The vehicle speed is greater than
6 mph (10 km/h)
.
Note: The system does not operate in park
(P) or reverse (R).
Vehicles with Manual Transmission
The system turns on when all of the
following occur:
• You start your vehicle.
• The vehicle speed is greater than
6 mph (10 km/h)
.
Note: The system does not operate in
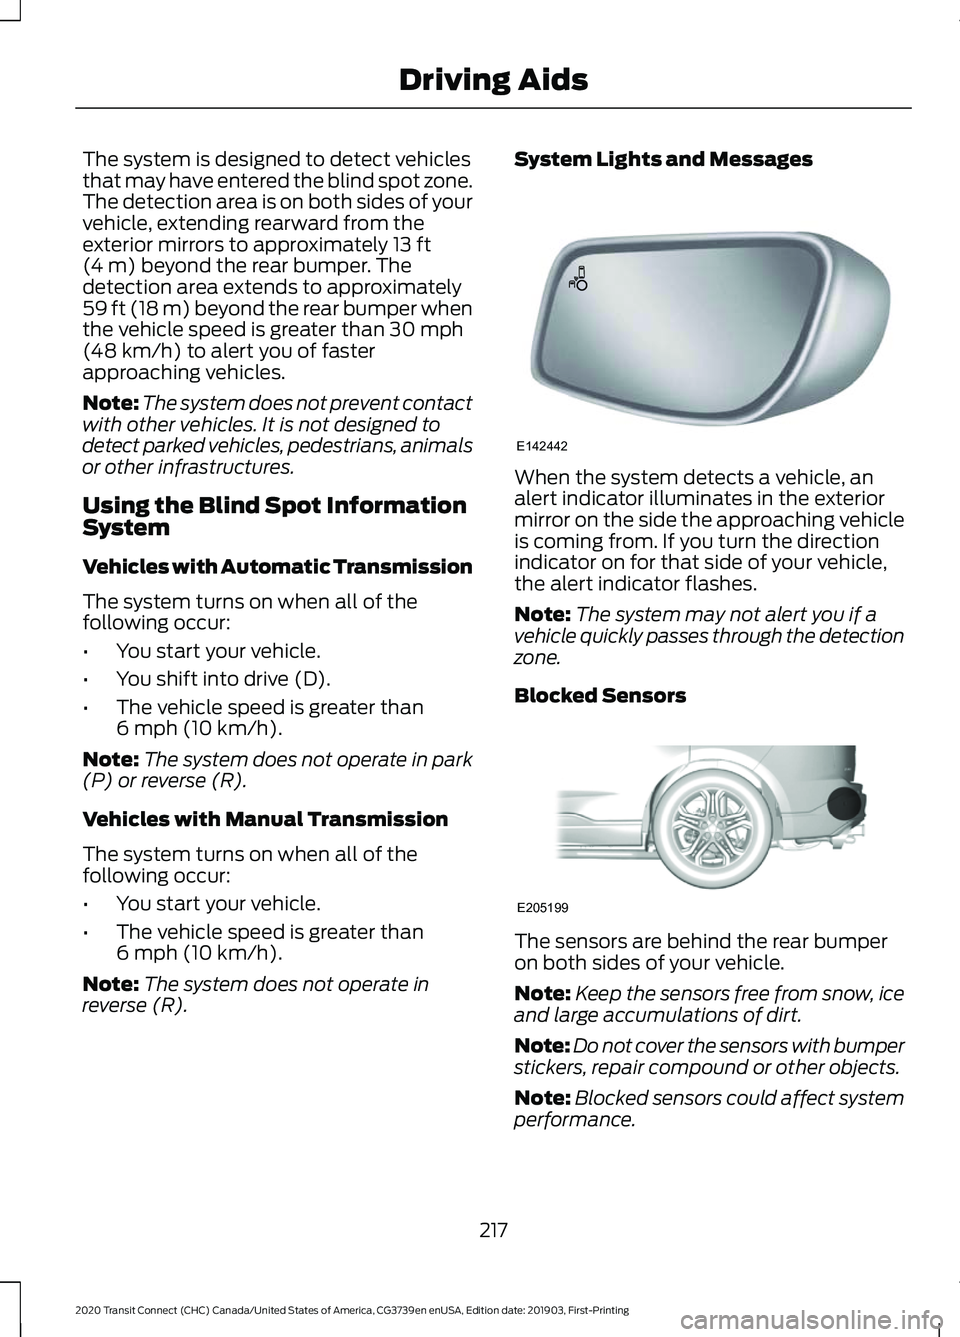
reverse (R). System Lights and Messages
When the system detects a vehicle, an
alert indicator illuminates in the exterior
mirror on the side the approaching vehicle
is coming from. If you turn the direction
indicator on for that side of your vehicle,
the alert indicator flashes.
Note:
The system may not alert you if a
vehicle quickly passes through the detection
zone.
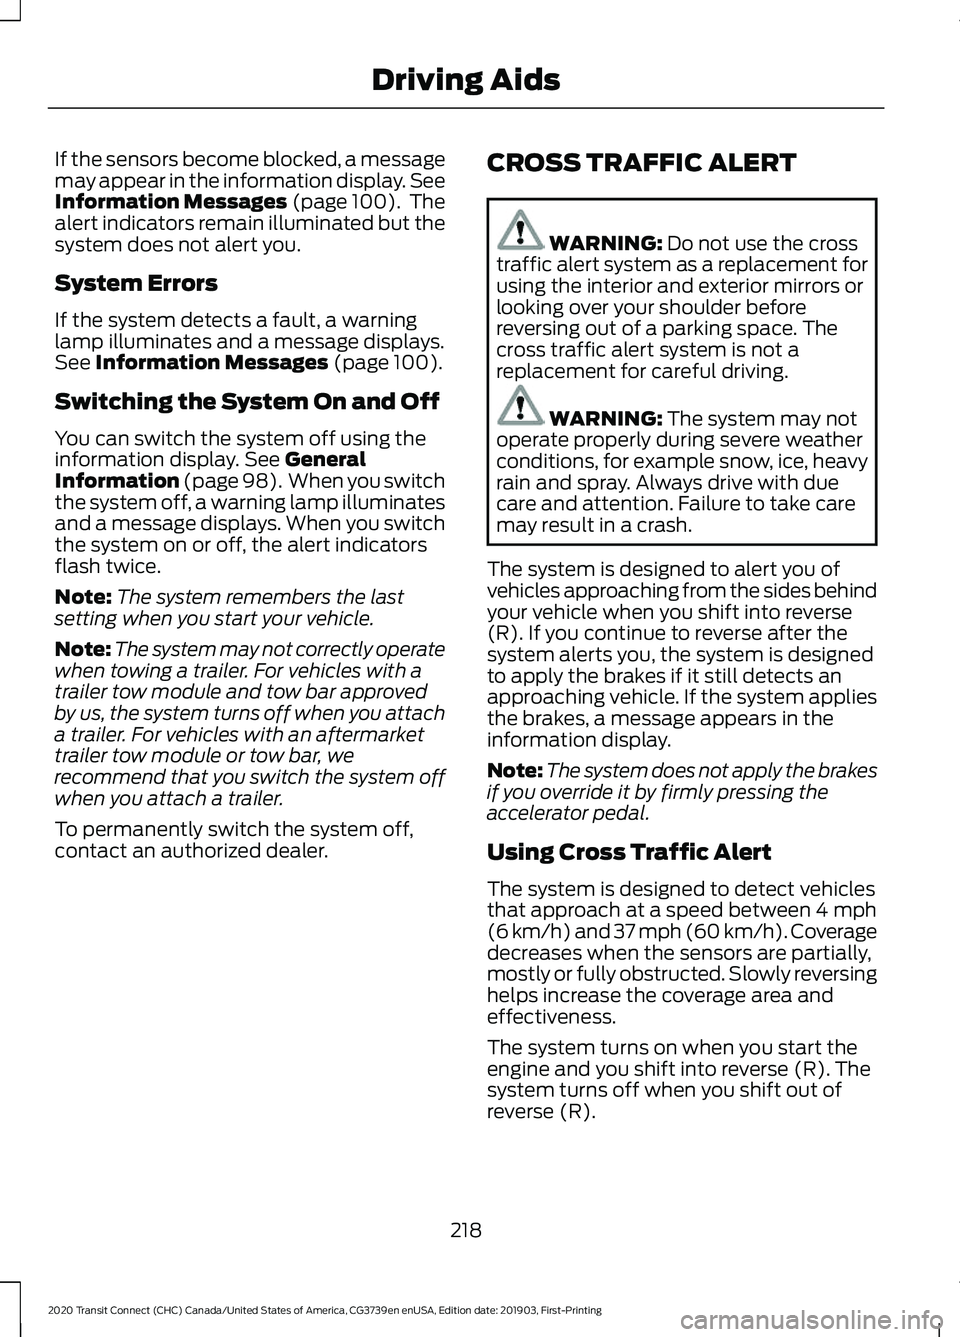
Blocked Sensors The sensors are behind the rear bumper
on both sides of your vehicle.
Note:
Keep the sensors free from snow, ice
and large accumulations of dirt.
Note: Do not cover the sensors with bumper
stickers, repair compound or other objects.
Note: Blocked sensors could affect system
performance.
217
2020 Transit Connect (CHC) Canada/United States of America, CG3739en enUSA, Edition date: 201903, First-Printing Driving AidsE142442 E205199
Page 222 of 509
If the sensors become blocked, a message
may appear in the information display. See
Information Messages (page 100). The
alert indicators remain illuminated but the
system does not alert you.
System Errors
If the system detects a fault, a warning
lamp illuminates and a message displays.
See Information Messages (page 100).
Switching the System On and Off
You can switch the system off using the
information display.
See General
Information (page 98). When you switch
the system off, a warning lamp illuminates
and a message displays. When you switch
the system on or off, the alert indicators
flash twice.
Note: The system remembers the last
setting when you start your vehicle.
Note: The system may not correctly operate
when towing a trailer. For vehicles with a
trailer tow module and tow bar approved
by us, the system turns off when you attach
a trailer. For vehicles with an aftermarket
trailer tow module or tow bar, we
recommend that you switch the system off
when you attach a trailer.
To permanently switch the system off,
contact an authorized dealer. CROSS TRAFFIC ALERT WARNING:
Do not use the cross
traffic alert system as a replacement for
using the interior and exterior mirrors or
looking over your shoulder before
reversing out of a parking space. The
cross traffic alert system is not a
replacement for careful driving. WARNING:
The system may not
operate properly during severe weather
conditions, for example snow, ice, heavy
rain and spray. Always drive with due
care and attention. Failure to take care
may result in a crash.
The system is designed to alert you of
vehicles approaching from the sides behind
your vehicle when you shift into reverse
(R). If you continue to reverse after the
system alerts you, the system is designed
to apply the brakes if it still detects an
approaching vehicle. If the system applies
the brakes, a message appears in the
information display.
Note: The system does not apply the brakes
if you override it by firmly pressing the
accelerator pedal.
Using Cross Traffic Alert
The system is designed to detect vehicles
that approach at a speed between
4 mph
(6 km/h) and 37 mph (60 km/h). Coverage
decreases when the sensors are partially,
mostly or fully obstructed. Slowly reversing
helps increase the coverage area and
effectiveness.
The system turns on when you start the
engine and you shift into reverse (R). The
system turns off when you shift out of
reverse (R).
218
2020 Transit Connect (CHC) Canada/United States of America, CG3739en enUSA, Edition date: 201903, First-Printing Driving Aids
Page 224 of 509
Zone coverage also decreases when
parking at narrow angles. The sensor on
the left-hand side is mostly obstructed and
zone coverage on that side is severely
reduced.
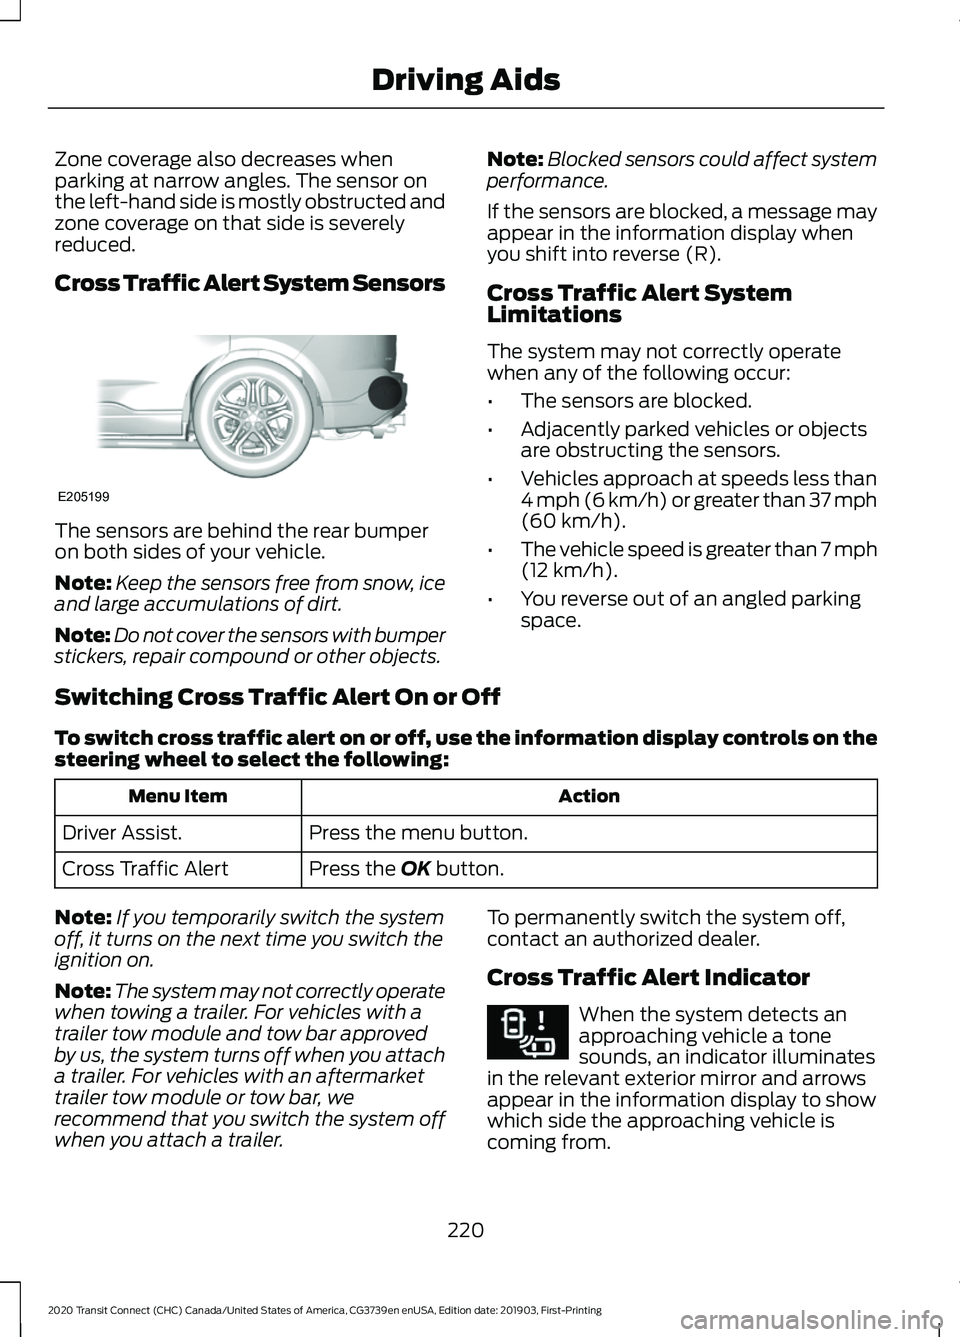
Cross Traffic Alert System Sensors
The sensors are behind the rear bumper
on both sides of your vehicle.
Note:
Keep the sensors free from snow, ice
and large accumulations of dirt.
Note: Do not cover the sensors with bumper
stickers, repair compound or other objects. Note:
Blocked sensors could affect system
performance.
If the sensors are blocked, a message may
appear in the information display when
you shift into reverse (R).
Cross Traffic Alert System
Limitations
The system may not correctly operate
when any of the following occur:
• The sensors are blocked.
• Adjacently parked vehicles or objects
are obstructing the sensors.
• Vehicles approach at speeds less than
4 mph (6 km/h) or greater than 37 mph
(60 km/h).
• The vehicle speed is greater than 7 mph
(12 km/h)
.
• You reverse out of an angled parking
space.
Switching Cross Traffic Alert On or Off
To switch cross traffic alert on or off, use the information display controls on the
steering wheel to select the following: Action
Menu Item
Press the menu button.
Driver Assist.
Press the
OK button.
Cross Traffic Alert
Note: If you temporarily switch the system
off, it turns on the next time you switch the
ignition on.
Note: The system may not correctly operate
when towing a trailer. For vehicles with a
trailer tow module and tow bar approved
by us, the system turns off when you attach
a trailer. For vehicles with an aftermarket
trailer tow module or tow bar, we
recommend that you switch the system off
when you attach a trailer. To permanently switch the system off,
contact an authorized dealer.
Cross Traffic Alert Indicator When the system detects an
approaching vehicle a tone
sounds, an indicator illuminates
in the relevant exterior mirror and arrows
appear in the information display to show
which side the approaching vehicle is
coming from.
220
2020 Transit Connect (CHC) Canada/United States of America, CG3739en enUSA, Edition date: 201903, First-Printing Driving AidsE205199 E268294
Page 230 of 509
Switching Distance Indication On or Off
To switch distance indication on or off, use the information display controls on
the steering wheel to select the following:
Action
Menu Item
Press the menu button.
Driver Assist.
Press the OK button.
Pre-Collision Assist
Press the
OK button.
Distance Indication
Pre-Collision Assist System
Sensors
Vehicles without Adaptive Cruise
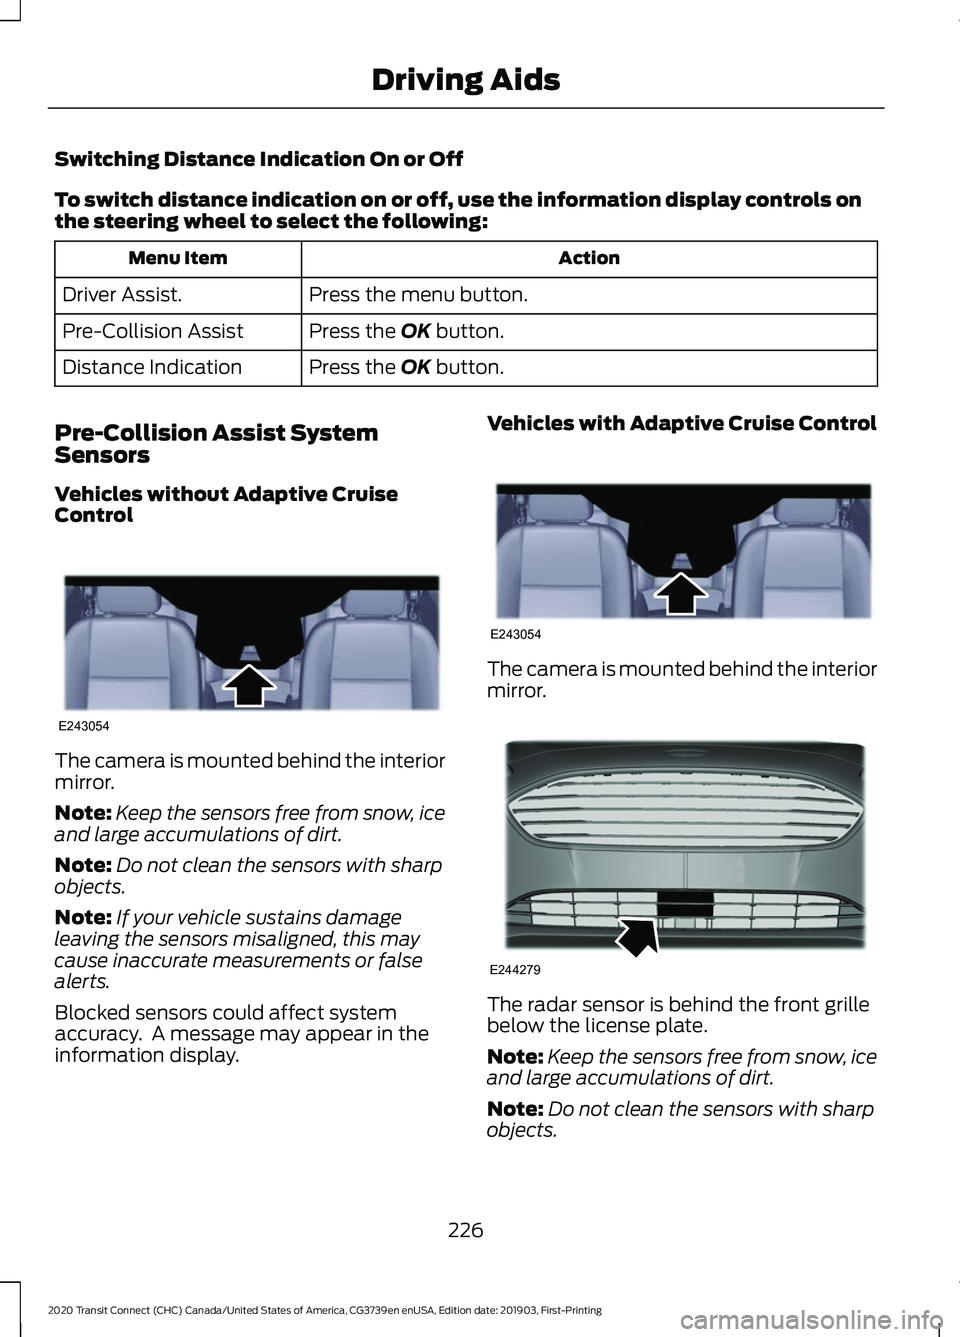
Control The camera is mounted behind the interior
mirror.
Note:
Keep the sensors free from snow, ice
and large accumulations of dirt.
Note: Do not clean the sensors with sharp
objects.
Note: If your vehicle sustains damage
leaving the sensors misaligned, this may
cause inaccurate measurements or false
alerts.
Blocked sensors could affect system
accuracy. A message may appear in the
information display. Vehicles with Adaptive Cruise Control
The camera is mounted behind the interior
mirror.
The radar sensor is behind the front grille
below the license plate.
Note:
Keep the sensors free from snow, ice
and large accumulations of dirt.
Note: Do not clean the sensors with sharp
objects.
226
2020 Transit Connect (CHC) Canada/United States of America, CG3739en enUSA, Edition date: 201903, First-Printing Driving AidsE243054 E243054 E244279
Page 271 of 509
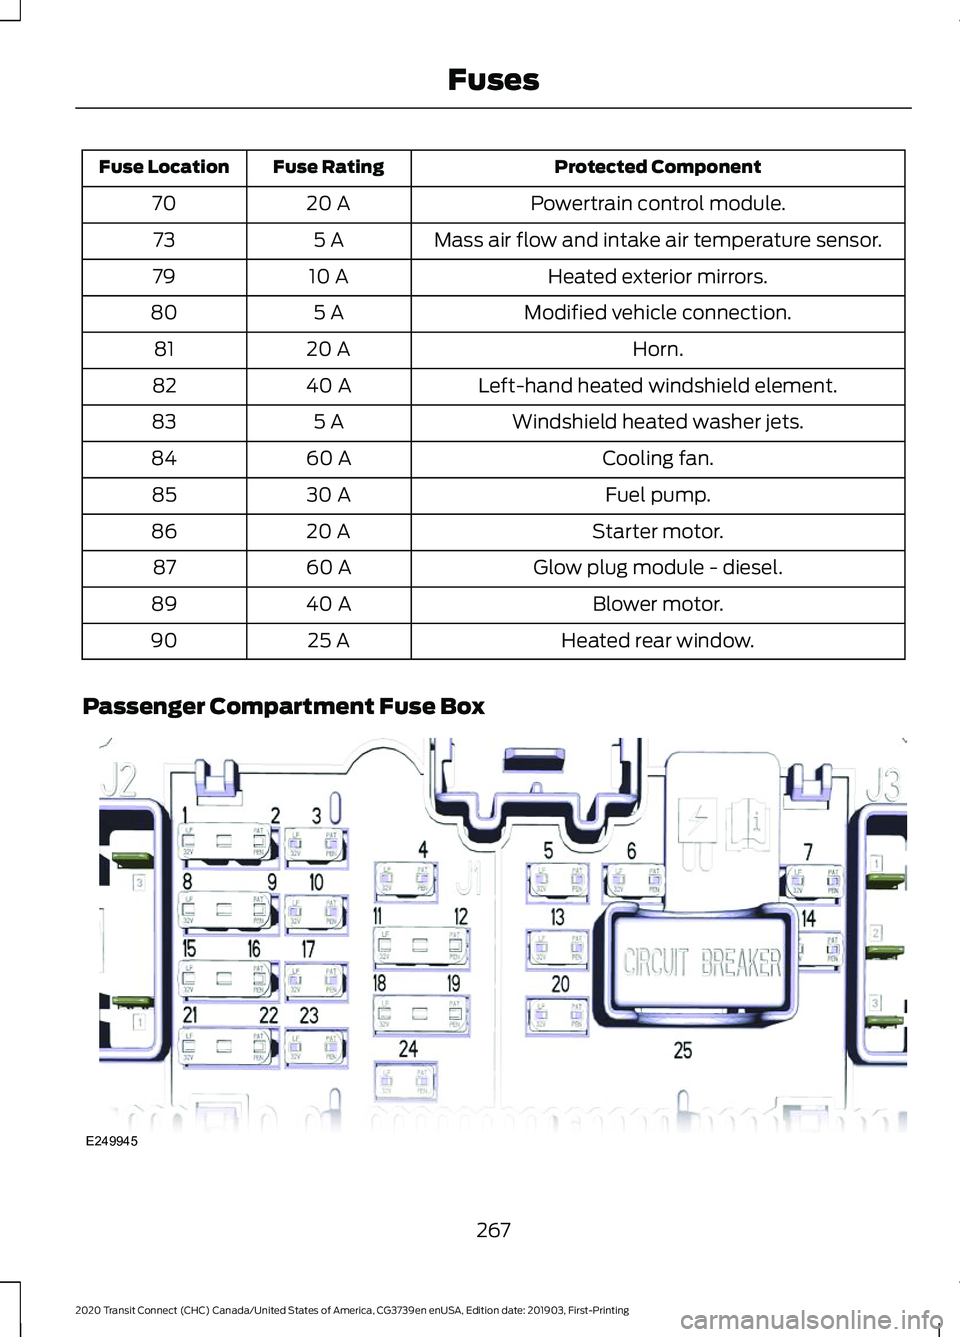
Protected Component
Fuse Rating
Fuse Location
Powertrain control module.
20 A
70
Mass air flow and intake air temperature sensor.
5 A
73
Heated exterior mirrors.
10 A
79
Modified vehicle connection.
5 A
80
Horn.
20 A
81
Left-hand heated windshield element.
40 A
82
Windshield heated washer jets.
5 A
83
Cooling fan.
60 A
84
Fuel pump.
30 A
85
Starter motor.
20 A
86
Glow plug module - diesel.
60 A
87
Blower motor.
40 A
89
Heated rear window.
25 A
90
Passenger Compartment Fuse Box 267
2020 Transit Connect (CHC) Canada/United States of America, CG3739en enUSA, Edition date: 201903, First-Printing FusesE249945
Page 272 of 509
Protected Component
Fuse Rating
Fuse Location
Restraints control module.
5 A
1
In-vehicle temperature and humidity sensor.
5 A
2
Rear blower motor.
Parking assist control module.
10 A
3
Ignition switch.
10 A
4
Push button ignition switch.
Central locking system.
20 A
5
Direct current inverter.
10 A
6
Driver door lock.
Power exterior mirror switch.
Driver door control.
30 A
7
Auto-dimming interior mirror.
5 A
9
Front parking aid camera.
Passenger airbag deactivation indicator.
Restraints control module.
10 A
10
Telematics control unit module.
5 A
11
Anti-theft alarm.
5 A
12
Unlock.
15 A
13
Passenger door control.
30 A
14
Battery energy control module.
10 A
15
Voice control.
15 A
17
Information and entertainment display.Compact disc player.
Wireless accessory charging module.
7.5 A
18
Battery back-up sounder.
7.5 A
19
Security horn.
10 A
20
Climate control.
7.5 A
21
Data link connector.
7.5 A
22
268
2020 Transit Connect (CHC) Canada/United States of America, CG3739en enUSA, Edition date: 201903, First-Printing Fuses
Page 289 of 509
Because your vehicle
’s engine is
electronically-controlled by a computer,
some engine control settings are
maintained by power from the low voltage
battery. Some engine computer settings,
like the idle trim and fuel trim strategy,
optimize the driveability and performance
of the engine. Some other computer
settings, like the clock and radio station
presets, are also maintained in memory by
power from the low voltage battery. When
a technician disconnects and connects the
low voltage battery, these settings are
erased. Complete the following procedure
in order to restore the settings:
1. With the vehicle at a complete stop, set the parking brake.
2. Shift the transmission into park (P).
3. Switch off all accessories.
4. Fully press the brake pedal and start the vehicle.
5. Run the engine until it reaches normal operating temperature. While the
engine is warming up, complete the
following: Reset the clock. See Audio
System (page 367). Reset the power
windows bounce-back feature. See
Windows and Mirrors
(page 89).
Reset the radio station presets. See
Audio System
(page 367).
6. Allow the engine to idle for at least one
minute. If the engine turns off, press
the accelerator pedal to start the
engine.
7. While the engine is running, press the brake pedal and shift into neutral (N).
8. Allow the engine to run for at least one
minute by pressing on the accelerator
pedal.
9. Drive the vehicle at least 12 mi (20 km)
to completely relearn the idle and fuel
trim strategy. Note:
If you do not allow the engine to
relearn the idle and fuel trim strategy, the
idle quality of your vehicle may be adversely
affected until the engine computer
eventually relearns the idle trim and fuel
trim strategy.
Make sure that you dispose of old batteries
in an environmentally friendly way. Seek
advice from your local authority about
recycling old batteries.
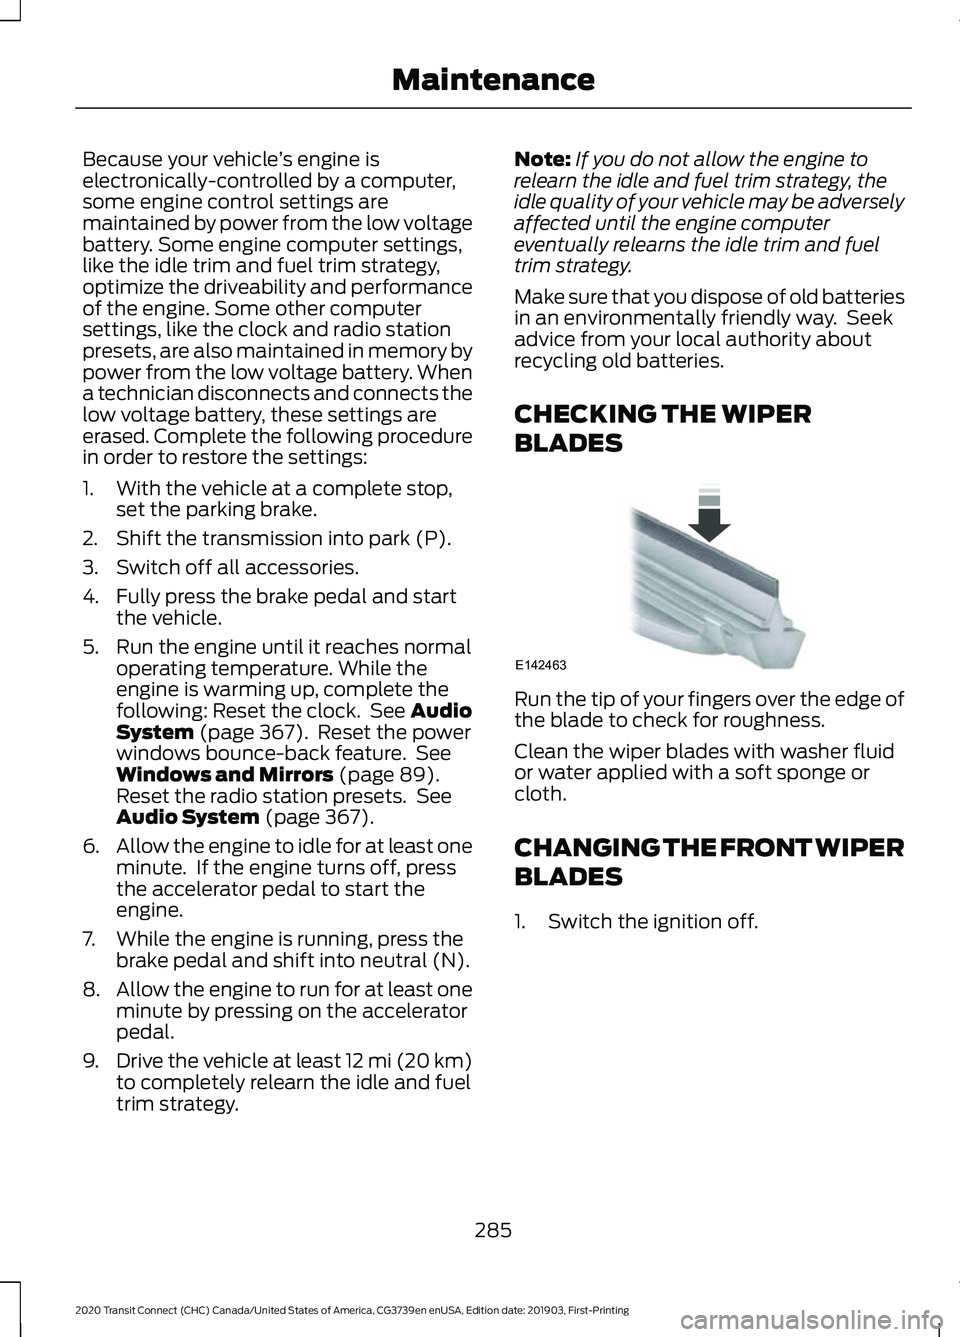
CHECKING THE WIPER
BLADES Run the tip of your fingers over the edge of
the blade to check for roughness.
Clean the wiper blades with washer fluid
or water applied with a soft sponge or
cloth.
CHANGING THE FRONT WIPER
BLADES
1. Switch the ignition off.
285
2020 Transit Connect (CHC) Canada/United States of America, CG3739en enUSA, Edition date: 201903, First-Printing MaintenanceE142463
Page 302 of 509

Exterior Chrome Parts
•
Apply a high quality-cleaning product
to bumpers and other chrome parts.
Follow the manufacturer ’s instructions.
We recommend Motorcraft Custom
Bright Metal Cleaner.
• Do not apply the cleaning product to
hot surfaces. Do not leave the cleaning
product on chrome surfaces longer
than the time recommended.
• Using non-recommended cleaners can
result in severe and permanent
cosmetic damage.
Note: Never use abrasive materials, for
example steel wool or plastic pads as they
can scratch the chrome surface.
Note: Do not use chrome cleaner, metal
cleaner or polish on wheels or wheel covers.
Exterior Plastic Parts
For routine cleaning we recommend
Motorcraft Detail Wash. If tar or grease
spots are present, we recommend
Motorcraft Bug and Tar Remover.
Stripes or Graphics (If Equipped)
Hand washing your vehicle is preferred
however, pressure washing may be used
under the following conditions:
• Do not use water pressure higher than
2,000 psi (14,000 kPa)
.
• Do not use water hotter than
179°F
(82°C).
• Use a spray with a
40° wide spray
angle pattern.
• Keep the nozzle at a
12 in (305 mm)
distance and 90° angle to your
vehicle's surface.
Note: Holding the pressure washer nozzle
at an angle to the vehicle's surface may
damage graphics and cause the edges to
peel away from the vehicle's surface. Underbody
Regularly clean the underside of your
vehicle using water. Keep body and door
drain holes free of debris or foreign
material.
Under Hood
For removing black rubber marks from
under the hood we recommend Motorcraft
Wheel and Tire Cleaner or Motorcraft Bug
and Tar Remover.
WAXING
Regular waxing is necessary to protect your
car's paint from the elements. We
recommend that you wash and wax the
painted surface once or twice a year.
When washing and waxing, park your
vehicle in a shaded area out of direct
sunlight. Always wash your vehicle before
applying wax.
•
Use a quality wax that does not contain
abrasives.
• Follow the manufacturer ’s instructions
to apply and remove the wax.
• Apply a small amount of wax in a
back-and-forth motion, not in circles.
• Do not allow wax to come in contact
with any non-body (low-gloss black)
colored trim. The wax will discolor or
stain the parts over time.
•Roof racks.
• Bumpers.
• Grained door handles.
• Side moldings.
• Mirror housings.
• Windshield cowl area.
• Do not apply wax to glass areas.
• After waxing, your car's paint should
feel smooth, and be free of streaks and
smudges.
298
2020 Transit Connect (CHC) Canada/United States of America, CG3739en enUSA, Edition date: 201903, First-Printing Vehicle Care
Page 304 of 509
Leather Interior (If Equipped)
Note: Follow the same procedure as
cleaning leather seats for cleaning leather
instrument panels and leather interior trim
surfaces.
For routine cleaning, wipe the surface with
a soft, damp cloth and a mild soap and
water solution. Dry the area with a clean,
soft cloth.
For cleaning and removing stains such as
dye transfer, use a leather cleaning product
for automotive interiors.
Do not use the following products as these
may damage the leather:
• Oil and petroleum or silicone-based
leather conditioners.
• Household cleaners.
• Alcohol solutions.
• Solvents or cleaners intended
specifically for rubber, vinyl and
plastics.
Suede Micro Fiber Fabric
(If Equipped)
Note: Do not steam clean.
Note: To avoid spots or discoloration, clean
the entire surface.
Do not use the following products:
• Leather care products.
• Household cleaners.
• Alcoholic solutions.
• Spot removers.
• Shoe polish. To clean:
•
Remove dust and loose dirt with a
vacuum cleaner.
• Wipe the surface with a soft, damp
cloth and a mild soap and water
solution. Dry the area with a clean, soft
cloth.
• If a ring forms on the fabric after spot
cleaning, clean the entire area
immediately, but do not soak or the
ring will set.
Instrument Cluster Screens, LCD
Screens and Radio Screens
Note: Do not use abrasives, alcoholic
solvents or chemical solvents to clean the
instrument cluster screens, LCD screens or
radio screens. These cleaning products can
damage the screens.
Clean the instrument panel and cluster
lens with a clean, damp and soft cloth,
then use a clean, dry and soft cloth to dry
these areas.
Do not spray any liquid directly onto the
screens.
Do not use a microfiber cloth to clean the
bezel around the display screens as it could
damage the surface.
Rear Windows
Note: Do not use any abrasive materials to
clean the interior of the rear windows.
Note: Do not install stickers or labels to the
interior of the rear windows.
Mirrors
Do not clean the housing or glass of any
mirror with harsh abrasives, fuel or other
petroleum or ammonia-based cleaning
products.
300
2020 Transit Connect (CHC) Canada/United States of America, CG3739en enUSA, Edition date: 201903, First-Printing Vehicle Care
Page 495 of 509
Engine.....................................................................
351
Fuel Tank............................................................... 353
Grease.................................................................... 354
Locks...................................................................... 354
Washer Reservoir............................................... 353
Capacities and Specifications - 2.5L.................................................................355
Air Conditioning System................................. 355
Automatic Transmission................................. 359
Brake System...................................................... 358
Engine.................................................................... 356
Fuel Tank.............................................................. 358
Grease................................................................... 360
Locks...................................................................... 359
Washer Reservoir............................................... 358
Capacities and Specifications................337
Cargo Nets.....................................................230
Installing the Net............................................... 230
Removing the Net.............................................. 232
Car Wash See: Cleaning the Exterior............................... 297
Catalytic Converter
......................................166
On-Board Diagnostics System..................... 166
Changing a Bulb..........................................288 Central High Mounted Brake Lamp............292
Front Fog Lamps................................................. 291
Headlamp............................................................ 289
Interior Lamps..................................................... 292
License Plate Lamp.......................................... 292
Rear Lamps........................................................... 291
Side Direction Indicator.................................. 290
Changing a Fuse
..........................................269
Fuse Types........................................................... 269
General Information......................................... 269
Passenger Compartment Fuse Box...........269
Changing a Road Wheel...........................330 Changing a Road Wheel...................................331
Dissimilar Spare Wheel and Tire Assembly
Information..................................................... 330
Stowing the Flat or Spare Tire...................... 334
Changing the 12V Battery
.........................284
Changing the Engine Air Filter - 2.0L Duratec-HE (MI4)/2.0L Flex Fuel, 1.5L
EcoBlue........................................................293
Changing the Engine Air Filter - 2.5L
................................................................294
Changing the Front Wiper Blades.........285 Changing the Rear Wiper Blades -
Vehicles With: Manual Liftgate...........286
Changing the Rear Wiper Blades - Vehicles With: Rear Cargo Doors........287
Changing the Wi-Fi Hotspot Name or Password - Vehicles With: SYNC
3......................................................................366
Changing the Wi-Fi Hotspot Name or Password - Vehicles Without: SYNC
3......................................................................366
Checking MyKey System Status...............63
Checking the Wiper Blades
.....................285
Child Restraint and Seatbelt Maintenance..................................................41
Child Restraint Positioning.........................32
Child Safety
.......................................................21
General Information............................................. 21
Child Safety Locks..........................................33 Left-Hand Side...................................................... 34
Right-Hand Side................................................... 34
Cigar Lighter
...................................................136
Cleaning Leather Seats..............................301
Cleaning Products
.......................................296
Cleaning the Exterior..................................297 Cleaning the Headlamps................................ 297
Exterior Chrome Parts..................................... 298
Exterior Plastic Parts........................................ 298
Stripes or Graphics........................................... 298
Underbody........................................................... 298
Under Hood......................................................... 298
Cleaning the Instrument Panel and Instrument Cluster Lens.........................301
Cleaning the Interior...................................299 Fabric, Carpets, Cloth Seats, Headliners
and Floor Mats............................................... 299
Instrument Cluster Screens, LCD Screens and Radio Screens...................................... 300
Leather Interior.................................................. 300
Mirrors................................................................... 300
Rear Windows.................................................... 300
Seatbelts.............................................................. 299
Storage Compartments, Cup Holders and Ashtrays............................................................ 301
Suede Micro Fiber Fabric............................... 300
Cleaning the Wheels..................................302
Cleaning the Windows and Wiper Blades...........................................................299
491
2020 Transit Connect (CHC) Canada/United States of America, CG3739en enUSA, Edition date: 201903, First-Printing Index