service FORD WINDSTAR 2001 2.G Owners Manual
[x] Cancel search | Manufacturer: FORD, Model Year: 2001, Model line: WINDSTAR, Model: FORD WINDSTAR 2001 2.GPages: 288, PDF Size: 2.6 MB
Page 8 of 288
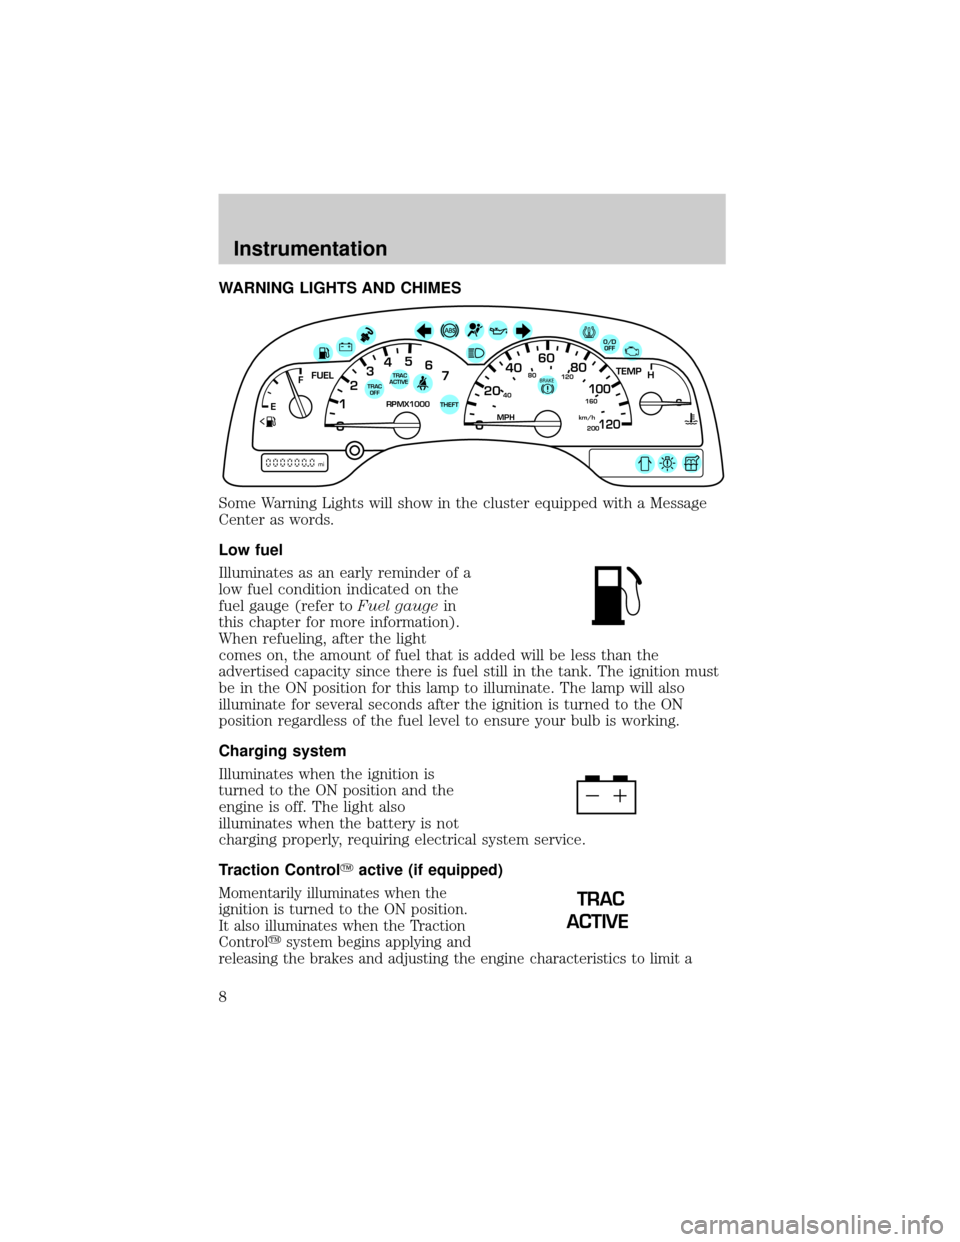
WARNING LIGHTS AND CHIMES
Some Warning Lights will show in the cluster equipped with a Message
Center as words.
Low fuel
Illuminates as an early reminder of a
low fuel condition indicated on the
fuel gauge (refer toFuel gaugein
this chapter for more information).
When refueling, after the light
comes on, the amount of fuel that is added will be less than the
advertised capacity since there is fuel still in the tank. The ignition must
be in the ON position for this lamp to illuminate. The lamp will also
illuminate for several seconds after the ignition is turned to the ON
position regardless of the fuel level to ensure your bulb is working.
Charging system
Illuminates when the ignition is
turned to the ON position and the
engine is off. The light also
illuminates when the battery is not
charging properly, requiring electrical system service.
Traction ControlYactive (if equipped)
Momentarily illuminates when the
ignition is turned to the ON position.
It also illuminates when the Traction
Controlysystem begins applying and
releasing the brakes and adjusting the engine characteristics to limit a
40
4080
120
160
20020
12345
6
760
80100
120MPH RPMX1000 THEFT
TRAC
ACTIVE TRAC
OFFTEMP
H
FFUEL
E
km/h
BRAKE
mi
O/D
OFF
TRAC
ACTIVE
Instrumentation
8
Page 10 of 288
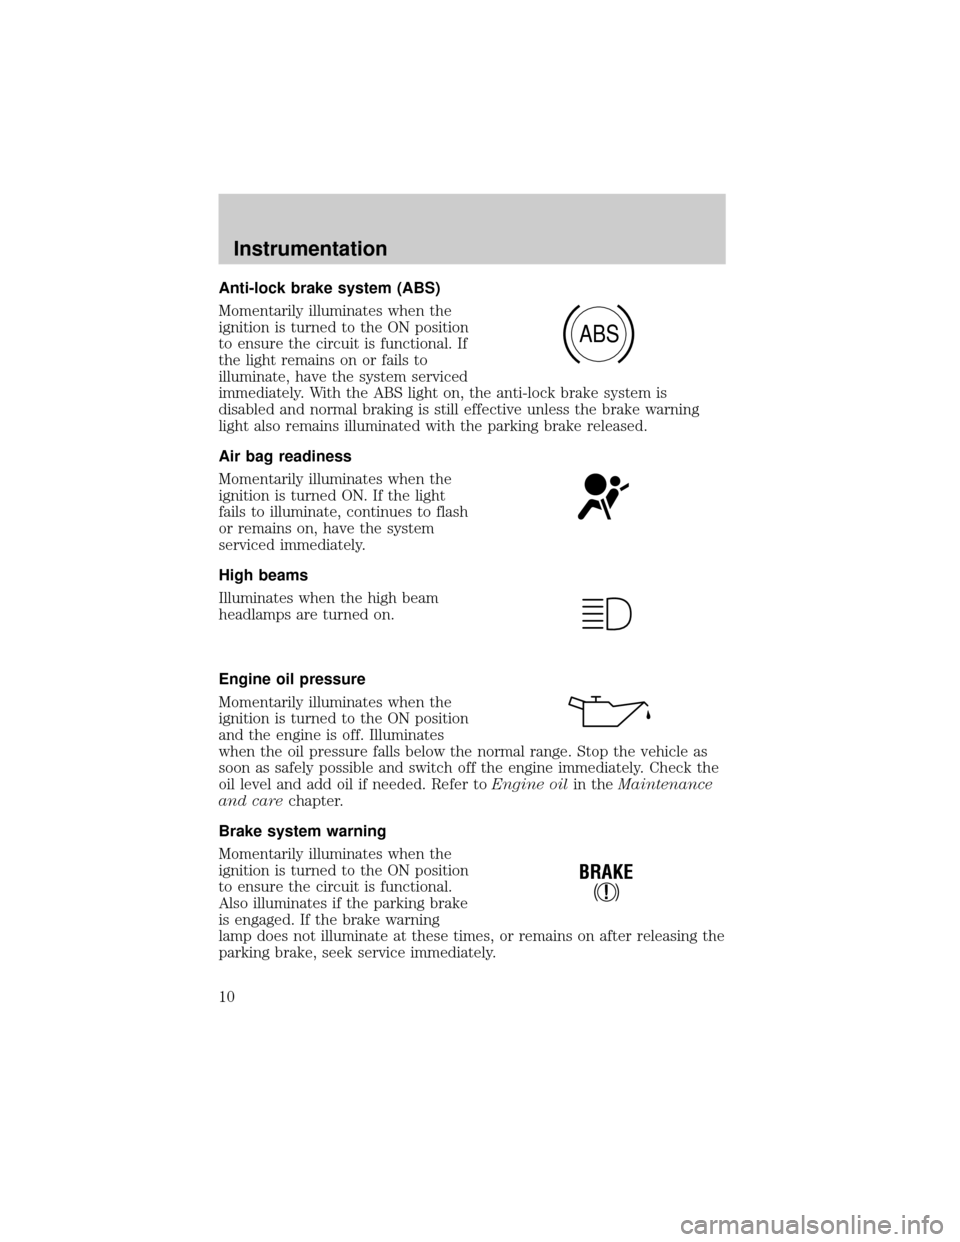
Anti-lock brake system (ABS)
Momentarily illuminates when the
ignition is turned to the ON position
to ensure the circuit is functional. If
the light remains on or fails to
illuminate, have the system serviced
immediately. With the ABS light on, the anti-lock brake system is
disabled and normal braking is still effective unless the brake warning
light also remains illuminated with the parking brake released.
Air bag readiness
Momentarily illuminates when the
ignition is turned ON. If the light
fails to illuminate, continues to flash
or remains on, have the system
serviced immediately.
High beams
Illuminates when the high beam
headlamps are turned on.
Engine oil pressure
Momentarily illuminates when the
ignition is turned to the ON position
and the engine is off. Illuminates
when the oil pressure falls below the normal range. Stop the vehicle as
soon as safely possible and switch off the engine immediately. Check the
oil level and add oil if needed. Refer toEngine oilin theMaintenance
and carechapter.
Brake system warning
Momentarily illuminates when the
ignition is turned to the ON position
to ensure the circuit is functional.
Also illuminates if the parking brake
is engaged. If the brake warning
lamp does not illuminate at these times, or remains on after releasing the
parking brake, seek service immediately.
ABS
!
BRAKE
Instrumentation
10
Page 11 of 288
One of the following conditions may exist:
²low brake fluid level in the reservoir.
²Brake force distribution system failure. The ABS light will also
illuminate if this condition is present.
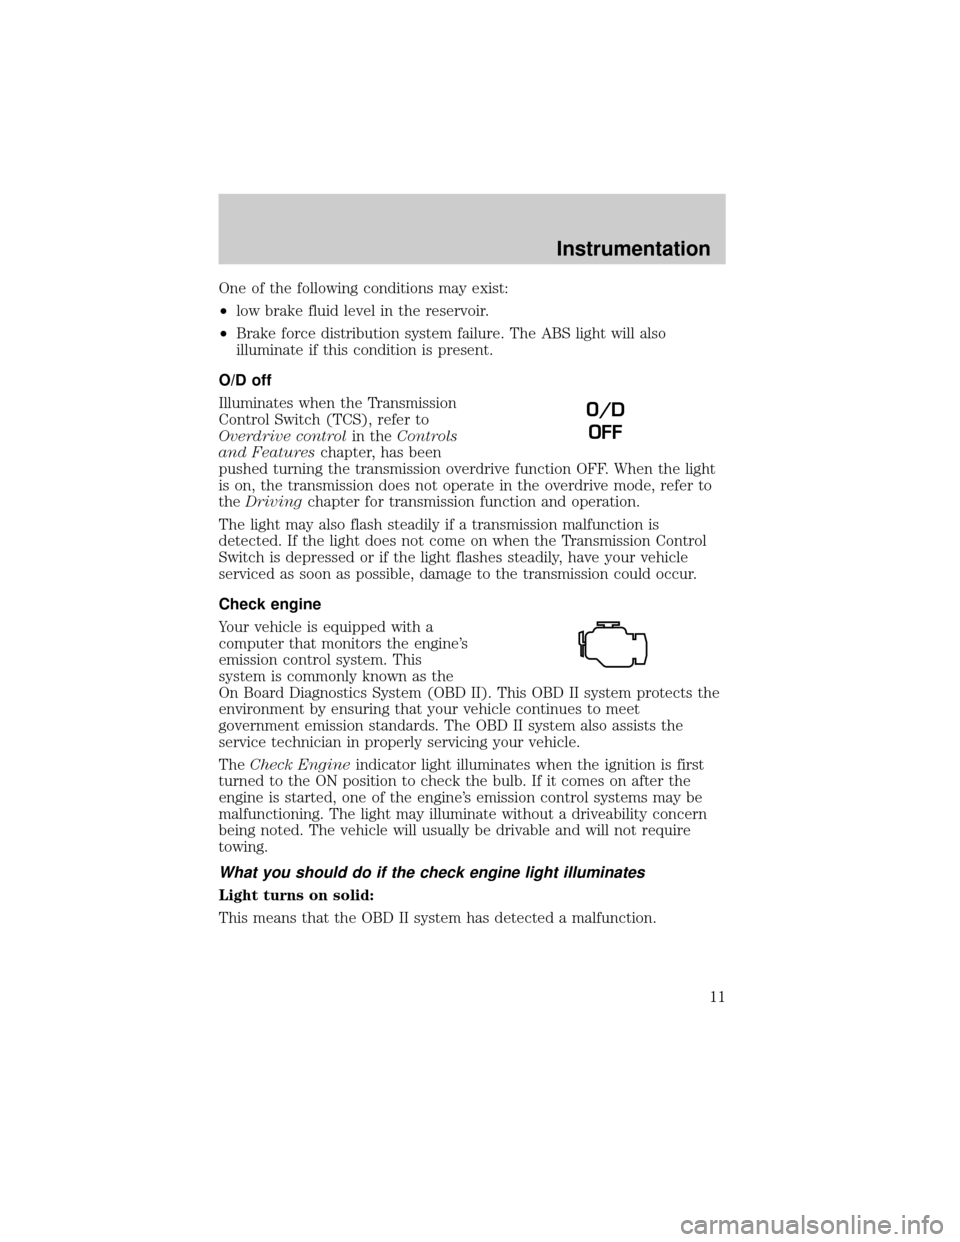
O/D off
Illuminates when the Transmission
Control Switch (TCS), refer to
Overdrive controlin theControls
and Featureschapter, has been
pushed turning the transmission overdrive function OFF. When the light
is on, the transmission does not operate in the overdrive mode, refer to
theDrivingchapter for transmission function and operation.
The light may also flash steadily if a transmission malfunction is
detected. If the light does not come on when the Transmission Control
Switch is depressed or if the light flashes steadily, have your vehicle
serviced as soon as possible, damage to the transmission could occur.
Check engine
Your vehicle is equipped with a
computer that monitors the engine's
emission control system. This
system is commonly known as the
On Board Diagnostics System (OBD II). This OBD II system protects the
environment by ensuring that your vehicle continues to meet
government emission standards. The OBD II system also assists the
service technician in properly servicing your vehicle.
TheCheck Engineindicator light illuminates when the ignition is first
turned to the ON position to check the bulb. If it comes on after the
engine is started, one of the engine's emission control systems may be
malfunctioning. The light may illuminate without a driveability concern
being noted. The vehicle will usually be drivable and will not require
towing.
What you should do if the check engine light illuminates
Light turns on solid:
This means that the OBD II system has detected a malfunction.
O/D
OFF
Instrumentation
11
Page 12 of 288
Temporary malfunctions may cause yourCheck Enginelight to
illuminate. Examples are:
1. The vehicle has run out of fuel. (The engine may misfire or run
poorly.)
2. Poor fuel quality or water in the fuel.
3. The fuel cap may not have been properly installed and securely
tightened.
These temporary malfunctions can be corrected by filling the fuel tank
with high quality fuel of the recommended octane and/or properly
installing and securely tightening the gas cap. After three driving cycles
without these or any other temporary malfunctions present, theCheck
Enginelight should turn off. (A driving cycle consists of a cold engine
startup followed by mixed city/highway driving.) No additional vehicle
service is required.
If theCheck Enginelight remains on, have your vehicle serviced at the
first available opportunity.
Light is blinking:
Engine misfire is occurring which could damage your catalytic converter.
You should drive in a moderate fashion (avoid heavy acceleration and
deceleration) and have your vehicle serviced at the first available
opportunity.
Under engine misfire conditions, excessive exhaust temperatures
could damage the catalytic converter, the fuel system, interior
floor coverings or other vehicle components, possibly causing a fire.
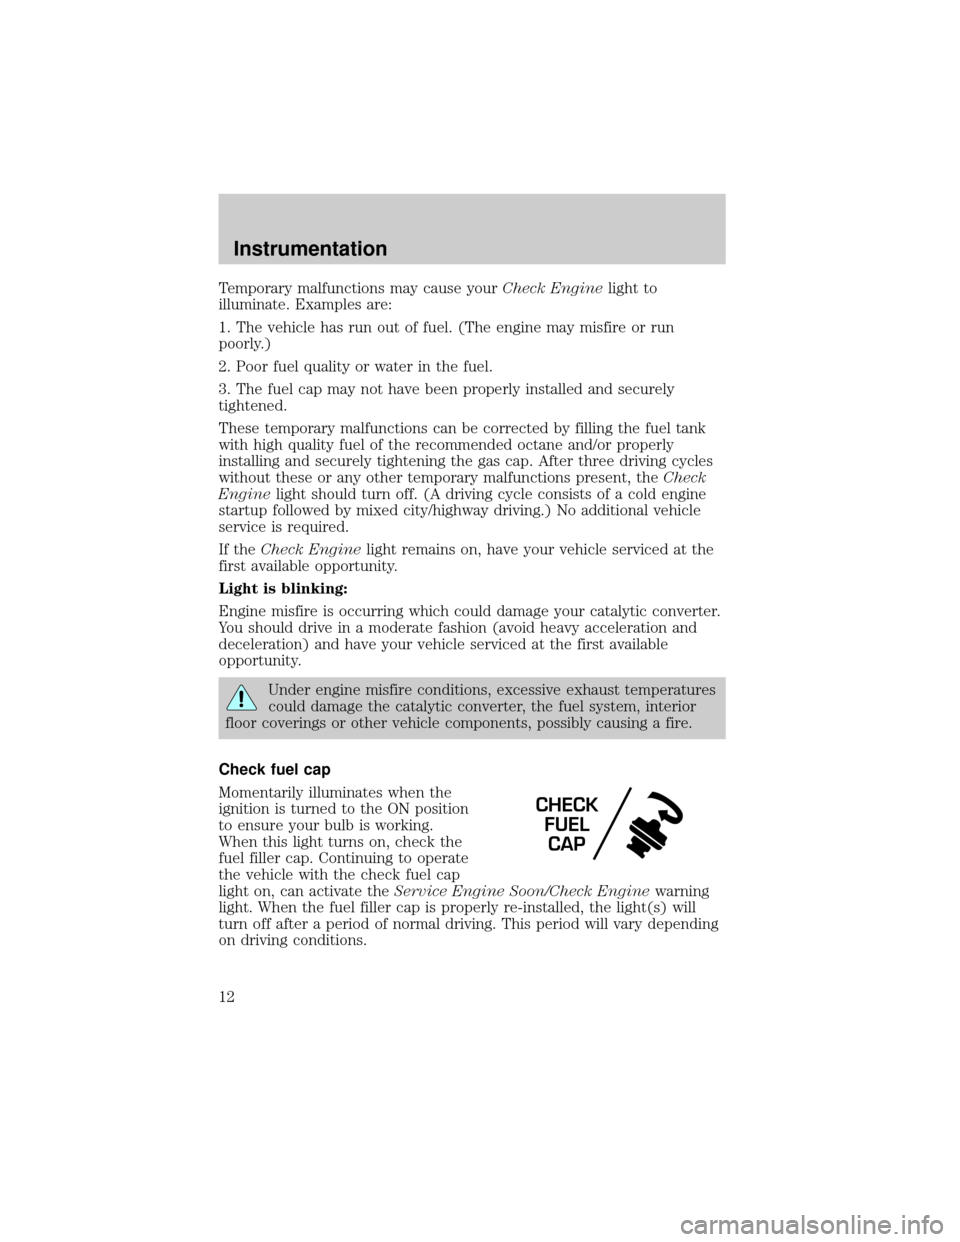
Check fuel cap
Momentarily illuminates when the
ignition is turned to the ON position
to ensure your bulb is working.
When this light turns on, check the
fuel filler cap. Continuing to operate
the vehicle with the check fuel cap
light on, can activate theService Engine Soon/Check Enginewarning
light. When the fuel filler cap is properly re-installed, the light(s) will
turn off after a period of normal driving. This period will vary depending
on driving conditions.
CHECK
FUEL
CAP
Instrumentation
12
Page 21 of 288

driving in a low gear at a high speed for an extended period of time.
Stop the vehicle as soon as safely possible, turn off the engine and let it
cool. Check the transmission fluid and level. Refer toTransmission
fluidin theMaintenance and carechapter. If the warning stays on or
continues to come on, contact your dealer for transmission service as
soon as possible.
CHECK BRAKE LAMPS. Displayed when the brake lamps are
activated and at least one is burned out. Check the lamps as soon as
possible and have the burned out lamp replaced. The center high-mount
brakelamp is not monitored.
CHECK HEADLAMPS. Displayed when the headlamps are activated
and at least one is burned out. Check the lamps as soon as possible and
have the burned out lamp replaced. Refer toReplacing headlamp bulbs
in theMaintenance and carechapter.
CHECK TAIL LAMPS.Displayed when the tail lamps are activated and
at least one is burned out. Check the lamps as soon as possible and have
the burned out lamp replaced.
CHECK FRONT TURN LAMPS.Displayed when the turn signals are
activated and at least one is burned out. Check the lamps as soon as
safely possible and have the burned out lamp replaced.
CHECK REAR TURN LAMPS.Displayed when the turn signals are
activated and at least one is burned out. Check the lamps as soon as
possible and have the burned out lamp replaced.
CHECK SIDE REPEATER LAMPS (if equipped).Displayed when
the turn signals are activated and at least one is burned out. Check the
lamps as soon as possible and have the burned out lamp replaced.
TURN SIGNAL ON REMINDER.Displayed when the turn signal is
activated and the vehicle is driven more that 0.8 km (1/2 mile).
LOW WASHER FLUID.Indicates the washer fluid reservoir is less than
one quarter full. Check the washer fluid level. Refer toWindshield
washer fluidin theMaintenance and carechapter.
CHECK TRACTION CONTROL (if equipped).Displayed when the
Traction Controlysystem is not operating properly. If this warning stays
on, contact your dealer for service as soon as possible. For further
information, refer toTraction controlyin theDrivingchapter.
CHECK ADVANCETRAC (if equipped).Displayed when the
AdvanceTracysystem is not operating properly. If this message is
displayed on the message center the AdvanceTracysystem might be
Instrumentation
21
Page 22 of 288
partially operable. If this warning stays on while the engine is running,
contact your dealer for service as soon as possible. For further
information, refer toAdvanceTracystability enhancement systemin
theDrivingchapter.
CHANGE OIL SOON/OIL CHANGE REQUIRED.Displayed when the
engine oil life remaining is 5 percent or less. When oil life left is between
5% and 0%, the CHANGE OIL SOON message will be displayed. When oil
life left reaches 0%, the OIL CHANGE REQUIRED message will be
displayed.
An oil change is required whenever indicated by the message center.
USE ONLY RECOMMENDED ENGINE OILS.
To reset the oil monitoring system to 100% after each oil change
[approximately 8 000 km (5 000 miles) or 180 days] perform the
following:
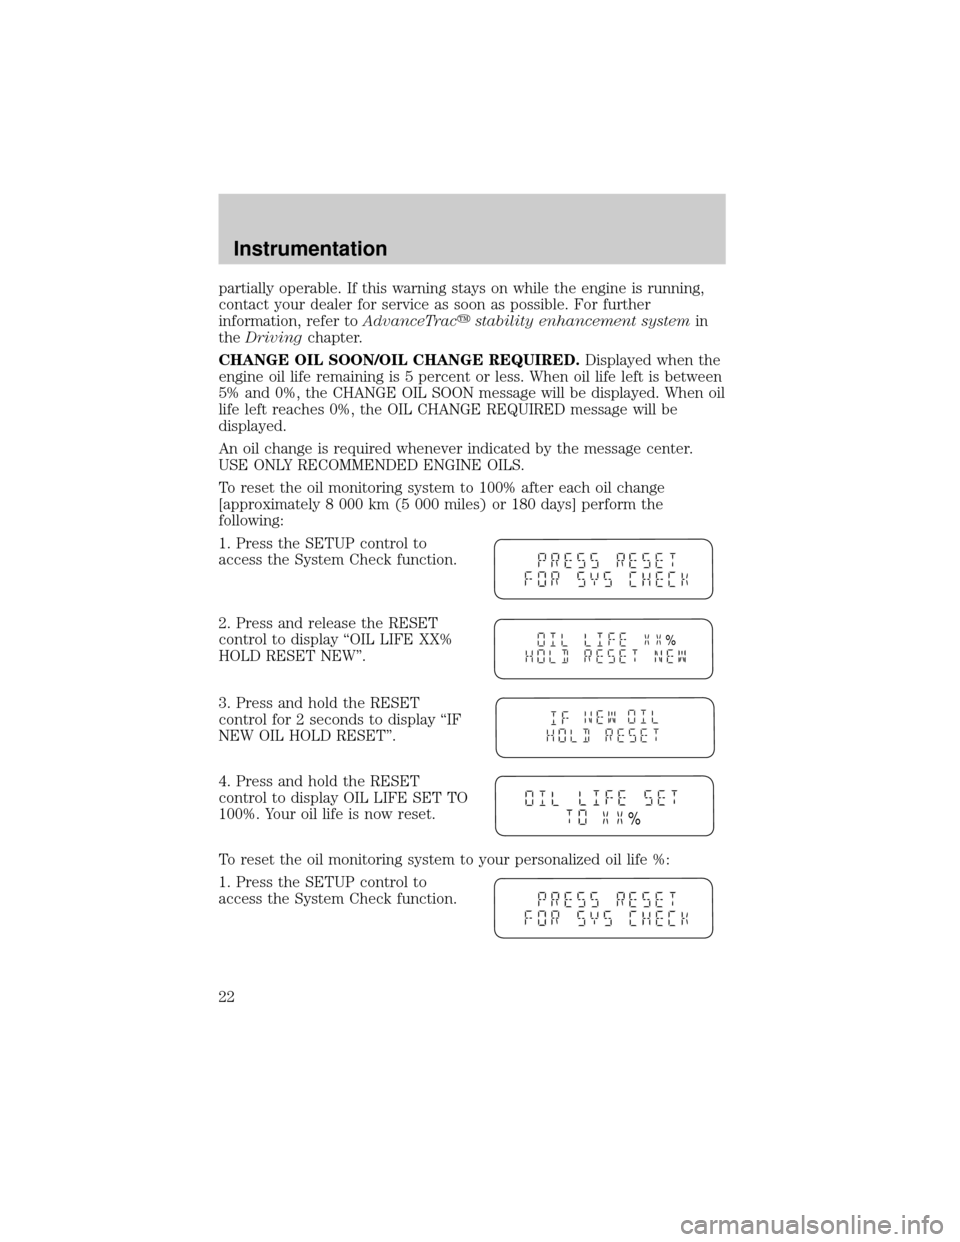
1. Press the SETUP control to
access the System Check function.
2. Press and release the RESET
control to display ªOIL LIFE XX%
HOLD RESET NEW''.
3. Press and hold the RESET
control for 2 seconds to display ªIF
NEW OIL HOLD RESET''.
4. Press and hold the RESET
control to display OIL LIFE SET TO
100%. Your oil life is now reset.
To reset the oil monitoring system to your personalized oil life %:
1. Press the SETUP control to
access the System Check function.
%
%
Instrumentation
22
Page 23 of 288
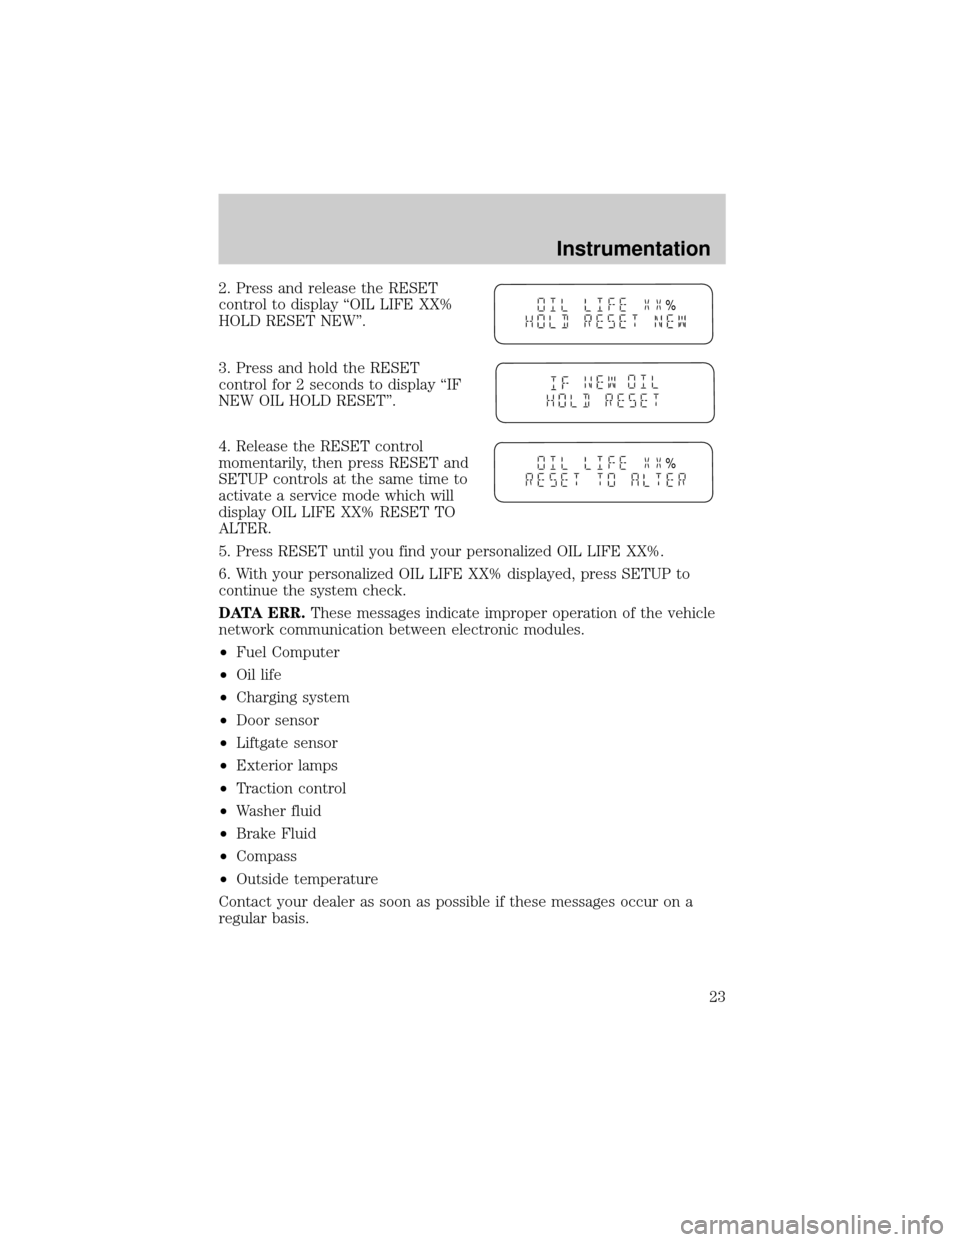
2. Press and release the RESET
control to display ªOIL LIFE XX%
HOLD RESET NEW''.
3. Press and hold the RESET
control for 2 seconds to display ªIF
NEW OIL HOLD RESET''.
4. Release the RESET control
momentarily, then press RESET and
SETUP controls at the same time to
activate a service mode which will
display OIL LIFE XX% RESET TO
ALTER.
5. Press RESET until you find your personalized OIL LIFE XX%.
6. With your personalized OIL LIFE XX% displayed, press SETUP to
continue the system check.
DATA ERR.These messages indicate improper operation of the vehicle
network communication between electronic modules.
²Fuel Computer
²Oil life
²Charging system
²Door sensor
²Liftgate sensor
²Exterior lamps
²Traction control
²Washer fluid
²Brake Fluid
²Compass
²Outside temperature
Contact your dealer as soon as possible if these messages occur on a
regular basis.
%
%
Instrumentation
23
Page 25 of 288
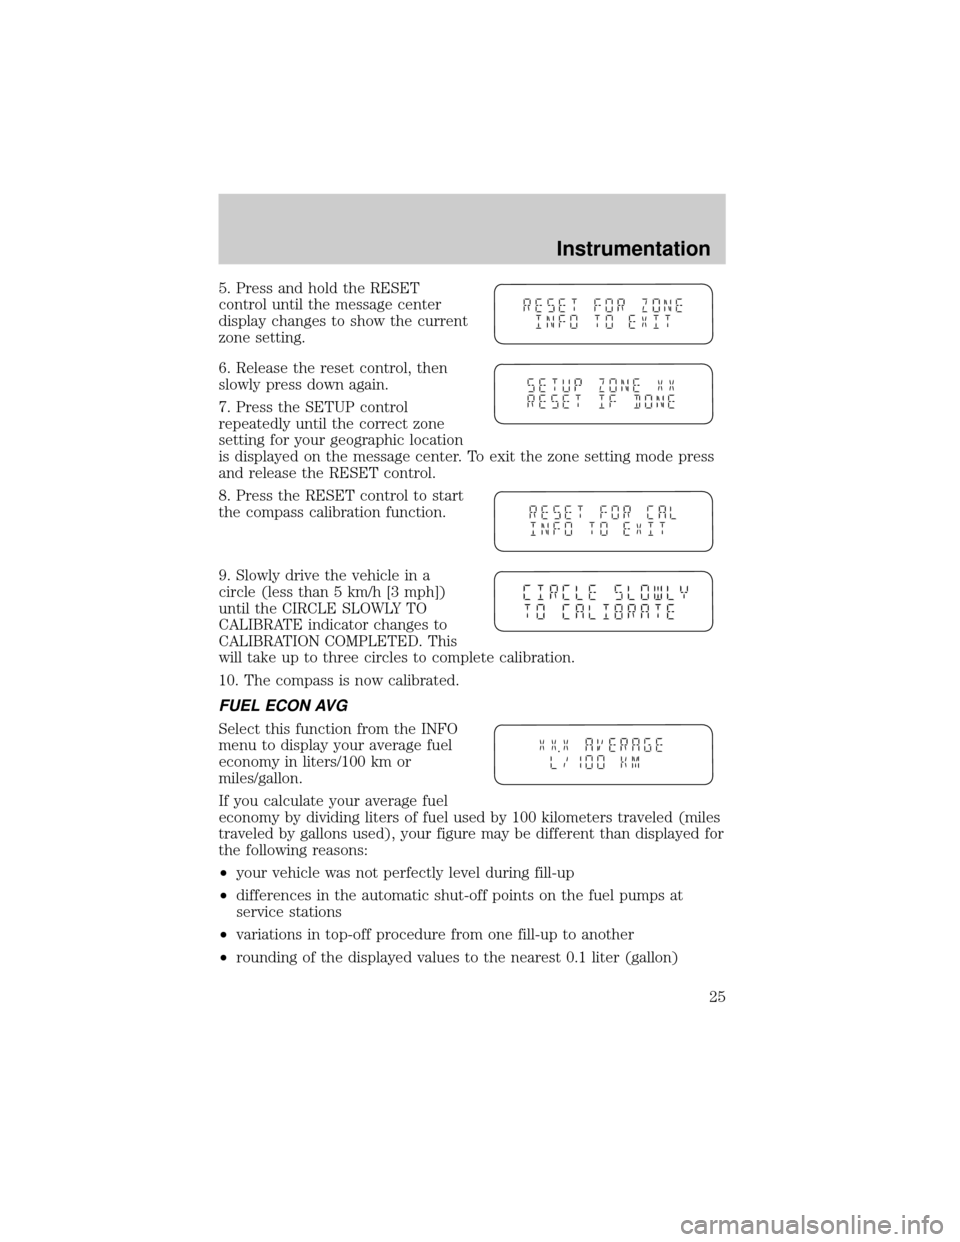
5. Press and hold the RESET
control until the message center
display changes to show the current
zone setting.
6. Release the reset control, then
slowly press down again.
7. Press the SETUP control
repeatedly until the correct zone
setting for your geographic location
is displayed on the message center. To exit the zone setting mode press
and release the RESET control.
8. Press the RESET control to start
the compass calibration function.
9. Slowly drive the vehicle in a
circle (less than 5 km/h [3 mph])
until the CIRCLE SLOWLY TO
CALIBRATE indicator changes to
CALIBRATION COMPLETED. This
will take up to three circles to complete calibration.
10. The compass is now calibrated.
FUEL ECON AVG
Select this function from the INFO
menu to display your average fuel
economy in liters/100 km or
miles/gallon.
If you calculate your average fuel
economy by dividing liters of fuel used by 100 kilometers traveled (miles
traveled by gallons used), your figure may be different than displayed for
the following reasons:
²your vehicle was not perfectly level during fill-up
²differences in the automatic shut-off points on the fuel pumps at
service stations
²variations in top-off procedure from one fill-up to another
²rounding of the displayed values to the nearest 0.1 liter (gallon)
Instrumentation
25
Page 75 of 288
Radio reception factors
Three factors can affect radio reception:
²Distance/strength.The further an FM signal travels, the weaker it is.
The listenable range of the average FM station is approximately 40 km
(24 miles). This range can be affected by ªsignal modulation.º Signal
modulation is a process radio stations use to increase their
strength/volume relative to other stations.
²Terrain.Hills, mountains and tall buildings between your vehicle's
antenna and the radio station signal can cause FM reception problems.
Static can be caused on AM stations by power lines, electric fences,
traffic lights and thunderstorms. Moving away from an interfering
structure (out of its ªshadowº) returns your reception to normal.
²Station overload.Weak signals are sometimes captured by stronger
signals when you pass a broadcast tower. A stronger signal may
temporarily overtake a weaker signal and play while the weak station
frequency is displayed.
The audio system automatically switches to single channel reception if it
will improve the reception of a station normally received in stereo.
Audio system warranties and service
Refer to the ªWarranty Guideº for audio system warranty information.
If service is necessary, see your dealer or a qualified technician.
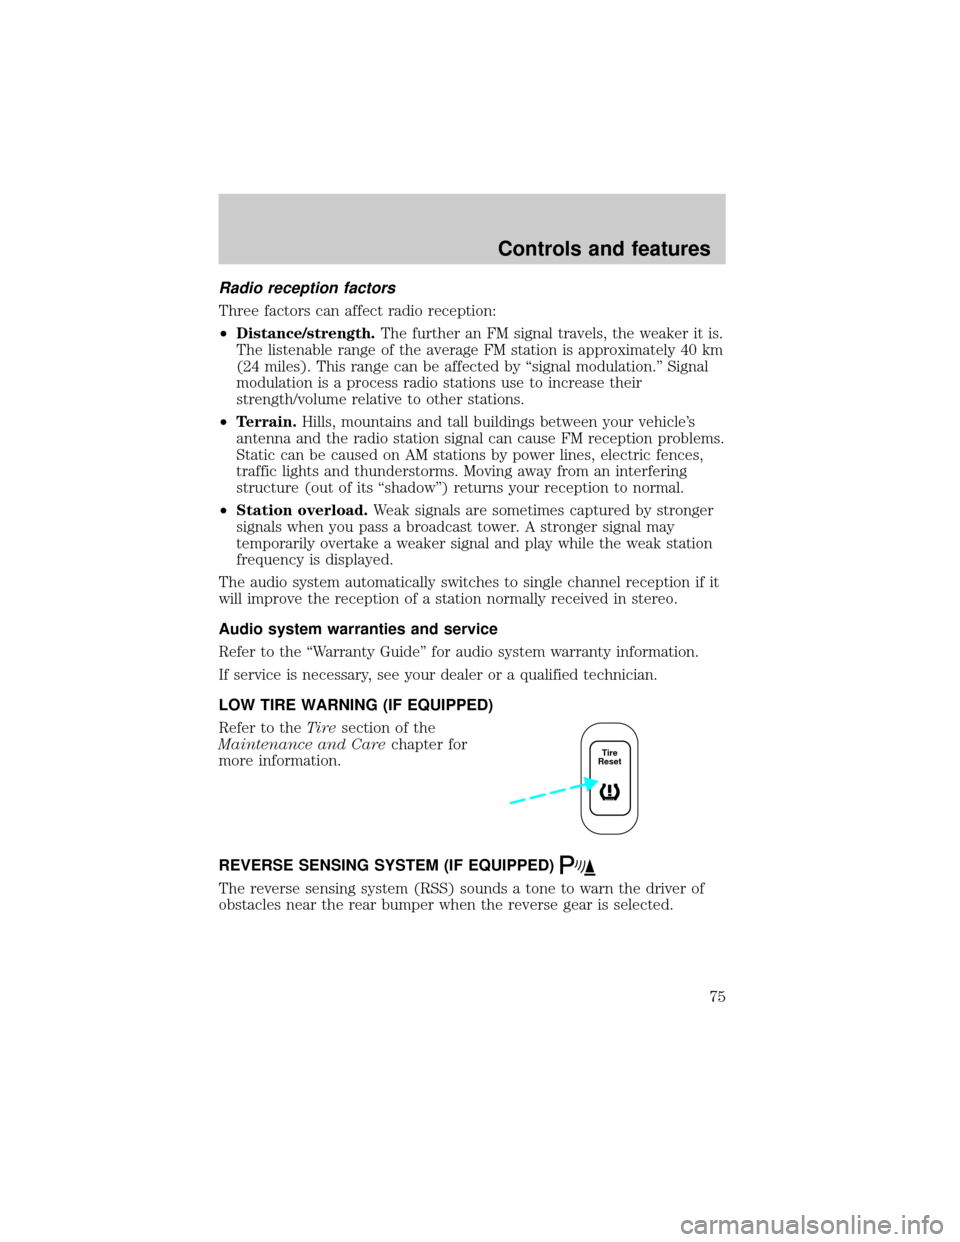
LOW TIRE WARNING (IF EQUIPPED)
Refer to theTiresection of the
Maintenance and Carechapter for
more information.
REVERSE SENSING SYSTEM (IF EQUIPPED)
The reverse sensing system (RSS) sounds a tone to warn the driver of
obstacles near the rear bumper when the reverse gear is selected.
Tire
Reset
Controls and features
75
Page 100 of 288

Safety/Obstructions
If anything obstructs the Power Sliding Door while it is closing, the door
will automatically reverse to the open position, provided it meets
sufficient resistance.
Resetting the PSD
The power sliding door may operate incorrectly or not at all because of
the following condition:
²a low voltage or dead battery
²disconnecting the battery
²if the PSD fuse (fuse #6 ) is removed or blown. Refer toFuses and
relaysin theRoadside emergencieschapter.
If any of these conditions occur, reset the PSD by:
1. Check to see if power sliding door is unlocked and securely closed.
2. Make sure the gearshift is in (P) Park.
3.
Push the power door control on the overhead console to open the door.
4. Wait five (5) seconds and close the door by pressing the power door
control on the overhead console.
5. Wait five (5) seconds and repeat Steps 3 and 4 and go on to step 6.
6. Repeat steps 3±5 for opposite door.
If the door does not rest in the fully open position, repeat Steps 1±4
again. If the door still does not operate correctly:
7. Turn the ignition switch to OFF.
8. Remove the PSD fuse (fuse #6) from the passenger fuse panel and
leave it out for thirty (30) seconds. Refer toFuses and relaysin the
Roadside emergencieschapter.
9. Reinstall the fuse and wait ten (10) seconds.
10. Repeat steps 1±6 above.
If the door still does not operate correctly, see your dealer for service.
Sliding Door Child Safety Lock
Your vehicle is equipped with a sliding door child safety lock that helps
prevent passengers from operating the sliding door by using the inside
door handle. This lock is on both doors if equipped. The child safety lock
lever is located in the inside of the sliding door, on the front edge of the
door. Lift the control up to engage the child lock.
Controls and features
100