FORD WINDSTAR 2002 2.G Owners Manual
Manufacturer: FORD, Model Year: 2002, Model line: WINDSTAR, Model: FORD WINDSTAR 2002 2.GPages: 296, PDF Size: 2.45 MB
Page 91 of 296
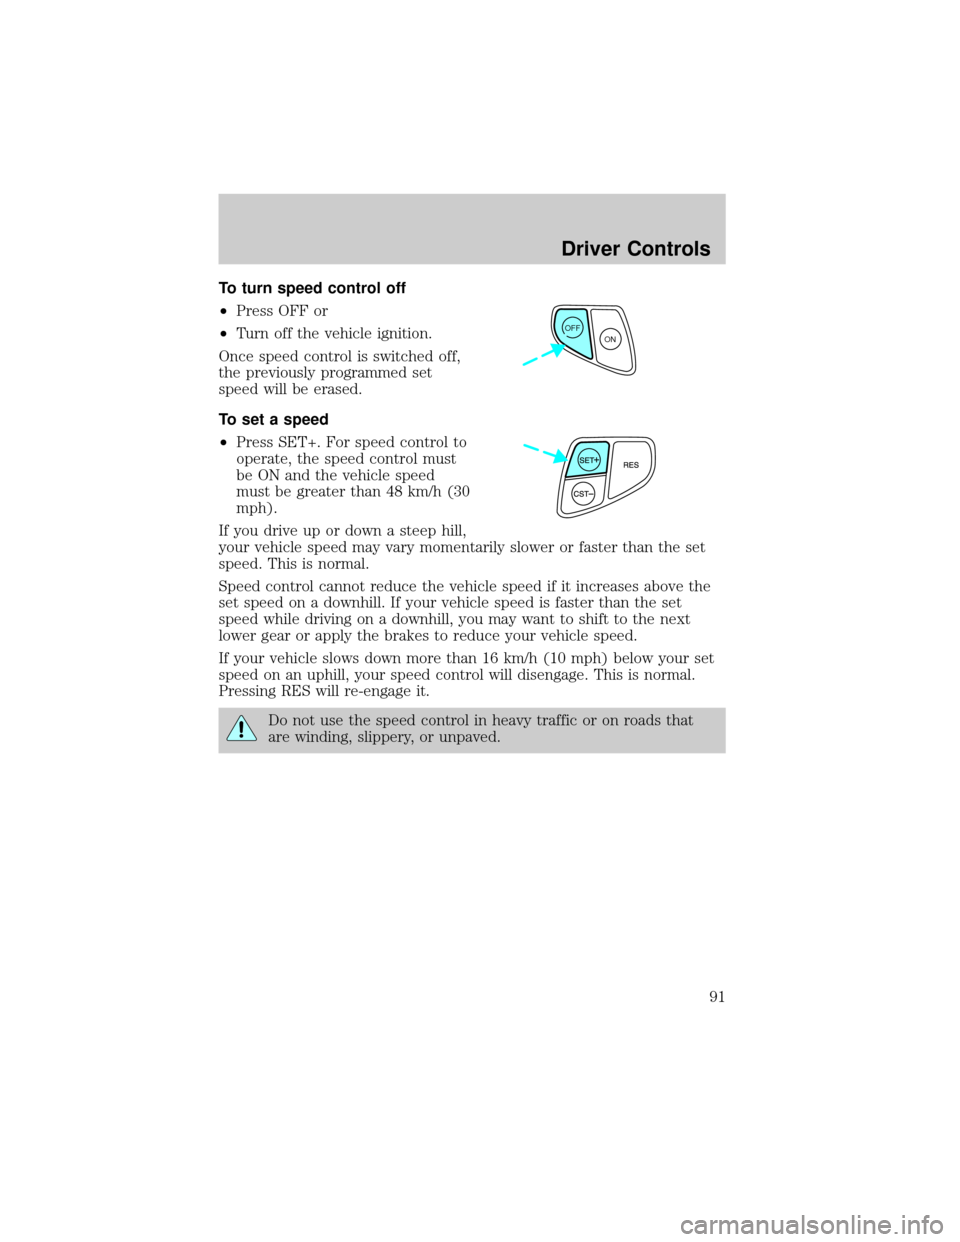
To turn speed control off
²Press OFF or
²Turn off the vehicle ignition.
Once speed control is switched off,
the previously programmed set
speed will be erased.
To set a speed
²Press SET+. For speed control to
operate, the speed control must
be ON and the vehicle speed
must be greater than 48 km/h (30
mph).
If you drive up or down a steep hill,
your vehicle speed may vary momentarily slower or faster than the set
speed. This is normal.
Speed control cannot reduce the vehicle speed if it increases above the
set speed on a downhill. If your vehicle speed is faster than the set
speed while driving on a downhill, you may want to shift to the next
lower gear or apply the brakes to reduce your vehicle speed.
If your vehicle slows down more than 16 km/h (10 mph) below your set
speed on an uphill, your speed control will disengage. This is normal.
Pressing RES will re-engage it.
Do not use the speed control in heavy traffic or on roads that
are winding, slippery, or unpaved.
OFF
ON
Driver Controls
91
Page 92 of 296
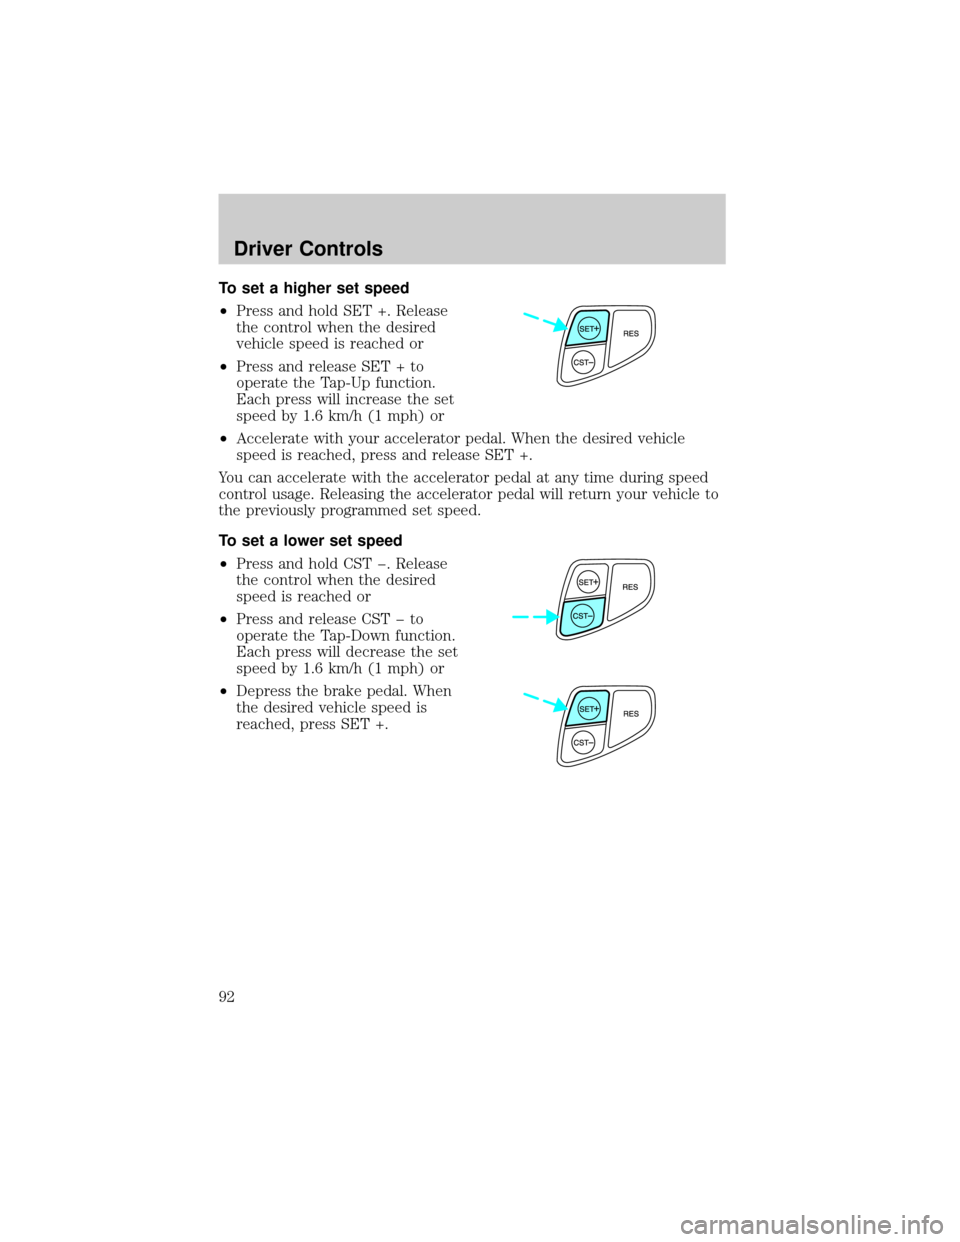
To set a higher set speed
²Press and hold SET +. Release
the control when the desired
vehicle speed is reached or
²Press and release SET + to
operate the Tap-Up function.
Each press will increase the set
speed by 1.6 km/h (1 mph) or
²Accelerate with your accelerator pedal. When the desired vehicle
speed is reached, press and release SET +.
You can accelerate with the accelerator pedal at any time during speed
control usage. Releasing the accelerator pedal will return your vehicle to
the previously programmed set speed.
To set a lower set speed
²Press and hold CST þ. Release
the control when the desired
speed is reached or
²Press and release CST þ to
operate the Tap-Down function.
Each press will decrease the set
speed by 1.6 km/h (1 mph) or
²Depress the brake pedal. When
the desired vehicle speed is
reached, press SET +.
Driver Controls
92
Page 93 of 296
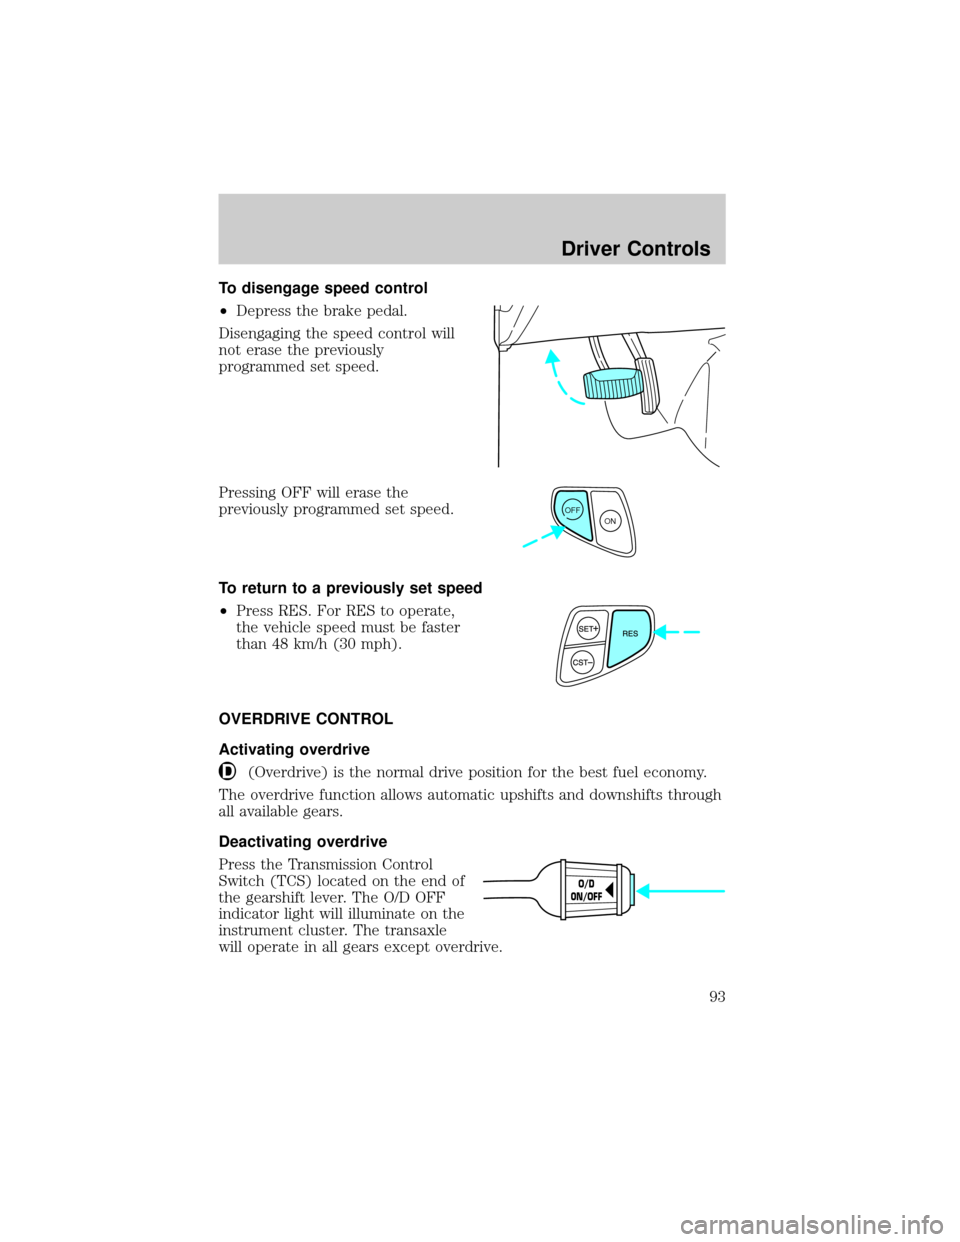
To disengage speed control
²Depress the brake pedal.
Disengaging the speed control will
not erase the previously
programmed set speed.
Pressing OFF will erase the
previously programmed set speed.
To return to a previously set speed
²Press RES. For RES to operate,
the vehicle speed must be faster
than 48 km/h (30 mph).
OVERDRIVE CONTROL
Activating overdrive
(Overdrive) is the normal drive position for the best fuel economy.
The overdrive function allows automatic upshifts and downshifts through
all available gears.
Deactivating overdrive
Press the Transmission Control
Switch (TCS) located on the end of
the gearshift lever. The O/D OFF
indicator light will illuminate on the
instrument cluster. The transaxle
will operate in all gears except overdrive.
OFF
ON
O/D
ON/OFF
Driver Controls
93
Page 94 of 296
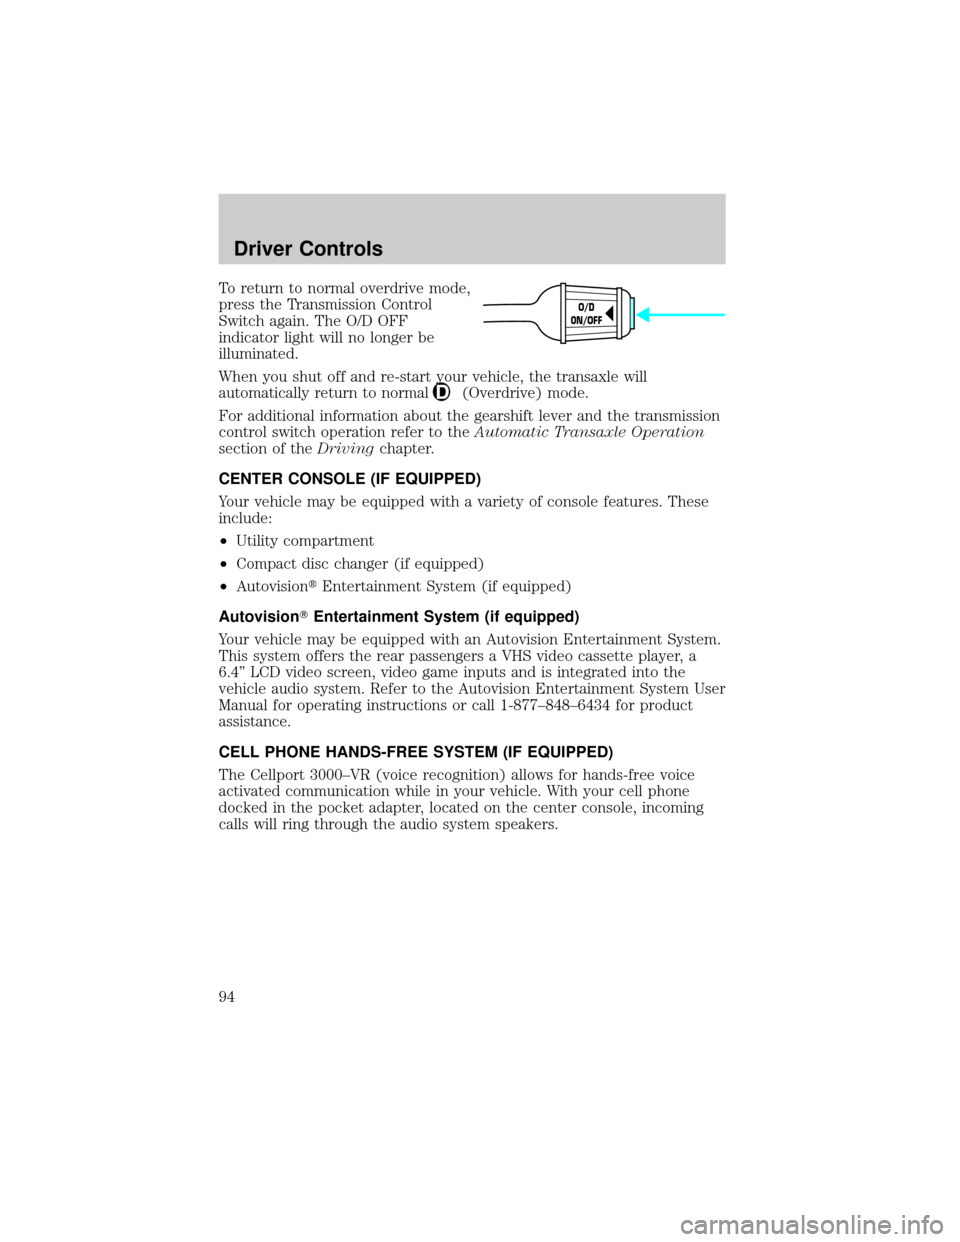
To return to normal overdrive mode,
press the Transmission Control
Switch again. The O/D OFF
indicator light will no longer be
illuminated.
When you shut off and re-start your vehicle, the transaxle will
automatically return to normal
(Overdrive) mode.
For additional information about the gearshift lever and the transmission
control switch operation refer to theAutomatic Transaxle Operation
section of theDrivingchapter.
CENTER CONSOLE (IF EQUIPPED)
Your vehicle may be equipped with a variety of console features. These
include:
²Utility compartment
²Compact disc changer (if equipped)
²AutovisiontEntertainment System (if equipped)
AutovisionTEntertainment System (if equipped)
Your vehicle may be equipped with an Autovision Entertainment System.
This system offers the rear passengers a VHS video cassette player, a
6.4º LCD video screen, video game inputs and is integrated into the
vehicle audio system. Refer to the Autovision Entertainment System User
Manual for operating instructions or call 1-877±848±6434 for product
assistance.
CELL PHONE HANDS-FREE SYSTEM (IF EQUIPPED)
The Cellport 3000±VR (voice recognition) allows for hands-free voice
activated communication while in your vehicle. With your cell phone
docked in the pocket adapter, located on the center console, incoming
calls will ring through the audio system speakers.
O/D
ON/OFF
Driver Controls
94
Page 95 of 296
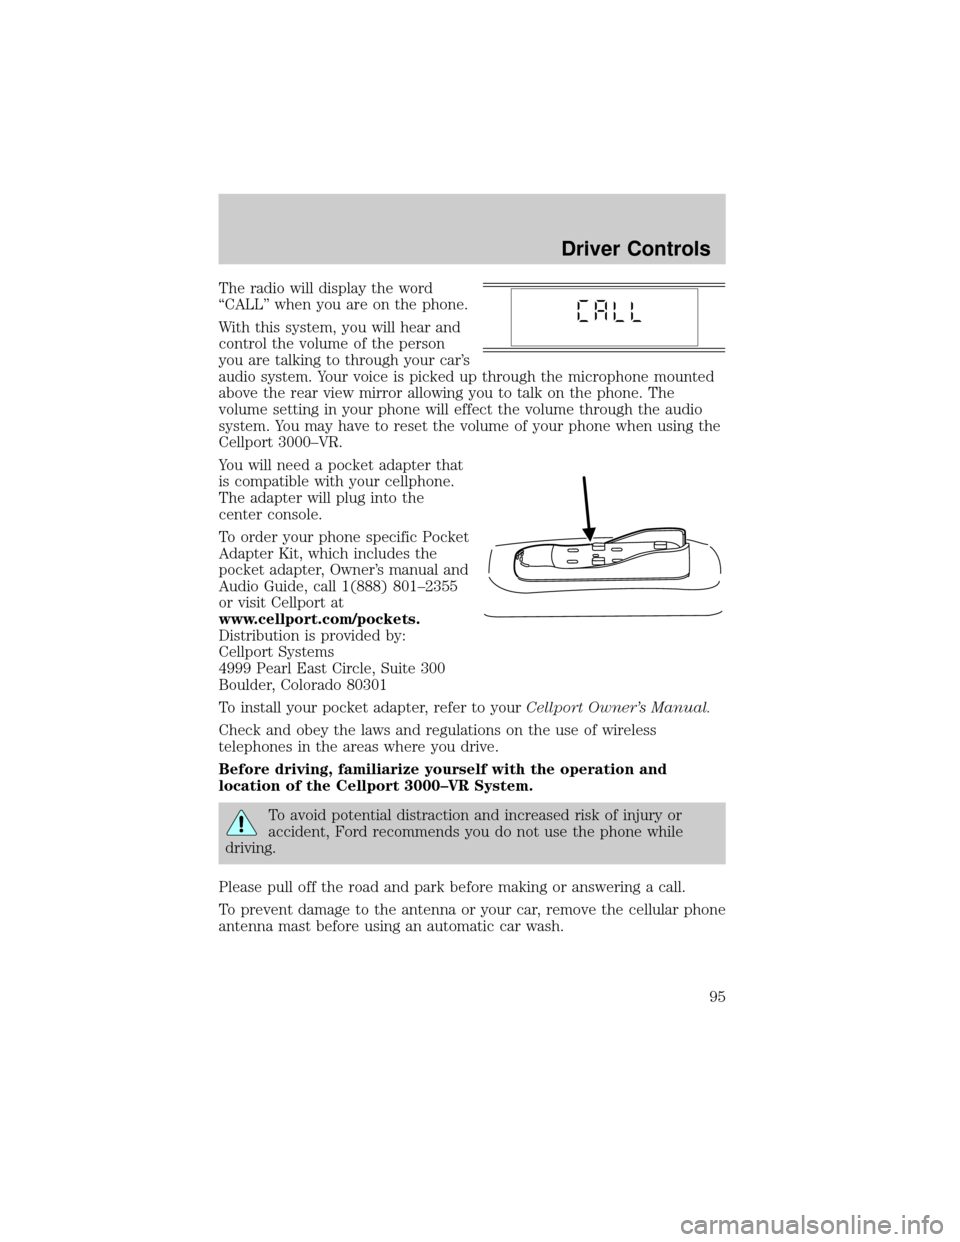
The radio will display the word
ªCALLº when you are on the phone.
With this system, you will hear and
control the volume of the person
you are talking to through your car's
audio system. Your voice is picked up through the microphone mounted
above the rear view mirror allowing you to talk on the phone. The
volume setting in your phone will effect the volume through the audio
system. You may have to reset the volume of your phone when using the
Cellport 3000±VR.
You will need a pocket adapter that
is compatible with your cellphone.
The adapter will plug into the
center console.
To order your phone specific Pocket
Adapter Kit, which includes the
pocket adapter, Owner's manual and
Audio Guide, call 1(888) 801±2355
or visit Cellport at
www.cellport.com/pockets.
Distribution is provided by:
Cellport Systems
4999 Pearl East Circle, Suite 300
Boulder, Colorado 80301
To install your pocket adapter, refer to yourCellport Owner's Manual.
Check and obey the laws and regulations on the use of wireless
telephones in the areas where you drive.
Before driving, familiarize yourself with the operation and
location of the Cellport 3000±VR System.
To avoid potential distraction and increased risk of injury or
accident, Ford recommends you do not use the phone while
driving.
Please pull off the road and park before making or answering a call.
To prevent damage to the antenna or your car, remove the cellular phone
antenna mast before using an automatic car wash.
Driver Controls
95
Page 96 of 296
POSITIVE RETENTION FLOOR MAT (IF EQUIPPED)
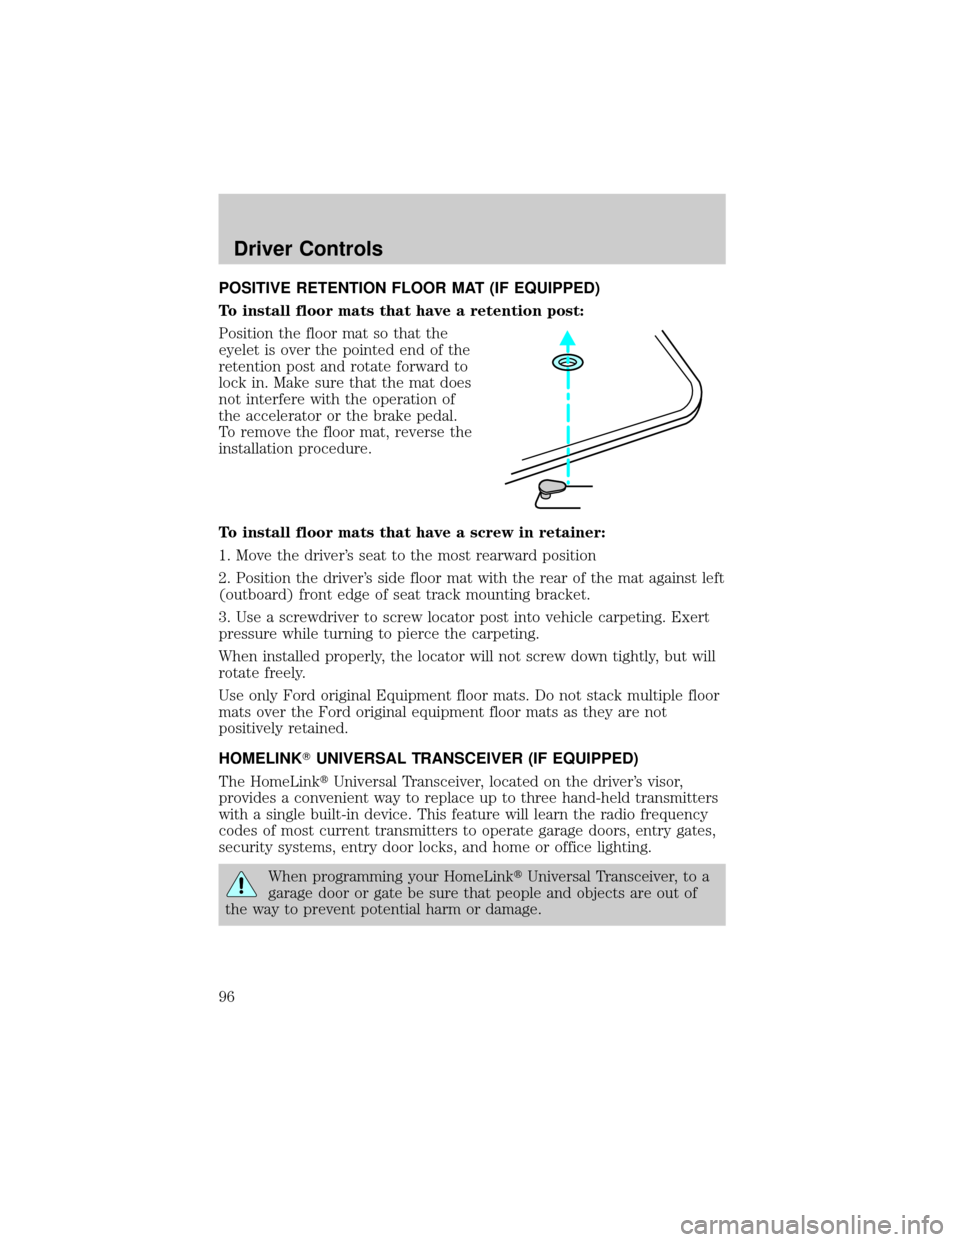
To install floor mats that have a retention post:
Position the floor mat so that the
eyelet is over the pointed end of the
retention post and rotate forward to
lock in. Make sure that the mat does
not interfere with the operation of
the accelerator or the brake pedal.
To remove the floor mat, reverse the
installation procedure.
To install floor mats that have a screw in retainer:
1. Move the driver's seat to the most rearward position
2. Position the driver's side floor mat with the rear of the mat against left
(outboard) front edge of seat track mounting bracket.
3. Use a screwdriver to screw locator post into vehicle carpeting. Exert
pressure while turning to pierce the carpeting.
When installed properly, the locator will not screw down tightly, but will
rotate freely.
Use only Ford original Equipment floor mats. Do not stack multiple floor
mats over the Ford original equipment floor mats as they are not
positively retained.
HOMELINKTUNIVERSAL TRANSCEIVER (IF EQUIPPED)
The HomeLinktUniversal Transceiver, located on the driver's visor,
provides a convenient way to replace up to three hand-held transmitters
with a single built-in device. This feature will learn the radio frequency
codes of most current transmitters to operate garage doors, entry gates,
security systems, entry door locks, and home or office lighting.
When programming your HomeLinktUniversal Transceiver, to a
garage door or gate be sure that people and objects are out of
the way to prevent potential harm or damage.
Driver Controls
96
Page 97 of 296
Do not use the HomeLinktUniversal Transceiver with any garage door
opener that lacks safety stop and reverse features as required by U.S.
federal safety standards (this includes any garage door opener model
manufactured before April 1, 1982). A garage door which cannot detect
an object, signaling the door to stop and reverse, does not meet current
U.S. federal safety standards. For more information on this matter, call
toll-free: 1±800±355±3515 or on the Internet atHomeLink.jci.com.
Programming
Do not program the HomeLinktUniversal Transceiver with the
vehicle parked in the garage.
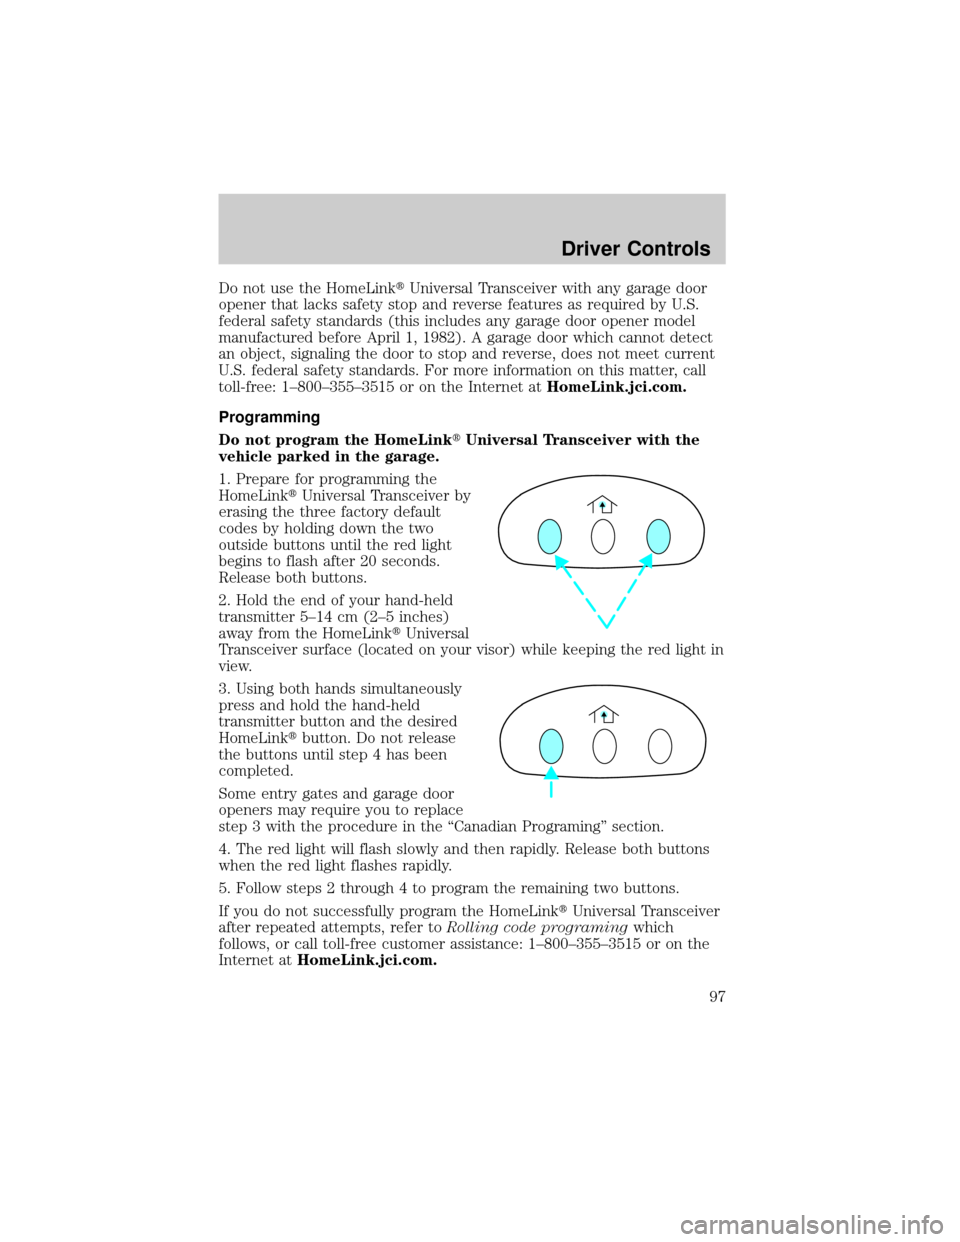
1. Prepare for programming the
HomeLinktUniversal Transceiver by
erasing the three factory default
codes by holding down the two
outside buttons until the red light
begins to flash after 20 seconds.
Release both buttons.
2. Hold the end of your hand-held
transmitter 5±14 cm (2±5 inches)
away from the HomeLinktUniversal
Transceiver surface (located on your visor) while keeping the red light in
view.
3. Using both hands simultaneously
press and hold the hand-held
transmitter button and the desired
HomeLinktbutton. Do not release
the buttons until step 4 has been
completed.
Some entry gates and garage door
openers may require you to replace
step 3 with the procedure in the ªCanadian Programingº section.
4. The red light will flash slowly and then rapidly. Release both buttons
when the red light flashes rapidly.
5. Follow steps 2 through 4 to program the remaining two buttons.
If you do not successfully program the HomeLinktUniversal Transceiver
after repeated attempts, refer toRolling code programingwhich
follows, or call toll-free customer assistance: 1±800±355±3515 or on the
Internet atHomeLink.jci.com.
Driver Controls
97
Page 98 of 296
Canadian Programming
During programming, your hand-held transmitter may automatically stop
transmitting after two seconds which may not be long enough to
program the HomeLinktUniversal Transceiver.
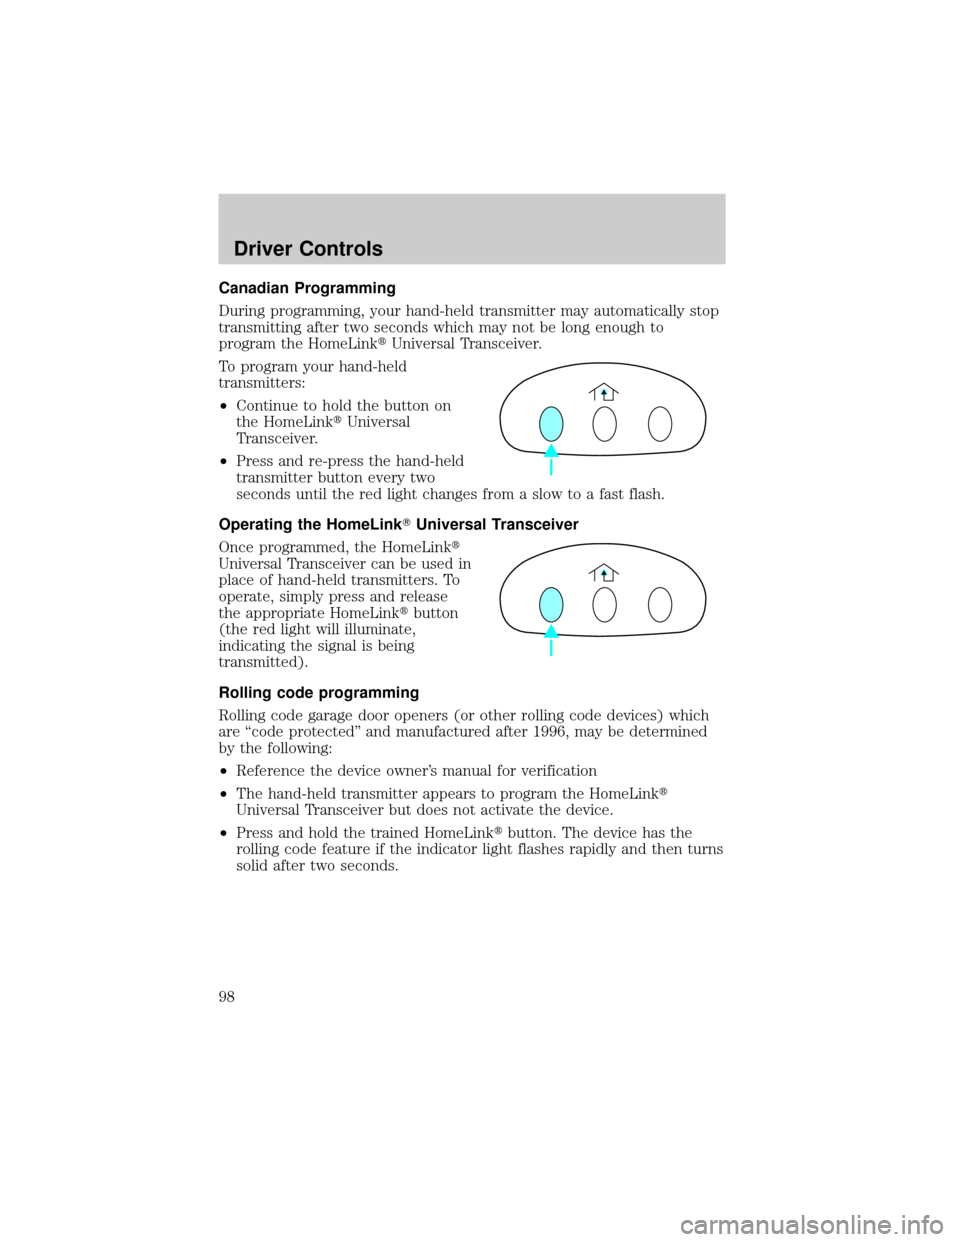
To program your hand-held
transmitters:
²Continue to hold the button on
the HomeLinktUniversal
Transceiver.
²Press and re-press the hand-held
transmitter button every two
seconds until the red light changes from a slow to a fast flash.
Operating the HomeLinkTUniversal Transceiver
Once programmed, the HomeLinkt
Universal Transceiver can be used in
place of hand-held transmitters. To
operate, simply press and release
the appropriate HomeLinktbutton
(the red light will illuminate,
indicating the signal is being
transmitted).
Rolling code programming
Rolling code garage door openers (or other rolling code devices) which
are ªcode protectedº and manufactured after 1996, may be determined
by the following:
²Reference the device owner's manual for verification
²The hand-held transmitter appears to program the HomeLinkt
Universal Transceiver but does not activate the device.
²Press and hold the trained HomeLinktbutton. The device has the
rolling code feature if the indicator light flashes rapidly and then turns
solid after two seconds.
Driver Controls
98
Page 99 of 296
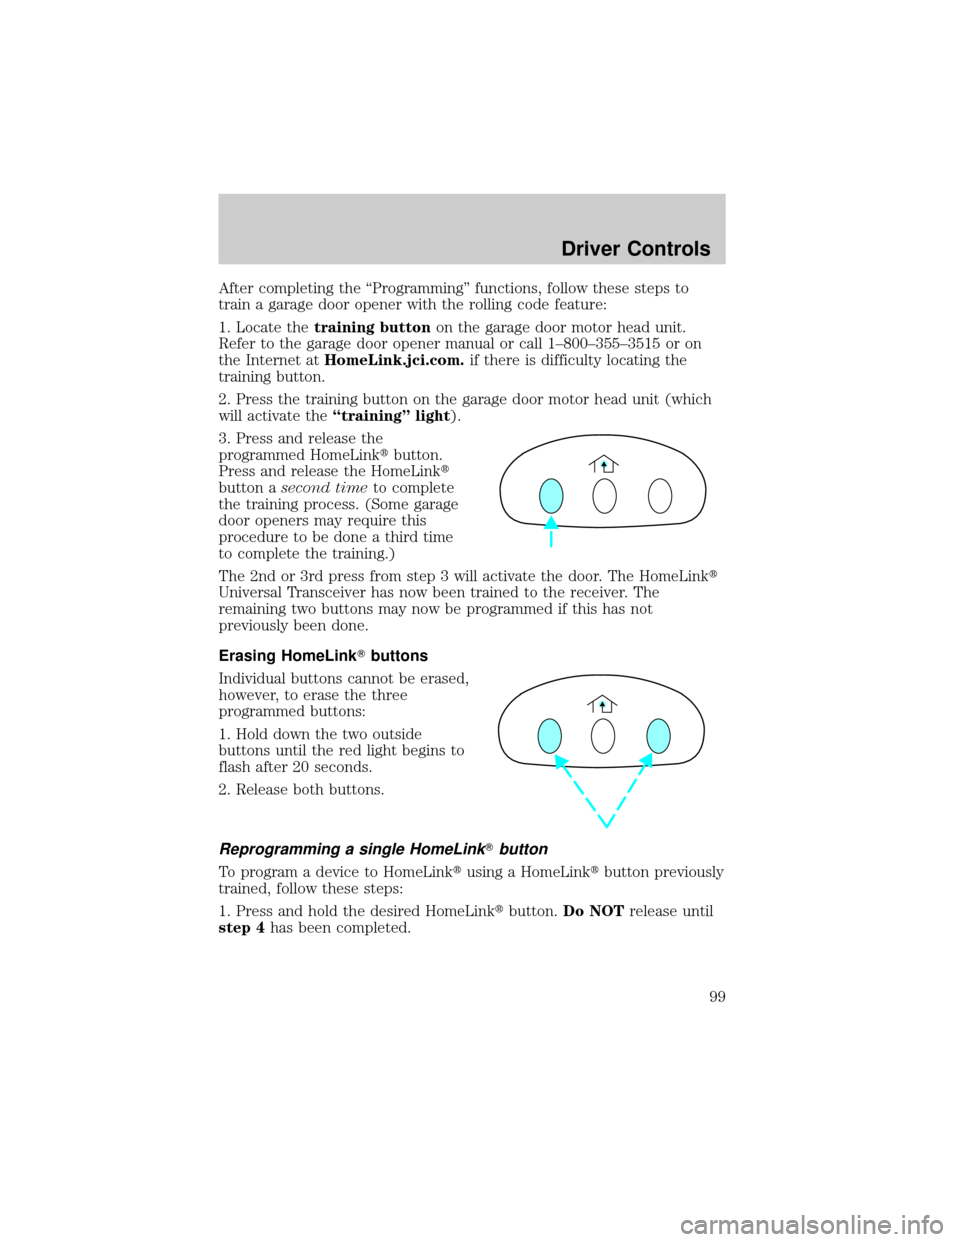
After completing the ªProgrammingº functions, follow these steps to
train a garage door opener with the rolling code feature:
1. Locate thetraining buttonon the garage door motor head unit.
Refer to the garage door opener manual or call 1±800±355±3515 or on
the Internet atHomeLink.jci.com.if there is difficulty locating the
training button.
2. Press the training button on the garage door motor head unit (which
will activate theªtrainingº light).
3. Press and release the
programmed HomeLinktbutton.
Press and release the HomeLinkt
button asecond timeto complete
the training process. (Some garage
door openers may require this
procedure to be done a third time
to complete the training.)
The 2nd or 3rd press from step 3 will activate the door. The HomeLinkt
Universal Transceiver has now been trained to the receiver. The
remaining two buttons may now be programmed if this has not
previously been done.
Erasing HomeLinkTbuttons
Individual buttons cannot be erased,
however, to erase the three
programmed buttons:
1. Hold down the two outside
buttons until the red light begins to
flash after 20 seconds.
2. Release both buttons.
Reprogramming a single HomeLinkTbutton
To program a device to HomeLinktusing a HomeLinktbutton previously
trained, follow these steps:
1. Press and hold the desired HomeLinktbutton.Do NOTrelease until
step 4has been completed.
Driver Controls
99
Page 100 of 296
2. When the indicator light begins to flash slowly (after 20 seconds),
position the hand-held transmitter 5±14 cm (2 to 5 inches) away from
the HomeLinktsurface.
3. Press and hold the hand-held transmitter button.
4. The HomeLinktindicator light will flash, first slowly and then rapidly.
When the indicator light begins to flash rapidly, release both buttons.
The previous device has now been erased and the new device can be
activated by pushing the HomeLinktbutton that has just been
programmed.
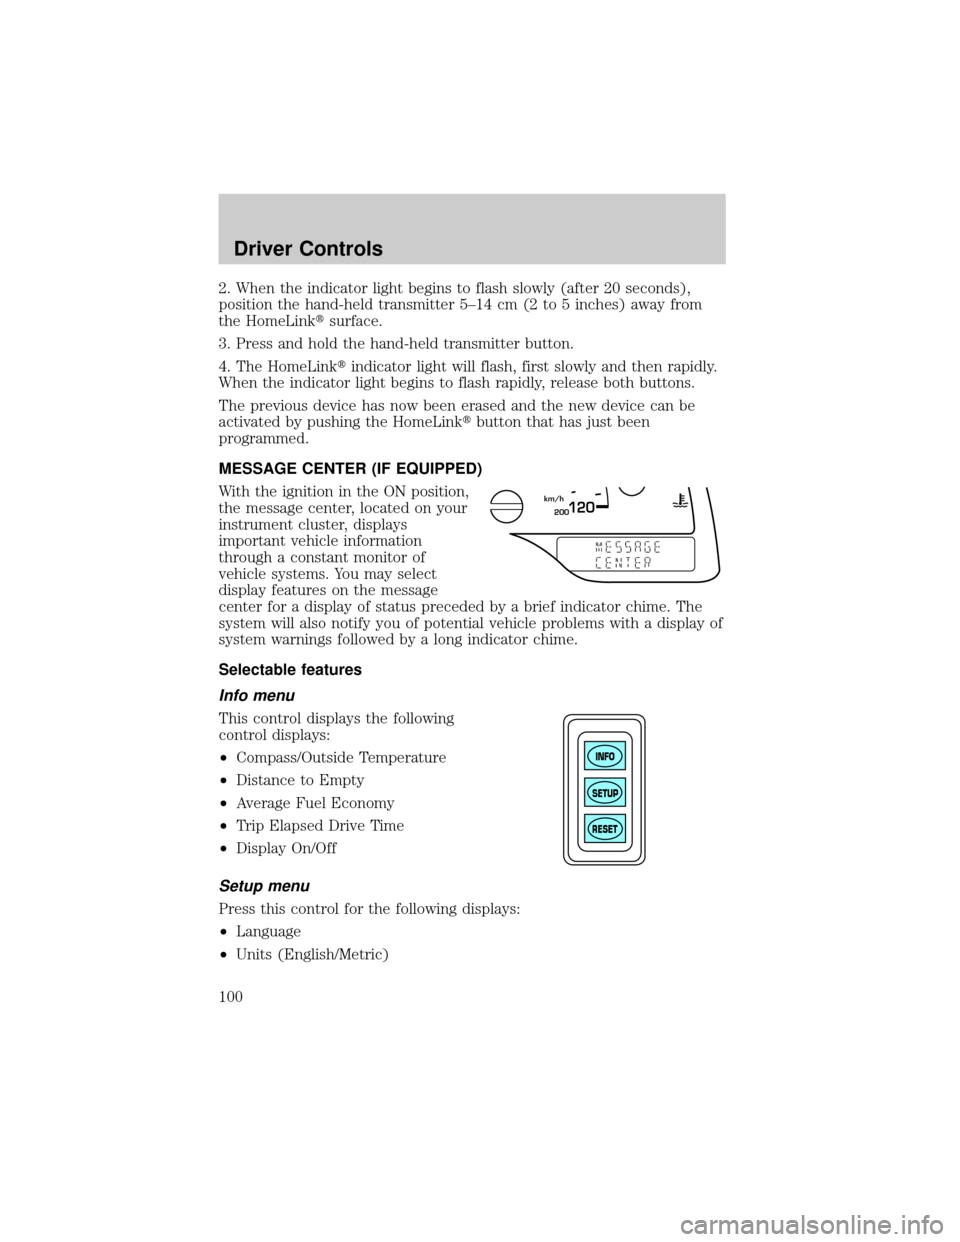
MESSAGE CENTER (IF EQUIPPED)
With the ignition in the ON position,
the message center, located on your
instrument cluster, displays
important vehicle information
through a constant monitor of
vehicle systems. You may select
display features on the message
center for a display of status preceded by a brief indicator chime. The
system will also notify you of potential vehicle problems with a display of
system warnings followed by a long indicator chime.
Selectable features
Info menu
This control displays the following
control displays:
²Compass/Outside Temperature
²Distance to Empty
²Average Fuel Economy
²Trip Elapsed Drive Time
²Display On/Off
Setup menu
Press this control for the following displays:
²Language
²Units (English/Metric)
200120km/h
INFO
SETUP
RESET
Driver Controls
100