FORD WINDSTAR 2002 2.G Owners Manual
Manufacturer: FORD, Model Year: 2002, Model line: WINDSTAR, Model: FORD WINDSTAR 2002 2.GPages: 296, PDF Size: 2.45 MB
Page 111 of 296
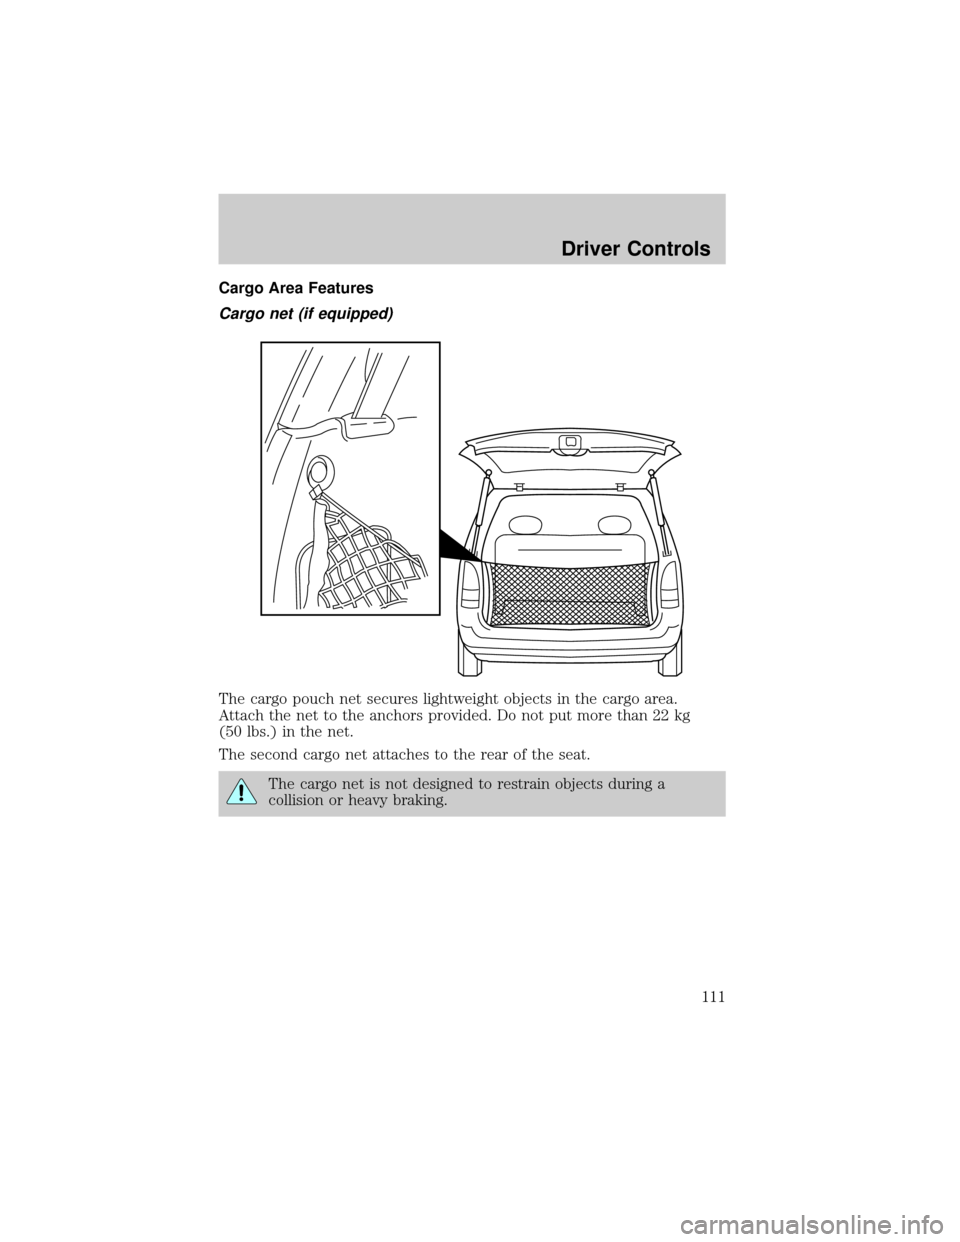
Cargo Area Features
Cargo net (if equipped)
The cargo pouch net secures lightweight objects in the cargo area.
Attach the net to the anchors provided. Do not put more than 22 kg
(50 lbs.) in the net.
The second cargo net attaches to the rear of the seat.
The cargo net is not designed to restrain objects during a
collision or heavy braking.
Driver Controls
111
Page 112 of 296
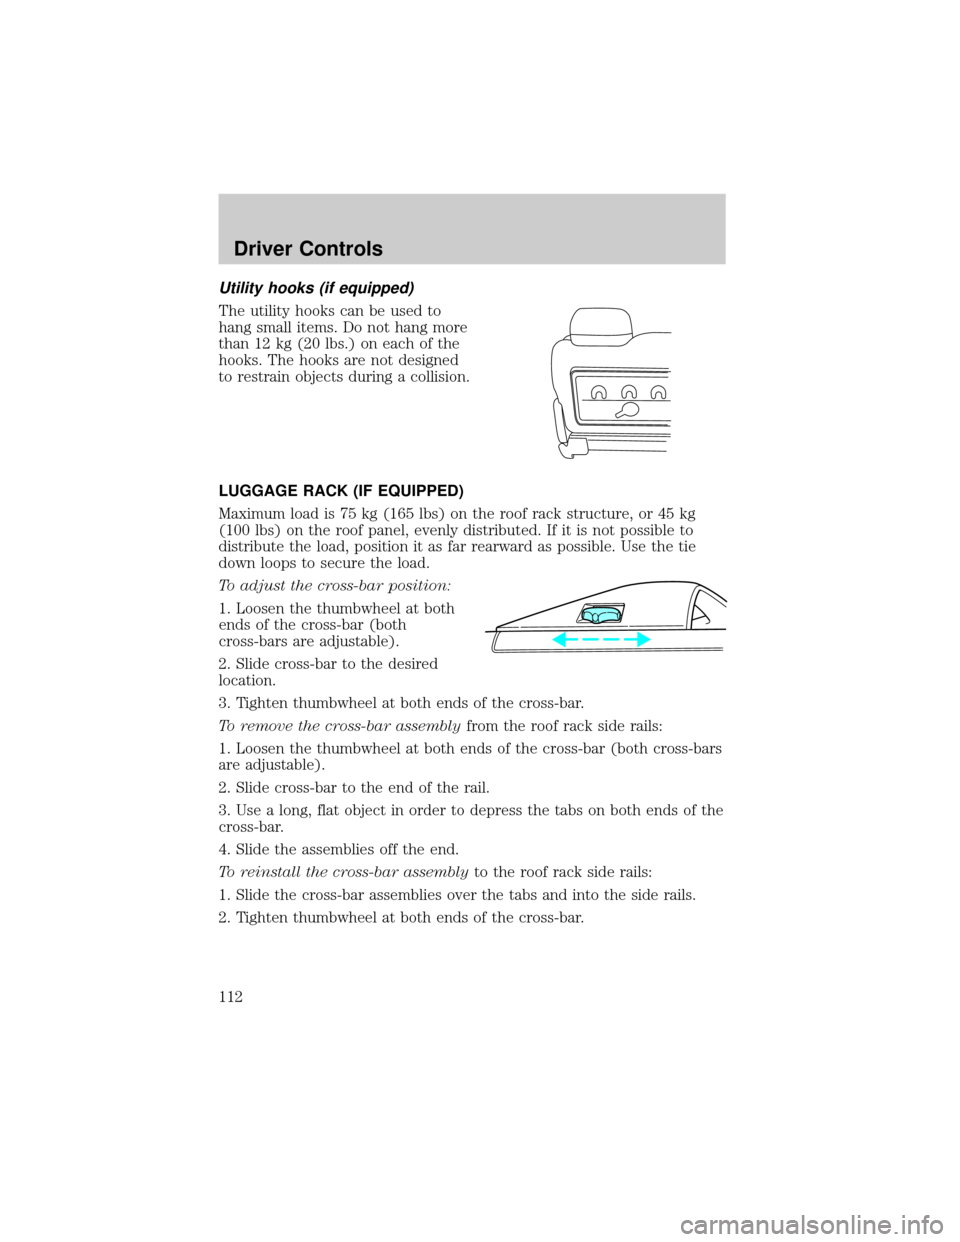
Utility hooks (if equipped)
The utility hooks can be used to
hang small items. Do not hang more
than 12 kg (20 lbs.) on each of the
hooks. The hooks are not designed
to restrain objects during a collision.
LUGGAGE RACK (IF EQUIPPED)
Maximum load is 75 kg (165 lbs) on the roof rack structure, or 45 kg
(100 lbs) on the roof panel, evenly distributed. If it is not possible to
distribute the load, position it as far rearward as possible. Use the tie
down loops to secure the load.
To adjust the cross-bar position:
1. Loosen the thumbwheel at both
ends of the cross-bar (both
cross-bars are adjustable).
2. Slide cross-bar to the desired
location.
3. Tighten thumbwheel at both ends of the cross-bar.
To remove the cross-bar assemblyfrom the roof rack side rails:
1. Loosen the thumbwheel at both ends of the cross-bar (both cross-bars
are adjustable).
2. Slide cross-bar to the end of the rail.
3. Use a long, flat object in order to depress the tabs on both ends of the
cross-bar.
4. Slide the assemblies off the end.
To reinstall the cross-bar assemblyto the roof rack side rails:
1. Slide the cross-bar assemblies over the tabs and into the side rails.
2. Tighten thumbwheel at both ends of the cross-bar.
Driver Controls
112
Page 113 of 296
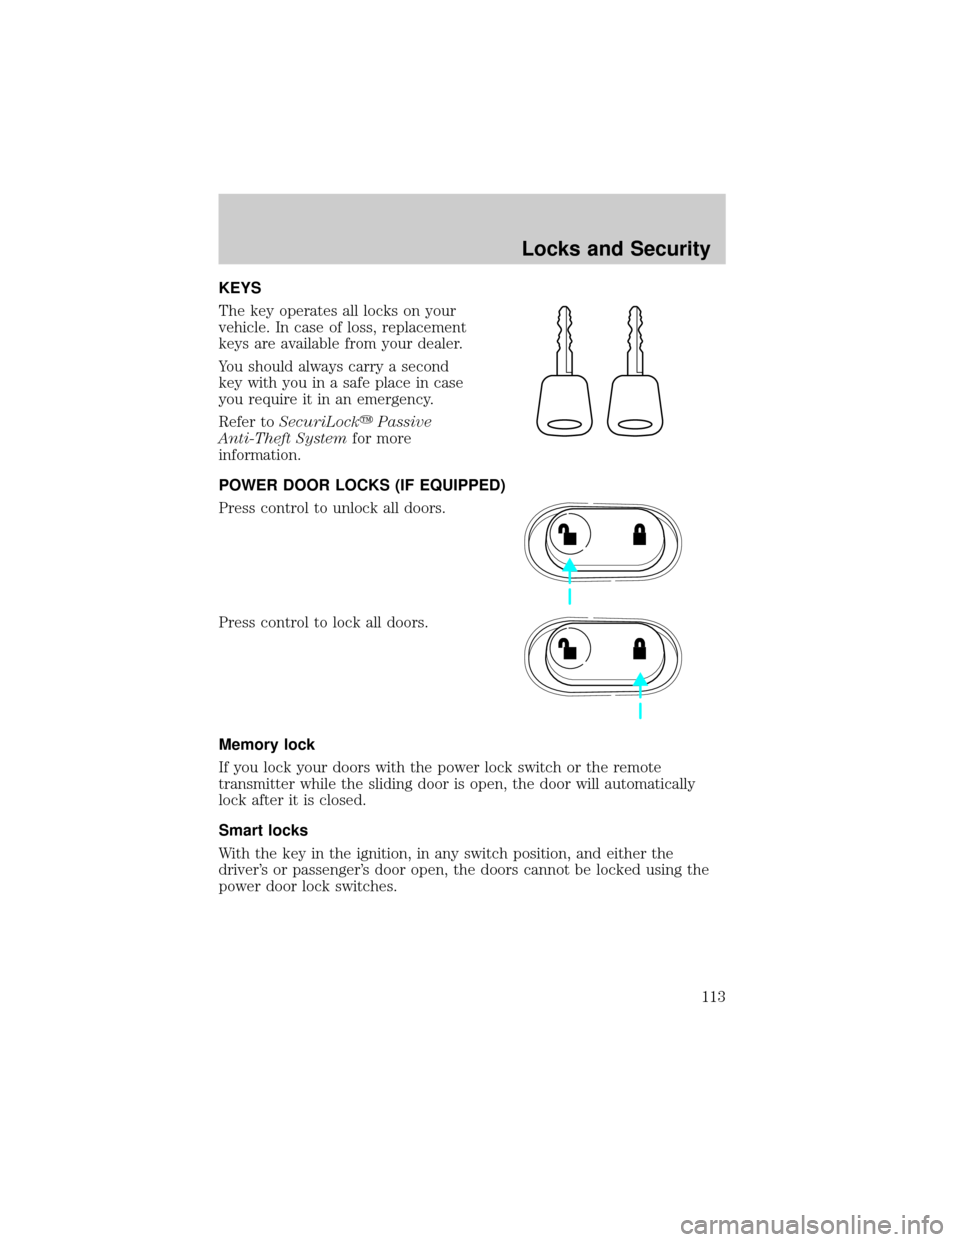
KEYS
The key operates all locks on your
vehicle. In case of loss, replacement
keys are available from your dealer.
You should always carry a second
key with you in a safe place in case
you require it in an emergency.
Refer toSecuriLockyPassive
Anti-Theft Systemfor more
information.
POWER DOOR LOCKS (IF EQUIPPED)
Press control to unlock all doors.
Press control to lock all doors.
Memory lock
If you lock your doors with the power lock switch or the remote
transmitter while the sliding door is open, the door will automatically
lock after it is closed.
Smart locks
With the key in the ignition, in any switch position, and either the
driver's or passenger's door open, the doors cannot be locked using the
power door lock switches.
Locks and Security
113
Page 114 of 296
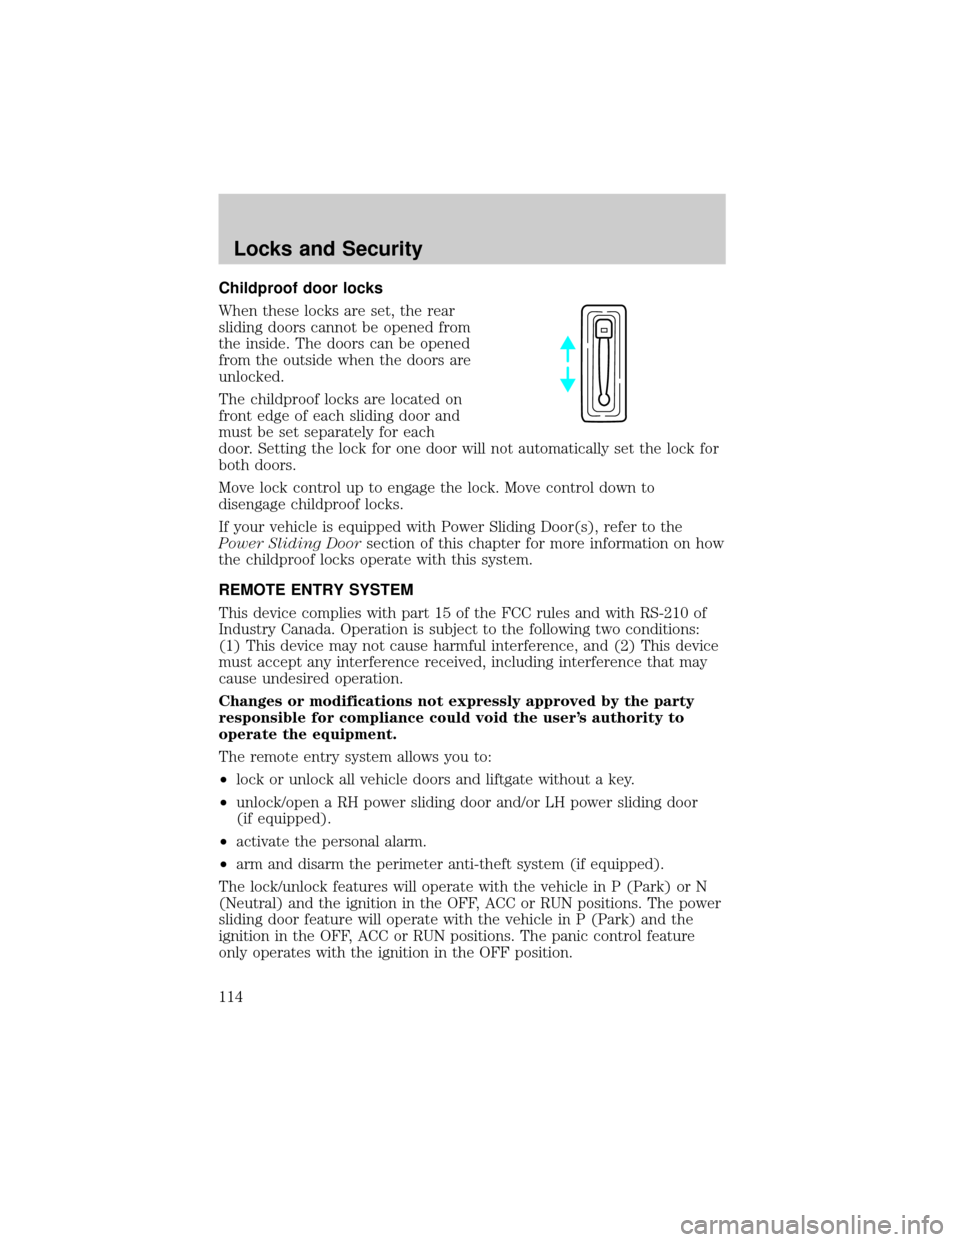
Childproof door locks
When these locks are set, the rear
sliding doors cannot be opened from
the inside. The doors can be opened
from the outside when the doors are
unlocked.
The childproof locks are located on
front edge of each sliding door and
must be set separately for each
door. Setting the lock for one door will not automatically set the lock for
both doors.
Move lock control up to engage the lock. Move control down to
disengage childproof locks.
If your vehicle is equipped with Power Sliding Door(s), refer to the
Power Sliding Doorsection of this chapter for more information on how
the childproof locks operate with this system.
REMOTE ENTRY SYSTEM
This device complies with part 15 of the FCC rules and with RS-210 of
Industry Canada. Operation is subject to the following two conditions:
(1) This device may not cause harmful interference, and (2) This device
must accept any interference received, including interference that may
cause undesired operation.
Changes or modifications not expressly approved by the party
responsible for compliance could void the user's authority to
operate the equipment.
The remote entry system allows you to:
²lock or unlock all vehicle doors and liftgate without a key.
²unlock/open a RH power sliding door and/or LH power sliding door
(if equipped).
²activate the personal alarm.
²arm and disarm the perimeter anti-theft system (if equipped).
The lock/unlock features will operate with the vehicle in P (Park) or N
(Neutral) and the ignition in the OFF, ACC or RUN positions. The power
sliding door feature will operate with the vehicle in P (Park) and the
ignition in the OFF, ACC or RUN positions. The panic control feature
only operates with the ignition in the OFF position.
Locks and Security
114
Page 115 of 296
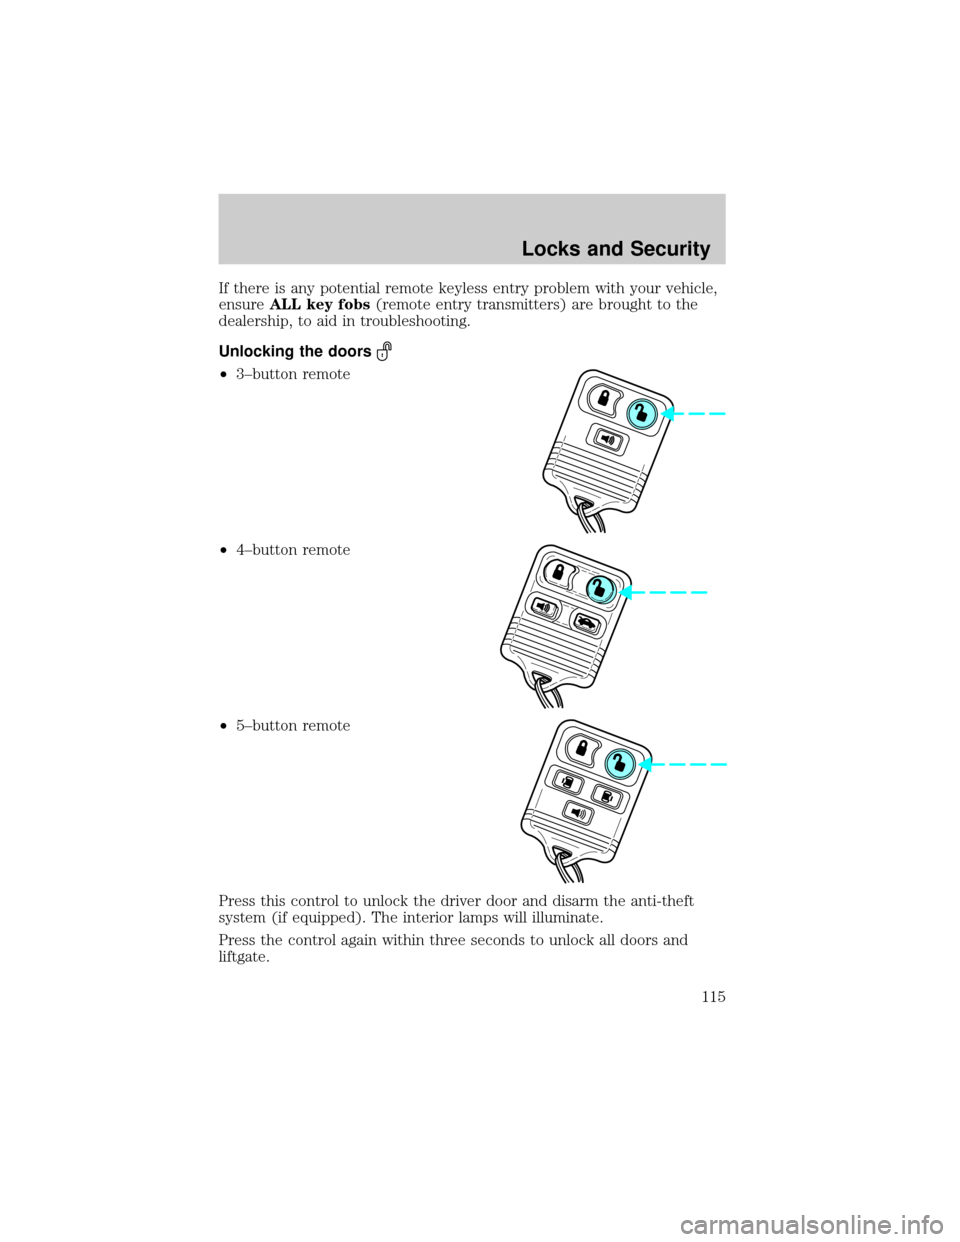
If there is any potential remote keyless entry problem with your vehicle,
ensureALL key fobs(remote entry transmitters) are brought to the
dealership, to aid in troubleshooting.
Unlocking the doors
²3±button remote
²4±button remote
²5±button remote
Press this control to unlock the driver door and disarm the anti-theft
system (if equipped). The interior lamps will illuminate.
Press the control again within three seconds to unlock all doors and
liftgate.
Locks and Security
115
Page 116 of 296
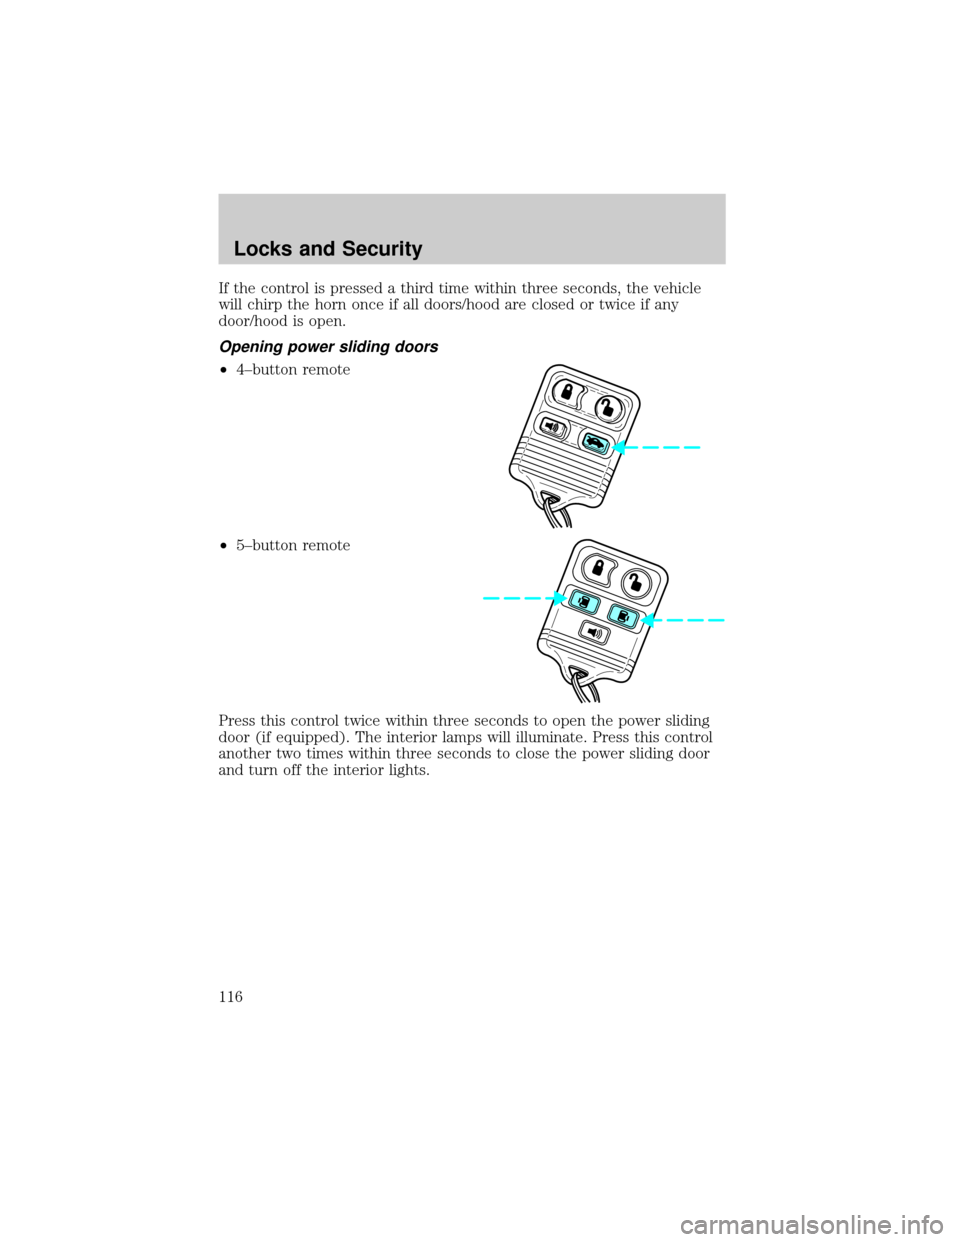
If the control is pressed a third time within three seconds, the vehicle
will chirp the horn once if all doors/hood are closed or twice if any
door/hood is open.
Opening power sliding doors
²4±button remote
²5±button remote
Press this control twice within three seconds to open the power sliding
door (if equipped). The interior lamps will illuminate. Press this control
another two times within three seconds to close the power sliding door
and turn off the interior lights.
Locks and Security
116
Page 117 of 296
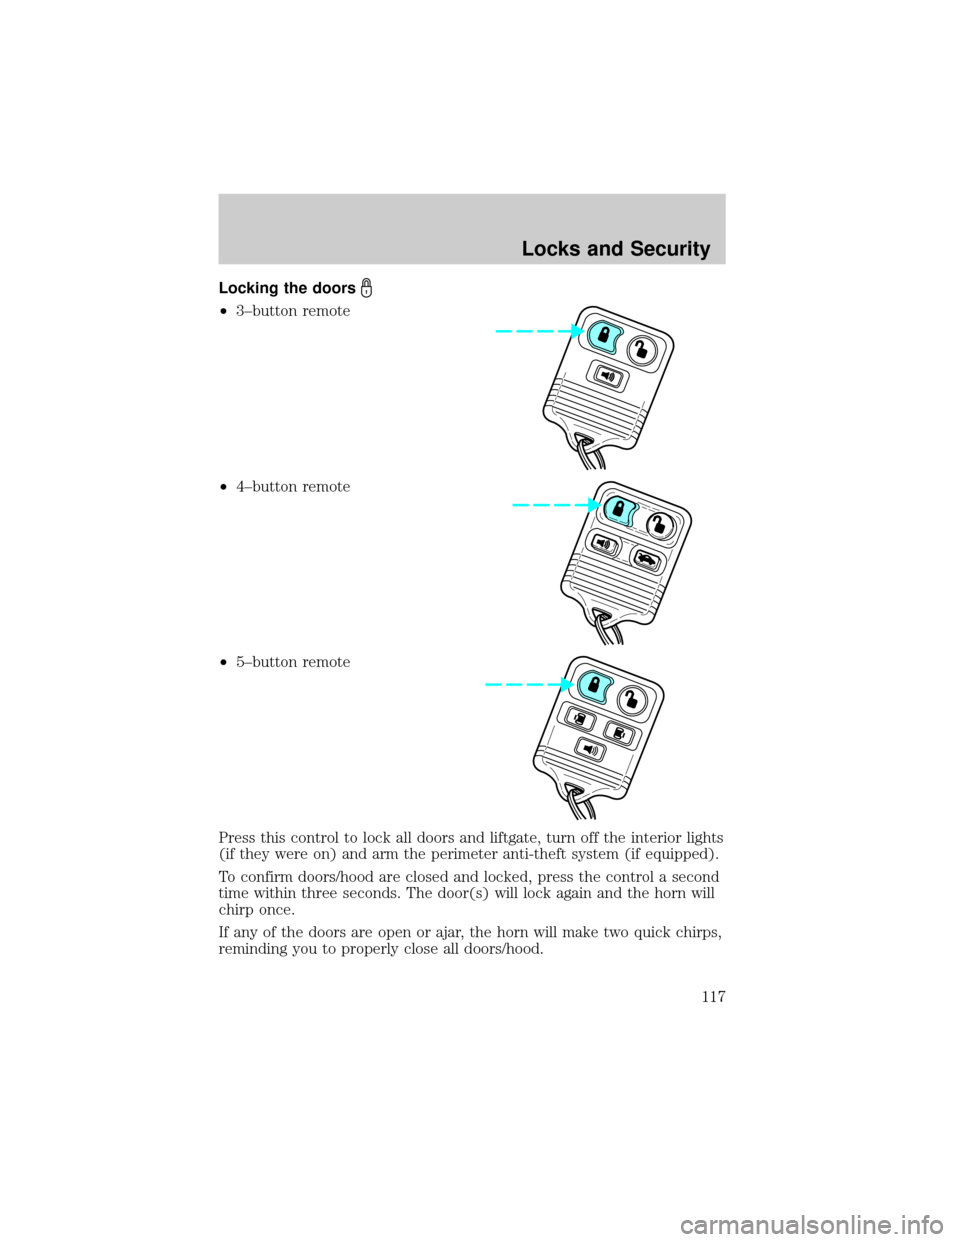
Locking the doors
²3±button remote
²4±button remote
²5±button remote
Press this control to lock all doors and liftgate, turn off the interior lights
(if they were on) and arm the perimeter anti-theft system (if equipped).
To confirm doors/hood are closed and locked, press the control a second
time within three seconds. The door(s) will lock again and the horn will
chirp once.
If any of the doors are open or ajar, the horn will make two quick chirps,
reminding you to properly close all doors/hood.
Locks and Security
117
Page 118 of 296
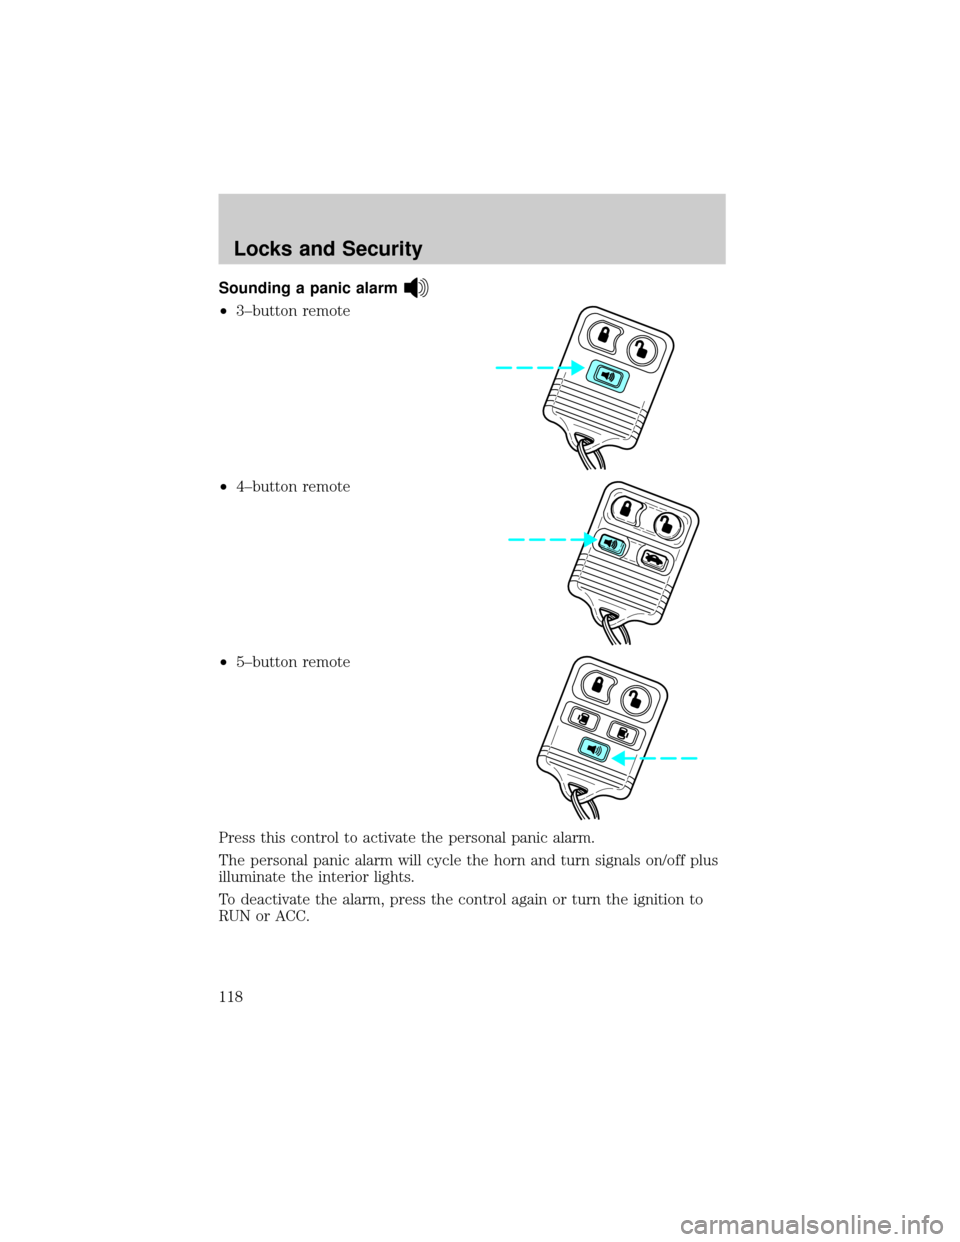
Sounding a panic alarm
²3±button remote
²4±button remote
²5±button remote
Press this control to activate the personal panic alarm.
The personal panic alarm will cycle the horn and turn signals on/off plus
illuminate the interior lights.
To deactivate the alarm, press the control again or turn the ignition to
RUN or ACC.
Locks and Security
118
Page 119 of 296
Replacing the battery
The remote transmitter is powered by one coin type three-volt lithium
battery CR2032 or equivalent. Typical operating range will allow you to
be up to 10 meters (33 feet) away from your vehicle. A decrease in
operating range can be caused by:
²weather conditions
²nearby radio towers
²structures around the vehicle
²other vehicles parked next to the vehicle
To replace the battery:
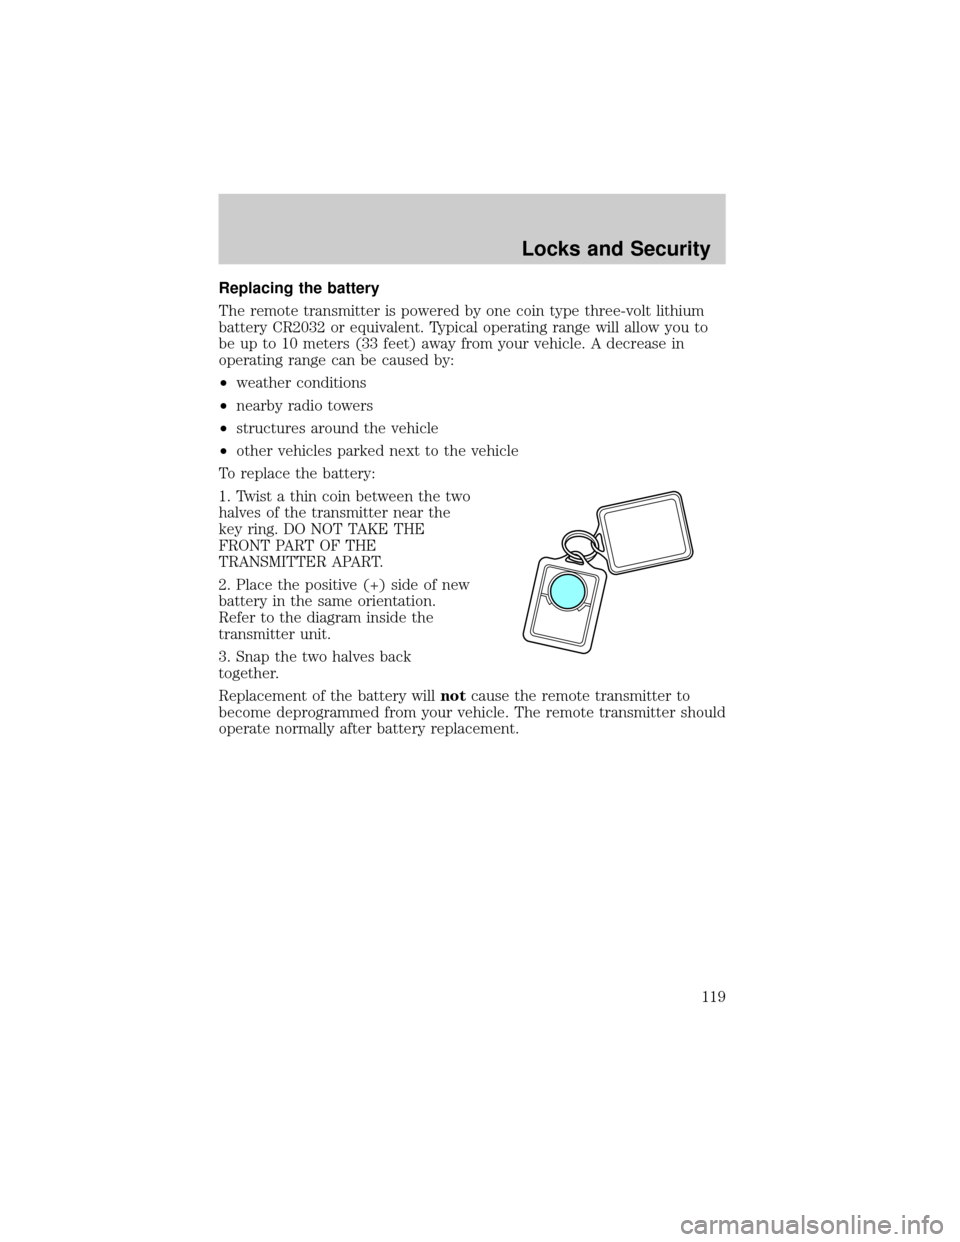
1. Twist a thin coin between the two
halves of the transmitter near the
key ring. DO NOT TAKE THE
FRONT PART OF THE
TRANSMITTER APART.
2. Place the positive (+) side of new
battery in the same orientation.
Refer to the diagram inside the
transmitter unit.
3. Snap the two halves back
together.
Replacement of the battery willnotcause the remote transmitter to
become deprogrammed from your vehicle. The remote transmitter should
operate normally after battery replacement.
Locks and Security
119
Page 120 of 296
Replacing lost transmitters
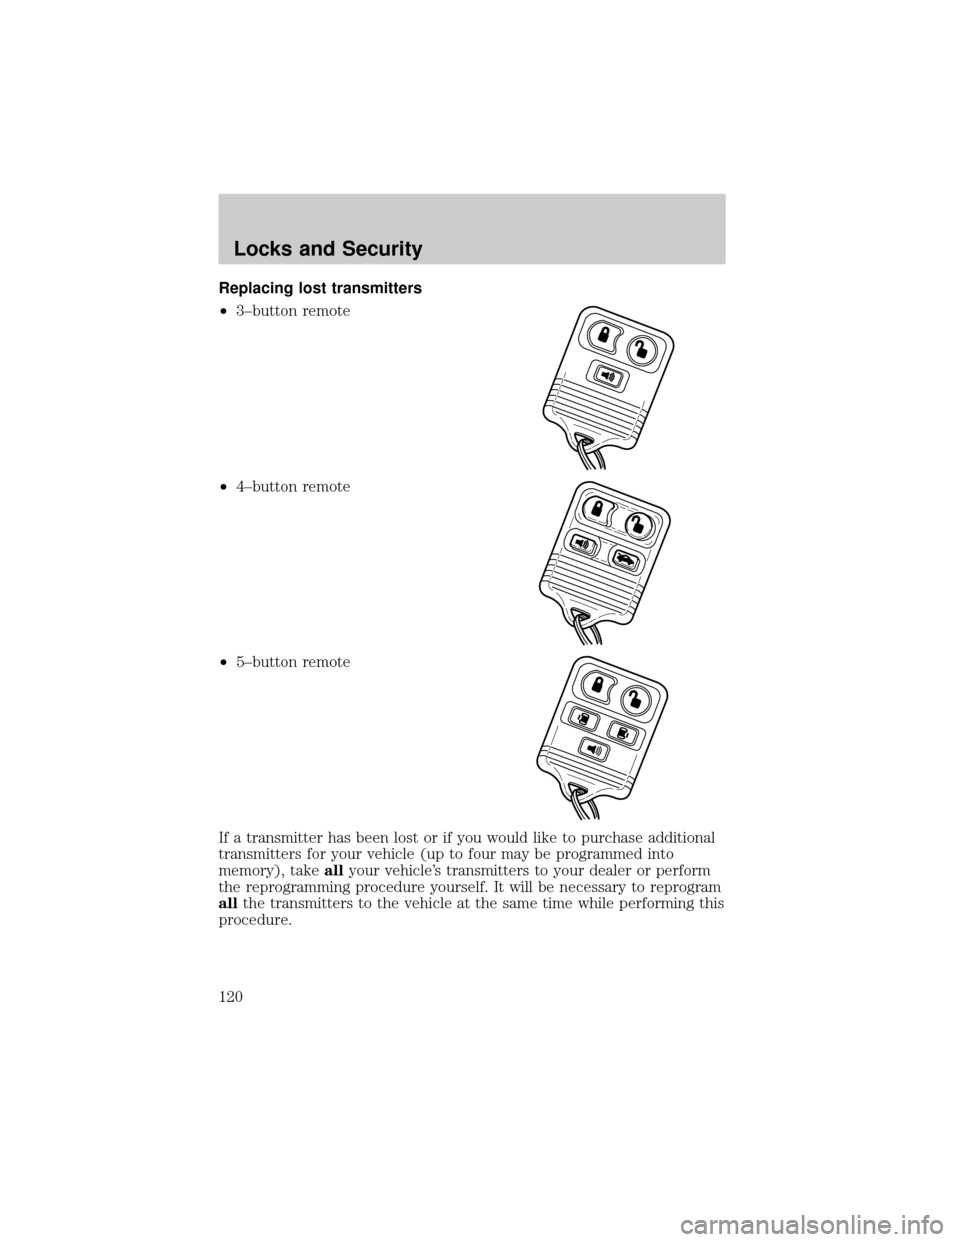
²3±button remote
²4±button remote
²5±button remote
If a transmitter has been lost or if you would like to purchase additional
transmitters for your vehicle (up to four may be programmed into
memory), takeallyour vehicle's transmitters to your dealer or perform
the reprogramming procedure yourself. It will be necessary to reprogram
allthe transmitters to the vehicle at the same time while performing this
procedure.
Locks and Security
120