power steering fluid GEELY MK 2008 Workshop Manual
[x] Cancel search | Manufacturer: GEELY, Model Year: 2008, Model line: MK, Model: GEELY MK 2008Pages: 416, PDF Size: 25.19 MB
Page 6 of 416
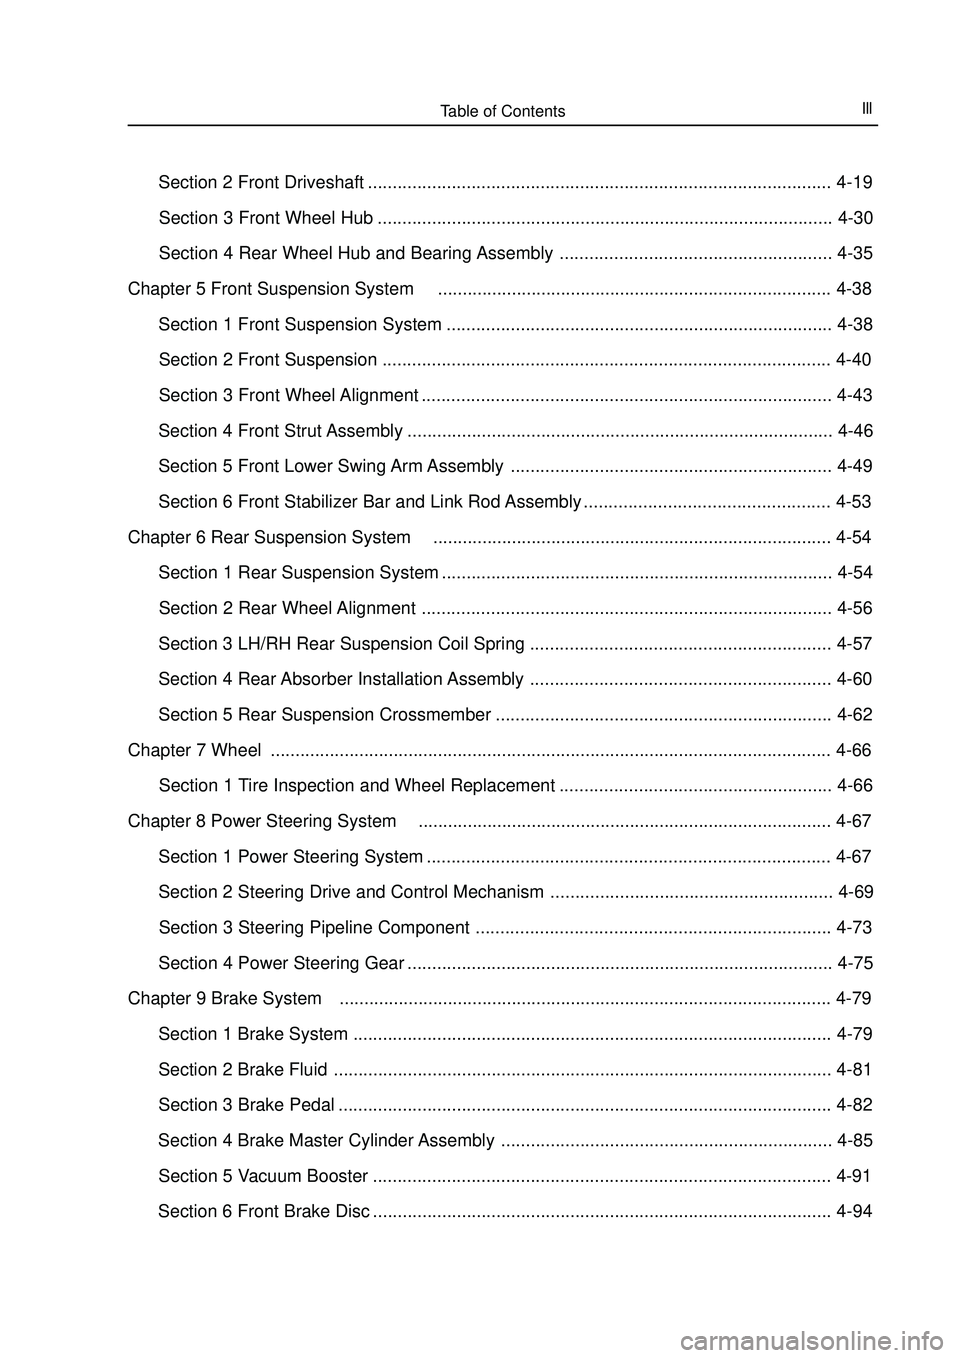
Table of ContentsIII Section 2 Front Driveshaft .............................................................................................. 4-19
Section 3 Front Wheel Hub ............................................................................................ 4-30
Section 4 Rear Wheel Hub and Bearing Assembly ....................................................... 4-35
Chapter 5 Front Suspension System................................................................................ 4-38
Section 1 Front Suspension System .............................................................................. 4-38
Section 2 Front Suspension ........................................................................................... 4-40
Section 3 Front Wheel Alignment ................................................................................... 4-43
Section 4 Front Strut Assembly ...................................................................................... 4-46
Section 5 Front Lower Swing Arm Assembly ................................................................. 4-49
Section 6 Front Stabilizer Bar and Link Rod Assembly .................................................. 4-53
Chapter 6 Rear Suspension System................................................................................. 4-54
Section 1 Rear Suspension System ............................................................................... 4-54
Section 2 Rear Wheel Alignment ................................................................................... 4-56
Section 3 LH/RH Rear Suspension Coil Spring ............................................................. 4-57
Section 4 Rear Absorber Installation Assembly ............................................................. 4-60
Section 5 Rear Suspension Crossmember .................................................................... 4-62
Chapter 7 Wheel.................................................................................................................. 4-66
Section 1 Tire Inspection and Wheel Replacement ....................................................... 4-66
Chapter 8 Power Steering System.................................................................................... 4-67
Section 1 Power Steering System .................................................................................. 4-67
Section 2 Steering Drive and Control Mechanism ......................................................... 4-69
Section 3 Steering Pipeline Component ........................................................................ 4-73
Section 4 Power Steering Gear ...................................................................................... 4-75
Chapter 9 Brake System.................................................................................................... 4-79
Section 1 Brake System ................................................................................................. 4-79
Section 2 Brake Fluid ..................................................................................................... 4-81
Section 3 Brake Pedal ....................................................................................................4-82
Section 4 Brake Master Cylinder Assembly ................................................................... 4-85
Section 5 Vacuum Booster ............................................................................................. 4-91
Section 6 Front Brake Disc ............................................................................................. 4-94
Page 29 of 416
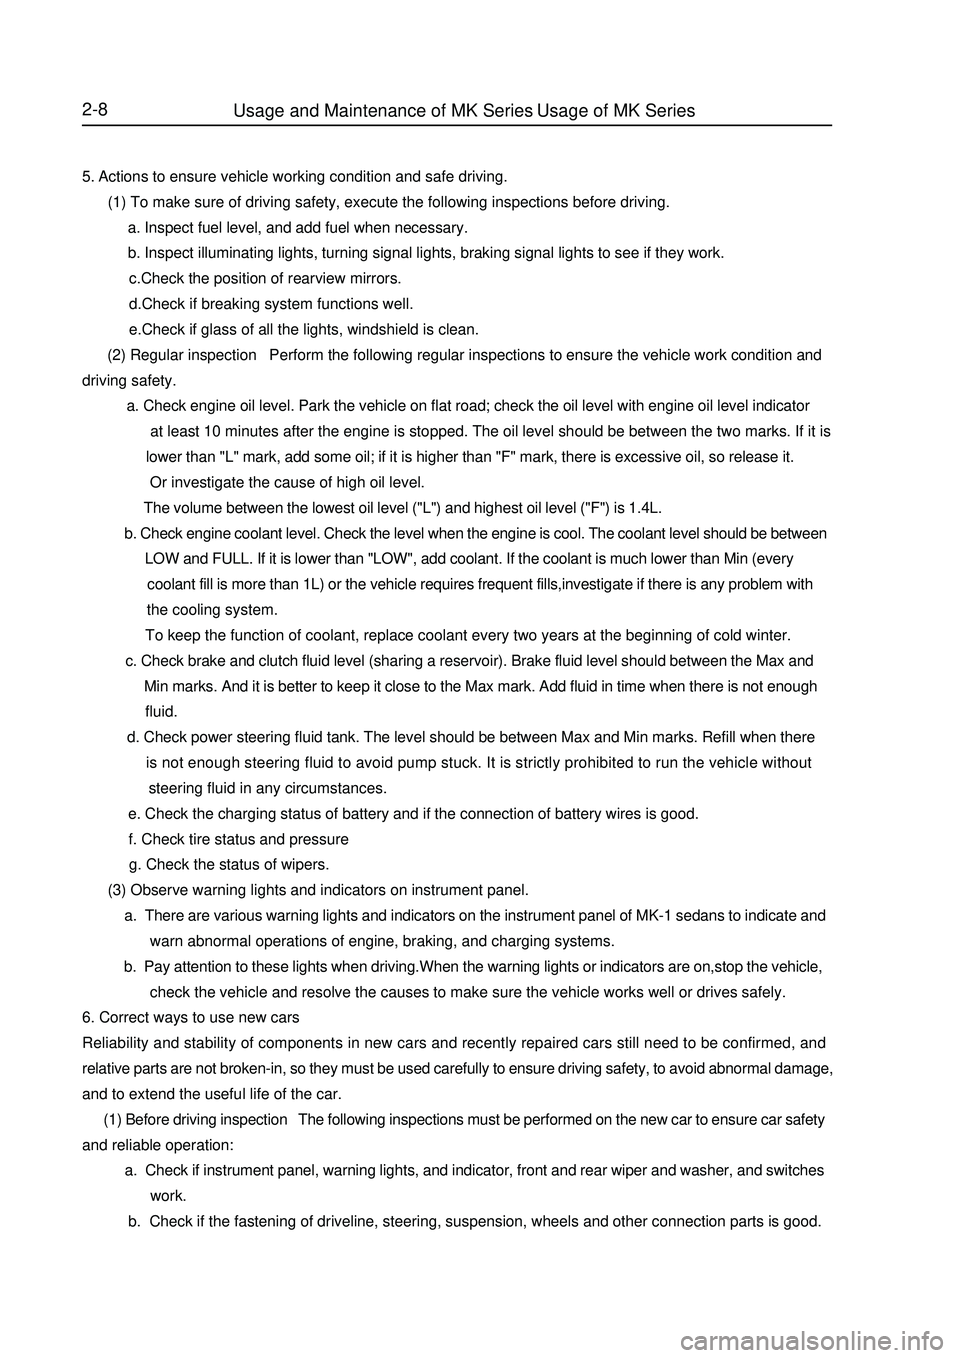
2-85. Actions to ensure vehicle working condition and safe driving.
(1) To make sure of driving safety, execute the following inspections before driving.
a. Inspect fuel level, and add fuel when necessary.
b. Inspect illuminating lights, turning signal lights, braking signal lights to see if they work.
c.Check the position of rearview mirrors.
d.Check if breaking system functions well.
e.Check if glass of all the lights, windshield is clean.
(2) Regular inspection Perform the following regular inspections to ensure the vehicle work condition and
driving safety.
a. Check engine oil level. Park the vehicle on flat road; check the oil level with engine oil level indicator
at least 10 minutes after the engine is stopped. The oil level should be between the two marks. If it is
lower than "L" mark, add some oil; if it is higher than "F" mark, there is excessive oil, so release it.
Or investigate the cause of high oil level.
The volume between the lowest oil level ("L") and highest oil level ("F") is 1.4L.
b. Check engine coolant level. Check the level when the engine is cool. The coolant level should be between
LOW and FULL. If it is lower than "LOW", add coolant. If the coolant is much lower than Min (every
coolant fill is more than 1L) or the vehicle requires frequent fills,investigate if there is any problem with
the cooling system.
To keep the function of coolant, replace coolant every two years at the beginning of cold winter.
c. Check brake and clutch fluid level (sharing a reservoir). Brake fluid level should between the Max and
Min marks. And it is better to keep it close to the Max mark. Add fluid in time when there is not enough
fluid.
d. Check power steering fluid tank. The level should be between Max and Min marks. Refill when there
is not enough steering fluid to avoid pump stuck. It is strictly prohibited to run the vehicle without
steering fluid in any circumstances.
e. Check the charging status of battery and if the connection of battery wires is good.
f. Check tire status and pressure
g. Check the status of wipers.
(3) Observe warning lights and indicators on instrument panel.
a. There are various warning lights and indicators on the instrument panel of MK-1 sedans to indicate and
warn abnormal operations of engine, braking, and charging systems.
b. Pay attention to these lights when driving.When the warning lights or indicators are on,stop the vehicle,
check the vehicle and resolve the causes to make sure the vehicle works well or drives safely.
6. Correct ways to use new cars
Reliability and stability of components in new cars and recently repaired cars still need to be confirmed, and
relative parts are not broken-in, so they must be used carefully to ensure driving safety, to avoid abnormal damage,
and to extend the useful life of the car.
(1) Before driving inspection The following inspections must be performed on the new car to ensure car safety
and reliable operation:
a. Check if instrument panel, warning lights, and indicator, front and rear wiper and washer, and switches
work.
b. Check if the fastening of driveline, steering, suspension, wheels and other connection parts is good.Usage and Maintenance of MK Series - Usage of MK Series
Page 30 of 416
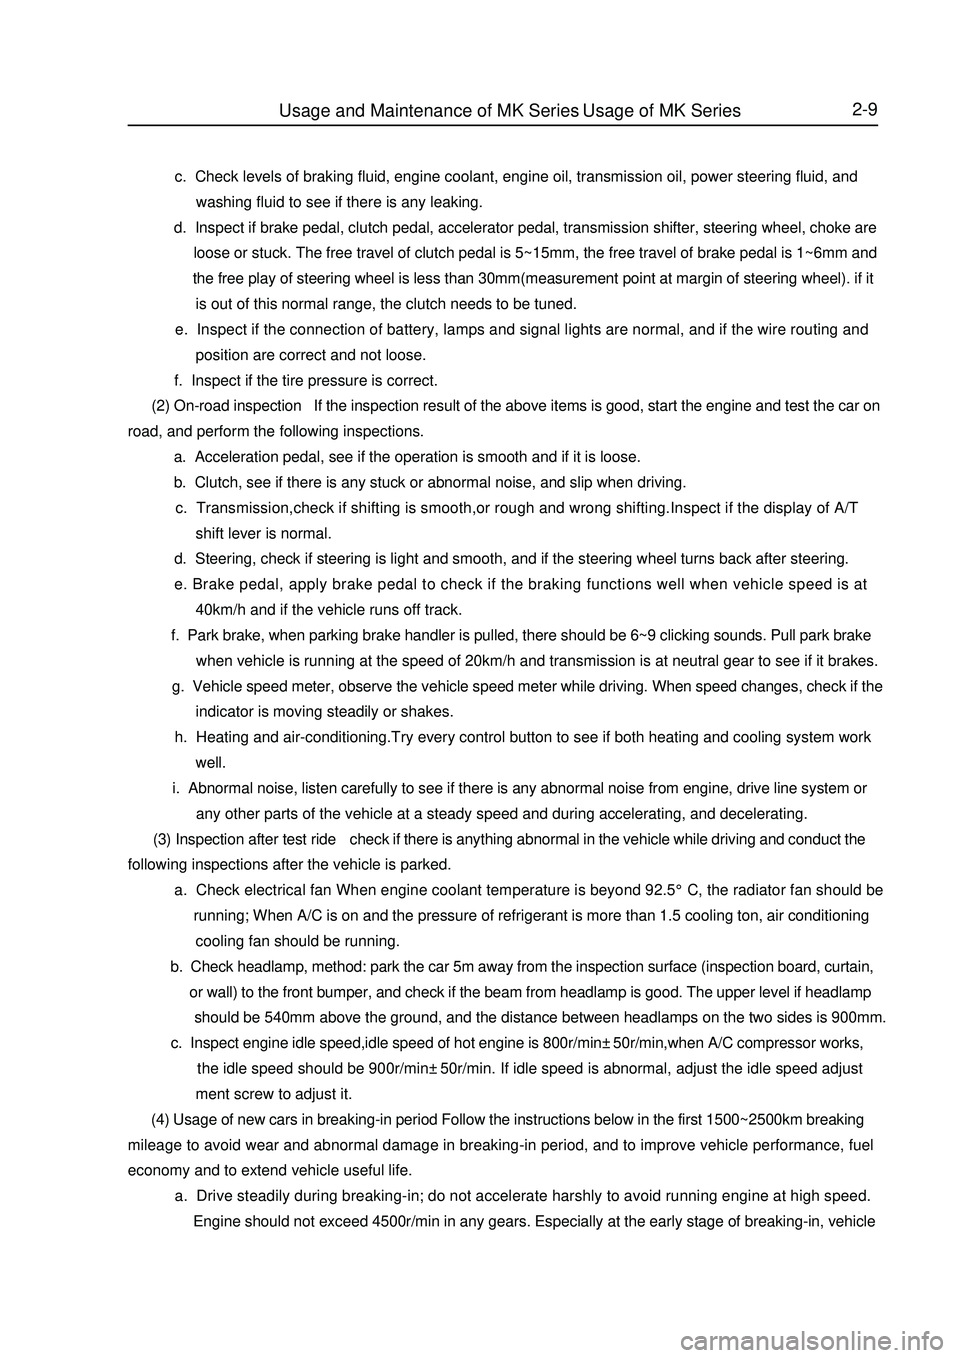
2-9 c. Check levels of braking fluid, engine coolant, engine oil, transmission oil, power steering fluid, and
washing fluid to see if there is any leaking.
d. Inspect if brake pedal, clutch pedal, accelerator pedal, transmission shifter, steering wheel, choke are
loose or stuck. The free travel of clutch pedal is 5~15mm, the free travel of brake pedal is 1~6mm and
the free play of steering wheel is less than 30mm(measurement point at margin of steering wheel). if it
is out of this normal range, the clutch needs to be tuned.
e. Inspect if the connection of battery, lamps and signal lights are normal, and if the wire routing and
position are correct and not loose.
f. Inspect if the tire pressure is correct.
(2) On-road inspection If the inspection result of the above items is good, start the engine and test the car on
road, and perform the following inspections.
a. Acceleration pedal, see if the operation is smooth and if it is loose.
b. Clutch, see if there is any stuck or abnormal noise, and slip when driving.
c. Transmission,check if shifting is smooth,or rough and wrong shifting.Inspect if the display of A/T
shift lever is normal.
d. Steering, check if steering is light and smooth, and if the steering wheel turns back after steering.
e. Brake pedal, apply brake pedal to check if the braking functions well when vehicle speed is at
40km/h and if the vehicle runs off track.
f. Park brake, when parking brake handler is pulled, there should be 6~9 clicking sounds. Pull park brake
when vehicle is running at the speed of 20km/h and transmission is at neutral gear to see if it brakes.
g. Vehicle speed meter, observe the vehicle speed meter while driving. When speed changes, check if the
indicator is moving steadily or shakes.
h. Heating and air-conditioning.Try every control button to see if both heating and cooling system work
well.
i. Abnormal noise, listen carefully to see if there is any abnormal noise from engine, drive line system or
any other parts of the vehicle at a steady speed and during accelerating, and decelerating.
(3) Inspection after test ride check if there is anything abnormal in the vehicle while driving and conduct the
following inspections after the vehicle is parked.
a. Check electrical fan When engine coolant temperature is beyond 92.5°C, the radiator fan should be
running; When A/C is on and the pressure of refrigerant is more than 1.5 cooling ton, air conditioning
cooling fan should be running.
b. Check headlamp, method: park the car 5m away from the inspection surface (inspection board, curtain,
or wall) to the front bumper, and check if the beam from headlamp is good. The upper level if headlamp
should be 540mm above the ground, and the distance between headlamps on the two sides is 900mm.
c. Inspect engine idle speed,idle speed of hot engine is 800r/min±50r/min,when A/C compressor works,
the idle speed should be 900r/min±50r/min. If idle speed is abnormal, adjust the idle speed adjust
ment screw to adjust it.
(4) Usage of new cars in breaking-in period Follow the instructions below in the first 1500~2500km breaking
mileage to avoid wear and abnormal damage in breaking-in period, and to improve vehicle performance, fuel
economy and to extend vehicle useful life.
a. Drive steadily during breaking-in; do not accelerate harshly to avoid running engine at high speed.
Engine should not exceed 4500r/min in any gears. Especially at the early stage of breaking-in, vehicleUsage and Maintenance of MK Series - Usage of MK Series
Page 33 of 416
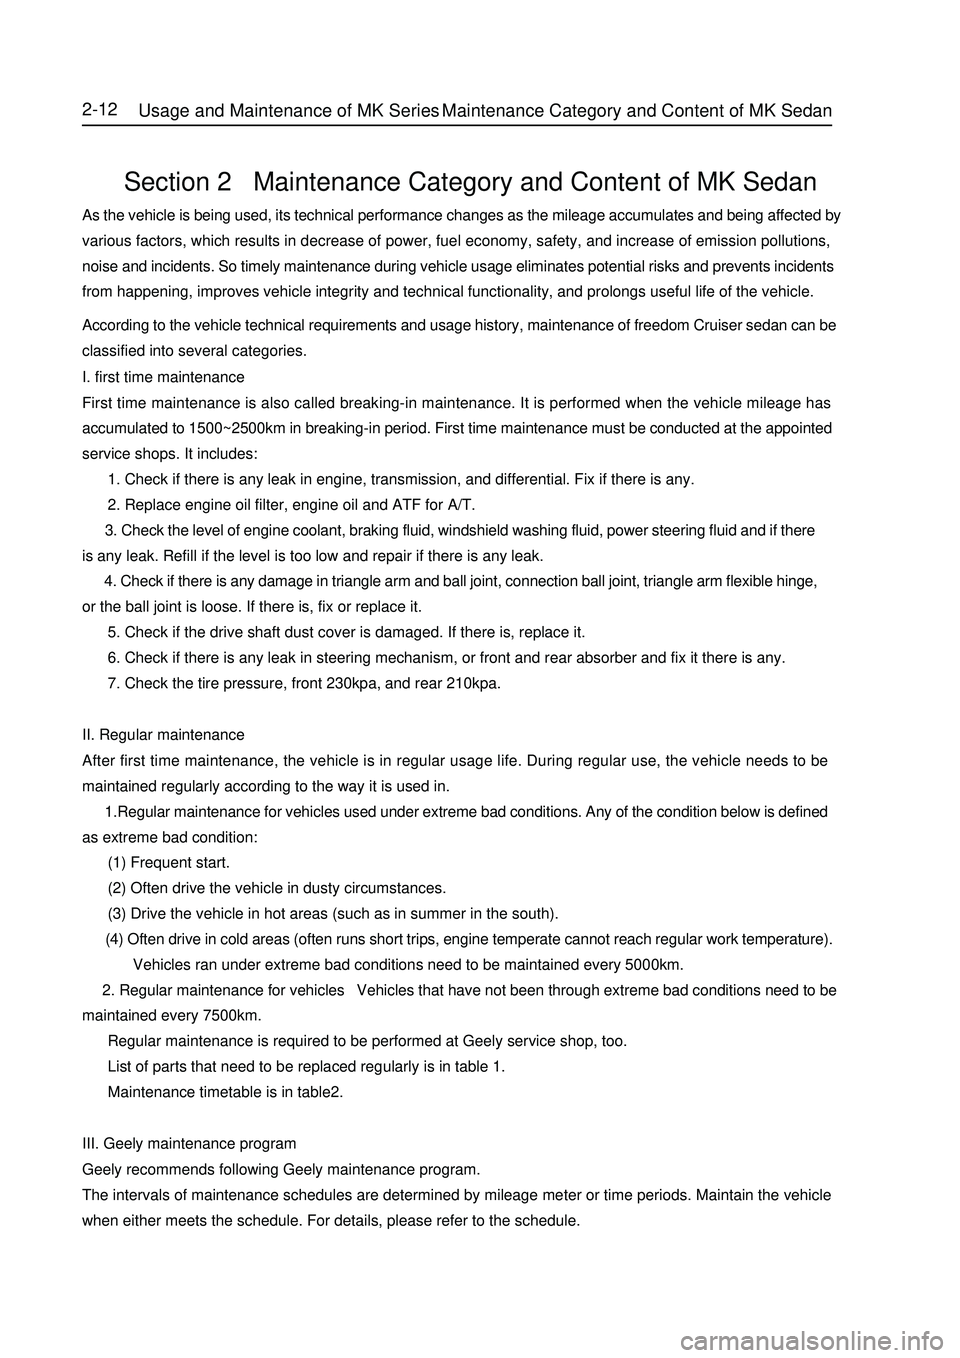
2-12Section 2 Maintenance Category and Content of MK SedanAs the vehicle is being used, its technical performance changes as the mileage accumulates and being affected by
various factors, which results in decrease of power, fuel economy, safety, and increase of emission pollutions,
noise and incidents. So timely maintenance during vehicle usage eliminates potential risks and prevents incidents
from happening, improves vehicle integrity and technical functionality, and prolongs useful life of the vehicle.
According to the vehicle technical requirements and usage history, maintenance of freedom Cruiser sedan can be
classified into several categories.I. first time maintenanceFirst time maintenance is also called breaking-in maintenance. It is performed when the vehicle mileage has
accumulated to 1500~2500km in breaking-in period. First time maintenance must be conducted at the appointed
service shops. It includes:
1. Check if there is any leak in engine, transmission, and differential. Fix if there is any.
2. Replace engine oil filter, engine oil and ATF for A/T.
3. Check the level of engine coolant, braking fluid, windshield washing fluid, power steering fluid and if there
is any leak. Refill if the level is too low and repair if there is any leak.
4. Check if there is any damage in triangle arm and ball joint, connection ball joint, triangle arm flexible hinge,
or the ball joint is loose. If there is, fix or replace it.
5. Check if the drive shaft dust cover is damaged. If there is, replace it.
6. Check if there is any leak in steering mechanism, or front and rear absorber and fix it there is any.
7. Check the tire pressure, front 230kpa, and rear 210kpa.II. Regular maintenanceAfter first time maintenance, the vehicle is in regular usage life. During regular use, the vehicle needs to be
maintained regularly according to the way it is used in.
1.Regular maintenance for vehicles used under extreme bad conditions. Any of the condition below is defined
as extreme bad condition:
(1) Frequent start.
(2) Often drive the vehicle in dusty circumstances.
(3) Drive the vehicle in hot areas (such as in summer in the south).
(4) Often drive in cold areas (often runs short trips, engine temperate cannot reach regular work temperature).
Vehicles ran under extreme bad conditions need to be maintained every 5000km.
2. Regular maintenance for vehicles Vehicles that have not been through extreme bad conditions need to be
maintained every 7500km.
Regular maintenance is required to be performed at Geely service shop, too.
List of parts that need to be replaced regularly is in table 1.
Maintenance timetable is in table2.III. Geely maintenance programGeely recommends following Geely maintenance program.
The intervals of maintenance schedules are determined by mileage meter or time periods. Maintain the vehicle
when either meets the schedule. For details, please refer to the schedule.Usage and Maintenance of MK Series - Maintenance Category and Content of MK Sedan
Page 34 of 416
2-13For servicing items whose deadlines have expired, they should be maintained at the same intervals as before. The
intervals are recorded in maintenance schedule.
Rubber hoses
Used in cooling and heating system, braking and fuel-feeding systems should be inspected by qualified Geely
technicians according to Geely maintenance schedule.
There are all very important maintenance items. Hoses must be replaced immediately should there be any aging
or damage. Please pay attention, rubber hoses age as time goes by, and they may have problems of inflation, wear,
or crack.
Special Tips
If the vehicle is driven under one or more of the following circumstances, the maintenance items should be
carried out more frequently. See attached maintenance schedule.
A Road condition
1. drive on rough, muddy or skiddy roads
2. drive on dusty roads.
B driving condition
1. Repeat driving within 8km a few times, or when the outdoor temperature is below 0 degree centigrade.
2. Idle the car drive at a low speed for a long time, such as police car, taxi, or door to door delivery vehicles.
3. Continuously drive the car at high speed for more than 2 hours (80% of the max speed).IV. Regular inspections1. weekly schedule
inspect engine oil level and cleanness
inspect engine coolant level
inspect brake fluid level
inspect windshield wash fluid level
inspect power steering fluid level
2. monthly inspections
inspect water pump belt
inspect electrolyte level in battery
inspect tire air pressure and wear
inspect steering wheel
inspect brake
inspect acceleration pedal
3. inspection when driving (low speed)
inspect speed meter and water temperature
check steering wheel power and if vehicle runs off-track
check if the front wheels skid or swing
inspect if brake functions or if the vehicle runs off-track when brake is functioning
4. other inspection items
Eliminate problems immediately when there is anything abnormalUsage and Maintenance of MK Series - Maintenance Category and Content of MK Sedan
Page 35 of 416

2-14
V. Table 1 List of parts to be replaced regularlyThe intervals in the part list are for cars driven under normal condition. If the car is driven in special circumstances,
the replacement can be advanced from the schedule above.SystemParts need to be replaced regularly
1
2
3
4
5
6
7
8
9
10
11
12
13
14
15
16
17
18
19
20
21
22Brake master cylinder cup valve and dust coverBrake master cylinder cup
Brake hose
Brake caliper valve
Brake booster rubber
Brake booster vacuum hose
Brake fluid
MT Transmission oil
AT Transmission oil
Steering fluid
Air Cleaner
Air c leaner f ilter
Lubricant
Oil filter
Fuel filter
Coolant
All hoses
Canister
Timing beltWedge belt (including the power steering pump,
air conditioner compressor and generator belts)PCV system
Spark plugEvery 2 years (or as required)
Every 2 years (or as required)
Every 2 years (or as required)
Every 4 years (or as required)
Every 2 years (or as required)
Every 4 years (or as required)
Every 2 years,or 40000km (or as required)
Every 2 years,or 40000km (or as required)
Every 2 years,or 40000km (or as required)
Every 2 years,or 40000km (or as required)
To be cleaned every 10,000km and changed
every 30,000km (or as required)
First 2500km or 2 months. Every 7500km or
6 months afterward (or as required)
First 2500km or 2 months. Every 7500km or
6 months afterward (or as required)
Every 5000km (or as required)
Every 40000km (or as required)
Every year (or as required)
Every 2 years (or as required)
Every 60000km (or as required)
Every 120000km (or as required)
Every 50000km (or as required)
Every 20000km or 12 months (or as required)
Every 20000km (or as required)Intervals
DrivelineSteering SystemBraking
SystemEngineA/C System
(API) SG or above(Table 1)Usage and Maintenance of MK Series - Maintenance Category and Content of MK Sedan
Page 144 of 416

Chapter 8 Power Steering SystemSection 1 Power Steering System3. Precaution: (1) Precaution for steering system
Make sure of the correct replacement of parts, incorrect replacement might affect the performance of the
steering system and lead to driving accidents.
(2) Precaution for SRS System
This vehicle is equipped with SRS (Supplemental Restraint System), driver side air bag and front passenger
side air bag.
Failure to carry out service operations in the correct sequence could cause the unexpected deployment of
the air bag during servicing, possibly leading to a serious accident.1. Power Steering System Description Power Steering System consists of the steering wheel, steering transmit device, power steering fixed device
and steering pipelines. The steering gear is rack and pinion type.2. Major parameters for steering system:Power Steering System-Power Steering System4-67Item
Steering Wheel total revolutions
Maximum Front
Wheel Turn Angle
Minimum Turning DiameterParameter
3.58±0.1
37.2°±2°/ 32°±2°
37.2°±2°/ 32°±2°
10.4
mInner
OuterSuspected Area
1. Tire (improperly inflated)
2. Power steering fluid (insufficient)
3. Front wheel alignment (incorrect)
4. Steering knuckle (worn)
5. Swing arm ball stud pin joint (worn)
6. Steering column (bent or binding)
7. Power steering pump assembly
8. Power steering gear assembly
1. Tire (improperly inflated)
2. Front wheel alignment (incorrect)
3. Steering column (bent or binding)
4. Power steering gear assemblySymptom
Heavy steering
Poor return4. Symptom Table The table below is helpful to find the cause of the problem. The numbers indicate the priority of the likely cause
of the problem. Check each part in order. Repair or replace these parts or assemblies if necessary.
Page 145 of 416

Suspected Area
1. Steering knuckle (worn)
2. Swing arm ball stud pin joint (worn)
3. Intermediate shaft, sliding yoke (worn)
4. Front wheel bearing (worn)
5. Power steering gear assembly (worn)
1. Power steering pump fluid level (low)
2. Steering system ball joint (worn)
3. Power steering pump assembly (damaged)
4. Power steering gear assembly (damaged)Symptom
Excessive clearance
and play
Abnormal noise5. On-vehicle inspection1 Check steering wheel free play
(1) Stop vehicle and keep the tires straight ahead.
(2) Rotate the steering wheel slightly, check the steering wheel
free stroke.
Maximum free play: 30mmPower Steering System-Power Steering System4-68Max. free play
Page 151 of 416
Power Steering System-
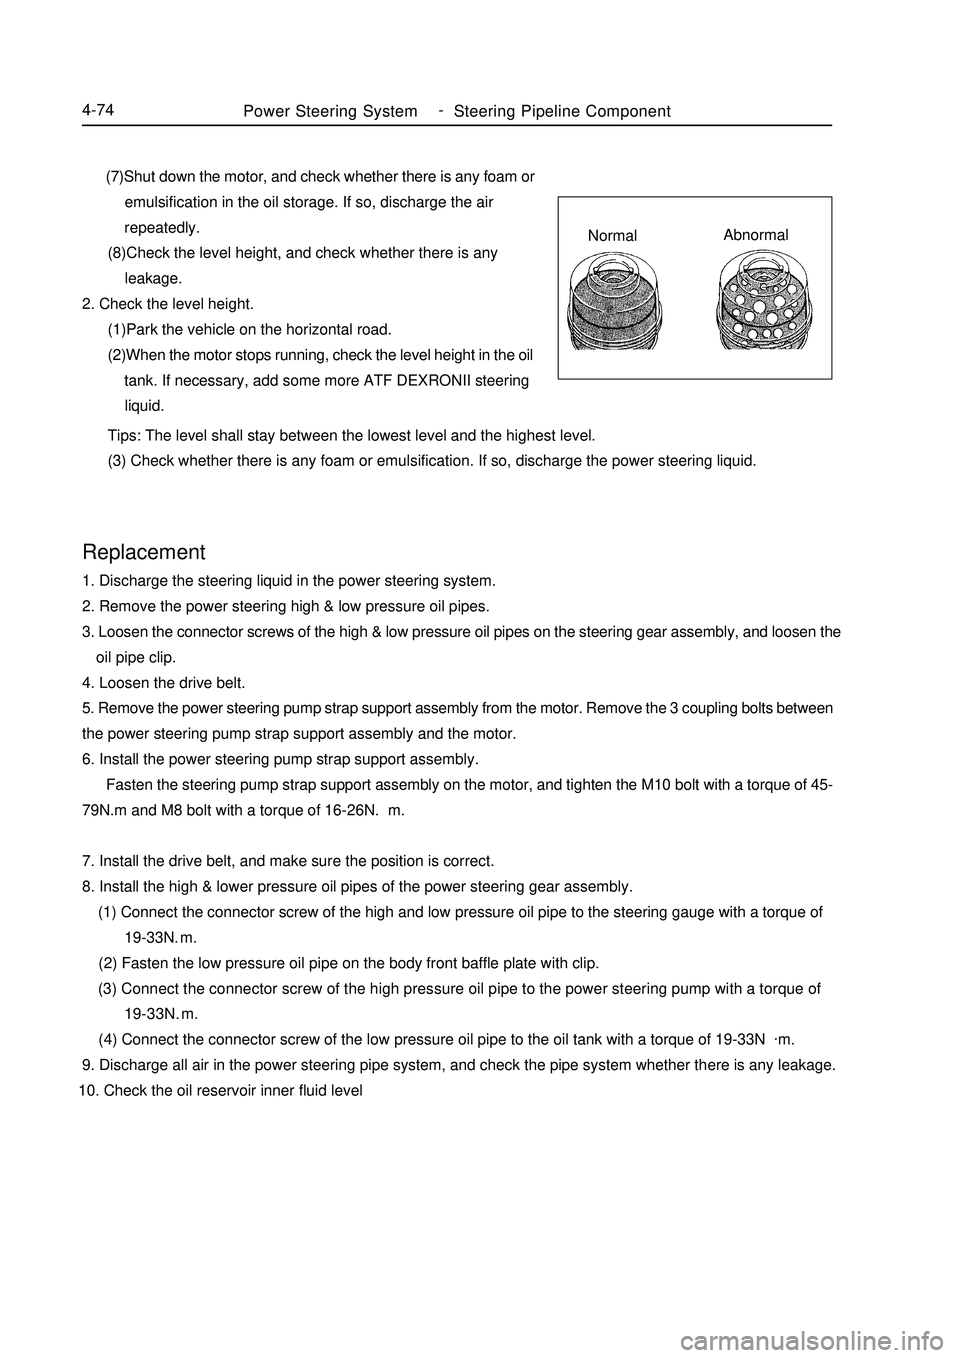
Steering Pipeline Component4-74 (7)Shut down the motor, and check whether there is any foam or
emulsification in the oil storage. If so, discharge the air
repeatedly.
(8)Check the level height, and check whether there is any
leakage.
2. Check the level height.
(1)Park the vehicle on the horizontal road.
(2)When the motor stops running, check the level height in the oil
tank. If necessary, add some more ATF DEXRONII steering
liquid.Replacement1. Discharge the steering liquid in the power steering system.
2. Remove the power steering high & low pressure oil pipes.
3. Loosen the connector screws of the high & low pressure oil pipes on the steering gear assembly, and loosen the
oil pipe clip.
4. Loosen the drive belt.
5. Remove the power steering pump strap support assembly from the motor. Remove the 3 coupling bolts between
the power steering pump strap support assembly and the motor.
6. Install the power steering pump strap support assembly.
Fasten the steering pump strap support assembly on the motor, and tighten the M10 bolt with a torque of 45-
79N.m and M8 bolt with a torque of 16-26N.m.
7. Install the drive belt, and make sure the position is correct.
8. Install the high & lower pressure oil pipes of the power steering gear assembly.
(1) Connect the connector screw of the high and low pressure oil pipe to the steering gauge with a torque of
19-33N.m.
(2) Fasten the low pressure oil pipe on the body front baffle plate with clip.
(3) Connect the connector screw of the high pressure oil pipe to the power steering pump with a torque of
19-33N.m.
(4) Connect the connector screw of the low pressure oil pipe to the oil tank with a torque of 19-33N.
m.
9. Discharge all air in the power steering pipe system, and check the pipe system whether there is any leakage.
10. Check the oil reservoir inner fluid level Tips: The level shall stay between the lowest level and the highest level.
(3) Check whether there is any foam or emulsification. If so, discharge the power steering liquid.NormalAbnormal
Page 154 of 416

Power Steering System-Power Steering Gear4-77Replacement1. Drain the power steering system fluid
2. Loosen the high pressure pipes.
Loosen the high pressure pipes with special tool
3. Loosen the low pressure pipes
Loosen the low pressure pipes with special tool
4. Separate the tie rod from the steering knuckle
(1) Remove the cotter pin, loosen the groove type lock nut
(2) Separate the tie rod ball stud joint from the steering knuckle
taper hole5. Loosen the thread screw of the high and low pressure pipe on the steering gear assembly
6. Remove the boot and press plate
7. Disconnect the power steering gear assembly from the steering column
Remove the steering gear pinion shaft spline lock bolt on the universal joint yoke
8. Remove power steering gear assembly
Remove 2 steering gear assembly set bolts. Remove the power steering gear assembly
9. Installation is in the reverse order of the removal
Notice:
(1) Insert the steering gear pinion shaft spline into the spline hole of the universal joint yoke, make sure that
the positions of the notch of the steering gear pinion shaft and the lock bolt of the universal joint yoke are
correct
(2) Secure the power steering gear with 2 bolts, torque: 125~152N.m
(3) Tighten the steering gear pinion shaft spline lock bolt on the universal joint yoke, torque: 22~34N.m
(4) Install the boot and press plate
(5) Install the threaded connector of the power steering high and low pressure pipe to the power steering gear,
torque: 25~32N.m