warning GENESIS G80 2017 Owner's Manual
[x] Cancel search | Manufacturer: GENESIS, Model Year: 2017, Model line: G80, Model: GENESIS G80 2017Pages: 496, PDF Size: 12.82 MB
Page 189 of 496
3-101
Convenient features of your vehicle
3
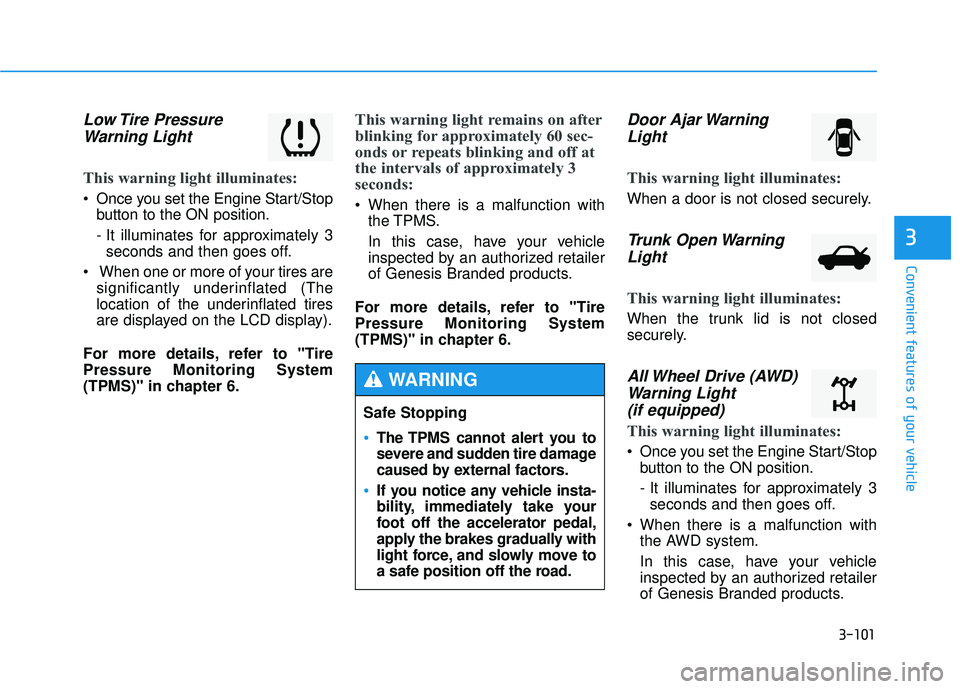
Low Tire PressureWarning Light
This warning light illuminates:
Once you set the Engine Start/Stop
button to the ON position.
- It illuminates for approximately 3seconds and then goes off.
When one or more of your tires are significantly underinflated (The
location of the underinflated tires
are displayed on the LCD display).
For more details, refer to "Tire
Pressure Monitoring System
(TPMS)" in chapter 6.
This warning light remains on after
blinking for approximately 60 sec-
onds or repeats blinking and off at
the intervals of approximately 3
seconds:
When there is a malfunction with the TPMS.
In this case, have your vehicle
inspected by an authorized retailer
of Genesis Branded products.
For more details, refer to "Tire
Pressure Monitoring System
(TPMS)" in chapter 6.
Door Ajar Warning Light
This warning light illuminates:
When a door is not closed securely.
Trunk Open WarningLight
This warning light illuminates:
When the trunk lid is not closed
securely.
All Wheel Drive (AWD)Warning Light (if equipped)
This warning light illuminates:
Once you set the Engine Start/Stop
button to the ON position.
- It illuminates for approximately 3seconds and then goes off.
When there is a malfunction with the AWD system.
In this case, have your vehicle
inspected by an authorized retailer
of Genesis Branded products.
Safe Stopping
The TPMS cannot alert you to
severe and sudden tire damage
caused by external factors.
If you notice any vehicle insta-
bility, immediately take your
foot off the accelerator pedal,
apply the brakes gradually with
light force, and slowly move to
a safe position off the road.
WARNING
Page 190 of 496

3-102
Convenient features of your vehicle
Electronic ParkingBrake (EPB) WarningLight (if equipped)
This warning light illuminates:
Once you set the Engine Start/Stop
button to the ON position.
- It illuminates for approximately 3seconds and then goes off.
When there is a malfunction with the EPB.
In this case, have your vehicle
inspected by an authorized retailer of
Genesis Branded products.
✽ ✽ NOTICE - Electronic Parking
Brake (EPB) Warning Light
The Electronic Parking Brake
(EPB) Warning Light may illumi-
nate when the Electronic Stability
control (ESC) Indicator Light comes
on to indicates that the ESC is not
working properly (This does not
indicate malfunction of the EPB).
Automatic Emergency Braking (AEB) Warninglight (if equipped)
This warning light illuminates :
When the AEB system is turned off.
When the radar or its cover is
stained. Remove the stains with a
soft cloth.
When there is a malfunction with AEB. In this case, have your vehi-
cle inspected by an authorized
retailer of Genesis Branded prod-
ucts.
Master Warning Light
This indicator light illuminates
When there is a malfunction on thepre-active seat belt, low washer,
electronic control suspension, or
advanced smart cruise control. To
identify the details of the warning,
look at the LCD display.
EPB
Page 192 of 496
3-104
Convenient features of your vehicle
This indicator light illuminates for
2 seconds and goes off:
When the vehicle can not detectthe smart key which is in the vehi-
cle while the Engine Start/Stop
button is ON.
In this case, have your vehicle
inspected by an authorized retailer
of Genesis Branded products.
This indicator light blinks:
When the battery of the smart keyis weak.
- At this time, you can not start theengine. However, you can start the
engine if you press the Engine
Start/Stop button with the smart
key. (For more details, refer to
"Starting the Engine" in chapter
5).
When there is a malfunction with the immobilizer system.
In this case, have your vehicle
inspected by an authorized retailer
of Genesis Branded products.
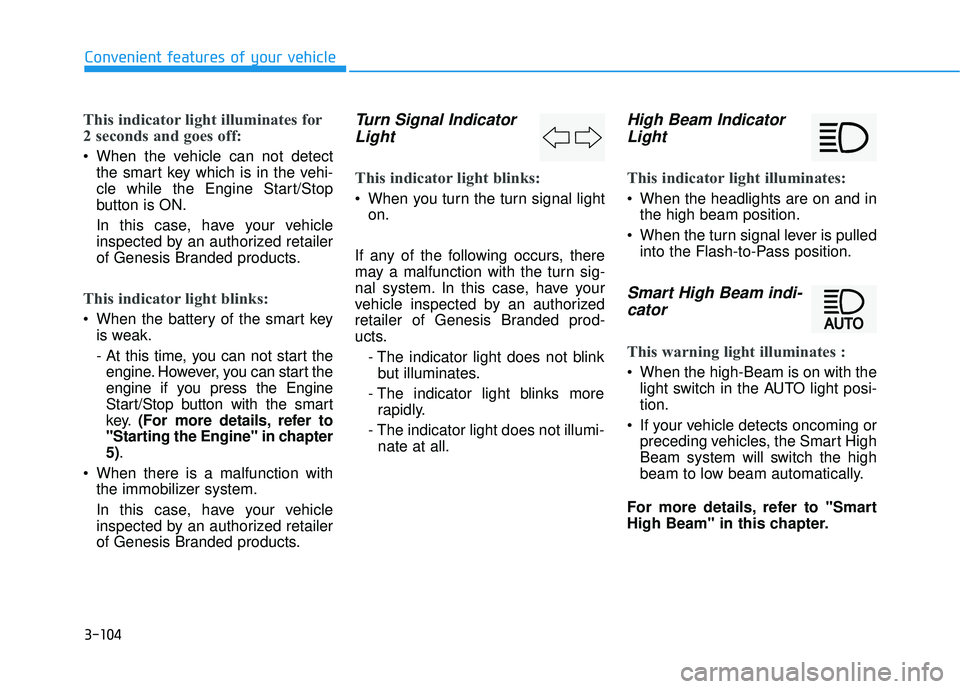
Turn Signal IndicatorLight
This indicator light blinks:
When you turn the turn signal light
on.
If any of the following occurs, there
may a malfunction with the turn sig-
nal system. In this case, have your
vehicle inspected by an authorized
retailer of Genesis Branded prod-
ucts. - The indicator light does not blinkbut illuminates.
- The indicator light blinks more rapidly.
- The indicator light does not illumi- nate at all.
High Beam IndicatorLight
This indicator light illuminates:
When the headlights are on and in
the high beam position.
When the turn signal lever is pulled into the Flash-to-Pass position.
Smart High Beam indi-cator
This warning light illuminates :
When the high-Beam is on with the
light switch in the AUTO light posi-
tion.
If your vehicle detects oncoming or preceding vehicles, the Smart High
Beam system will switch the high
beam to low beam automatically.
For more details, refer to "Smart
High Beam" in this chapter.
Page 194 of 496
3-106
Convenient features of your vehicle
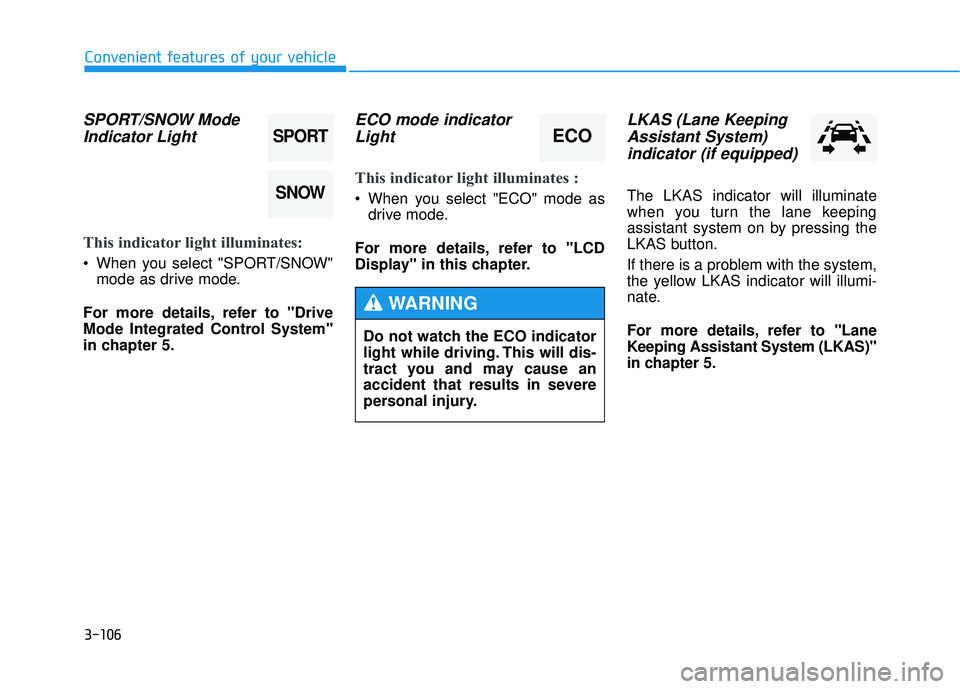
SPORT/SNOW ModeIndicator Light
This indicator light illuminates:
When you select "SPORT/SNOW"
mode as drive mode.
For more details, refer to "Drive
Mode Integrated Control System"
in chapter 5.
ECO mode indicator Light
This indicator light illuminates :
When you select "ECO" mode as
drive mode.
For more details, refer to "LCD
Display" in this chapter.
LKAS (Lane Keeping Assistant System)indicator (if equipped)
The LKAS indicator will illuminate
when you turn the lane keeping
assistant system on by pressing the
LKAS button.
If there is a problem with the system,
the yellow LKAS indicator will illumi-
nate.
For more details, refer to "Lane
Keeping Assistant System (LKAS)"
in chapter 5.
SPORT
SNOW
ECO
Do not watch the ECO indicator
light while driving. This will dis-
tract you and may cause an
accident that results in severe
personal injury.
WARNING
Page 195 of 496

3-107
Convenient features of your vehicle
3
Description
The head up display is a transparent
display which projects a shadow of
some information of the instrument
cluster and navigation on the wind-
shield glass. The head up display image on the
windshield glass may be invisible
when:
- Sitting posture is bad.
- Wearing a polarized sunglasses.
- There is an object on the cover ofthe head up display.
- Driving on a wet road.
- An inadequate lighting is turned on inside the vehicle.
- Any light comes from the outside.
- Wearing glasses.
If the head up display image is not shown well, adjust the height or
illumination of the head up display
in the LCD display.
For more details, refer to "LCD
Display" in this chapter.
When the head up display needs inspection or repair, have your
vehicle inspected by an authorized
retailer of Genesis Branded prod-
ucts.
H HE
EA
A D
D
U
U P
P
D
D I
IS
S P
P L
LA
A Y
Y
(
( H
H U
U D
D)
)
(
( I
IF
F
E
E Q
Q U
UI
IP
P P
PE
ED
D )
)
Head Up Display
Do not tint the front wind-
shield glass or add other
types of metallic coating.
Otherwise, the head up dis-
play image may be invisible.
Do not place any accessories
on the crash pad or attach any
objects on the windshield
glass.
WARNING
ODH044065N
Page 197 of 496
3-109
Convenient features of your vehicle
3
7. Blind Spot Detection (BSD) sys-tem information (if equipped)
8. Warning lights (Low fuel)
9. Audio/Video information
On the "User settings Mode" of the
LCD display, you can activate or
deactivate the Turn By Turn (TBT)
navigation, smart cruise control
(scc), Lane Keeping Assist System
(LKAS), and Blind Spot Detection
(BSD) system information.
✽ ✽ NOTICE
If you select the Turn By Turn
(TBT) navigation information as
HUD contents, the Turn By Turn
(TBT) navigation information will
not be displayed on the LCD
Display.
Head Up Display Setting
On the LCD display, you can change
the head up display settings as fol-
lows.
1. Head up display ON/OFF
2. Display height
3. Rotation
4. Illumination
5. Contents setting
6. Speedometer number size
7. Speedometer number color
For more details, refer to "LCD
Display" in this chapter.
Page 199 of 496
3-111
Convenient features of your vehicle
3
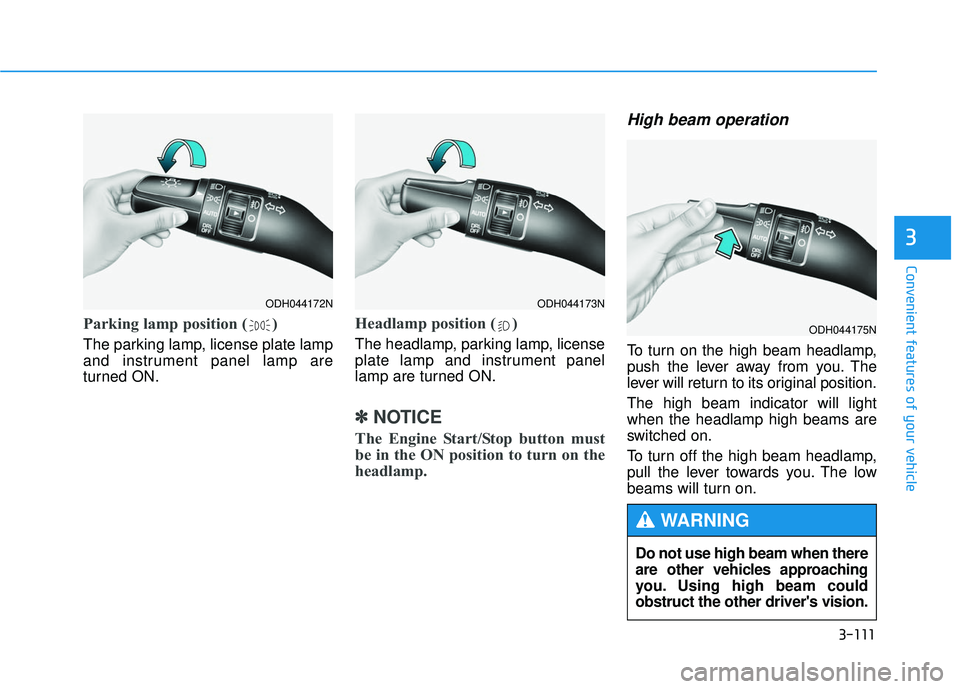
Parking lamp position ( )
The parking lamp, license plate lamp
and instrument panel lamp are
turned ON.
Headlamp position ( )
The headlamp, parking lamp, license
plate lamp and instrument panel
lamp are turned ON.
✽ ✽NOTICE
The Engine Start/Stop button must
be in the ON position to turn on the
headlamp.
High beam operation
To turn on the high beam headlamp,
push the lever away from you. The
lever will return to its original position.
The high beam indicator will light
when the headlamp high beams are
switched on.
To turn off the high beam headlamp,
pull the lever towards you. The low
beams will turn on.
ODH044172NODH044173N
ODH044175N
Do not use high beam when there
are other vehicles approaching
you. Using high beam could
obstruct the other driver's vision.
WARNING
Page 201 of 496
3-113
Convenient features of your vehicle
3
The high beam switches to low beam
in the below conditions.
- When the Smart High Beam is off.
- When the light switch is not in theAUTO position.
- When the headlamp is detected from the on-coming vehicle.
- When the tail lamp is detected from the front vehicle.
- When the surrounding is bright enough high beams are not need-
ed.
- When streetlights or other lights are detected.
- When vehicle speed is below 22 mph (35km/h). The system may not operate nor-
mally in the below conditions.
When the light from the on-
coming or front vehicle is not
detected because of lamp dam-
age, hidden from sight, etc.
When the lamp of the on-com-
ing or front vehicle is covered
with dust, snow or water.
When the light from the on-
coming or front vehicle is not
detected because of exhaust
fume, smoke, fog, snow, etc.
When the front window is cov-
ered with foreign matters such
as ice, dust, fog, or is damaged.
When there is a similar shape
lamp with the front vehicle’s
lamps.
When it is hard to see because
of fog, heavy rain or snow.
When the headlamp is not
repaired or replaced at an
authorized dealer.
(continued)
CAUTION(continued)
When headlamp aiming is not
properly adjusted.
When driving on a narrow
curved road or rough road.
When driving downhill or uphill.
When only part of the vehicle
in front is visible on a cross-
road or curved road.
When there is a traffic light,
reflecting sign, flashing sign
or mirror.
When the road conditions are
bad such as being wet or cov-
ered with snow.
When the front vehicle's head-
lamps are off but the fog lamps
on.
When a vehicle suddenly
appears from a curve.
When the vehicle is tilted from
a flat tire or being towed.
When the LKAS (Lane keep-
ing Assist System) warning
light illuminates. (if equipped)
Page 202 of 496
3-114
Convenient features of your vehicle
Turn signals and lane changesignals
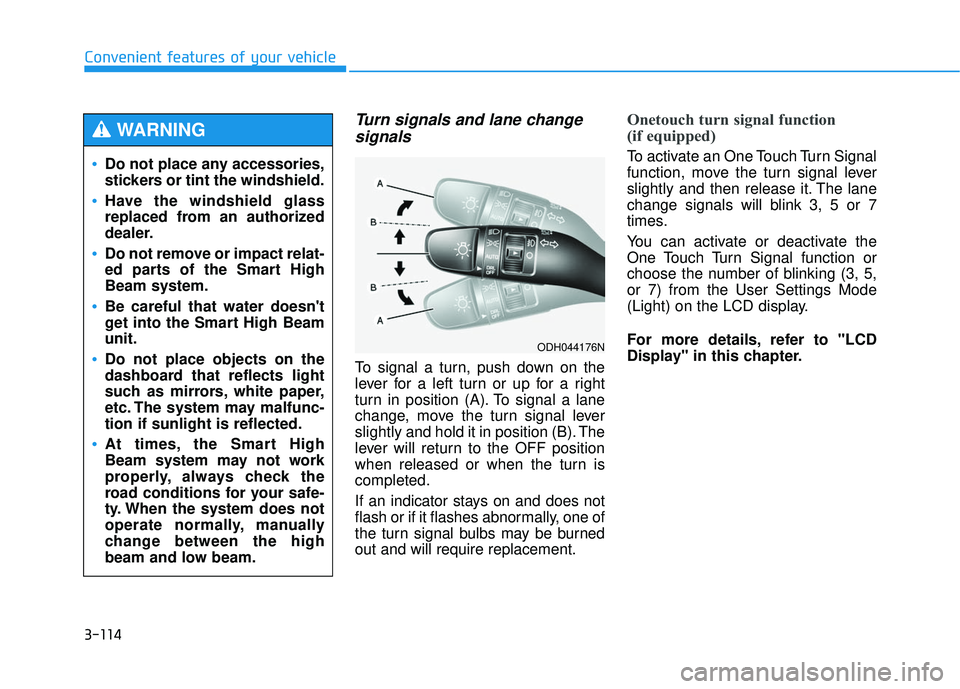
To signal a turn, push down on the
lever for a left turn or up for a right
turn in position (A). To signal a lane
change, move the turn signal lever
slightly and hold it in position (B). The
lever will return to the OFF position
when released or when the turn is
completed.
If an indicator stays on and does not
flash or if it flashes abnormally, one of
the turn signal bulbs may be burned
out and will require replacement.
Onetouch turn signal function
(if equipped)
To activate an One Touch Turn Signal
function, move the turn signal lever
slightly and then release it. The lane
change signals will blink 3, 5 or 7
times.
You can activate or deactivate the
One Touch Turn Signal function or
choose the number of blinking (3, 5,
or 7) from the User Settings Mode
(Light) on the LCD display.
For more details, refer to "LCD
Display" in this chapter.Do not place any accessories,
stickers or tint the windshield.
Have the windshield glass
replaced from an authorized
dealer.
Do not remove or impact relat-
ed parts of the Smart High
Beam system.
Be careful that water doesn't
get into the Smart High Beam
unit.
Do not place objects on the
dashboard that reflects light
such as mirrors, white paper,
etc. The system may malfunc-
tion if sunlight is reflected.
At times, the Smart High
Beam system may not work
properly, always check the
road conditions for your safe-
ty. When the system does not
operate normally, manually
change between the high
beam and low beam.
WARNING
ODH044176N
Page 204 of 496

3-116
Convenient features of your vehicle
✽
✽NOTICE
If the driver gets out of the vehicle
through other doors (except driver's
door), the battery saver function
does not operate and the headlamp
delay function does not turn off
automatically. Therefore, It causes
the battery to be discharged. In this
case, make sure to turn off the lamp
before getting out of the vehicle.
Daytime running light (DRL)
(if equipped)
The Daytime Running Lights (DRL)
can make it easier for others to see
the front of your vehicle during the
day, especially after dawn and before
sunset.
for U.S.A
The DRL will turn off when:
1. The light switch is not in the AUTO
position.
2. The parking brake is applied.
3. The engine is turned off.
4. The hazard warning flasher is on.
5. You turn the turn signal light on. - If you turn on the turn signallight, only the corresponding
daytime running lights will turn
off.
for Canada
The DRL will turn off when:
1. The light switch is in the headlamp position, including the operation
that the headlamp is turned on
automatically in the AUTO light
position.
2. The parking brake is applied.
3. The engine is turned off.
4. The hazard warning flasher is on.
5. You turn the turn signal light on. - If you turn on the turn signallight, only the corresponding
daytime running lights will turn
off.
- If you turn on turn signal light with the position light turned on,
the daytime running lights will
turn off but the position light
remains on.