GENESIS G80 2017 Owner's Manual
Manufacturer: GENESIS, Model Year: 2017, Model line: G80, Model: GENESIS G80 2017Pages: 496, PDF Size: 12.82 MB
Page 191 of 496

3-103
Convenient features of your vehicle
3
Indicator Lights
Electronic StabilityControl (ESC) IndicatorLight
This indicator light illuminates:
Once you set the Engine Start/Stop
button to the ON position.
- It illuminates for approximately 3seconds and then goes off.
When there is a malfunction with the ESC system.
In this case, have your vehicle
inspected by an authorized retailer
of Genesis Branded products.
This indicator light blinks:
While the ESC is operating.
For more details, refer to
"Electronic Stability Control (ESC)"
in chapter 5.
Electronic StabilityControl (ESC) OFFIndicator Light
This indicator light illuminates:
Once you set the Engine Start/Stop
button to the ON position.
- It illuminates for approximately 3seconds and then goes off.
When you deactivate the ESC sys- tem by pressing the ESC OFF but-
ton.
For more details, refer to
"Electronic Stability Control (ESC)"
in chapter 5.
Immobilizer Indicator Light
This indicator light illuminates for
up to 30 seconds:
When the vehicle detects the
smart key in the vehicle properly
while the Engine Start/Stop button
is ACC or ON.
- At this time, you can start theengine.
- The indicator light goes off after starting the engine.
This indicator light blinks for a few
seconds:
When the smart key is not in the vehicle.
- At this time, you can not start theengine.
Page 192 of 496
3-104
Convenient features of your vehicle
This indicator light illuminates for
2 seconds and goes off:
When the vehicle can not detectthe smart key which is in the vehi-
cle while the Engine Start/Stop
button is ON.
In this case, have your vehicle
inspected by an authorized retailer
of Genesis Branded products.
This indicator light blinks:
When the battery of the smart keyis weak.
- At this time, you can not start theengine. However, you can start the
engine if you press the Engine
Start/Stop button with the smart
key. (For more details, refer to
"Starting the Engine" in chapter
5).
When there is a malfunction with the immobilizer system.
In this case, have your vehicle
inspected by an authorized retailer
of Genesis Branded products.
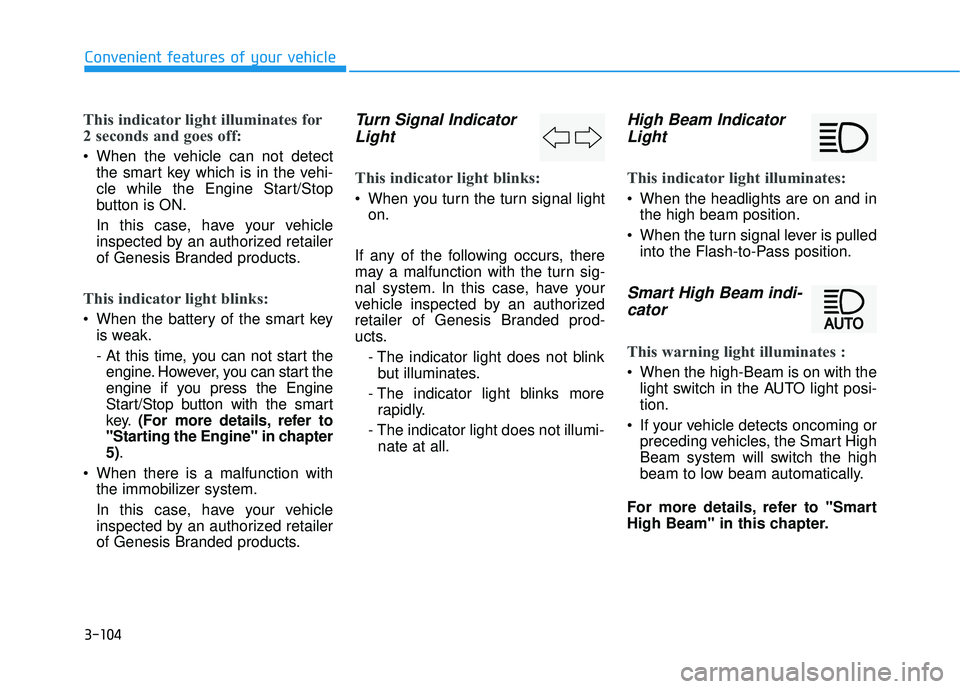
Turn Signal IndicatorLight
This indicator light blinks:
When you turn the turn signal light
on.
If any of the following occurs, there
may a malfunction with the turn sig-
nal system. In this case, have your
vehicle inspected by an authorized
retailer of Genesis Branded prod-
ucts. - The indicator light does not blinkbut illuminates.
- The indicator light blinks more rapidly.
- The indicator light does not illumi- nate at all.
High Beam IndicatorLight
This indicator light illuminates:
When the headlights are on and in
the high beam position.
When the turn signal lever is pulled into the Flash-to-Pass position.
Smart High Beam indi-cator
This warning light illuminates :
When the high-Beam is on with the
light switch in the AUTO light posi-
tion.
If your vehicle detects oncoming or preceding vehicles, the Smart High
Beam system will switch the high
beam to low beam automatically.
For more details, refer to "Smart
High Beam" in this chapter.
Page 193 of 496

3-105
Convenient features of your vehicle
3
Light ON IndicatorLight
This indicator light illuminates:
When the tail lights or headlights
are on.
Front Fog IndicatorLight
This indicator light illuminates:
When the front fog lights are on.
Cruise Indicator Light
This indicator light illuminates:
When the cruise control system is
enabled.
For more details, refer to "Cruise
Control System" in chapter 5.
Cruise SET Indicator Light
This indicator light illuminates:
When the cruise control speed is
set.
For more details, refer to "Cruise
Control System" in chapter 5.
AUTO HOLD Indicator Light (if equipped)
This indicator light illuminates:
[White] When you activate the auto
hold system by pressing the AUTO
HOLD button.
[Green] When you stop the vehicle completely by depressing the
brake pedal with the auto hold sys-
tem activated.
[Yellow] When there is a malfunc- tion with the auto hold system.
In this case, have your vehicle
inspected by an authorized retailer
of Genesis Branded products.
For more details, refer to "Auto
Hold" in chapter 5.
SET
CRUISE
AUTO
HOLD
Page 194 of 496
3-106
Convenient features of your vehicle
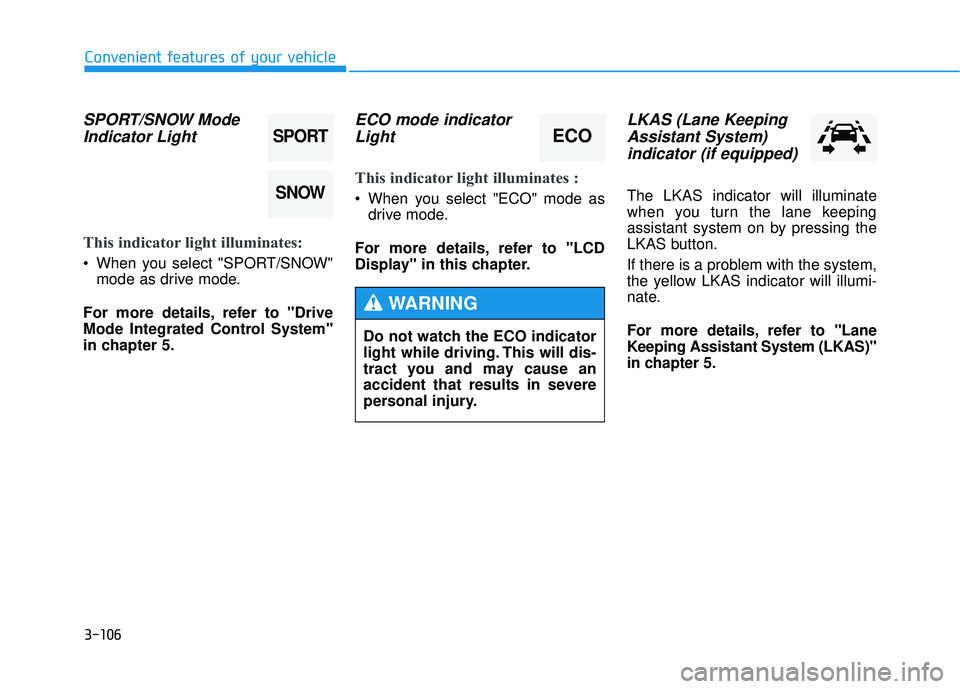
SPORT/SNOW ModeIndicator Light
This indicator light illuminates:
When you select "SPORT/SNOW"
mode as drive mode.
For more details, refer to "Drive
Mode Integrated Control System"
in chapter 5.
ECO mode indicator Light
This indicator light illuminates :
When you select "ECO" mode as
drive mode.
For more details, refer to "LCD
Display" in this chapter.
LKAS (Lane Keeping Assistant System)indicator (if equipped)
The LKAS indicator will illuminate
when you turn the lane keeping
assistant system on by pressing the
LKAS button.
If there is a problem with the system,
the yellow LKAS indicator will illumi-
nate.
For more details, refer to "Lane
Keeping Assistant System (LKAS)"
in chapter 5.
SPORT
SNOW
ECO
Do not watch the ECO indicator
light while driving. This will dis-
tract you and may cause an
accident that results in severe
personal injury.
WARNING
Page 195 of 496

3-107
Convenient features of your vehicle
3
Description
The head up display is a transparent
display which projects a shadow of
some information of the instrument
cluster and navigation on the wind-
shield glass. The head up display image on the
windshield glass may be invisible
when:
- Sitting posture is bad.
- Wearing a polarized sunglasses.
- There is an object on the cover ofthe head up display.
- Driving on a wet road.
- An inadequate lighting is turned on inside the vehicle.
- Any light comes from the outside.
- Wearing glasses.
If the head up display image is not shown well, adjust the height or
illumination of the head up display
in the LCD display.
For more details, refer to "LCD
Display" in this chapter.
When the head up display needs inspection or repair, have your
vehicle inspected by an authorized
retailer of Genesis Branded prod-
ucts.
H HE
EA
A D
D
U
U P
P
D
D I
IS
S P
P L
LA
A Y
Y
(
( H
H U
U D
D)
)
(
( I
IF
F
E
E Q
Q U
UI
IP
P P
PE
ED
D )
)
Head Up Display
Do not tint the front wind-
shield glass or add other
types of metallic coating.
Otherwise, the head up dis-
play image may be invisible.
Do not place any accessories
on the crash pad or attach any
objects on the windshield
glass.
WARNING
ODH044065N
Page 196 of 496
3-108
Convenient features of your vehicle
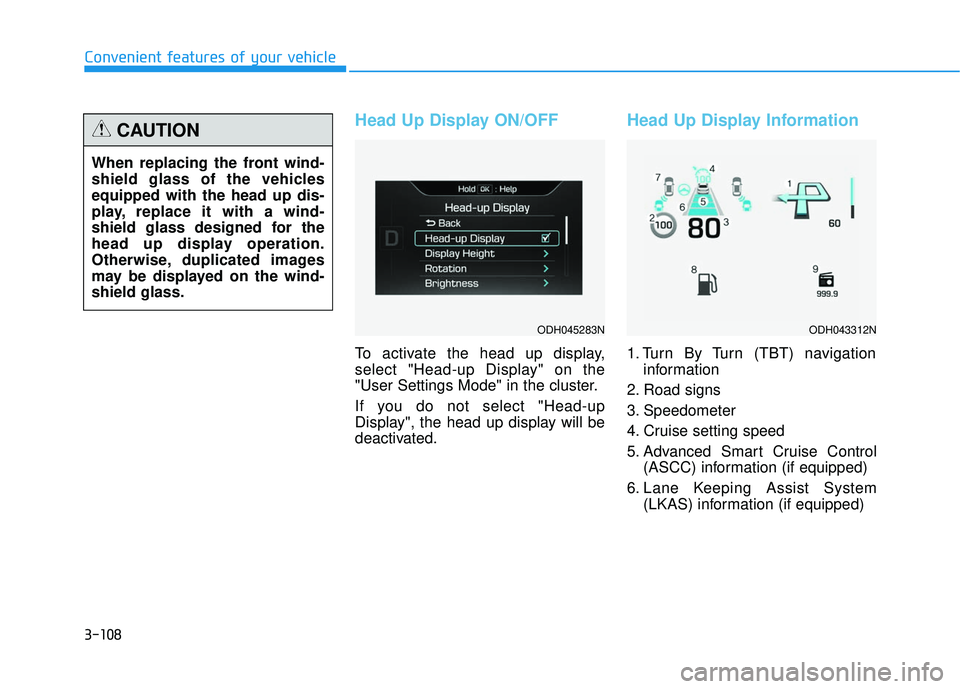
Head Up Display ON/OFF
To activate the head up display,
select "Head-up Display" on the
"User Settings Mode" in the cluster.
If you do not select "Head-up
Display", the head up display will be
deactivated.
Head Up Display Information
1. Turn By Turn (TBT) navigationinformation
2. Road signs
3. Speedometer
4. Cruise setting speed
5. Advanced Smart Cruise Control (ASCC) information (if equipped)
6. Lane Keeping Assist System (LKAS) information (if equipped)
When replacing the front wind-
shield glass of the vehicles
equipped with the head up dis-
play, replace it with a wind-
shield glass designed for the
head up display operation.
Otherwise, duplicated images
may be displayed on the wind-
shield glass.
CAUTION
ODH045283NODH043312N
Page 197 of 496
3-109
Convenient features of your vehicle
3
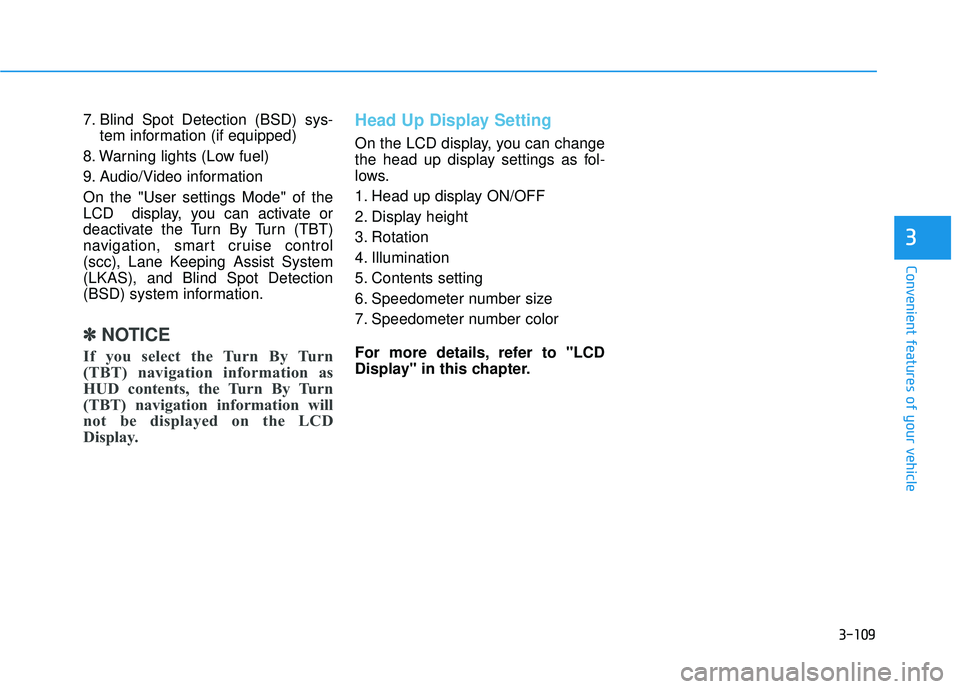
7. Blind Spot Detection (BSD) sys-tem information (if equipped)
8. Warning lights (Low fuel)
9. Audio/Video information
On the "User settings Mode" of the
LCD display, you can activate or
deactivate the Turn By Turn (TBT)
navigation, smart cruise control
(scc), Lane Keeping Assist System
(LKAS), and Blind Spot Detection
(BSD) system information.
✽ ✽ NOTICE
If you select the Turn By Turn
(TBT) navigation information as
HUD contents, the Turn By Turn
(TBT) navigation information will
not be displayed on the LCD
Display.
Head Up Display Setting
On the LCD display, you can change
the head up display settings as fol-
lows.
1. Head up display ON/OFF
2. Display height
3. Rotation
4. Illumination
5. Contents setting
6. Speedometer number size
7. Speedometer number color
For more details, refer to "LCD
Display" in this chapter.
Page 198 of 496

3-110
Convenient features of your vehicle
Exterior lights
Lighting control
To operate the lights, turn the knob at
the end of the control lever to one of
the following positions:
(1) DRL OFF position
(2) AUTO light position
(3) Parking lamp position
(4) Headlamp position
AUTO light position
The parking lamp and headlamp will
be turned ON or OFF automatically
depending on the amount of light
outside the vehicle.
Even with the AUTO light feature in
operation, it is recommended to
manually turn ON the lamps when
driving at night or in a fog, or when
you enter dark areas, such as tun-
nels and parking facilities.
L LI
IG
G H
H T
T
ODH044073N
Do not cover or spill anything
on the sensor (1) located on
the instrument panel.
Do not clean the sensor using
a window cleaner, the cleanser
may leave a light film which
could interfere with sensor
operation.
If your vehicle has window tint
or other types of metallic
coating on the front wind-
shield, the AUTO light system
may not work properly.
CAUTION
ODH044171N
Page 199 of 496
3-111
Convenient features of your vehicle
3
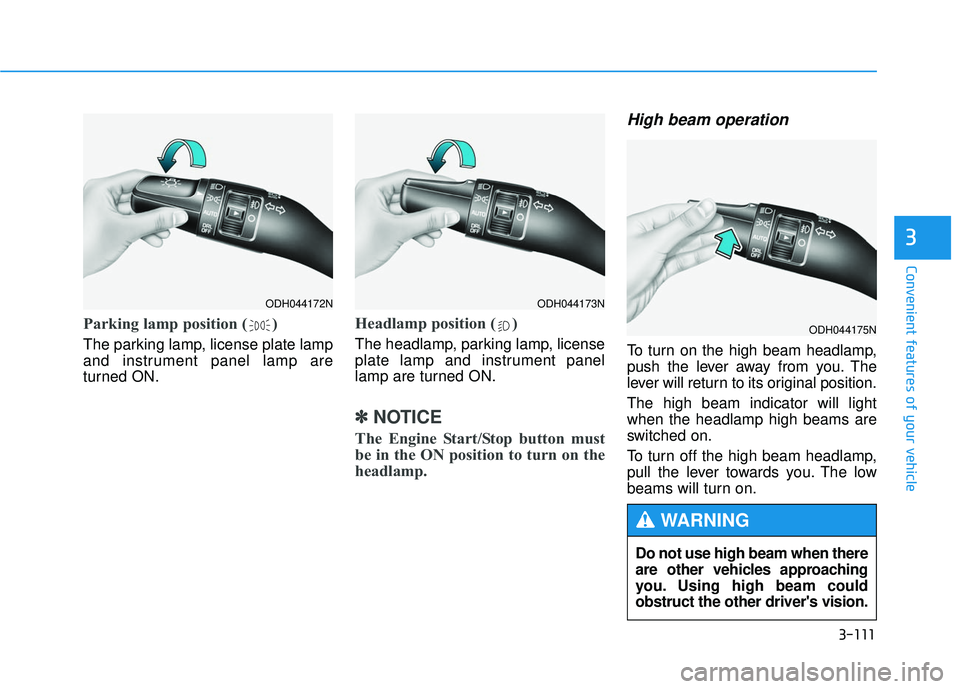
Parking lamp position ( )
The parking lamp, license plate lamp
and instrument panel lamp are
turned ON.
Headlamp position ( )
The headlamp, parking lamp, license
plate lamp and instrument panel
lamp are turned ON.
✽ ✽NOTICE
The Engine Start/Stop button must
be in the ON position to turn on the
headlamp.
High beam operation
To turn on the high beam headlamp,
push the lever away from you. The
lever will return to its original position.
The high beam indicator will light
when the headlamp high beams are
switched on.
To turn off the high beam headlamp,
pull the lever towards you. The low
beams will turn on.
ODH044172NODH044173N
ODH044175N
Do not use high beam when there
are other vehicles approaching
you. Using high beam could
obstruct the other driver's vision.
WARNING
Page 200 of 496
3-112
Convenient features of your vehicle
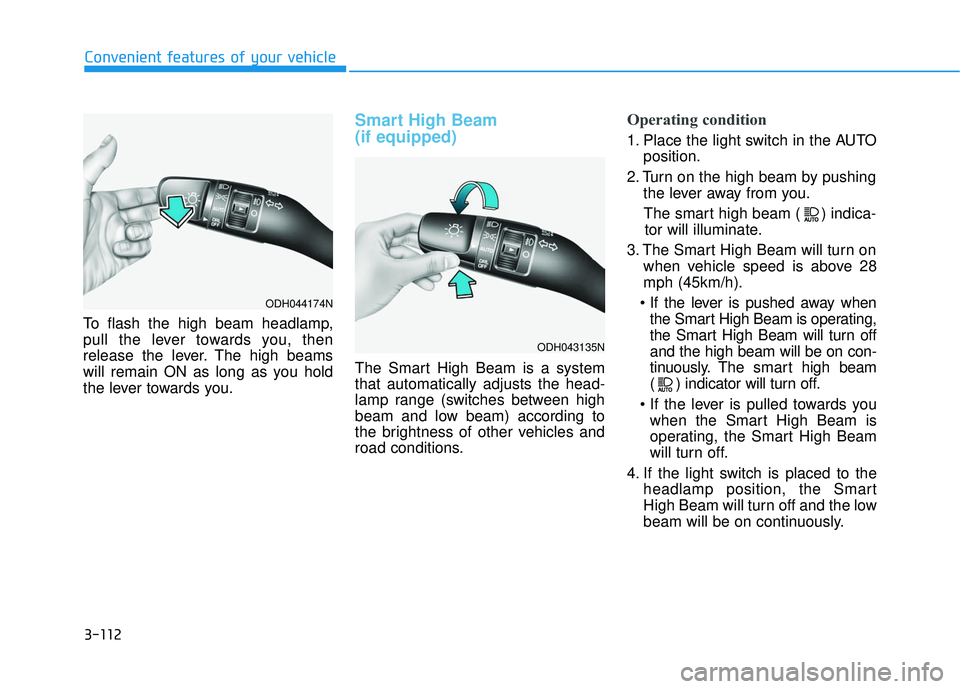
To flash the high beam headlamp,
pull the lever towards you, then
release the lever. The high beams
will remain ON as long as you hold
the lever towards you.
Smart High Beam
(if equipped)
The Smart High Beam is a system
that automatically adjusts the head-
lamp range (switches between high
beam and low beam) according to
the brightness of other vehicles and
road conditions.
Operating condition
1. Place the light switch in the AUTO position.
2. Turn on the high beam by pushing the lever away from you.
The smart high beam ( ) indica- tor will illuminate.
3. The Smart High Beam will turn on when vehicle speed is above 28
mph (45km/h).
the Smart High Beam is operating,
the Smart High Beam will turn off
and the high beam will be on con-
tinuously. The smarthigh beam
( ) indicator will turn off.
when the Smart High Beam is
operating, the Smart High Beam
will turn off.
4. If the light switch is placed to the headlamp position, the Smart
High Beam will turn off and the low
beam will be on continuously.
ODH044174N
ODH043135N