coolant level GENESIS G80 2021 Owner's Manual
[x] Cancel search | Manufacturer: GENESIS, Model Year: 2021, Model line: G80, Model: GENESIS G80 2021Pages: 604, PDF Size: 11.47 MB
Page 102 of 604
Instrument Cluster
4
Instrument Cluster ........................................................................\
....................4-4Instrument Cluster Control ........................................................................\
..................4-5
Instrument panel illumination ........................................................................\
...........4-5
Gauges and Meters ........................................................................\
..............................4-5
Speedometer ........................................................................\
.....................................4-5
Tachometer ........................................................................\
.......................................4-6
Engine coolant temperature gauge (for 12.3-inch 3D cluster) ...............................4-6
Fuel gauge
........................................................................\
..........................................4 -7
Outside temperature gauge ........................................................................\
.............4-8
Odometer ........................................................................\
..........................................4-9
Distance to empty ........................................................................\
............................4-9
Fuel economy (for 12.3-inch 3D cluster) ................................................................4-10
Transmission Shift Indicator ........................................................................\
..............4-10
Automatic transmission shift indicator ..................................................................4-10
Warning and Indicator Lights ........................................................................\
.............4-11
Seat belt warning light ........................................................................\
.....................4-11
Air bag warning light ........................................................................\
........................4-11
Parking brake & Brake fluid warning light ...............................................................4-11
Anti-lock Brake System (ABS) warning light ..........................................................4-12
Electronic Brake Force Distribution (EBD) system warning light .........................4-12
Electric Power Steering (EPS) warning light ..........................................................4-13
Charging system warning light ........................................................................\
.......4-13
Engine oil pressure warning light ........................................................................\
...4-14
Engine coolant temperature warning light (for 8-inch cluster) ............................4-14
Low fuel level warning light ........................................................................\
............4-14
Malfunction Indicator Lamp (MIL) ........................................................................\
..4-15
Master warning light ........................................................................\
........................4-15
Electronic Parking Brake (EPB) warning light ........................................................4-16
Low tire pressure warning light ........................................................................\
......4-16
Forward Safety warning light ........................................................................\
..........4-17
Lane Safety indicator light ........................................................................\
..............4-17
All Wheel Drive (AWD) warning light ......................................................................4-17
LED headlight warning light ........................................................................\
............4-18
Icy road warning light ........................................................................\
.....................4-18
Electronic Stability Control (ESC) indicator light ...................................................4-19
Electronic Stability Control (ESC) OFF indicator light ...........................................4-19
4. Instrument Cluster
Page 115 of 604
Instrument Cluster
4-14
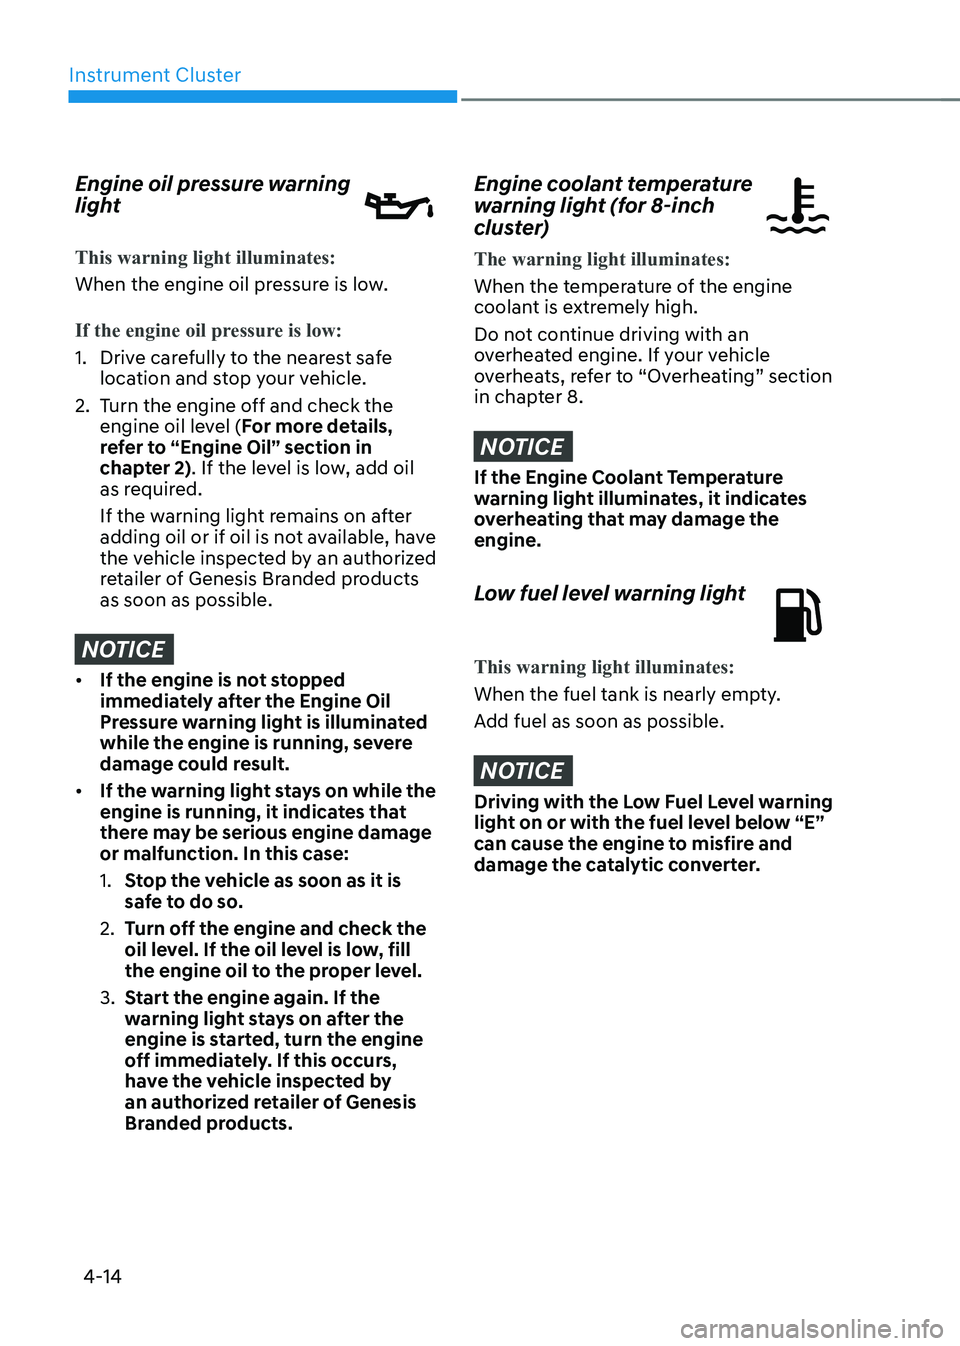
Engine oil pressure warning
light
This warning light illuminates:
When the engine oil pressure is low.
If the engine oil pressure is low:
1. Drive carefully to the nearest safe
location and stop your vehicle.
2. Turn the engine off and check the
engine oil level (For more details,
refer to “Engine Oil” section in
chapter 2). If the level is low, add oil
as required.
If the warning light remains on after
adding oil or if oil is not available, have
the vehicle inspected by an authorized
retailer of Genesis Branded products
as soon as possible.
NOTICE
• If the engine is not stopped
immediately after the Engine Oil
Pressure warning light is illuminated
while the engine is running, severe
damage could result.
• If the warning light stays on while the
engine is running, it indicates that
there may be serious engine damage
or malfunction. In this case:
1. Stop the vehicle as soon as it is
safe to do so.
2. Turn off the engine and check the
oil level. If the oil level is low, fill
the engine oil to the proper level.
3. Start the engine again. If the
warning light stays on after the
engine is started, turn the engine
off immediately. If this occurs,
have the vehicle inspected by
an authorized retailer of Genesis
Branded products.
Engine coolant temperature
warning light (for 8-inch
cluster)
The warning light illuminates:
When the temperature of the engine
coolant is extremely high.
Do not continue driving with an
overheated engine. If your vehicle
overheats, refer to “Overheating” section
in chapter 8.
NOTICE
If the Engine Coolant Temperature
warning light illuminates, it indicates
overheating that may damage the
engine.
Low fuel level warning light
This warning light illuminates:
When the fuel tank is nearly empty.
Add fuel as soon as possible.
NOTICE
Driving with the Low Fuel Level warning
light on or with the fuel level below “E”
can cause the engine to misfire and
damage the catalytic converter.
Page 318 of 604
06
6-53
Driving in the Rain
Rain and wet roads can make driving
dangerous. Here are a few things to
consider when driving in the rain or on
slick pavement:
• Slow down and allow extra following
distance. A heavy rainfall makes
it harder to see and increases the
distance needed to stop your vehicle.
• Turn OFF your Cruise Control. (if
equipped)
• Replace your windshield wiper blades
when they show signs of streaking or
missing areas on the windshield.
• Be sure your tires have enough tread.
If your tires do not have enough depth
of tire tread, making a quick stop on
wet pavement can cause a skid and
possibly lead to an accident. See “Tire
Tread” section in chapter 9.
• Turn on your headlamps to make it
easier for others to see you.
• Driving too fast through large puddles
can affect your brakes. If you must go
through puddles, try to drive through
them slowly.
• If you believe your brakes may be wet,
apply them lightly while driving until
normal braking operation returns.
Hydroplaning
If the road is wet enough and you are
going fast enough, your vehicle may
have little or no contact with the road
surface and actually ride on the water.
The best advice is SLOW DOWN when
the road is wet.
The risk of hydroplaning increases as
the depth of tire tread decreases, refer
to “Tire Tread” section in chapter 9.
Driving in Flooded Areas
Avoid driving through flooded areas
unless you are sure the water is no
higher than the bottom of the wheel hub.
Drive through any water slowly. Allow
adequate stopping distance because
brake performance may be reduced.
After driving through water, dry the
brakes by gently applying them several
times while the vehicle is moving slowly.
Highway Driving
Tires
Adjust the tire inflation, as specified.
Under-inflation may overheat or damage
the tires.
Do not install worn-out or damaged tires,
which may reduce traction or fail the
braking operation.
Information
Never over-inflate your tires above the
maximum inflation pressure, as specified
on your tires.
Fuel, engine coolant and engine oil
Driving at higher speeds on the highway
consumes more fuel and is less efficient
than driving at a slower, more moderate
speed. Maintain a moderate speed in
order to conserve fuel when driving on
the highway.
Be sure to check both the engine coolant
level and the engine oil before driving.
Drive belt
A loose or damaged drive belt may
overheat the engine.
Page 321 of 604
Driving Your Vehicle
6-56
Chain Installation
When installing AutoSock® (fabric
snow chain), follow the manufacturer's
instructions and mount them as tightly
as possible. Drive slowly (less than 20
mph (30 km/h)) with AutoSock® installed.
If you hear the fabric snow chains
contacting the body or chassis, stop and
tighten them. If they still make contact,
slow down until the noise stops. Remove
the AutoSock® as soon as you begin
driving on cleared roads.
When mounting AutoSock®, park the
vehicle on level ground away from traffic.
Turn on the vehicle Hazard Warning
Flasher and place a triangular emergency
warning device behind the vehicle (if
available).
Always place the vehicle in P (Park),
apply the parking brake and turn off the
engine before installing tire chains.
NOTICE
When using AutoSock® (fabric snow
chain):
• Wrong size fabric snow chains or
improperly installed fabric snow
chains can damage your vehicle's
brake lines, suspension, body and
wheels.
• If you hear noise caused by fabric
snow chains contacting the body,
retighten the fabric snow chains to
prevent contact with the vehicle
body.
• To prevent body damage, retighten
the fabric snow chains after driving
0.3~0.6 miles (0.5~1.0 km).
Winter Precautions
Use high quality ethylene glycol coolant
Your vehicle is delivered with high
quality ethylene glycol coolant in the
cooling system. It is the only type of
coolant that should be used because it
helps prevent corrosion in the cooling
system, lubricates the water pump and
prevents freezing. Be sure to replace or
replenish your coolant in accordance
with the maintenance schedule in
chapter 9. Before winter, have your
coolant tested to assure that its freezing
point is sufficient for the temperatures
anticipated during the winter.
Check battery and cables
Winter temperatures affect battery
performance. Inspect the battery and
cables, as specified in chapter 9. The
battery charging level can be checked by
an authorized retailer of Genesis Branded
products or in a service station.
Change to “winter weight” oil if
necessary
In some regions during winter, it is
recommended to use the “winter
weight” oil with lower viscosity. In
addition, replace the engine oil and filter
if it is close to the next maintenance
interval. Fresh engine oil ensures
optimum engine operation during the
winter months. For further information,
refer to chapter 2. When you are not sure
about a type of winter weight oil, consult
an authorized retailer of Genesis Branded
products.
Page 499 of 604

08
8 -7
If your temperature gauge indicates
overheating, you experience a loss of
power, or hear loud pinging or knocking,
the engine may be overheating. If this
happens, you should:
1. Pull off the road and stop as soon as it
is safe to do so.
2. Shift the gear to P (Park) and set the
parking brake. If the air conditioning is
ON, turn it OFF.
3. If engine coolant is running out under
the vehicle or steam is coming out
from the hood, stop the engine. Do
not open the hood until the coolant
has stopped running or the steaming
has stopped. If there is no visible
loss of engine coolant and no steam,
leave the engine running and check
to be sure the engine cooling fan is
operating. If the fan is not running,
turn the engine off.
WARNING
While the engine is running, keep hands, clothing and tools
away from the moving parts
such as the cooling fan and
drive belt to prevent serious
injury.
4. Check for coolant leaking from the
radiator, hoses or under the vehicle. (If
the air conditioning had been in use, it
is normal for cold water to be draining
from it when you stop.)
5. If engine coolant is leaking out, stop
the engine immediately and call the
nearest authorized retailer of Genesis
Branded products for assistance.
WARNING
Never remove the radiator cap, coolant cap or the drain plug
while the engine and radiator
are hot.Hot coolant and steam may blow out
under pressure, causing serious injury.
Turn the engine off and wait until the
engine cools down. Use extreme care
when removing the radiant cap or
coolant cap. Wrap a thick towel around
it, and turn it counterclockwise slowly
to the first stop. Step back while the
pressure is released from the cooling
system. When you are sure all the
pressure has been released, press down
on the cap, using a thick towel, and
continue turning counterclockwise to
remove it.
6. If you cannot find the cause of the
overheating, wait until the engine
temperature has returned to normal.
Then, if coolant has been lost,
carefully add coolant to the reservoir
to bring the fluid level in the reservoir
up to the halfway mark.
7. Proceed with caution, keeping alert
for further signs of overheating. If
overheating happens again, call an
authorized retailer of Genesis Branded
products for assistance.
CAUTION
• Serious loss of coolant indicates a
leak in the cooling system and should
be checked as soon as possible by
an authorized retailer of Genesis
Branded products.
• When the engine overheats from
low engine coolant, suddenly
adding engine coolant may cause
cracks in the engine. To prevent
damage, add engine coolant slowly
in small quantities. It may require
several refilling cycles to properly
fill the engine cooling system. If
necessary, an authorized retailer of
Genesis Branded products should be
consulted to perform this task.
IF THE ENGINE OVERHEATS
Page 516 of 604
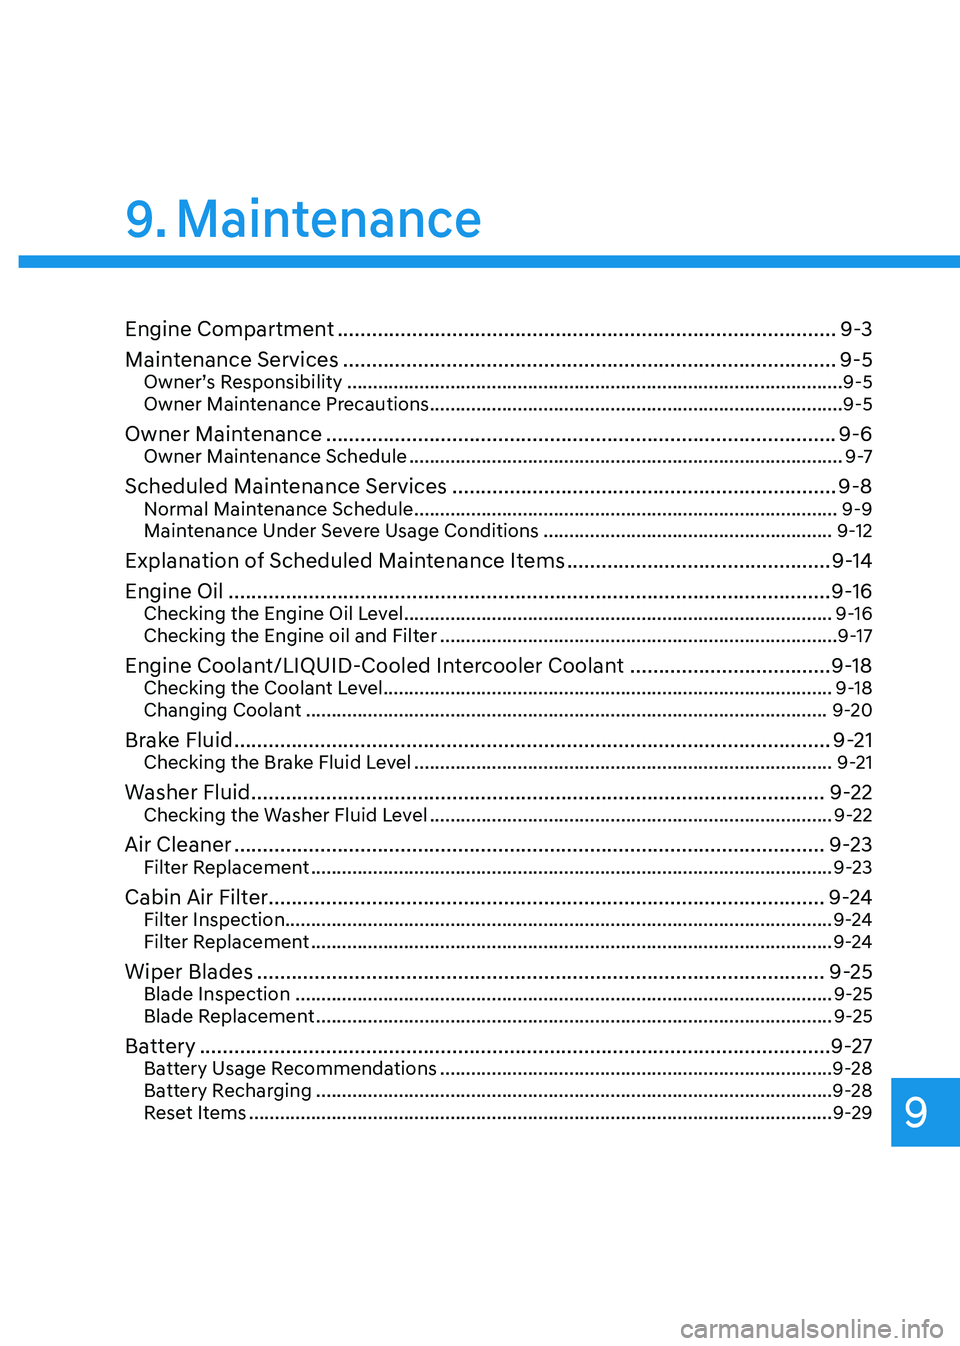
Maintenance
9
9. Maintenance
Engine Compartment ........................................................................\
...............9-3
Maintenance Services
........................................................................\
..............9-5Owner’s Responsibility ........................................................................\
........................9-5
Owner Maintenance Precautions ........................................................................\
........9-5
Owner Maintenance ........................................................................\
.................9-6Owner Maintenance Schedule ........................................................................\
............9 -7
Scheduled Maintenance Services ...................................................................9-8Normal Maintenance Schedule ........................................................................\
..........9-9
Maintenance Under Severe Usage Conditions ........................................................9-12
Explanation of Scheduled Maintenance Items ..............................................9-14
Engine Oil
........................................................................\
.................................9-16Checking the Engine Oil Level ........................................................................\
...........9-16
Checking the Engine oil and Filter ........................................................................\
.....9-17
Engine Coolant/LIQUID-Cooled Intercooler Coolant ...................................9-18Checking the Coolant Level ........................................................................\
............... 9-18
Changing Coolant ........................................................................\
.............................9-20
Brake Fluid ........................................................................\
................................9-21Checking the Brake Fluid Level ........................................................................\
.........9-21
Washer Fluid ........................................................................\
............................9-22Checking the Washer Fluid Level ........................................................................\
......9-22
Air Cleaner ........................................................................\
...............................9-23Filter Replacement ........................................................................\
.............................9-23
Cabin Air Filter ........................................................................\
.........................9-24Filter Inspection ........................................................................\
.................................. 9-24
Filter Replacement ........................................................................\
.............................9-24
Wiper Blades ........................................................................\
...........................9-25Blade Inspection ........................................................................\
................................9-25
Blade Replacement ........................................................................\
............................9-25
Battery ........................................................................\
......................................9-27
Battery Usage Recommendations ........................................................................\
....9-28
Battery Recharging ........................................................................\
............................9-28
Reset Items ........................................................................\
.........................................9-29
Page 522 of 604
09
9 -7
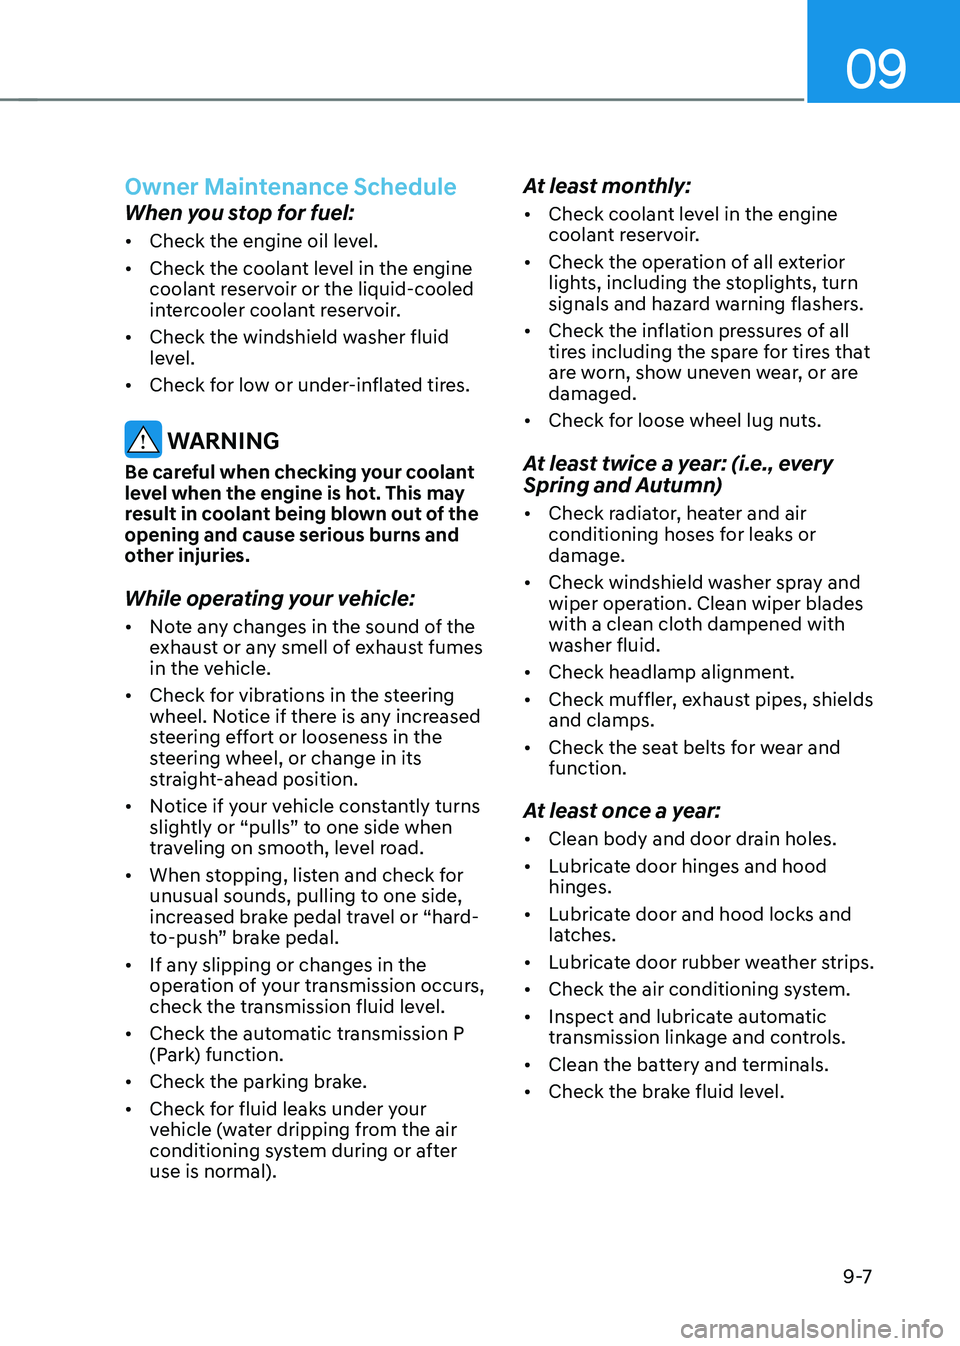
Owner Maintenance Schedule
When you stop for fuel:
• Check the engine oil level.
• Check the coolant level in the engine
coolant reservoir or the liquid-cooled
intercooler coolant reservoir.
• Check the windshield washer fluid
level.
• Check for low or under-inflated tires.
WARNING
Be careful when checking your coolant
level when the engine is hot. This may
result in coolant being blown out of the
opening and cause serious burns and
other injuries.
While operating your vehicle:
• Note any changes in the sound of the
exhaust or any smell of exhaust fumes
in the vehicle.
• Check for vibrations in the steering
wheel. Notice if there is any increased
steering effort or looseness in the
steering wheel, or change in its
straight-ahead position.
• Notice if your vehicle constantly turns
slightly or “pulls” to one side when
traveling on smooth, level road.
• When stopping, listen and check for
unusual sounds, pulling to one side,
increased brake pedal travel or “hard-
to-push” brake pedal.
• If any slipping or changes in the
operation of your transmission occurs,
check the transmission fluid level.
• Check the automatic transmission P
(Park) function.
• Check the parking brake.
• Check for fluid leaks under your
vehicle (water dripping from the air
conditioning system during or after
use is normal).
At least monthly:
• Check coolant level in the engine
coolant reservoir.
• Check the operation of all exterior
lights, including the stoplights, turn
signals and hazard warning flashers.
• Check the inflation pressures of all
tires including the spare for tires that
are worn, show uneven wear, or are
damaged.
• Check for loose wheel lug nuts.
At least twice a year: (i.e., every
Spring and Autumn)
• Check radiator, heater and air
conditioning hoses for leaks or
damage.
• Check windshield washer spray and
wiper operation. Clean wiper blades
with a clean cloth dampened with
washer fluid.
• Check headlamp alignment.
• Check muffler, exhaust pipes, shields
and clamps.
• Check the seat belts for wear and
function.
At least once a year:
• Clean body and door drain holes.
• Lubricate door hinges and hood
hinges.
• Lubricate door and hood locks and
latches.
• Lubricate door rubber weather strips.
• Check the air conditioning system.
• Inspect and lubricate automatic
transmission linkage and controls.
• Clean the battery and terminals.
• Check the brake fluid level.
Page 530 of 604
09
9-15
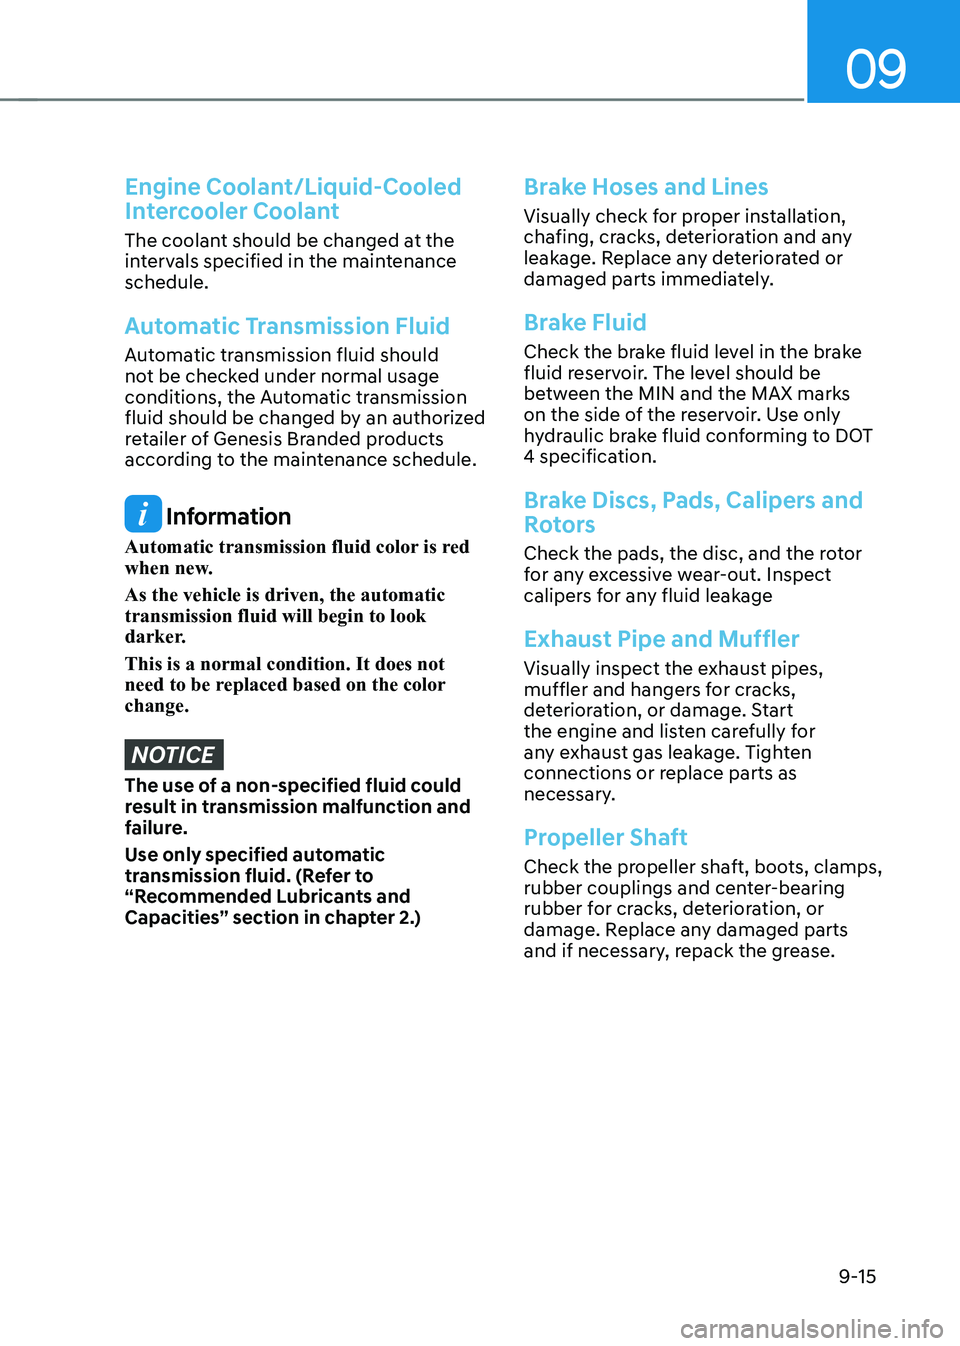
Engine Coolant/Liquid-Cooled
Intercooler Coolant
The coolant should be changed at the
intervals specified in the maintenance
schedule.
Automatic Transmission Fluid
Automatic transmission fluid should
not be checked under normal usage
conditions, the Automatic transmission
fluid should be changed by an authorized
retailer of Genesis Branded products
according to the maintenance schedule.
Information
Automatic transmission fluid color is red
when new.
As the vehicle is driven, the automatic
transmission fluid will begin to look
darker.
This is a normal condition. It does not
need to be replaced based on the color
change.
NOTICE
The use of a non-specified fluid could
result in transmission malfunction and
failure.
Use only specified automatic
transmission fluid. (Refer to
“Recommended Lubricants and
Capacities” section in chapter 2.)
Brake Hoses and Lines
Visually check for proper installation,
chafing, cracks, deterioration and any
leakage. Replace any deteriorated or
damaged parts immediately.
Brake Fluid
Check the brake fluid level in the brake
fluid reservoir. The level should be
between the MIN and the MAX marks
on the side of the reservoir. Use only
hydraulic brake fluid conforming to DOT
4 specification.
Brake Discs, Pads, Calipers and
Rotors
Check the pads, the disc, and the rotor
for any excessive wear-out. Inspect
calipers for any fluid leakage
Exhaust Pipe and Muffler
Visually inspect the exhaust pipes,
muffler and hangers for cracks,
deterioration, or damage. Start
the engine and listen carefully for
any exhaust gas leakage. Tighten
connections or replace parts as
necessary.
Propeller Shaft
Check the propeller shaft, boots, clamps,
rubber couplings and center-bearing
rubber for cracks, deterioration, or
damage. Replace any damaged parts
and if necessary, repack the grease.
Page 533 of 604

Maintenance
9-18
ENGINE COOLANT/LIQUID-COOLED INTERCOOLER COOLANT
The high-pressure cooling system has a
reservoir filled with year-round antifreeze
coolant. The reservoir is filled at the
factory.
Check the antifreeze protection and
coolant level at least once a year, at
the beginning of the winter season and
before traveling to a colder climate.
Checking the Coolant Level
„„Engine coolant„Ǵ2.5L T-GDI
ORG3090010
„Ǵ3.5L T-GDI
ORG3090054
„„Liquid-cooled intercooler coolant„Ǵ2.5L T-GDI
ORG3090011
„Ǵ3.5L T-GDI
ORG3090055
Check the condition and connections
of all cooling system hoses and
heater hoses. Replace any swollen or
deteriorated hoses.
The coolant level should be filled
between the MAX and the MIN marks on
the side of the coolant reservoir when
the engine is cool.
If the coolant level is low, add enough
distilled (deionized) water to bring the
level to the MAX mark, but do not overfill.
If frequent additions are required, see an
authorized retailer of Genesis Branded
products for a cooling system inspection.
Page 534 of 604

09
9-19
WARNING
Never remove the engine coolant radiator cap, coolant
cap or the drain plug while
the engine and radiator are
hot. Hot coolant and steam
may blow out under pressure,
causing serious injury.
Turn the vehicle off and wait until
the engine cools down. Use extreme
care when removing the radiator cap,
coolant cap. Wrap a thick towel around
it, and turn it counterclockwise slowly
to the first stop. Step back while the
pressure is released from the cooling
system. When you are sure all the
pressure has been released, press down
on the cap, using a thick towel, and
continue turning counterclockwise to
remove it.
Information
The coolant level is influenced by the
engine temperature. Before checking or
refilling the coolant, turn the engine off.
WARNING
The electric motor for the cooling fan may continue to
operate or start up when the
engine is not running and can
cause serious injury. Keep
hands, clothing and tools away
from the rotating fan blades of
the cooling fan.
Always turn off the vehicle unless the
vehicle has to be inspected with the
engine on. Be cautious as the cooling
fan may operate if the negative (-)
battery terminal is not disconnected.
WARNING
Make sure the coolant cap is properly
closed after refilling coolant. Otherwise
the engine could be overheated while
driving.
„„Engine compartment front view
OOSH089010L
1. Check if the coolant cap label is
straight in front.
OJX1099046
2. Make sure that the tiny protrusions
inside the coolant cap is securely
interlocked.