fuel pressure GENESIS G80 2021 Owner's Manual
[x] Cancel search | Manufacturer: GENESIS, Model Year: 2021, Model line: G80, Model: GENESIS G80 2021Pages: 604, PDF Size: 11.47 MB
Page 102 of 604
Instrument Cluster
4
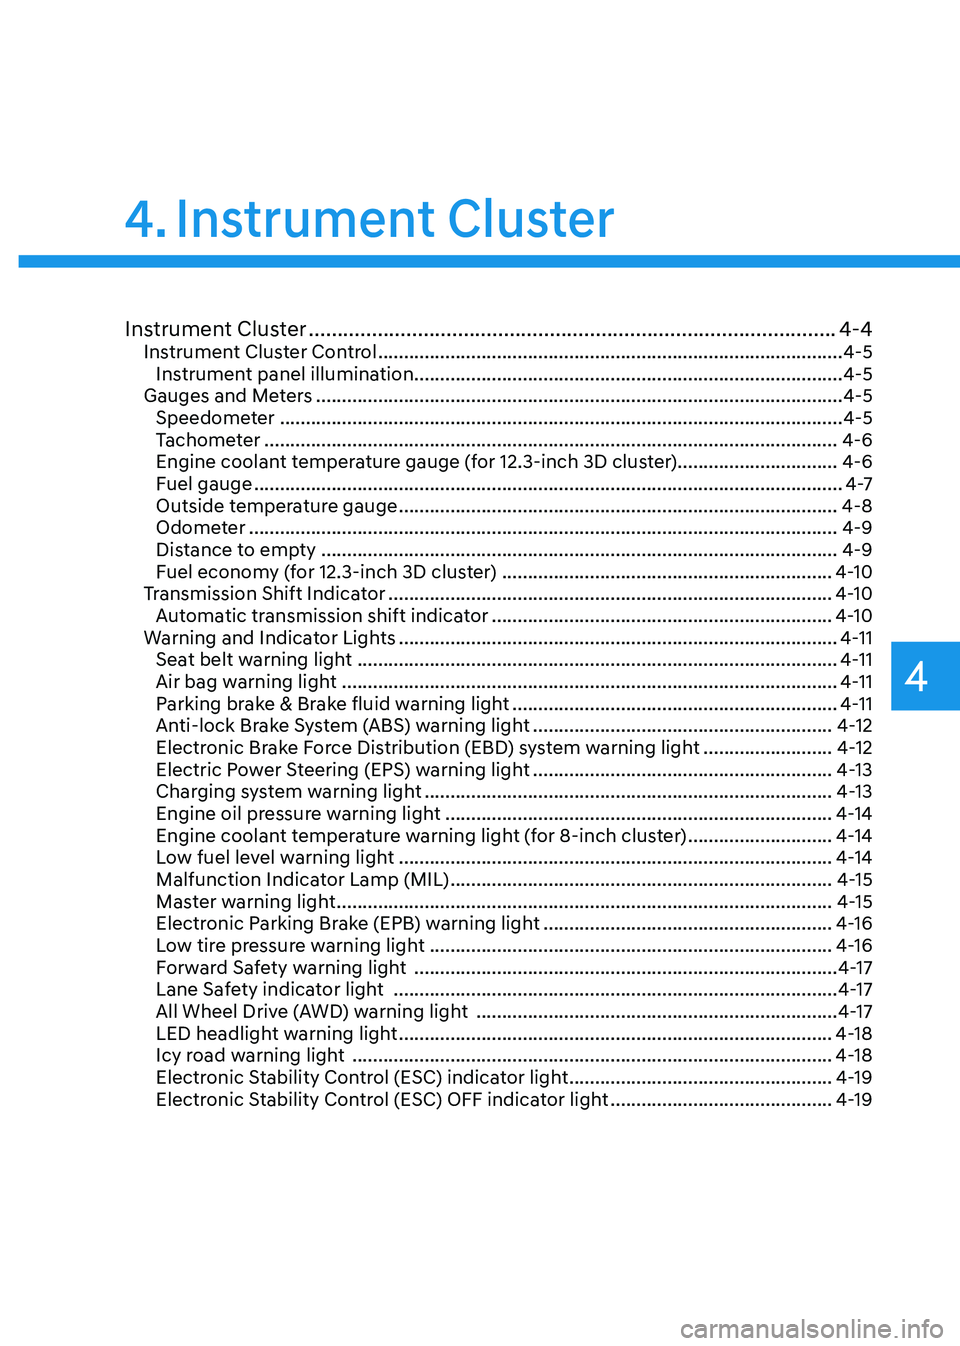
Instrument Cluster ........................................................................\
....................4-4Instrument Cluster Control ........................................................................\
..................4-5
Instrument panel illumination ........................................................................\
...........4-5
Gauges and Meters ........................................................................\
..............................4-5
Speedometer ........................................................................\
.....................................4-5
Tachometer ........................................................................\
.......................................4-6
Engine coolant temperature gauge (for 12.3-inch 3D cluster) ...............................4-6
Fuel gauge
........................................................................\
..........................................4 -7
Outside temperature gauge ........................................................................\
.............4-8
Odometer ........................................................................\
..........................................4-9
Distance to empty ........................................................................\
............................4-9
Fuel economy (for 12.3-inch 3D cluster) ................................................................4-10
Transmission Shift Indicator ........................................................................\
..............4-10
Automatic transmission shift indicator ..................................................................4-10
Warning and Indicator Lights ........................................................................\
.............4-11
Seat belt warning light ........................................................................\
.....................4-11
Air bag warning light ........................................................................\
........................4-11
Parking brake & Brake fluid warning light ...............................................................4-11
Anti-lock Brake System (ABS) warning light ..........................................................4-12
Electronic Brake Force Distribution (EBD) system warning light .........................4-12
Electric Power Steering (EPS) warning light ..........................................................4-13
Charging system warning light ........................................................................\
.......4-13
Engine oil pressure warning light ........................................................................\
...4-14
Engine coolant temperature warning light (for 8-inch cluster) ............................4-14
Low fuel level warning light ........................................................................\
............4-14
Malfunction Indicator Lamp (MIL) ........................................................................\
..4-15
Master warning light ........................................................................\
........................4-15
Electronic Parking Brake (EPB) warning light ........................................................4-16
Low tire pressure warning light ........................................................................\
......4-16
Forward Safety warning light ........................................................................\
..........4-17
Lane Safety indicator light ........................................................................\
..............4-17
All Wheel Drive (AWD) warning light ......................................................................4-17
LED headlight warning light ........................................................................\
............4-18
Icy road warning light ........................................................................\
.....................4-18
Electronic Stability Control (ESC) indicator light ...................................................4-19
Electronic Stability Control (ESC) OFF indicator light ...........................................4-19
4. Instrument Cluster
Page 103 of 604
Immobilizer indicator light ........................................................................\
..............4-19
AUTO STOP indicator light ........................................................................\
..............4-20
Turn signal indicator light ........................................................................\
................4-20
High beam indicator light ........................................................................\
...............4-20
Low beam indicator light ........................................................................\
.................4-21
Light ON indicator light ........................................................................\
....................4-21
High Beam Assist indicator light ........................................................................\
......4-21
AUTO HOLD indicator light ........................................................................\
..............4-21
LCD Display Messages ........................................................................\
.......................4-22
Vehicle is on ........................................................................\
.....................................4-22
Shift to P ........................................................................\
...........................................4-22
Vehicle is in N. Press START button and shift to P .................................................4-22
Low key battery ........................................................................\
...............................4-22
Press brake pedal to start engine ........................................................................\
..4-22
Key not in vehicle ........................................................................\
............................4-22
Key not detected ........................................................................\
..............................4-22
Press START button again ........................................................................\
..............4-22
Place the smart key in the emergency start slot and press the start button .......4-23
Check BRAKE SWITCH fuse ........................................................................\
...........4-23
Shift to P or N to start engine ........................................................................\
..........4-23
Battery discharging due to external electrical devices .........................................4-23
Door, Hood, trunk open indicator
........................................................................\
...4-23
Sunroof open indicator ........................................................................\
...................4-24
Low tire pressure ........................................................................\
.............................4-24
Lights ........................................................................\
................................................4-24
Wiper ........................................................................\
................................................4-25
Low washer fluid ........................................................................\
..............................4-25
Low fuel ........................................................................\
............................................4-25
Low engine oil ........................................................................\
.................................4-25
Engine overheated ........................................................................\
...........................4-26
Check haptic steering wheel system ......................................................................4-26
Check headlight ........................................................................\
..............................4-26
Check turn signal ........................................................................\
............................4-26
Check headlamp LED ........................................................................\
.....................4-26
4
Page 108 of 604
04
4 -7
WARNING
Never remove the engine coolant
reservoir cap when the engine is hot.
The engine coolant is under pressure
and could cause severe burn. Wait until
the engine is cool before adding coolant
to the reservoir.
Information
OJX1049061L
For 8-inch instrument cluster, you can
check the engine coolant temperature in
the Utility view on the cluster.
Refer to “View Modes” section in
chapter 4.
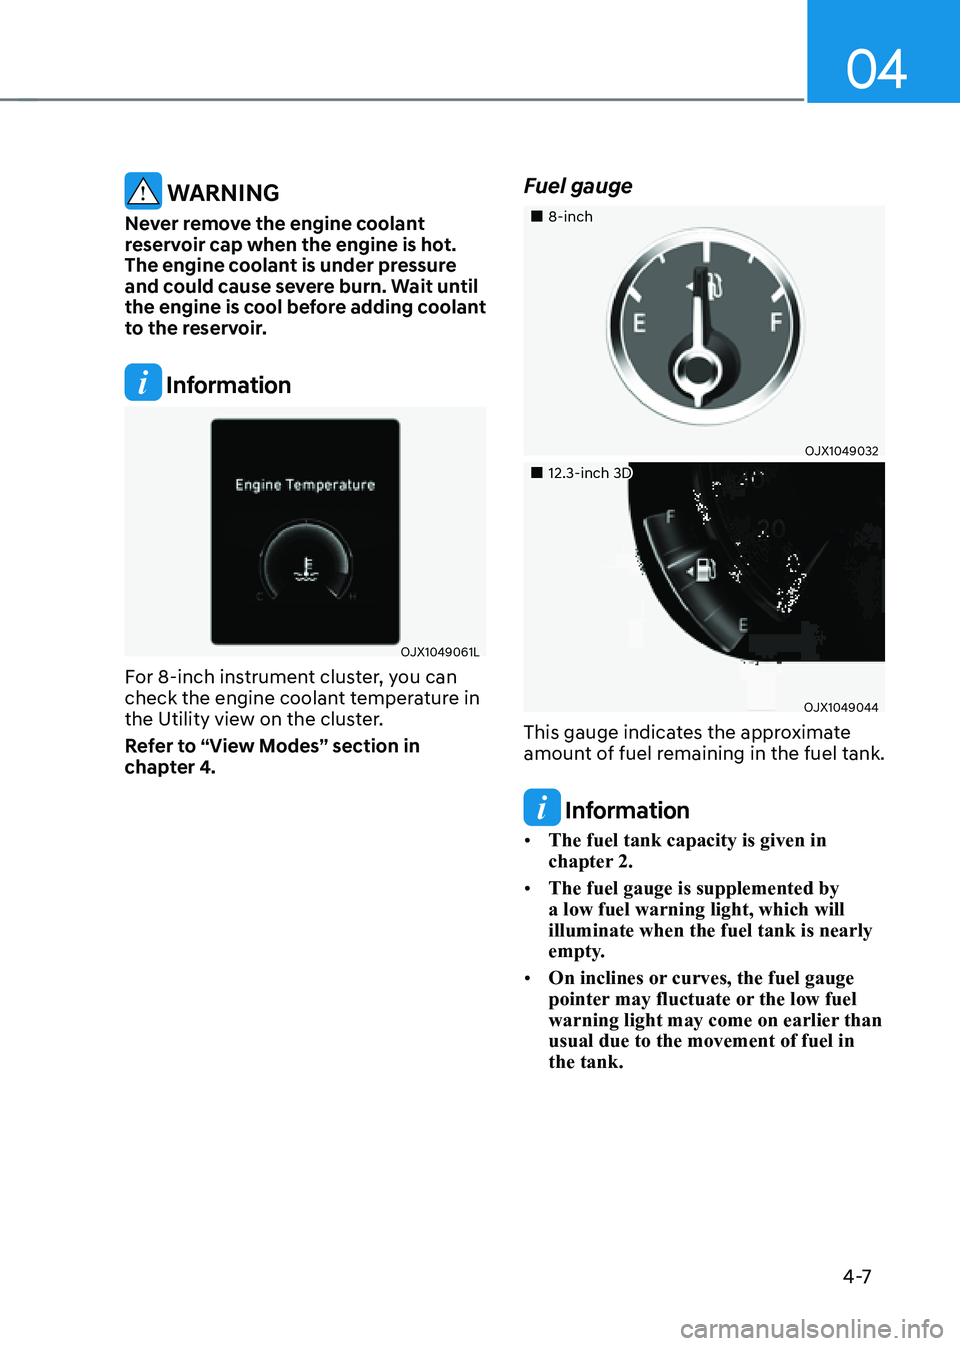
Fuel gauge
„„8-inch
OJX1049032
„„12.3-inch 3D
OJX1049044
This gauge indicates the approximate
amount of fuel remaining in the fuel tank.
Information
• The fuel tank capacity is given in
chapter 2.
• The fuel gauge is supplemented by
a low fuel warning light, which will
illuminate when the fuel tank is nearly
empty.
• On inclines or curves, the fuel gauge
pointer may fluctuate or the low fuel
warning light may come on earlier than
usual due to the movement of fuel in
the tank.
Page 115 of 604
Instrument Cluster
4-14
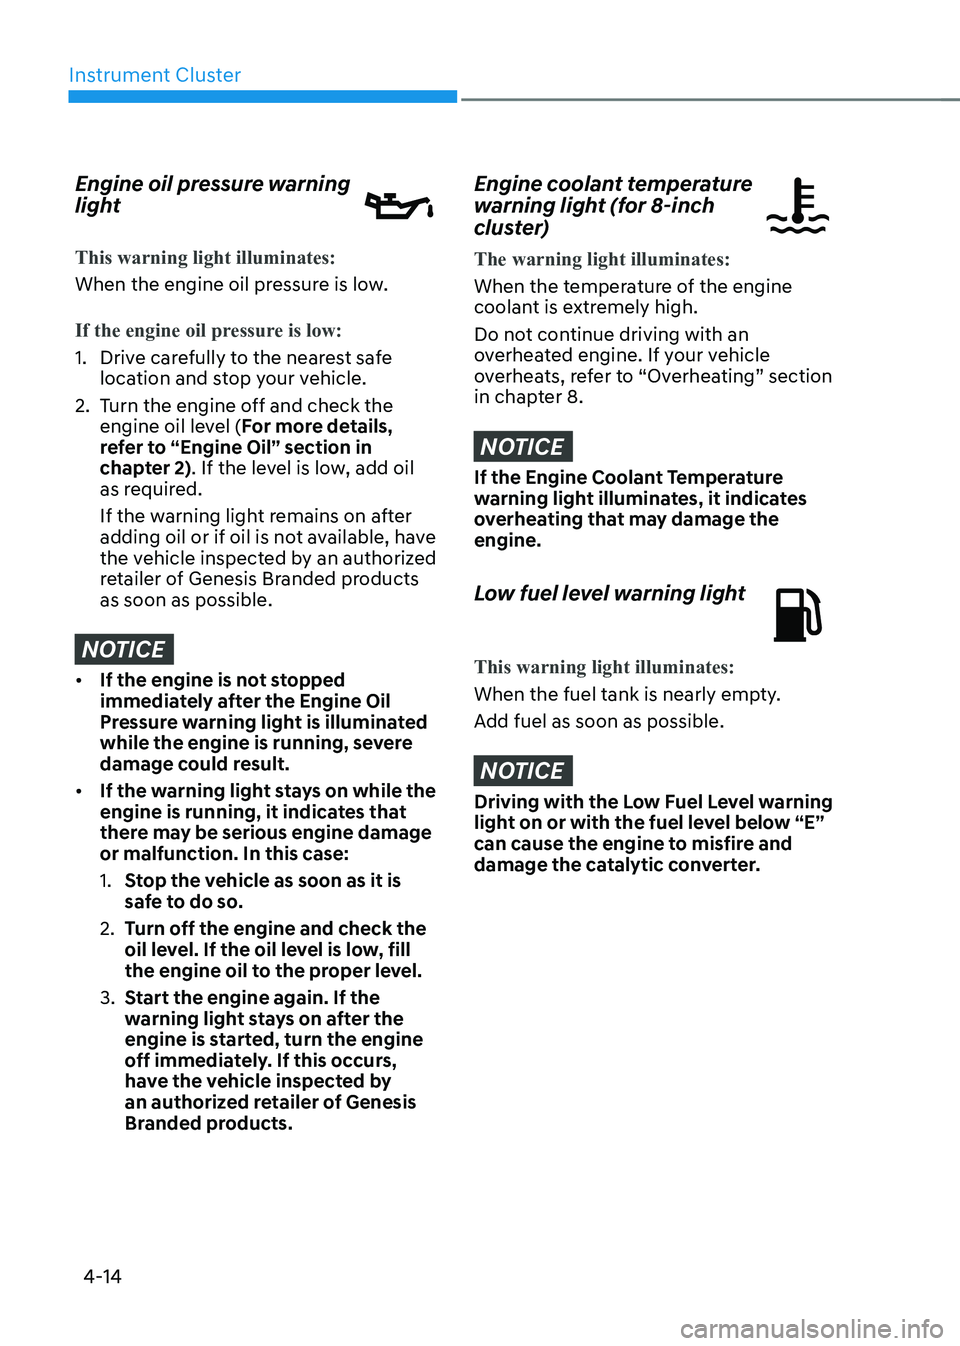
Engine oil pressure warning
light
This warning light illuminates:
When the engine oil pressure is low.
If the engine oil pressure is low:
1. Drive carefully to the nearest safe
location and stop your vehicle.
2. Turn the engine off and check the
engine oil level (For more details,
refer to “Engine Oil” section in
chapter 2). If the level is low, add oil
as required.
If the warning light remains on after
adding oil or if oil is not available, have
the vehicle inspected by an authorized
retailer of Genesis Branded products
as soon as possible.
NOTICE
• If the engine is not stopped
immediately after the Engine Oil
Pressure warning light is illuminated
while the engine is running, severe
damage could result.
• If the warning light stays on while the
engine is running, it indicates that
there may be serious engine damage
or malfunction. In this case:
1. Stop the vehicle as soon as it is
safe to do so.
2. Turn off the engine and check the
oil level. If the oil level is low, fill
the engine oil to the proper level.
3. Start the engine again. If the
warning light stays on after the
engine is started, turn the engine
off immediately. If this occurs,
have the vehicle inspected by
an authorized retailer of Genesis
Branded products.
Engine coolant temperature
warning light (for 8-inch
cluster)
The warning light illuminates:
When the temperature of the engine
coolant is extremely high.
Do not continue driving with an
overheated engine. If your vehicle
overheats, refer to “Overheating” section
in chapter 8.
NOTICE
If the Engine Coolant Temperature
warning light illuminates, it indicates
overheating that may damage the
engine.
Low fuel level warning light
This warning light illuminates:
When the fuel tank is nearly empty.
Add fuel as soon as possible.
NOTICE
Driving with the Low Fuel Level warning
light on or with the fuel level below “E”
can cause the engine to misfire and
damage the catalytic converter.
Page 116 of 604
04
4-15
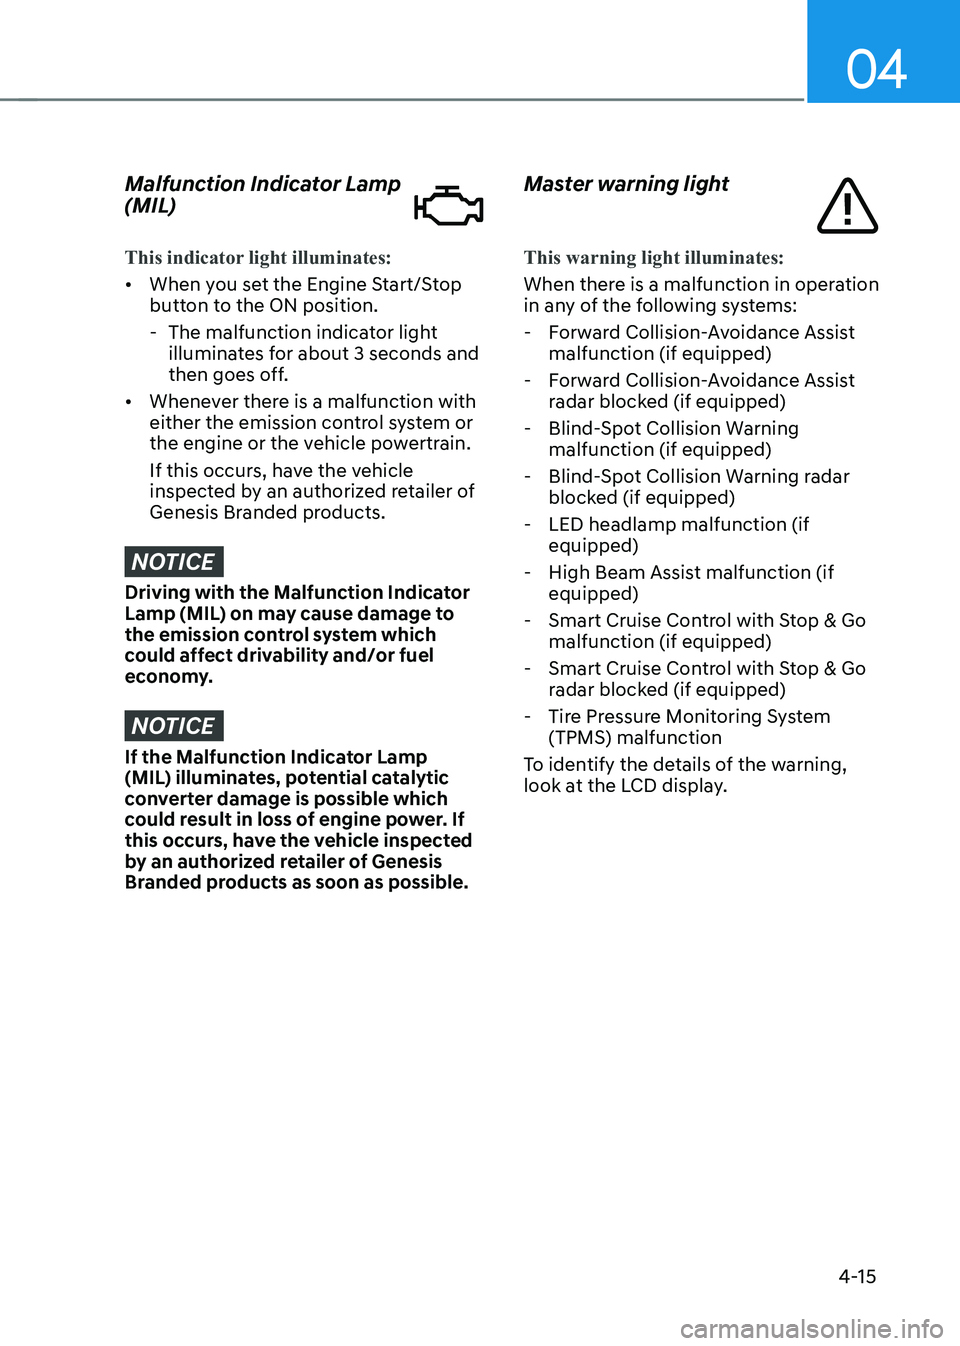
Malfunction Indicator Lamp
(MIL)
This indicator light illuminates:
• When you set the Engine Start/Stop
button to the ON position.
-The malfunction indicator light
illuminates for about 3 seconds and
then goes off.
• Whenever there is a malfunction with
either the emission control system or
the engine or the vehicle powertrain.
If this occurs, have the vehicle
inspected by an authorized retailer of
Genesis Branded products.
NOTICE
Driving with the Malfunction Indicator
Lamp (MIL) on may cause damage to
the emission control system which
could affect drivability and/or fuel
economy.
NOTICE
If the Malfunction Indicator Lamp
(MIL) illuminates, potential catalytic
converter damage is possible which
could result in loss of engine power. If
this occurs, have the vehicle inspected
by an authorized retailer of Genesis
Branded products as soon as possible.
Master warning light
This warning light illuminates:
When there is a malfunction in operation
in any of the following systems:
- Forward Collision-Avoidance Assist
malfunction (if equipped)
-Forward Collision-Avoidance Assist
radar blocked (if equipped)
-Blind-Spot Collision Warning
malfunction (if equipped)
-Blind-Spot Collision Warning radar
blocked (if equipped)
-LED headlamp malfunction (if
equipped)
-High Beam Assist malfunction (if
equipped)
-Smart Cruise Control with Stop & Go
malfunction (if equipped)
-Smart Cruise Control with Stop & Go
radar blocked (if equipped)
-Tire Pressure Monitoring System
(TPMS) malfunction
To identify the details of the warning,
look at the LCD display.
Page 211 of 604
05
5-73
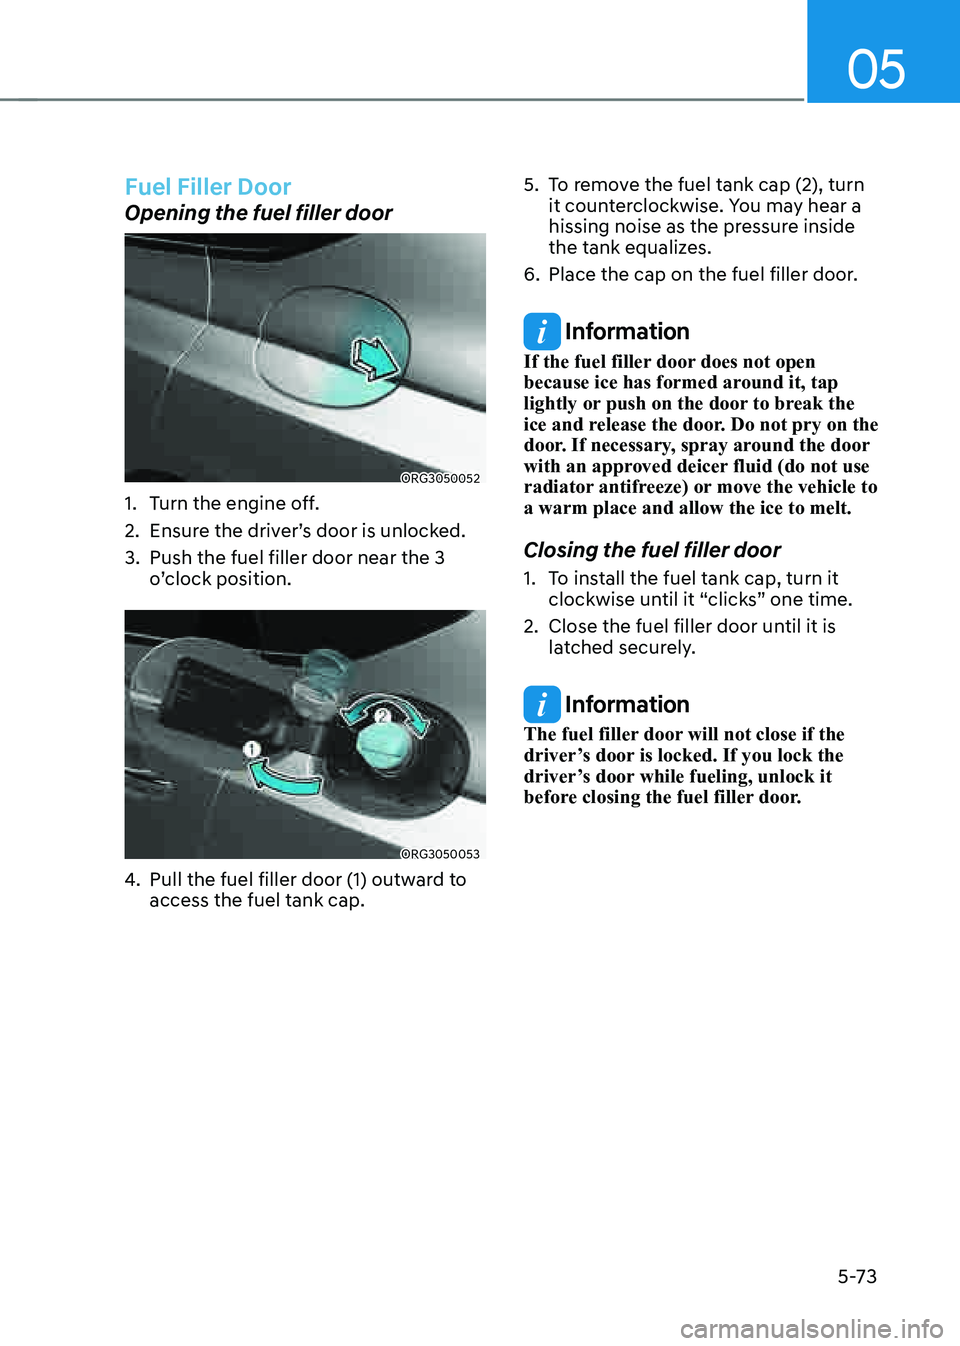
Fuel Filler Door
Opening the fuel filler door
ORG3050052
1. Turn the engine off.
2. Ensure the driver’s door is unlocked.
3. Push the fuel filler door near the 3
o’clock position.
ORG3050053
4. Pull the fuel filler door (1) outward to
access the fuel tank cap.
5. To remove the fuel tank cap (2), turn
it counterclockwise. You may hear a
hissing noise as the pressure inside
the tank equalizes.
6. Place the cap on the fuel filler door.
Information
If the fuel filler door does not open
because ice has formed around it, tap
lightly or push on the door to break the
ice and release the door. Do not pry on the
door. If necessary, spray around the door
with an approved deicer fluid (do not use
radiator antifreeze) or move the vehicle to
a warm place and allow the ice to melt.
Closing the fuel filler door
1. To install the fuel tank cap, turn it
clockwise until it “clicks” one time.
2. Close the fuel filler door until it is
latched securely.
Information
The fuel filler door will not close if the
driver’s door is locked. If you lock the
driver’s door while fueling, unlock it
before closing the fuel filler door.
Page 318 of 604
06
6-53
Driving in the Rain
Rain and wet roads can make driving
dangerous. Here are a few things to
consider when driving in the rain or on
slick pavement:
• Slow down and allow extra following
distance. A heavy rainfall makes
it harder to see and increases the
distance needed to stop your vehicle.
• Turn OFF your Cruise Control. (if
equipped)
• Replace your windshield wiper blades
when they show signs of streaking or
missing areas on the windshield.
• Be sure your tires have enough tread.
If your tires do not have enough depth
of tire tread, making a quick stop on
wet pavement can cause a skid and
possibly lead to an accident. See “Tire
Tread” section in chapter 9.
• Turn on your headlamps to make it
easier for others to see you.
• Driving too fast through large puddles
can affect your brakes. If you must go
through puddles, try to drive through
them slowly.
• If you believe your brakes may be wet,
apply them lightly while driving until
normal braking operation returns.
Hydroplaning
If the road is wet enough and you are
going fast enough, your vehicle may
have little or no contact with the road
surface and actually ride on the water.
The best advice is SLOW DOWN when
the road is wet.
The risk of hydroplaning increases as
the depth of tire tread decreases, refer
to “Tire Tread” section in chapter 9.
Driving in Flooded Areas
Avoid driving through flooded areas
unless you are sure the water is no
higher than the bottom of the wheel hub.
Drive through any water slowly. Allow
adequate stopping distance because
brake performance may be reduced.
After driving through water, dry the
brakes by gently applying them several
times while the vehicle is moving slowly.
Highway Driving
Tires
Adjust the tire inflation, as specified.
Under-inflation may overheat or damage
the tires.
Do not install worn-out or damaged tires,
which may reduce traction or fail the
braking operation.
Information
Never over-inflate your tires above the
maximum inflation pressure, as specified
on your tires.
Fuel, engine coolant and engine oil
Driving at higher speeds on the highway
consumes more fuel and is less efficient
than driving at a slower, more moderate
speed. Maintain a moderate speed in
order to conserve fuel when driving on
the highway.
Be sure to check both the engine coolant
level and the engine oil before driving.
Drive belt
A loose or damaged drive belt may
overheat the engine.
Page 501 of 604

08
8-9
Tire Pressure Monitoring System
WARNING
Over-inflation or under-inflation can
reduce tire life, adversely affect vehicle
handling, and lead to sudden tire failure
that may cause loss of vehicle control
resulting in an accident.
Each tire, including the spare (if
provided), should be checked monthly
when cold and inflated to the inflation
pressure recommended by the vehicle
manufacturer on the vehicle placard
or tire inflation pressure label. (If your
vehicle has tires of a different size than
the size indicated on the vehicle placard
or tire inflation pressure label, you should
determine the proper tire inflation
pressure for those tires.)
As an added safety feature, your
vehicle has been equipped with a tire
pressure monitoring system (TPMS)
that illuminates a low tire pressure
telltale when one or more of your tires is
significantly under-inflated. Accordingly,
when the low tire pressure telltale
illuminates, you should stop and check
your tires as soon as possible, and inflate
them to the proper pressure. Driving on
a significantly under-inflated tire causes
the tire to overheat and can lead to tire
failure.
Under-inflation also reduces fuel
efficiency and tire tread life, and may
affect the vehicle’s handling and
stopping ability.
Please note that the TPMS is not a
substitute for proper tire maintenance,
and it is the driver’s responsibility to
maintain correct tire pressure, even if
under-inflation has not reached the level
to trigger illumination of the TPMS low
tire pressure telltale.
Your vehicle has also been equipped with
a TPMS malfunction indicator to indicate
when the system is not operating
properly. The TPMS malfunction
indicator is combined with the low
tire pressure telltale. When the system
detects a malfunction, the telltale will
flash for approximately one minute and
then remain continuously illuminated.
This sequence will continue upon
subsequent vehicle start-ups as long as
the malfunction exists.
When the malfunction indicator is
illuminated, the system may not be able
to detect or signal low tire pressure as
intended. TPMS malfunctions may occur
for a variety of reasons, including the
installation of replacement or alternate
tires or wheels on the vehicle that
prevent the TPMS from functioning
properly.
Always check the TPMS malfunction
telltale after replacing one or more tires
or wheels on your vehicle to ensure that
the replacement or alternate tires and
wheels allow the TPMS to continue to
function properly.
NOTICE
If any of the below happens, have
the system checked by an authorized
retailer of Genesis Branded products.
1. The Low Tire Pressure Telltale/ TPMS
Malfunction Indicator does not
illuminate for 3 seconds when the
Engine Start/Stop button is pressed
to the ON position or when the
engine is running.
2. The TPMS Malfunction Indicator
remains illuminated after blinking for
approximately 1 minute.
3. The Low Tire Pressure Position
Telltale remains illuminated.
Page 522 of 604
09
9 -7
Owner Maintenance Schedule
When you stop for fuel:
• Check the engine oil level.
• Check the coolant level in the engine
coolant reservoir or the liquid-cooled
intercooler coolant reservoir.
• Check the windshield washer fluid
level.
• Check for low or under-inflated tires.
WARNING
Be careful when checking your coolant
level when the engine is hot. This may
result in coolant being blown out of the
opening and cause serious burns and
other injuries.
While operating your vehicle:
• Note any changes in the sound of the
exhaust or any smell of exhaust fumes
in the vehicle.
• Check for vibrations in the steering
wheel. Notice if there is any increased
steering effort or looseness in the
steering wheel, or change in its
straight-ahead position.
• Notice if your vehicle constantly turns
slightly or “pulls” to one side when
traveling on smooth, level road.
• When stopping, listen and check for
unusual sounds, pulling to one side,
increased brake pedal travel or “hard-
to-push” brake pedal.
• If any slipping or changes in the
operation of your transmission occurs,
check the transmission fluid level.
• Check the automatic transmission P
(Park) function.
• Check the parking brake.
• Check for fluid leaks under your
vehicle (water dripping from the air
conditioning system during or after
use is normal).
At least monthly:
• Check coolant level in the engine
coolant reservoir.
• Check the operation of all exterior
lights, including the stoplights, turn
signals and hazard warning flashers.
• Check the inflation pressures of all
tires including the spare for tires that
are worn, show uneven wear, or are
damaged.
• Check for loose wheel lug nuts.
At least twice a year: (i.e., every
Spring and Autumn)
• Check radiator, heater and air
conditioning hoses for leaks or
damage.
• Check windshield washer spray and
wiper operation. Clean wiper blades
with a clean cloth dampened with
washer fluid.
• Check headlamp alignment.
• Check muffler, exhaust pipes, shields
and clamps.
• Check the seat belts for wear and
function.
At least once a year:
• Clean body and door drain holes.
• Lubricate door hinges and hood
hinges.
• Lubricate door and hood locks and
latches.
• Lubricate door rubber weather strips.
• Check the air conditioning system.
• Inspect and lubricate automatic
transmission linkage and controls.
• Clean the battery and terminals.
• Check the brake fluid level.
Page 545 of 604

Maintenance
9-30
WARNING
Tire failure may cause loss of
vehicle control resulting in an
accident. To reduce risk of SERIOUS
INJURY or DEATH, take the
following precautions:
• Inspect your tires monthly for
proper inflation as well as wear
and damage.
• The recommended cold tire
pressure for your vehicle can be
found in this manual and on the
tire label located on the driver’s
side center pillar. Always use a
tire pressure gauge to measure
tire pressure. Tires with too
much or too little pressure wear
unevenly causing poor handling.
• Check the pressure of the
spare every time you check the
pressure of the other tires on
your vehicle.
• Replace tires that are worn, show
uneven wear, or are damaged.
Worn tires can cause loss of
braking effectiveness, steering
control, or traction.
• ALWAYS replace tires with the
same size, type, construction and
tread pattern as each tire that
was originally supplied with this
vehicle. Using tires and wheels
other than the recommended
sizes could cause unusual
handling characteristics, poor
vehicle control, or negatively
affect your vehicle’s Anti-Lock
Brake System (ABS) resulting in a
serious accident.
Tire Care
For proper maintenance, safety, and
maximum fuel economy, you must
always maintain recommended
tire inflation pressures and stay
within the load limits and weight
distribution recommended for your
vehicle.
ORG3010025L
All specifications (sizes and
pressures) can be found on a label
attached to the driver’s side center
pillar.
Recommended Cold Tire
Inflation Pressures
All tire pressures (including the
spare) should be checked when the
tires are cold. “Cold tires” means the
vehicle has not been driven for at
least three hours or driven less than
one mile (1.6 km).
Warm tires normally exceed
recommended cold tire pressures
by 4 to 6 psi (28 to 41 kPa). Do not
release air from warm tires to adjust
the pressure or the tires will be
under-inflated. For recommended
inflation pressure, refer to “Tire and
Wheels” section in chapter 2.
TIRES AND WHEELS