engine GENESIS G90 2017 Manual Online
[x] Cancel search | Manufacturer: GENESIS, Model Year: 2017, Model line: G90, Model: GENESIS G90 2017Pages: 524, PDF Size: 19.3 MB
Page 226 of 524
For your convenience and to improve
the effectiveness of the climate con-
trol, use the AUTO button and set the
temperature to 73°F (23°C).
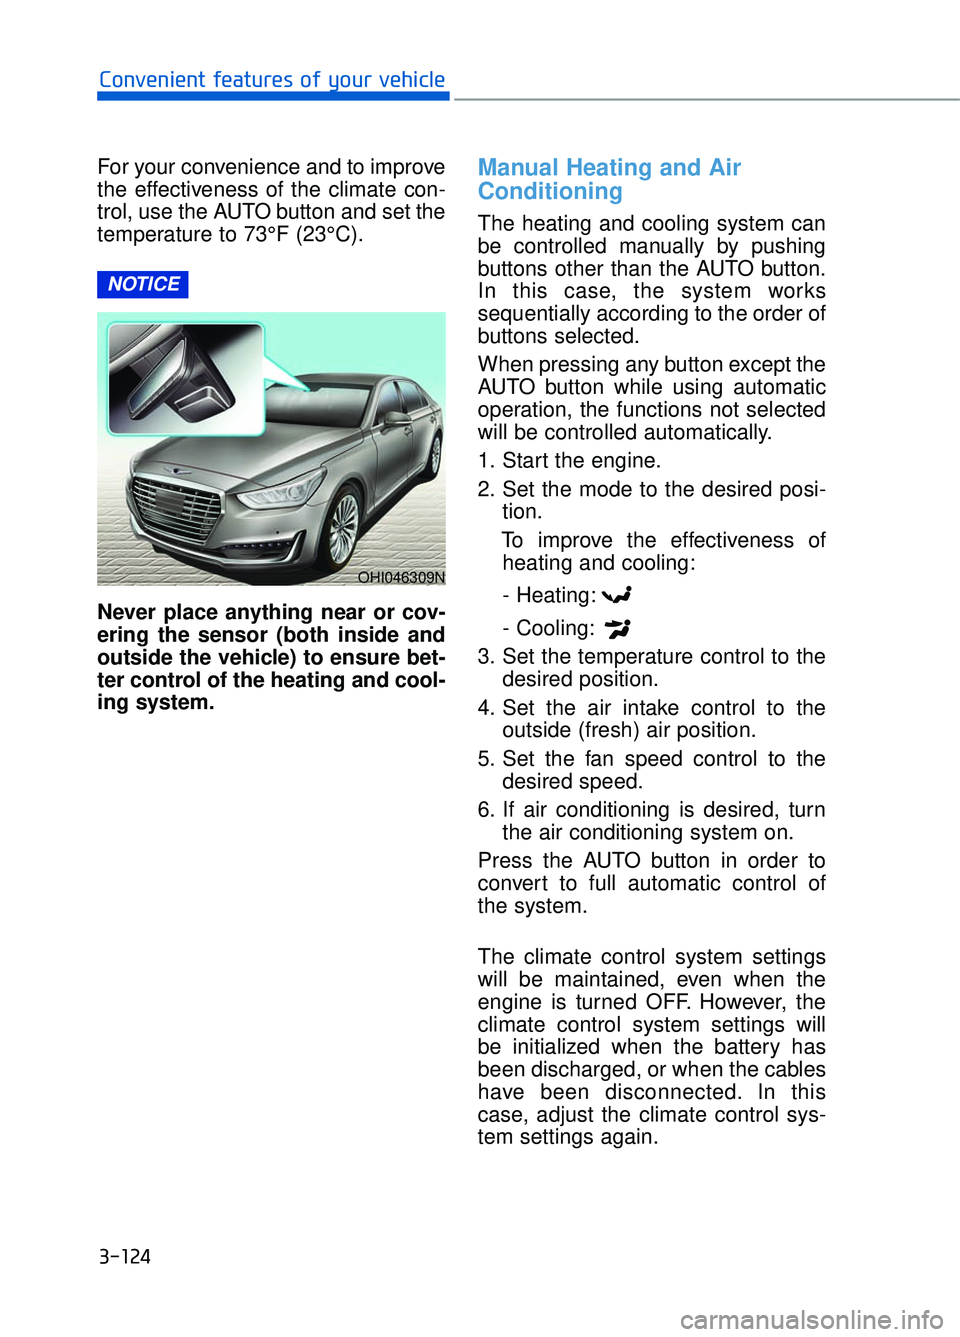
Never place anything near or cov-
ering the sensor (both inside and
outside the vehicle) to ensure bet-
ter control of the heating and cool-
ing system.Manual Heating and Air
Conditioning
The heating and cooling system can
be controlled manually by pushing
buttons other than the AUTO button.
In this case, the system works
sequentially according to the order of
buttons selected.
When pressing any button except the
AUTO button while using automatic
operation, the functions not selected
will be controlled automatically.
1. Start the engine.
2. Set the mode to the desired posi-tion.
To improve the effectiveness of heating and cooling:
- Heating:
- Cooling:
3. Set the temperature control to the desired position.
4. Set the air intake control to the outside (fresh) air position.
5. Set the fan speed control to the desired speed.
6. If air conditioning is desired, turn the air conditioning system on.
Press the AUTO button in order to
convert to full automatic control of
the system.
The climate control system settings
will be maintained, even when the
engine is turned OFF. However, the
climate control system settings will
be initialized when the battery has
been discharged, or when the cables
have been disconnected. In this
case, adjust the climate control sys-
tem settings again.
NOTICE
3-124
Convenient features of your vehicle
OHI046309N
Page 227 of 524

Mode selection
3-125
03
OHI046312
Rear outlet vents (F)
The rear outlet vents are controlled by the rear climate control system.
However, external conditions and manual settings also have influences on the
actual operation of the rear outlet vents by blocking air flows or changing air
flow volumes.
The rear outlet vents may blow slightly cooler air when the heater is operat-
ing due to some heat loss through the air ducts from the front of the vehicle.
To prevent this, the rear outlet vents may not blow any air immediately after a
cold start when the outside temperature is detected to be extremely low in
winter and the engine has not sufficiently warmed up.
Side outlet vents (D)
G90 is equipped with temperature sensors inside the side outlet vents to
accurately measure and control air temperature both in the driver’s seat and
the front passenger’s seat. However, when the side outlet vents are closed,
the temperature sensor will measure air temperature only inside the side out-
let vents. For accurate temperature control, open the side outlet vents.
Page 234 of 524

Air quality system (AQS)
The air inflow from outside the vehi-
cle can be automatically controlled.
Press the button to activate the air
quality control system.
When using AQS mode, AQS (Air
Quality System) automatically sens-
es outdoor air pollutants and mini-
mizes them from entering the vehi-
cle, however, unpleasant or foul
odors that might be present may still
be noticeable within the vehicle.
Exhaust gas cutoff mode :
Air enters the vehicle from the outside.
If exhaust gas from the outside of the
vehicle is detected, the exhaust gas cut-
off mode is automatically converted
from the outside air position to the recir-
culated air position to prevent exhaust
gas from entering the vehicle.
Information
• The AQS button indicator will imme-diately illuminate when the engine is
started with the AQS in the ON posi-
tion. However, the AQS starts oper-
ating after 40 seconds.
• The AQS filters out toxic exhaust (i.e. NO, NO2, SO2, CO, CxHy) to pre-
vent it from entering the passenger
compartment but, does not totally
block odor.
The AQS does not operate in any of
the following situations :
The AQS button is re-repressed tothe OFF position.
Either the outside (fresh) air posi- tion or the recirculated air position
is selected.
The defroster button is pressed to the ON position, or the floor &
defrost ( ) mode is selected.
The temperature is set to either the highest (HI) or the lowest (Lo) posi-
tion, while the climate control sys-
tem is automatically controlled
(AUTO button indicator ON).
The OFF button of the climate con- trol system is selected.
The auto defogging system oper- ates to defog the front windshield.
Information
If the windows fog up with the
Recirculation or AQS mode selected,
set the air intake control to the fresh
air position or or turn off the AQS
mode.
i
i
3-132
Convenient features of your vehicle
OHI046330
Page 235 of 524
Fan speed control
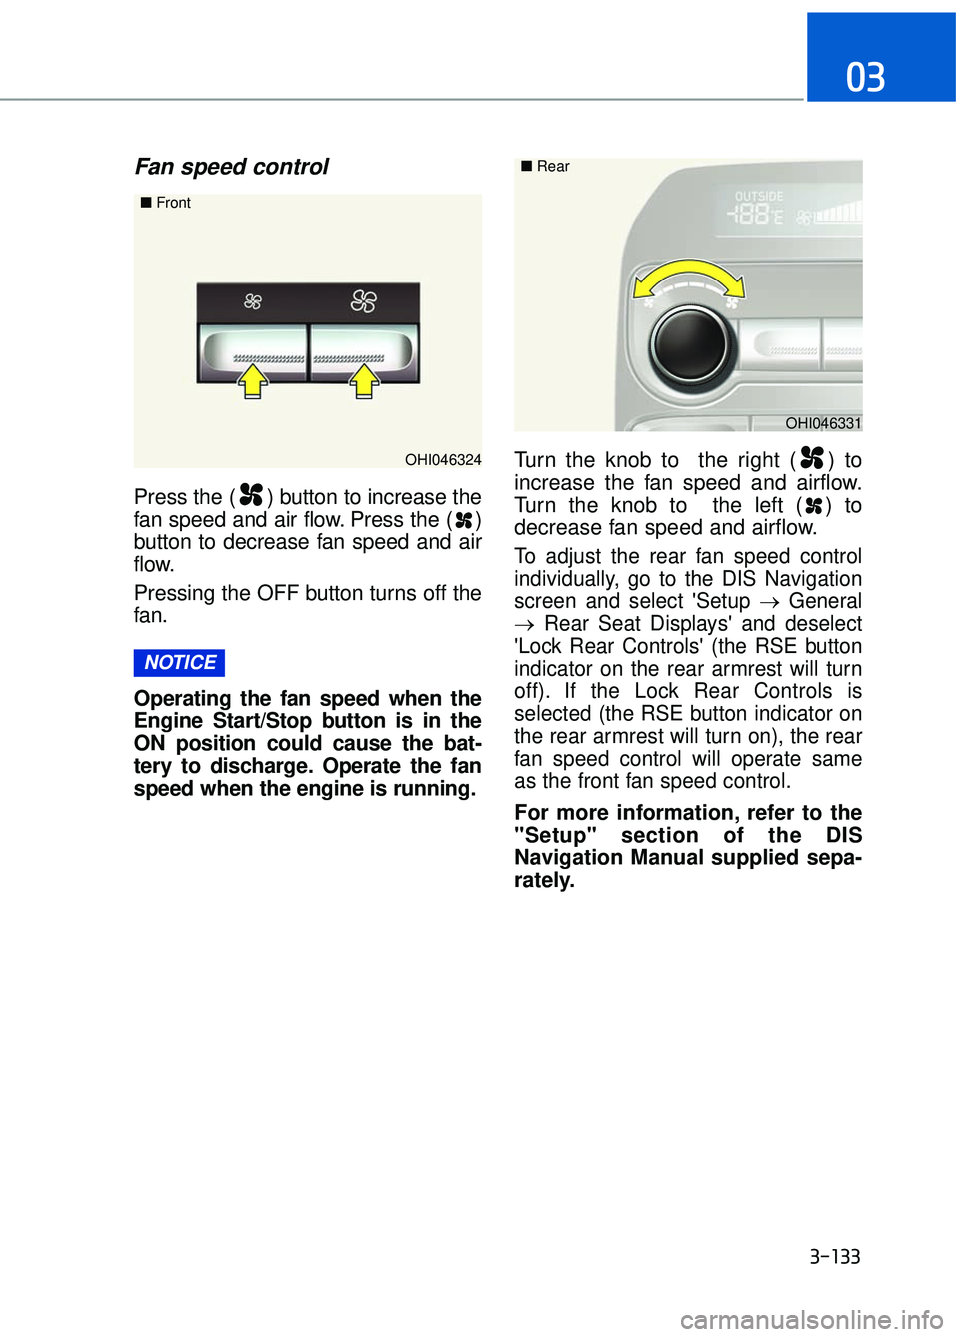
Press the ( ) button to increase the
fan speed and air flow. Press the ( )
button to decrease fan speed and air
flow.
Pressing the OFF button turns off the
fan.
Operating the fan speed when the
Engine Start/Stop button is in the
ON position could cause the bat-
tery to discharge. Operate the fan
speed when the engine is running.Turn the knob to the right ( ) to
increase the fan speed and airflow.
Turn the knob to the left ( ) to
decrease fan speed and airflow.
To adjust the rear fan speed control
individually, go to the DIS Navigation
screen and select 'Setup →
General
→ Rear Seat Displays' and deselect
'Lock Rear Controls' (the RSE button
indicator on the rear armrest will turn
off). If the Lock Rear Controls is
selected (the RSE button indicator on
the rear armrest will turn on), the rear
fan speed control will operate same
as the front fan speed control.
For more information, refer to the
"Setup" section of the DIS
Navigation Manual supplied sepa-
rately.
NOTICE
3-133
03
OHI046324
■
Front
OHI046331
■
Rear
Page 237 of 524
System Operation
Ventilation
1. Select the Face Level mode.
2. Set the air intake control to theoutside (fresh) air position.
3. Set the temperature control to the desired position.
4. Set the fan speed control to the desired speed.
Heating
1. Select the Floor Level mode.
2. Set the air intake control to theoutside (fresh) air position.
3. Set the temperature control to the desired position.
4. Set the fan speed control to the desired speed.
5. If dehumidified heating is desired, turn the air conditioning system on.
If the windshield fogs up, select the
Floor & Defrost mode or press
the Front Defrost mode.
Operation Tips
To keep dust or unpleasant fumes from entering the car through the
ventilation system, temporarily set
the air intake control to the recircu-
lated air position. Return the con-
trol to the fresh air position when
the irritation has passed. This will
help keep the driver alert and com-
fortable.
To prevent the inside of the wind- shield from fogging, set the air
intake control to the fresh air posi-
tion and fan speed to the desired
position, turn on the air conditioning
system, and adjust the temperature
control to desired temperature.
Air conditioning
All Genesis Brand Air Conditioning
Systems are filled with environmen-
tally friendly R-134a refrigerant.
1. Start the engine.
2. Push the air conditioning button.
3. Set the mode to the Face Level mode.
4. Set the air intake control to the recirculated air position. However,
prolonged operation of the recircu-
lated air position will excessively
dry the air. In this case, change the
air position.
5. Adjust the fan speed control and temperature control to maintain
maximum comfort.
When maximum cooling is desired,
set the temperature control to the
extreme left position then set the fan
speed control to the highest speed.
When using the air conditioning
system, monitor the engine tem-
perature gauge closely while driv-
ing up hills or in heavy traffic
when outside temperatures are
high. Air conditioning system
operation can cause engine over-
heating. Continue to use the blow-
er fan, but turn the air condition-
ing system off if the engine tem-
perature gauge indicates engine
overheating.
NOTICE
3-135
03
Page 240 of 524
W
WI
IN
N D
DS
SH
H I
IE
E L
LD
D
D
D E
EF
FR
R O
O S
ST
T I
IN
N G
G
A
A N
N D
D
D
D E
EF
FO
O G
GG
GI
IN
N G
G
3-138
Convenient features of your vehicle
For maximum defrosting, set the temperature control to the extreme
right/hot position and the fan speed
control to the highest speed.
If warm air to the floor is desired while defrosting or defogging, set the
mode to the floor-defrost position.
Before driving, clear all snow and ice from the windshield, rear win-
dow, side view mirrors, and all side
windows.
Clear all snow and ice from the hood and air inlet in the cowl grill to
improve heater and defroster effi-
ciency and to reduce the probability
of fogging up the inside of the wind-
shield.
If the engine temperature is still
cold after starting, then a brief
engine warm up period may be
required for the vented air flow to
become warm or hot.
To defog inside windshield
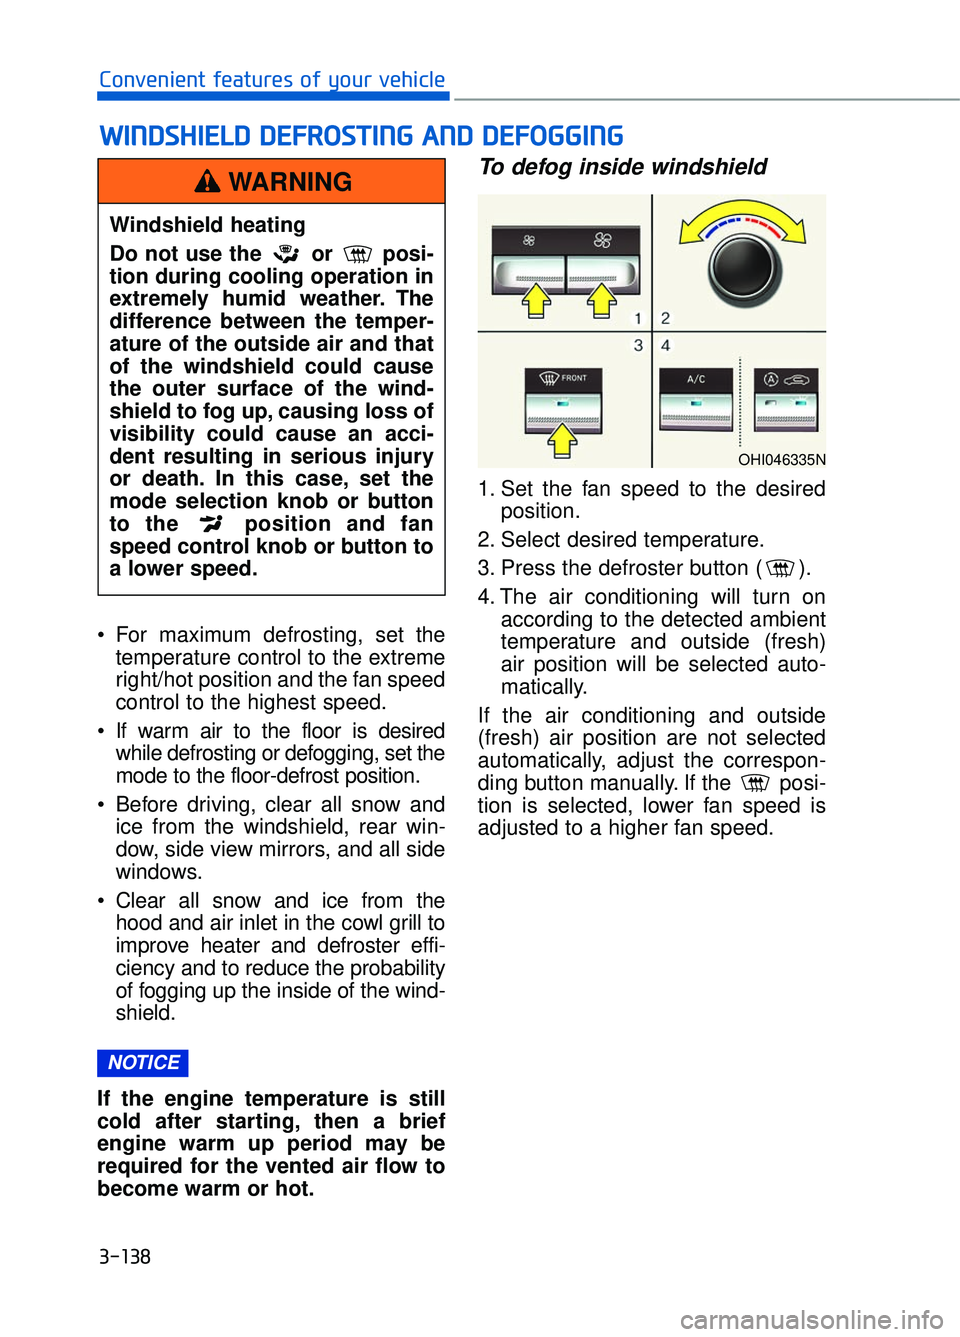
1. Set the fan speed to the desired position.
2. Select desired temperature.
3. Press the defroster button ( ).
4. The air conditioning will turn on according to the detected ambient
temperature and outside (fresh)
air position will be selected auto-
matically.
If the air conditioning and outside
(fresh) air position are not selected
automatically, adjust the correspon-
ding button manually. If the posi-
tion is selected, lower fan speed is
adjusted to a higher fan speed.
NOTICE
Windshield heating
Do not use the or posi-
tion during cooling operation in
extremely humid weather. The
difference between the temper-
ature of the outside air and that
of the windshield could cause
the outer surface of the wind-
shield to fog up, causing loss of
visibility could cause an acci-
dent resulting in serious injury
or death. In this case, set the
mode selection knob or button
to the position and fan
speed control knob or button to
a lower speed.
WARNING
OHI046335N
Page 241 of 524

To defrost outside windshield
1. Set the fan speed to the highestposition.
2. Set the temperature to the extreme hot (HI) position.
3. Press the defroster button ( ).
4. The air conditioning will turn on according to the detected ambient
temperature and outside (fresh)
air position will be selected auto-
matically.
Defogging logic
To reduce the possibility of fogging
up the inside of the windshield, the
air intake is controlled automatically
according to certain conditions such
as or position. To cancel or
return the defogging logic, perform
the following steps:
1. Turn the Engine Start/Stop Buttonto the ON position.
2. Select the defrost position press- ing defrost button ( ).
3. While holding the air conditioning button (A/C) pressed, press the air
intake control button at least 5
times within 3 seconds.
The indicator on the air intake control
button blinks 3 times with 0.5 second
of interval. It indicates that the defog-
ging logic is canceled or returned to
the programmed status.
If the battery has been discharged or
disconnected, the system resets to
the preprogrammed defogging logic.
3-139
03
OHI046328NOHI046329N
Page 242 of 524
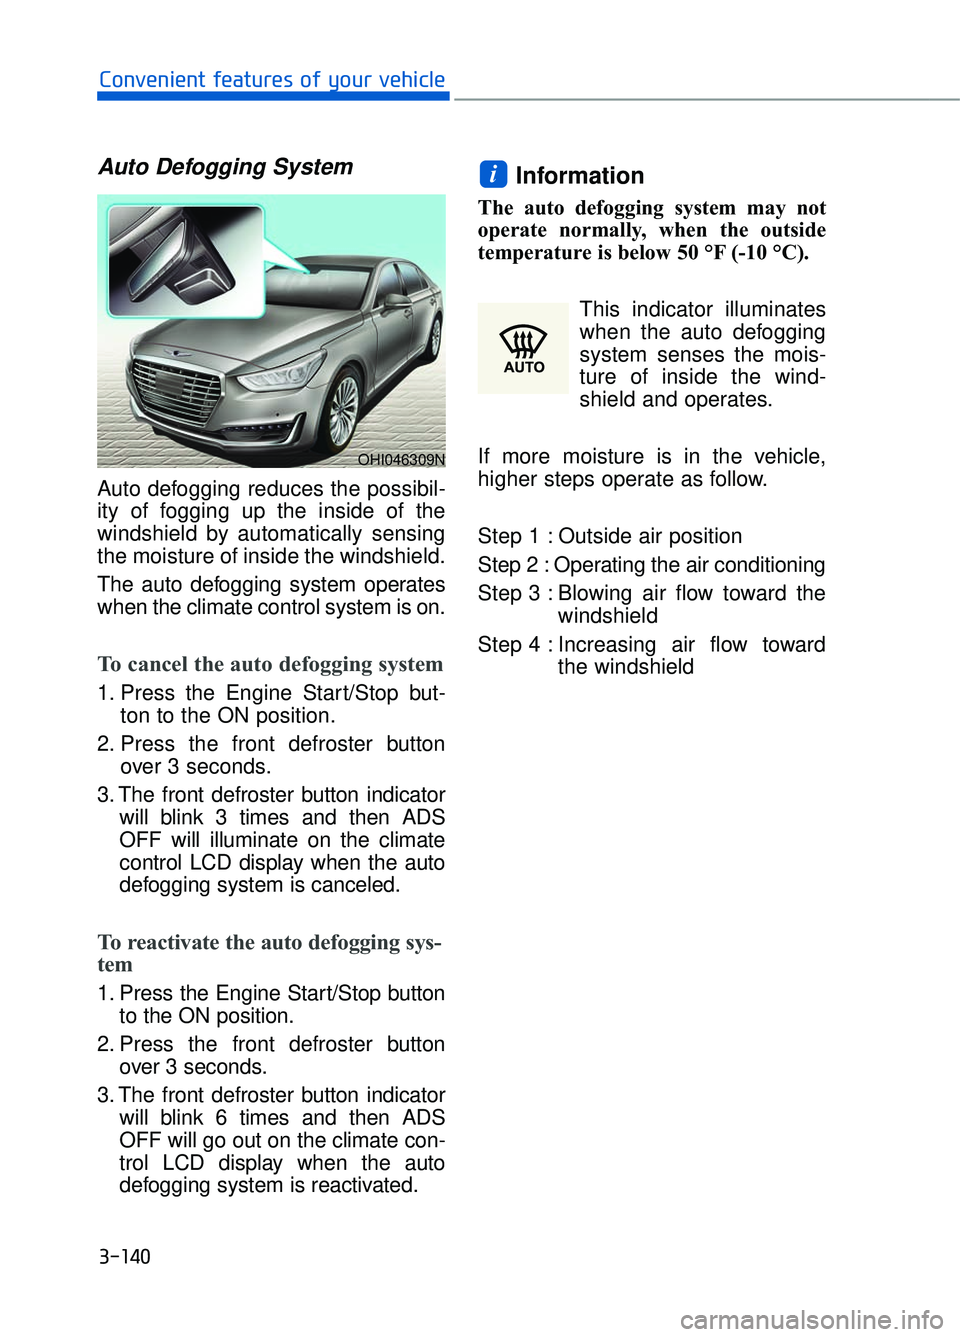
Auto Defogging System
Auto defogging reduces the possibil-
ity of fogging up the inside of the
windshield by automatically sensing
the moisture of inside the windshield.
The auto defogging system operates
when the climate control system is on.
To cancel the auto defogging system
1. Press the Engine Start/Stop but-ton to the ON position.
2. Press the front defroster button over 3 seconds.
3. The front defroster button indicator will blink 3 times and then ADS
OFF will illuminate on the climate
control LCD display when the auto
defogging system is canceled.
To reactivate the auto defogging sys-
tem
1. Press the Engine Start/Stop buttonto the ON position.
2. Press the front defroster button over 3 seconds.
3. The front defroster button indicator will blink 6 times and then ADS
OFF will go out on the climate con-
trol LCD display when the auto
defogging system is reactivated.
Information
The auto defogging system may not
operate normally, when the outside
temperature is below 50 °F (-10 °C).
This indicator illuminates
when the auto defogging
system senses the mois-
ture of inside the wind-
shield and operates.
If more moisture is in the vehicle,
higher steps operate as follow.
Step 1 : Outside air position
Step 2 : Operating the air conditioning
Step 3 : Blowing air flow toward the windshield
Step 4 : Increasing air flow toward the windshield
i
3-140
Convenient features of your vehicle
OHI046309N
Page 243 of 524
Clean Air
When the Engine Start/Stop button
is in the ON position, the clean air
function turns on automatically.
Also, the clean air function turns off
automatically, when the Engine
Start/Stop button is in the OFF posi-
tion.
Automatic Ventilation
The system automatically selects the
outside (fresh) air position when the
climate control system operates over a
certain period of time (approximately
30 minutes) in low temperature with
the recirculated air position selected.
To cancel or reactivate the Automatic Ventilation
When the air conditioning system is
on, select Face Level mode and
press the recirculated air position
button for more than 3 seconds.
When the automatic ventilation is
canceled, the indicator blinks 3
times. When the automatic ventila-
tion is activated, the indicator blinks
6 times.
Sunroof Inside Air Recirculation
The outside (fresh) air position is auto-
matically selected, when the sunroof
is opened while operating the heat-
ing/air conditioning system.
When you select the recirculated air
position, the system maintains the
recirculated air position for 3 minutes
and then automatically converts to the
outside (fresh) air position.
When the sunroof is closed, the air
intake position will return to the origi-
nal position that was selected.
Setting the Climate Control
System on the DIS Navigation
System Monitor
Using the DIS Navigation System
monitor, press 'Setup →Climate'.
The Climate settings screen will be
displayed.
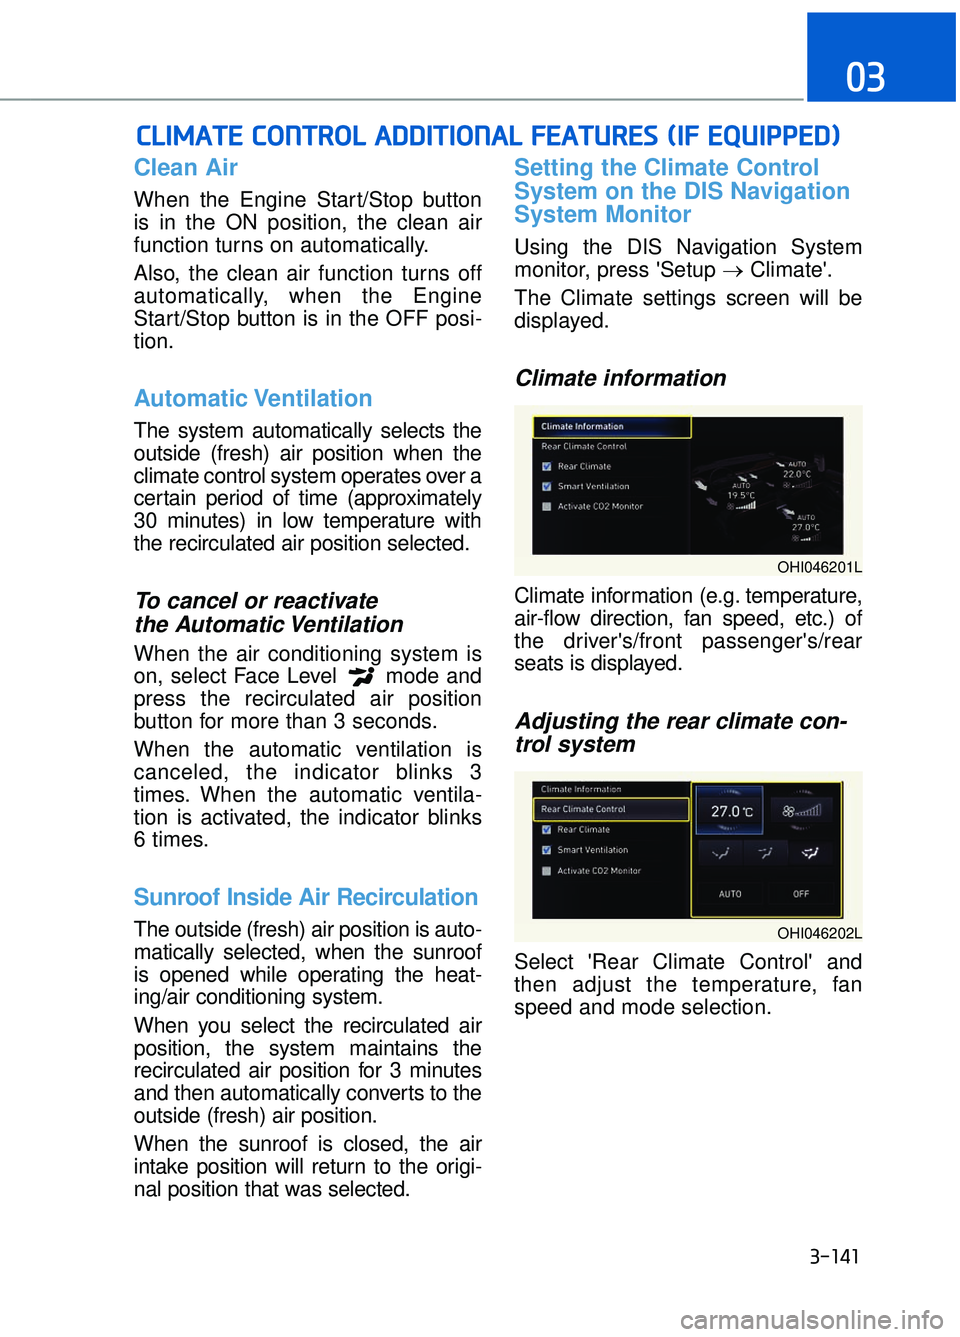
Climate information
Climate information (e.g. temperature,
air-flow direction, fan speed, etc.) of
the driver's/front passenger's/rear
seats is displayed.
Adjusting the rear climate con- trol system
Select 'Rear Climate Control' and
then adjust the temperature, fan
speed and mode selection.
C
C L
LI
IM
M A
AT
TE
E
C
C O
O N
NT
TR
R O
O L
L
A
A D
DD
DI
IT
T I
IO
O N
NA
AL
L
F
F E
E A
A T
TU
U R
RE
ES
S
(
( I
IF
F
E
E Q
Q U
UI
IP
P P
PE
ED
D )
)
3-141
03
OHI046201L
OHI046202L
Page 247 of 524

3-145
03
Cellular Phone Holder
To open:
Push the cover.
Items other than a cellular phone
may not fit inside the cellular
phone storage in accordance with
its size or shape. Do not forcefully
push items into the cellular phone
storage and close the cover. It may
damage or distort those items. In
addition, do not forcefully open the
cellular phone storage cover, when
it is jammed with a stored item
inside.
Wireless Cellular Phone
Charging System (if equipped)
There is a wireless cellular phone
charging inside the front console.
The system is available when all
doors are closed, and when the
Engine Start/Stop button is in the
ACC/ON position.
NOTICE
OHI046437
OHI046437