reset GENESIS G90 2017 Owner's Manual
[x] Cancel search | Manufacturer: GENESIS, Model Year: 2017, Model line: G90, Model: GENESIS G90 2017Pages: 524, PDF Size: 19.3 MB
Page 103 of 524
Accessing Your Vehicle ...............................................................3-4
Smart Key ........................................................................\
..............................3-4
Door Locks ........................................................................\
............3-9
Outside the Vehicle ........................................................................\
.............3-9
Inside the Vehicle........................................................................\
...............3-11
Auto Door Lock/Unlock Features .........................................................3-13
Child-Protector Rear Door locks ...........................................................3-13
Theft-Alarm System ..................................................................3-14
Seat Position Memory System .................................................3-15
Easy Access Function........................................................................\
.......3-16
Steering Wheel ........................................................................\
...3-17
Motor-Driven Power Steering (MDPS) ................................................3-17
Tilt Steering / Telescope Steering ........................................................3-18
Heated Steering Wheel ........................................................................\
....3-18
Horn ........................................................................\
......................................3-19
Mirrors ........................................................................\
.................3-20
Inside Rearview Mirror ........................................................................\
.....3-20
Side View Mirrors ........................................................................\
..............3-37
Reverse Parking Aid Function ................................................................3-39
Windows ........................................................................\
..............3-40
Sunroof ........................................................................\
................3-44
Sunroof opening and closing.................................................\
.................3-44
Tilting the Sunroof ........................................................................\
............3-45
Sunshade........................................................................\
..............................3-46
Resetting the Sunroof ........................................................................\
......3-46
Hood ........................................................................\
.....................3-47
Opening the Hood ........................................................................\
.............3-47
Closing the Hood........................................................................\
................3-47
Trunk ........................................................................\
....................3-48
Non-Powered Trunk ........................................................................\
.........3-48
Power Trunk........................................................................\
........................3-49
Emergency Trunk Safety Release .........................................................3-53
3
C Co
on
nv
ve
e n
n i
ie
e n
n t
t
f
f e
e a
at
tu
u r
re
e s
s
o
o f
f
y
y o
o u
ur
r
v
v e
e h
h i
ic
c l
le
e
Page 116 of 524
3-14
Convenient features of your vehicle
This system helps to protect your
vehicle and valuables. The horn will
sound and the hazard warning lights
will blink continuously if any of the
following occurs:
- A door is opened without using the smart key.
- The trunk is opened without using the smart key.
- The engine hood is opened.
The alarm continues for 30 seconds,
then the system resets. To turn off
the alarm, unlock the doors with the
smart key.
The Theft Alarm System automati-
cally sets 30 seconds after you lock
the doors and the trunk. For the sys-
tem to activate, you must lock the
doors and the trunk from outside the
vehicle with the smart key or by
pressing the button on the outside of
the door handles with the smart key
in your possession.
The hazard warning lights will blink
and the chime will sound once to
indicate the system is armed.
Once the security system is set,
opening any door, the trunk, or the
hood without using the smart key will
cause the alarm to activate.
The Theft Alarm System will not set if
the hood, the trunk, or any door is
not fully closed. If the system will not
set, check the hood, the trunk, or the
doors are fully closed.
Do not attempt to alter this system or
add other devices to it.
Information
• Do not lock the doors until all pas- sengers have left the vehicle. If the
remaining passenger leaves the
vehicle when the system is armed,
the alarm will be activated.
• If the vehicle is not disarmed with the smart key, open the doors by
using the mechanical key or start
the engine by directly pressing the
Engine Start/Stop button with the
smart key.
• When the system is disarmed but a door or trunk is not opened within 30
seconds, the system will be rearmed.
i
T TH
H E
EF
FT
T -
-A
A L
LA
A R
RM
M
S
S Y
Y S
ST
T E
EM
M
Page 144 of 524

3-42
Convenient features of your vehicle
To reset the power windows
If the power windows do not operate
normally, the automatic power win-
dow system must be reset as follows:
1. Place the Engine Start/Stop buttonis in the ON position.
2. Close the window and continue pulling up on the power window
switch for at least one second.
If the power windows do not operate
properly after resetting, have the
system checked by an authorized
Dealer of Genesis Brand Products.
Automatic reverse (if equipped)
If a window senses any obstacle while
it is closing automatically, it will stop
and lower approximately 12 inches (30
cm) to allow the object to be cleared.
If the window detects the resistance
while the power window switch is
pulled up continuously, the window
will stop upward movement then
lower approximately 1 inch (2.5 cm).
If the power window switch is pulled
up continuously again within 5 sec-
onds after the window is lowered by
the automatic window reversal fea-
ture, the automatic window reversal
will not operate.
Information
The automatic reverse feature is only
active when the "Auto Up" feature is
used by fully pulling up the switch to
the second detent.
i
Make sure body parts or other
objects are safely out of the way
before closing the windows to
avoid injuries or vehicle damage.
Objects less than 0.16 inch (4
mm) in diameter caught between
the window glass and the upper
window channel may not be
detected by the automatic
reverse window and the window
will not stop and reverse direc-
tion.
WARNING
OHI046030
Page 148 of 524
3-46
Convenient features of your vehicle
Periodically remove dirt accu- mulation over the sunroof guide
rails or between the sunroof and
roof panel, which may cause a
noise.
Do not attempt to open the sun- roof, when a temperature is
below the freezing point, or
when the sunroof is covered
with snow or ice. Otherwise, the
motor may be damaged. In a
cold and wet temperature, the
sunroof may not properly oper-
ate.
To prevent damage to the sun- roof and the motor, do not con-
tinuously press the sunroof con-
trol lever, after it is fully opened,
closed or tilted.
Sunshade
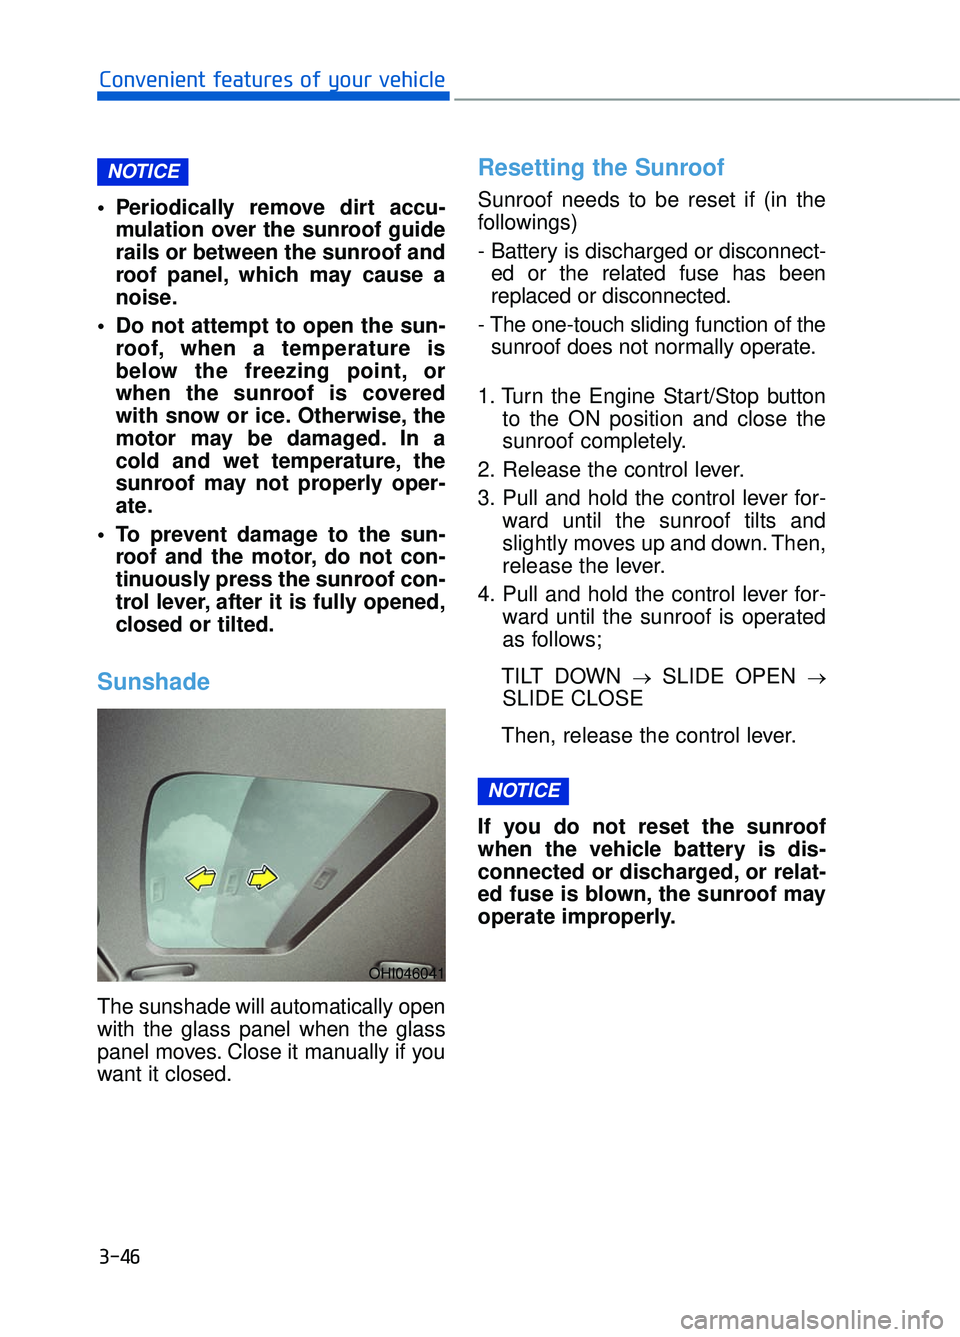
The sunshade will automatically open
with the glass panel when the glass
panel moves. Close it manually if you
want it closed.
Resetting the Sunroof
Sunroof needs to be reset if (in the
followings)
- Battery is discharged or disconnect-ed or the related fuse has been
replaced or disconnected.
- The one-touch sliding function of the sunroof does not normally operate.
1. Turn the Engine Start/Stop button to the ON position and close the
sunroof completely.
2. Release the control lever.
3. Pull and hold the control lever for- ward until the sunroof tilts and
slightly moves up and down. Then,
release the lever.
4. Pull and hold the control lever for- ward until the sunroof is operated
as follows;
TILT DOWN
→SLIDE OPEN →
SLIDE CLOSE
Then, release the control lever.
If you do not reset the sunroof
when the vehicle battery is dis-
connected or discharged, or relat-
ed fuse is blown, the sunroof may
operate improperly.
NOTICE
NOTICE
OHI046041
Page 153 of 524
If there are obstacles such as snowon the Power Trunk, it may not open
automatically. After removing the
obstacle, try to open it again.
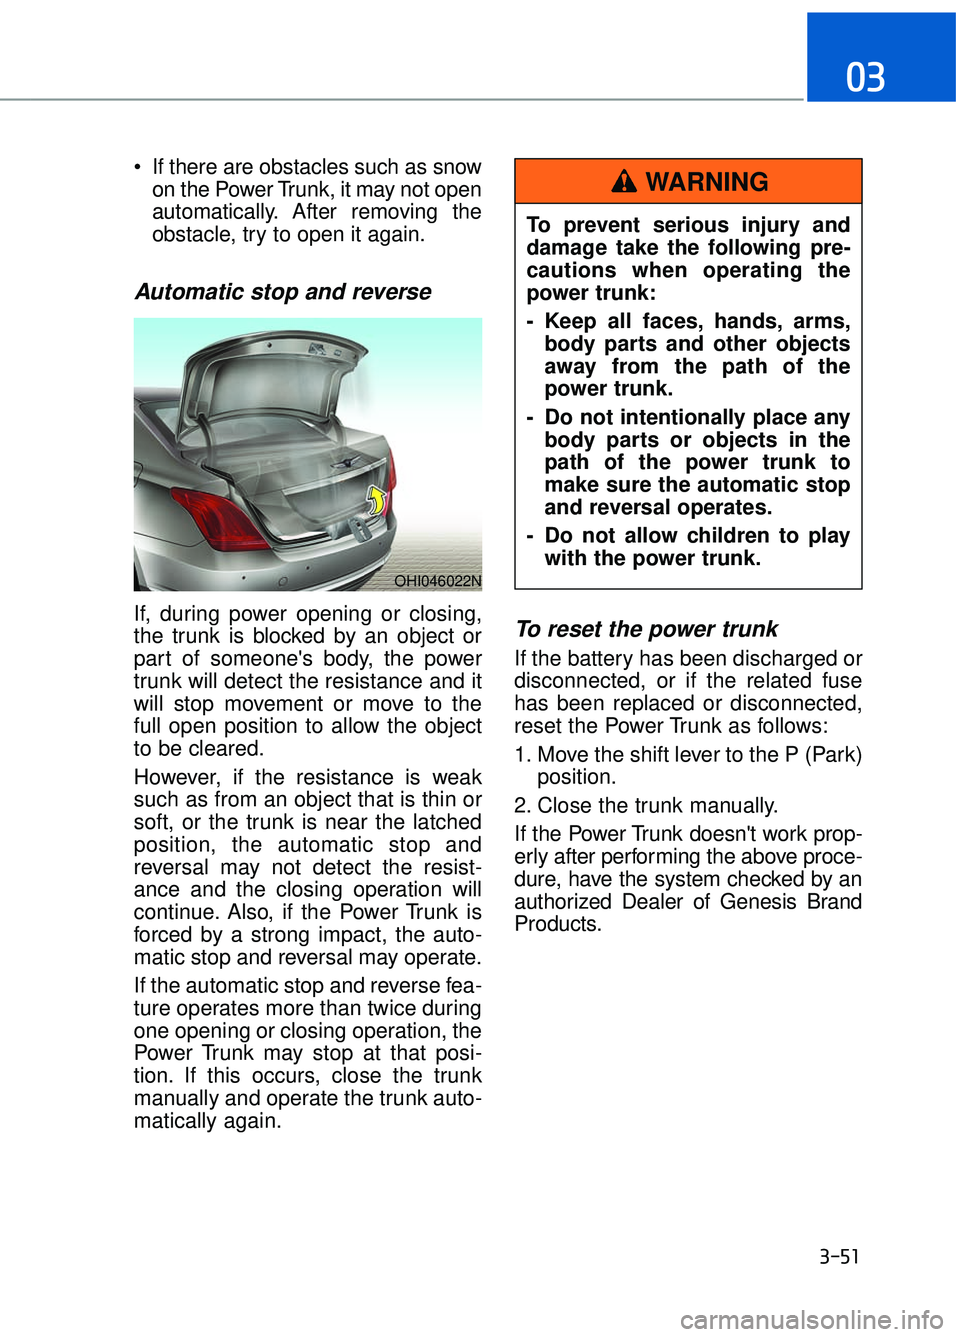
Automatic stop and reverse
If, during power opening or closing,
the trunk is blocked by an object or
part of someone's body, the power
trunk will detect the resistance and it
will stop movement or move to the
full open position to allow the object
to be cleared.
However, if the resistance is weak
such as from an object that is thin or
soft, or the trunk is near the latched
position, the automatic stop and
reversal may not detect the resist-
ance and the closing operation will
continue. Also, if the Power Trunk is
forced by a strong impact, the auto-
matic stop and reversal may operate.
If the automatic stop and reverse fea-
ture operates more than twice during
one opening or closing operation, the
Power Trunk may stop at that posi-
tion. If this occurs, close the trunk
manually and operate the trunk auto-
matically again.To reset the power trunk
If the battery has been discharged or
disconnected, or if the related fuse
has been replaced or disconnected,
reset the Power Trunk as follows:
1. Move the shift lever to the P (Park) position.
2. Close the trunk manually.
If the Power Trunk doesn't work prop-
erly after performing the above proce-
dure, have the system checked by an
authorized Dealer of Genesis Brand
Products.
3-51
03
OHI046022N
To prevent serious injury and
damage take the following pre-
cautions when operating the
power trunk:
- Keep all faces, hands, arms, body parts and other objects
away from the path of the
power trunk.
- Do not intentionally place any body parts or objects in the
path of the power trunk to
make sure the automatic stop
and reversal operates.
- Do not allow children to play with the power trunk.
WARNING
Page 188 of 524
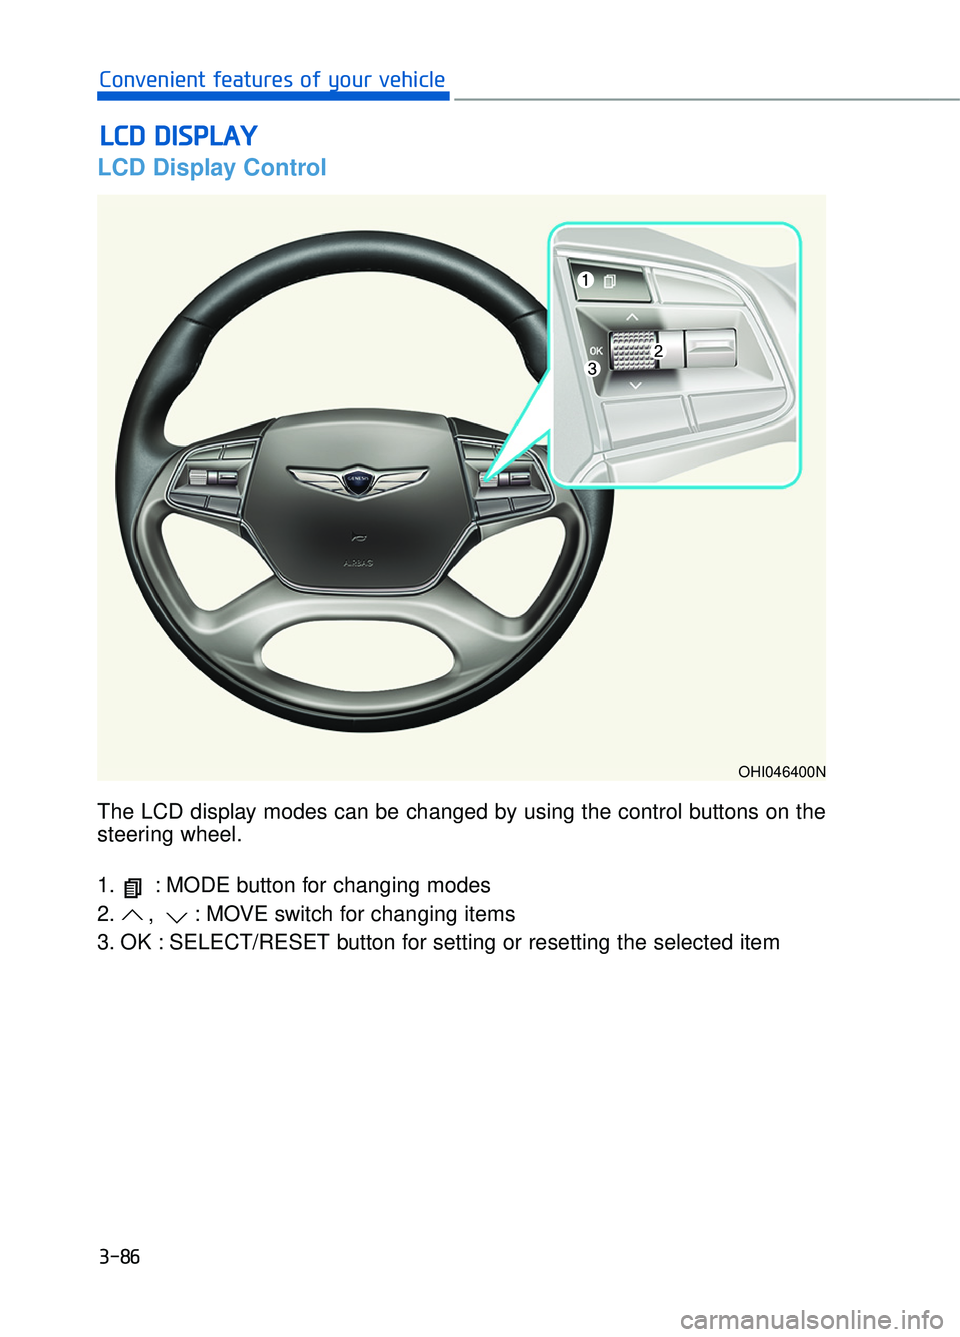
The LCD display modes can be changed by using the control buttons on the
steering wheel.
1. : MODE button for changing modes
2. , : MOVE switch for changing items
3. OK : SELECT/RESET button for setting or resetting the selected item
LCD Display Control
L
LC
C D
D
D
D I
IS
S P
P L
LA
A Y
Y
3-86
Convenient features of your vehicle
OHI046400N
Page 192 of 524

User settings mode
In this mode, you can change the
setting of the head-up display, instru-
ment cluster, doors, lamps, etc.
1. Head-Up Display
2. Driving Assist
3. Door
4. Lights
5. Sound
6. Convenience
7. Service Interval
8. Other Features
9. Reset
The information provided differs
according to the items applied to your
vehicle.1. Head-Up Display
If this item is checked, it will turn on
the head-up display.
To adjust the height of the image.
To adjust the angle of the image.
To adjust the brightness of the image.
To select the information displayed
- Tu r n b y Tu r n
- Traffic information
- Smart cruise control
- Lane keeping assist system
- Blind spot detection system
To select the speedometer font size.
- Large/Medium/Small
To select the speedometer font color.
White/Orange/Green
For more information, refer to the
"Head-Up Display" in this chapter.
3-90
Convenient features of your vehicle
OHI046161L
OHI046162L
Page 196 of 524
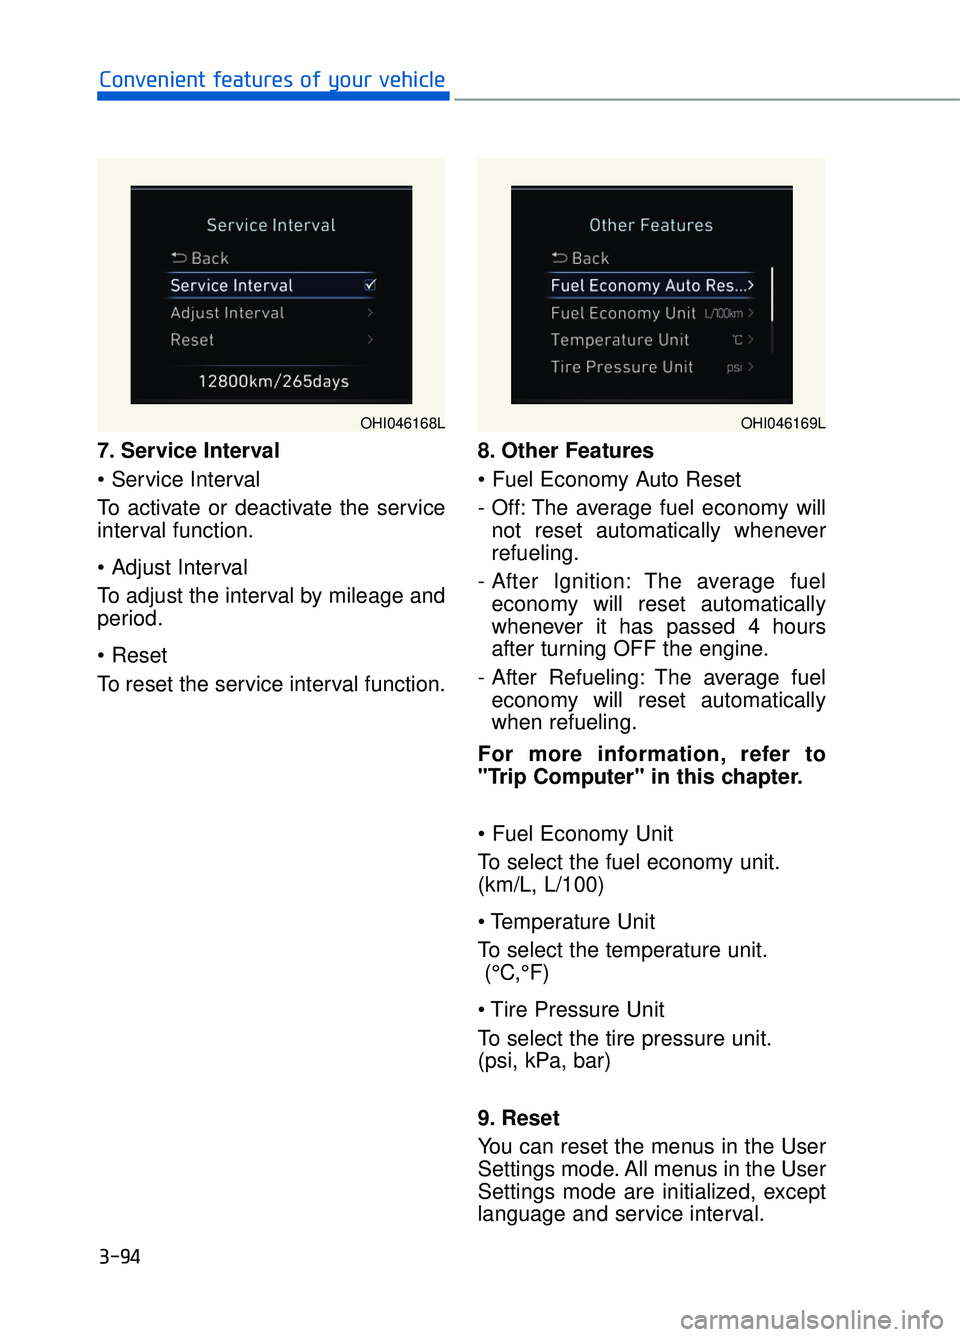
7. Service Interval
To activate or deactivate the service
interval function.
To adjust the interval by mileage and
period.
To reset the service interval function.8. Other Features
- Off: The average fuel economy will
not reset automatically whenever
refueling.
- After Ignition: The average fuel economy will reset automatically
whenever it has passed 4 hours
after turning OFF the engine.
- After Refueling: The average fuel economy will reset automatically
when refueling.
For more information, refer to
"Trip Computer" in this chapter.
To select the fuel economy unit.
(km/L, L/100)
To select the temperature unit. (°C,°F)
To select the tire pressure unit.
(psi, kPa, bar)
9. Reset
You can reset the menus in the User
Settings mode. All menus in the User
Settings mode are initialized, except
language and service interval.
3-94
Convenient features of your vehicle
OHI046168LOHI046169L
Page 197 of 524
3-95
03
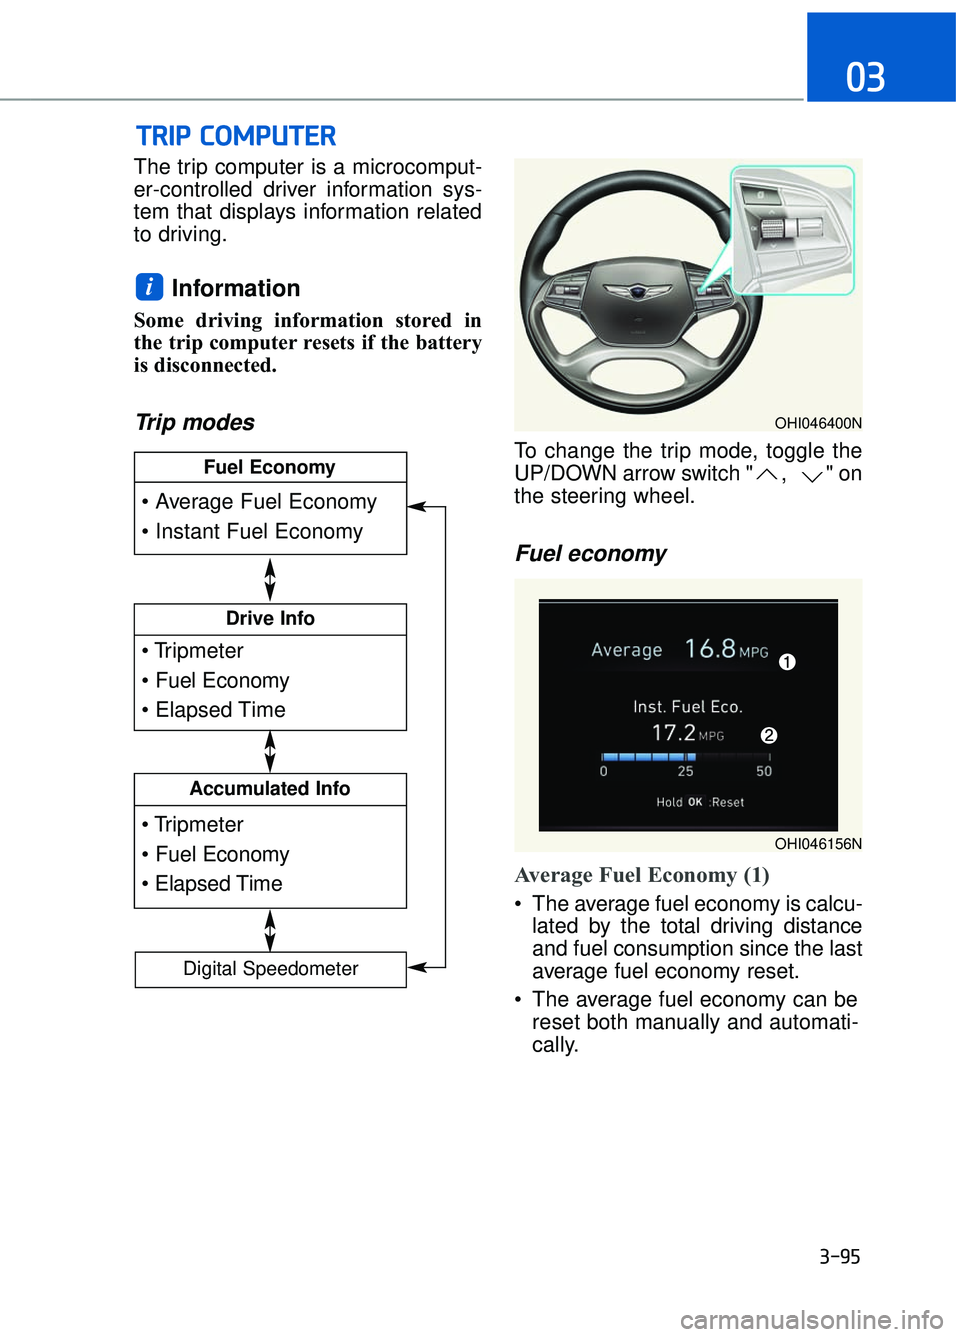
The trip computer is a microcomput-
er-controlled driver information sys-
tem that displays information related
to driving.
Information
Some driving information stored in
the trip computer resets if the battery
is disconnected.
Trip modes
To change the trip mode, toggle the
UP/DOWN arrow switch " , " on
the steering wheel.
Fuel economy
Average Fuel Economy (1)
The average fuel economy is calcu-lated by the total driving distance
and fuel consumption since the last
average fuel economy reset.
The average fuel economy can be reset both manually and automati-
cally.
i
T
TR
R I
IP
P
C
C O
O M
M P
PU
U T
TE
ER
R
Drive Info
Accumulated Info
Fuel Economy
Digital Speedometer
OHI046400N
OHI046156N
Page 198 of 524

3-96
Convenient features of your vehicle
Manual reset
To clear the average fuel economy
manually, press the OK button on the
steering wheel for more than 1 sec-
ond when the average fuel economy
is displayed.
For more information on the OK
button, refer to the "LCD Display
Control" in this chapter.
Automatic reset
To reset the average fuel economy
automatically whenever refueling,
select the "After refueling" menu in
User Settings mode of the LCD dis-
play (Refer to "LCD Display" ).
Under "After refueling" menu, the
average fuel economy will be cleared
to zero (----) when the vehicle speed
exceeds 1 mph (1 km/h) after refuel-
ing more than 2 gallons (6 liters).
Information
The vehicle must be driven for a min-
imum of 0.19 mile (0.3 km) since the
last ignition key cycle before the aver-
age fuel economy will be recalculated.
Instant Fuel Economy (2)
This mode displays the instanta-
neous fuel economy while driving
when the vehicle speed is greater
than 5 mph (8 km/h).
Driving Info display
This display shows the trip distance
(1), the average fuel economy (2),
and the total driving time (3).
The information is calculated for each
ignition cycle. The driving information
data gets initialized, when it has
passed 4 hours after turning OFF the
engine. In other words, the last driv-
ing information is available 4 hours
after you have turned on the engine.
To manually reset the information,
press and hold the OK button when
viewing the Driving info. The trip dis-
tance, the average fuel economy, and
total driving time will reset simultane-
ously.
The driving information will continue to
be counted while the engine is still run-
ning (for example, when the vehicle is
in traffic or stopped at a stop light.)
Information
The vehicle must be driven for a mini-
mum of 0.19 miles (300 meters) since the
last ignition key cycle before the average
fuel economy will be recalculated.
i
i
OHI046171N