radio GENESIS G90 2021 Owner's Manual
[x] Cancel search | Manufacturer: GENESIS, Model Year: 2021, Model line: G90, Model: GENESIS G90 2021Pages: 538, PDF Size: 13.02 MB
Page 2 of 538

F2
Your Genesis Branded Vehicle should not be modified in any way. Such
modifications may adversely affect the performance, safety or durabil-
ity of your Genesis Branded Vehicle and may, in addition, violate con-
ditions of the limited warranties covering the vehicle. Certain modifica-
tions may also be in violation of regulations established by the U.S.
Department of Transportation and other federal or state agencies.
CAUTION: MODIFICATIONS TO YOUR
GENESIS BRANDED VEHICLE
Your vehicle is equipped with electronic fuel injection and other elec-
tronic components. It is possible for an improperly installed/adjusted
two-way radio or cellular telephone to adversely affect electronic sys-
tems. For this reason, we recommend that you carefully follow the
radio manufacturer’s instructions or consult your authorized retailer of
Genesis Branded products for precautionary measures or special
instructions if you choose to install one of these devices.
TWO-WAY RADIO OR CELLULAR TELEPHONE
INSTALLATION
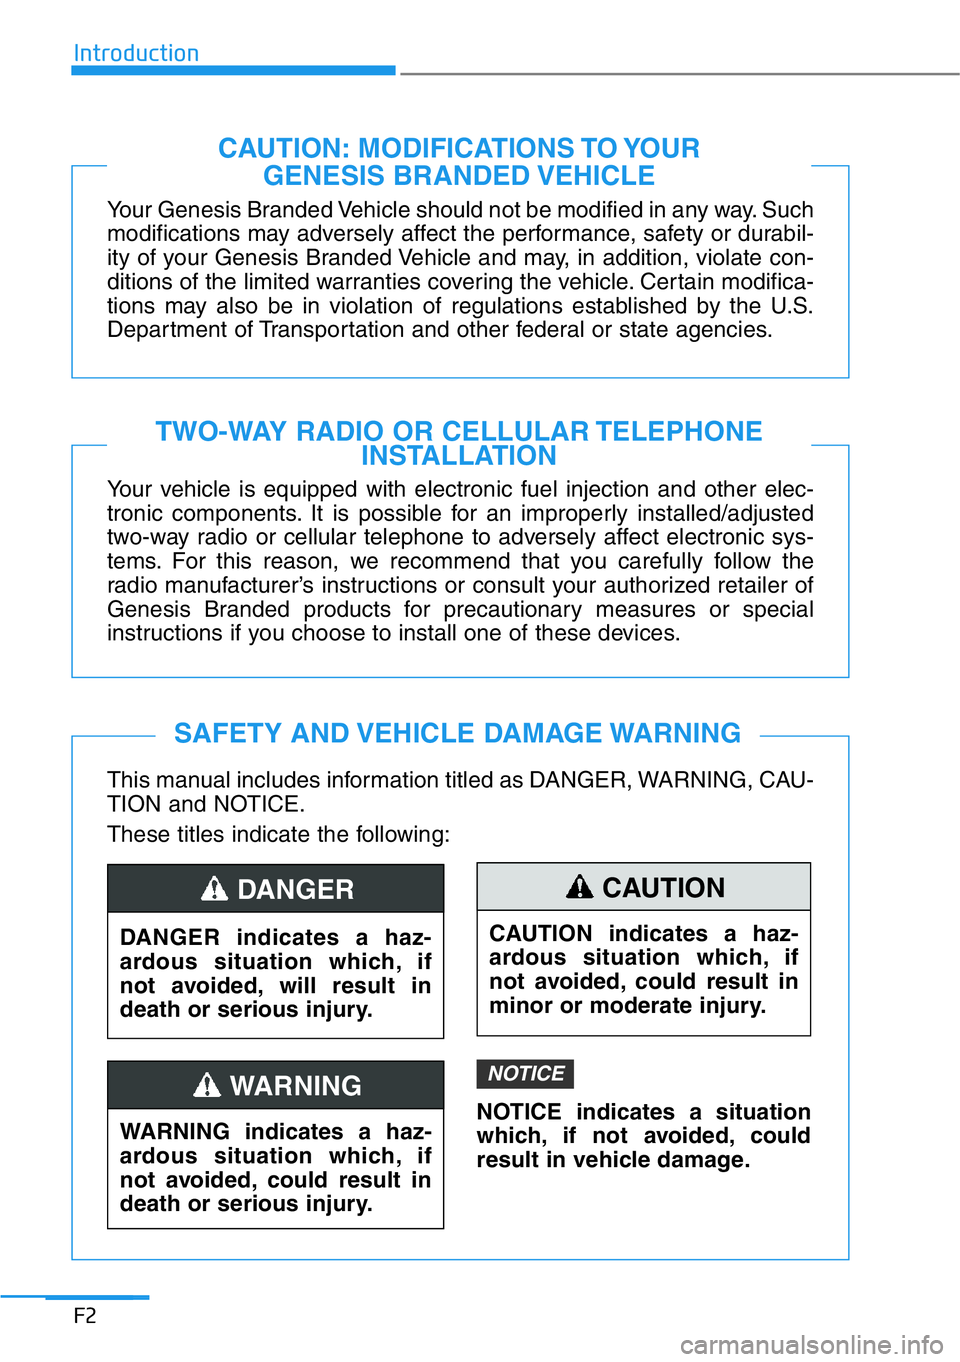
This manual includes information titled as DANGER, WARNING, CAU-
TION and NOTICE.
These titles indicate the following:
SAFETY AND VEHICLE DAMAGE WARNING
DANGER indicates a haz-
ardous situation which, if
not avoided, will result in
death or serious injury.
DANGER
WARNING indicates a haz-
ardous situation which, if
not avoided, could result in
death or serious injury.
WARNING
CAUTION indicates a haz-
ardous situation which, if
not avoided, could result in
minor or moderate injury.
CAUTION
NOTICE indicates a situation
which, if not avoided, could
result in vehicle damage.
NOTICE
Introduction
Page 89 of 538

2-69
02
Main components of the
Occupant Classification System
The OCS is designed to help detect
the presence of a properly-seated
front passenger and determine if the
passenger's front air bag should be
enabled (may inflate) or not.
The purpose is to help reduce the
risk of injury or death from an inflat-
ing air bag to certain front passenger
seat occupants, such as children, by
requiring the air bag to be automati-
cally turned OFF.
For example, if a child restraint of the
type specified in the regulations is on
the seat, the occupant classification
sensor can detect it and cause the
air bag to turn OFF.
Front passenger seat adult occu-
pants who are properly seated and
wearing the seat belt properly,
should not cause the passenger air
bag to be automatically turned OFF.
For small adults it may be turned
OFF, however, if the occupant does
not sit in the seat properly (for exam-
ple, by not sitting upright, by sitting
on the edge of the seat, or by other-
wise being out of position), this could
cause the sensor to turn the air bag
OFF.
You will find the "PASSENGER AIR
BAG OFF" indicator on the overhead
console. This system detects the
conditions 1-4 in the following table
and activates or deactivates the front
passenger air bag based on these
conditions.Always be sure that you and all vehi-
cle occupants are seated properly
and wearing the seat belt properly for
the most effective protection by the
air bag and the seat belt.
The OCS may not function properly if
the passenger takes actions which
can affect the classification system.
These include:
• Failing to sit in an upright position.
• Leaning against the door or center
console.
• Sitting towards the sides of the
front of the seat.
• Putting their legs on the dashboard
or resting them on other locations
which reduce the passenger
weight on the front seat.
• Wearing the seat belt improperly.
• Reclining the seatback.
• Wearing a thick cloth like ski wear
or hip protection wear.
• Putting an additional thick cushion
on the seat.
• Putting electrical devices (e.g.
notebook, satellite radio) on the
seat with inverter charging.
Page 92 of 538

2-72
Safety system of your vehicle
OHI038159
OHI038160
OHI038161
OHI038162
• Do not sit on the passenger seat wearing heav-
ily padded clothes such as ski wear and hip
protector.
• Do not use car seat accessories such as thick
blankets and cushions which cover up the car
seat surface.
• Do not place electronic devices such as lap-
tops, DVD player, or conductive materials such
as water bottles on the passenger seat.
• Do not use electronic devices such as laptops
and satellite radios which use inverter charg-
ers.
• If large quantity of liquid has been spilled on
the passenger seat, the air bag warning light
may illuminate or malfunction.
Therefore, make sure the seat has been com-
pletely dried before driving the vehicle.
• Do not place sharp objects on the front passenger seat. These may
damage the occupant classification system, if they puncture the
seat cushion.
• Do not place any items under the front passenger seat.
• When changing or replacing the seat or seat cover, use original
items only. The OCS has been developed based on using original
Genesis Branded products seats only. Altering or changing the
authentic parts may result in system malfunction and increase risk
of injury when in collision. Any of the above could interfere with the
proper operation of the OCS sensor thereby increasing the risk of
an injury in an accident.
Page 107 of 538

3-6
Convenient features of your vehicle
Mechanical key
If the Smart Key does not operate
normally, you can lock or unlock the
door by using the mechanical key.
To remove the mechanical key from
the smart key FOB, press and hold
the release button (1) and then pull
the mechanical key (2) outward.
To unlock the vehicle using the
mechanical key, insert the mechani-
cal key into the key hole in the driver
door (Refer to page 3-9).
To reinstall the mechanical key into
the FOB, insert the key in the top of
the key FOB and push inward until a
click sound is heard.
Loss of a smart key
A maximum of two Smart Keys can
be registered to a single vehicle. If
you happen to lose your smart key,
you should immediately take the
vehicle and remaining keys to your
authorized retailer of Genesis
Branded products or tow the vehicle,
if necessary.
Smart key precautions
The smart key will not work if any of
the following occur:
• The smart key is close to a radio
transmitter such as a radio station
or an airport which can interfere
with normal operation of the trans-
mitter.
• The smart key is near a mobile two
way radio system or a cellular
phone.
• Another vehicle's smart key is being
operated close to your vehicle.
• If the smart key is in close proximi-
ty to your mobile phone, the signal
could be blocked by your mobile
phone's normal operational sig-
nals.
This is specifically relevant when
the phone is active such as making
and receiving calls, text messag-
ing, and/or sending/receiving
emails. When possible, avoid keep-
ing the remote key and your mobile
phone in the same location such
as a pants or jacket pocket in order
to avoid interference between the
two devices.
OHI048510
Page 125 of 538

3-24
Convenient features of your vehicle
Automatic-Dimming Night Vision
Safety™ (NVS®) Mirror
(if equipped)
The NVS®Mirror automatically
reduces glare by monitoring light lev-
els in the front and the rear of the
vehicle. Any object that obstructs
either light sensor will degrade the
automatic dimming control feature.
For more information regarding
NVS
®mirrors and other applica-
tions, please refer to the Gentex
website:
www.gentex.com
Your mirror will automatically dim
upon detecting glare from the vehi-
cles traveling behind you.
The mirror defaults to the ON posi-
tion each time the vehicle is started.
Integrated HomeLink®Wireless
Control System
The HomeLink®Wireless Control
System can replace up to three hand-
held radio-frequency (RF) transmit-
ters with a single built-in device. This
innovative feature will learn the radio
frequency codes of most current
transmitters to operate devices such
as gate operators, garage door open-
ers, entry door locks, security sys-
tems, even home lighting. Both stan-
dard and rolling code-equipped trans-
mitters can be programmed by follow-
ing the outlined procedures.
Additional HomeLink
®information
can be found at: www.homelink.com,
www.youtube.com/HomeLinkGentex
or by calling 1-800-355-3515.Retain the original transmitter of the
RF device you are programming for
use in other vehicles as well as for
future HomeLink
®programming. It is
also suggested that upon the sale of
the vehicle, the programmed
HomeLink
®buttons be erased for
security purposes.
Before programming HomeLink
®
to a garage door opener or gate
operator, make sure people and
objects are out of the way of the
device to prevent potential harm
or damage. Do not use the
HomeLink
®with any garage
door opener that lacks the safe-
ty stop and reverse features
required by U.S. federal safety
standards (this includes any
garage door opener model man-
ufactured before April 1, 1982). A
garage door that cannot detect
an object - signaling the door to
stop and reverse - does not meet
current U.S. federal safety stan-
dards. Using a garage door
opener without these features
increases the risk of serious
injury or death.
WARNING
Page 126 of 538

3-25
03
Programming HomeLink®
Please note the following:
• When programming a garage door
opener, it is advised to park the
vehicle outside of the garage.
• It is recommended that a new bat-
tery be placed in the hand-held
transmitter of the device being pro-
grammed to HomeLink
®for quicker
training and accurate transmission
of the radio-frequency signal.
• Some vehicles may require the
Engine Start/Stop button to be in
the ACC (or "Accessories") posi-
tion for programming and/or opera-
tion of HomeLink
®.
• In the event that there are still pro-
gramming difficulties or questions
after following the programming
steps listed below, contact
HomeLink
®at: www.homelink.com,
www.youtube.com/HomeLinkGent
ex or by calling 1-800-355-3515.
Programming
To program most devices, follow
these instructions:
1. Press and release (1), (2) or (3)
button.
• If the indicator (4) is turned ON in
Orange, go to Step 3) since it is
a new programming.
• If the indicator (4) is continuous-
ly turned ON or flashes in Green
rapidly several times, go to Step
2) since it is a programmed but-
ton.
2. Press and hold the button you
wish to program for approximately
15-25 seconds until the LED flash-
es in Orange for several times.
3. Hold the Garage Door Opener
Original Transmitter near the
HomeLink Mirror.
OHI049595N
Page 151 of 538

3-50
Convenient features of your vehicle
Information
• If you press the door unlock button
(2), the Smart Trunk function will
be deactivated temporarily. But, if
you do not open any door for 30 sec-
onds, the smart trunk function will
be activated again.
• If you press the trunk open button
(3) for more than 1 second, the
trunk opens.
• The Smart Trunk function will still be
activated if you press the door lock
button (1) or trunk open button (3) on
the smart key as long as the Smart
Trunk is not already in the Detect and
Alert stage.
• In case you have deactivated the
Smart Trunk function by pressing
the smart key button and opened a
door, the smart trunk function can
be activated again by closing and
locking all doors.
Detecting area
• The Smart Trunk detecting area
extends approximately 20-40 inches
(50-100 cm) behind the vehicle. If
you are positioned in the detecting
area and are carrying the smart
key, the hazard warning lights will
blink and the chime will sound for
about 3 seconds to alert you that
the smart trunk will open.• The alert stops once the smart key
is moved outside of the detecting
area within the 3 second period.
Information
• The Smart Trunk function may not
operate properly if any of the follow-
ing instances occur:
- The smart key is close to a radio
transmitter such as a radio station
or an airport which can interfere
with normal operation of the
transmitter.
- The smart key is near a mobile two
way radio system or a cellular
phone.
- Another vehicle's smart key is being
operated close to your vehicle.
• The Smart Trunk detecting area
may change when:
- The vehicle is parked on an incline
or slope
- One side of the vehicle is raised or
lowered relative to the opposite
side
i
i
OHI049027N
Page 250 of 538

Steering Wheel Remote
Control
Do not operate multiple audio
remote control switches simulta-
neously.
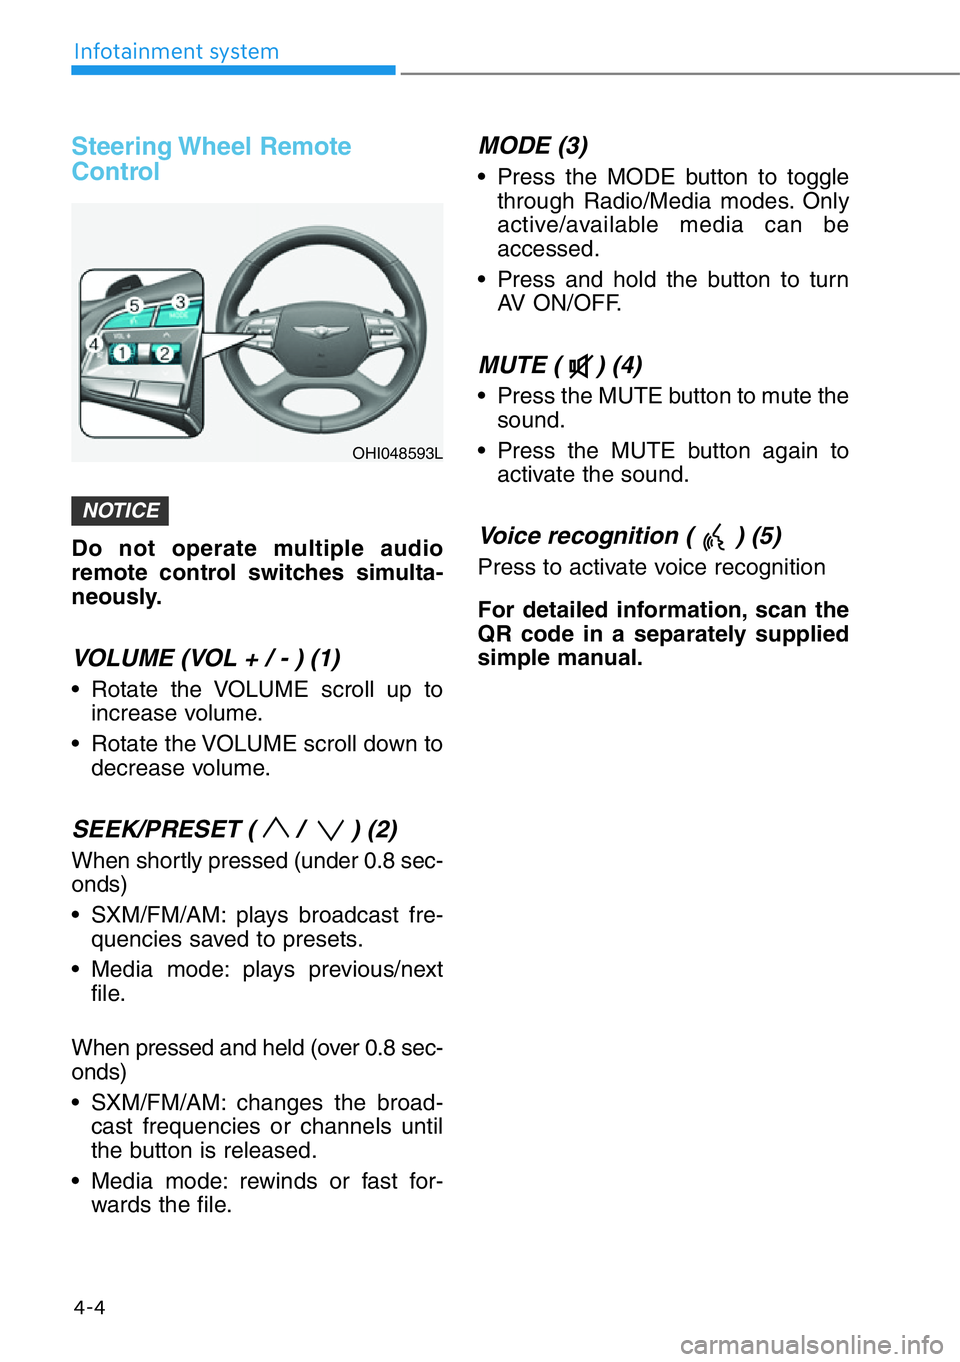
VOLUME (VOL + / - ) (1)
• Rotate the VOLUME scroll up to
increase volume.
• Rotate the VOLUME scroll down to
decrease volume.
SEEK/PRESET ( / ) (2)
When shortly pressed (under 0.8 sec-
onds)
• SXM/FM/AM: plays broadcast fre-
quencies saved to presets.
• Media mode: plays previous/next
file.
When pressed and held (over 0.8 sec-
onds)
• SXM/FM/AM: changes the broad-
cast frequencies or channels until
the button is released.
• Media mode: rewinds or fast for-
wards the file.
MODE (3)
• Press the MODE button to toggle
through Radio/Media modes. Only
active/available media can be
accessed.
• Press and hold the button to turn
AV ON/OFF.
MUTE ( ) (4)
• Press the MUTE button to mute the
sound.
• Press the MUTE button again to
activate the sound.
Voice recognition ( ) (5)
Press to activate voice recognition
For detailed information, scan the
QR code in a separately supplied
simple manual.
NOTICE
4-4
Infotainment system
OHI048593L
Page 254 of 538

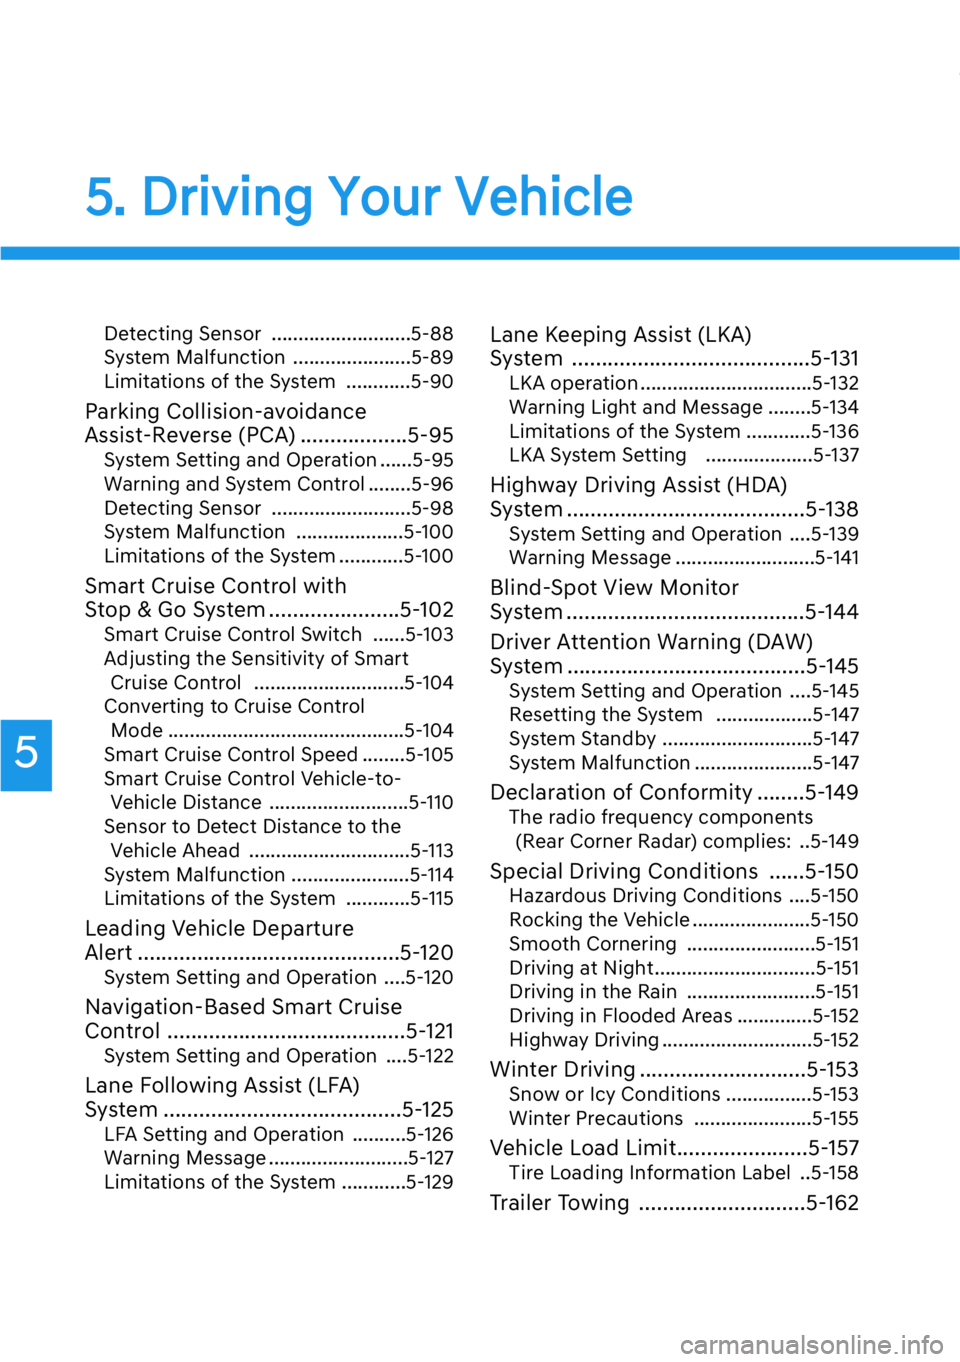
5. Driving Your Vehicle
Detecting Sensor ..........................5-88
System Malfunction ......................5-89
Limitations of the System ............5-90
Parking Collision-avoidance
Assist-Reverse (PCA) ..................5-95
System Setting and Operation ......5-95
Warning and System Control ........5-96
Detecting Sensor ..........................5-98
System Malfunction ....................5-100
Limitations of the System ............5-100
Smart Cruise Control with
Stop & Go System ......................5-102
Smart Cruise Control Switch ......5-103
Adjusting the Sensitivity of Smart
Cruise Control ............................5-104
Converting to Cruise Control
Mode ............................................5-104
Smart Cruise Control Speed ........5-105
Smart Cruise Control Vehicle-to-
Vehicle Distance ..........................5-110
Sensor to Detect Distance to the
Vehicle Ahead ..............................5-113
System Malfunction ......................5-114
Limitations of the System ............5-115
Leading Vehicle Departure
Alert ............................................5-120
System Setting and Operation ....5-120
Navigation-Based Smart Cruise
Control ........................................5-121
System Setting and Operation ....5-122
Lane Following Assist (LFA)
System ........................................5-125
LFA Setting and Operation ..........5-126
Warning Message ..........................5-127
Limitations of the System ............5-129
Lane Keeping Assist (LKA)
System ........................................5-131
LKA operation ................................5-132
Warning Light and Message ........5-134
Limitations of the System ............5-136
LKA System Setting ....................5-137
Highway Driving Assist (HDA)
System ........................................5-138
System Setting and Operation ....5-139
Warning Message ..........................5-141
Blind-Spot View Monitor
System ........................................5-144
Driver Attention Warning (DAW)
System ........................................5-145
System Setting and Operation ....5-145
Resetting the System ..................5-147
System Standby ............................5-147
System Malfunction ......................5-147
Declaration of Conformity ........5-149
The radio frequency components
(Rear Corner Radar) complies: ..5-149
Special Driving Conditions ......5-150
Hazardous Driving Conditions ....5-150
Rocking the Vehicle ......................5-150
Smooth Cornering ........................5-151
Driving at Night..............................5-151
Driving in the Rain ........................5-151
Driving in Flooded Areas ..............5-152
Highway Driving ............................5-152
Winter Driving ............................5-153
Snow or Icy Conditions ................5-153
Winter Precautions ......................5-155
Vehicle Load Limit......................5-157
Tire Loading Information Label ..5-158
Trailer Towing ............................5-162
5
Page 317 of 538

5-65
05
Information
In some instances, the FCA system
may be canceled when subjected to
electromagnetic interference.
Information
This device complies with Part 15 of
the FCC rules.
Operation is subject to the following
three conditions:
1. This device may not cause harmful
interference, and
2. This device must accept any inter-
ference received, including interfer-
ence that may cause undesired
operation.
3. Changes or modifications not
expressly approved by the party
responsible for compliance could
void the user's authority to operate
the device.
Information
Radio frequency radiation exposure
information:
This equipment complies with FCC
radiation exposure limits set forth for
an uncontrolled environment.
This equipment should be installed
and operated with minimum distance
of 8 in. (20 cm) between the radiator
(antenna) and your body.
This transmitter must not be co-locat-
ed or operating in conjunction with
any other antenna or transmitter.
i
i
i