eset GENESIS GV80 2021 User Guide
[x] Cancel search | Manufacturer: GENESIS, Model Year: 2021, Model line: GV80, Model: GENESIS GV80 2021Pages: 632, PDF Size: 9.37 MB
Page 169 of 632
05
5-27
Information
• In cold and wet climates, door lock
and door mechanisms may not work
properly due to freezing conditions.
• If the door is locked/unlocked multiple
times in rapid succession with either
the vehicle key or door lock switch, the
system may stop operating temporarily
in order to protect the circuit and
prevent damage to system components.
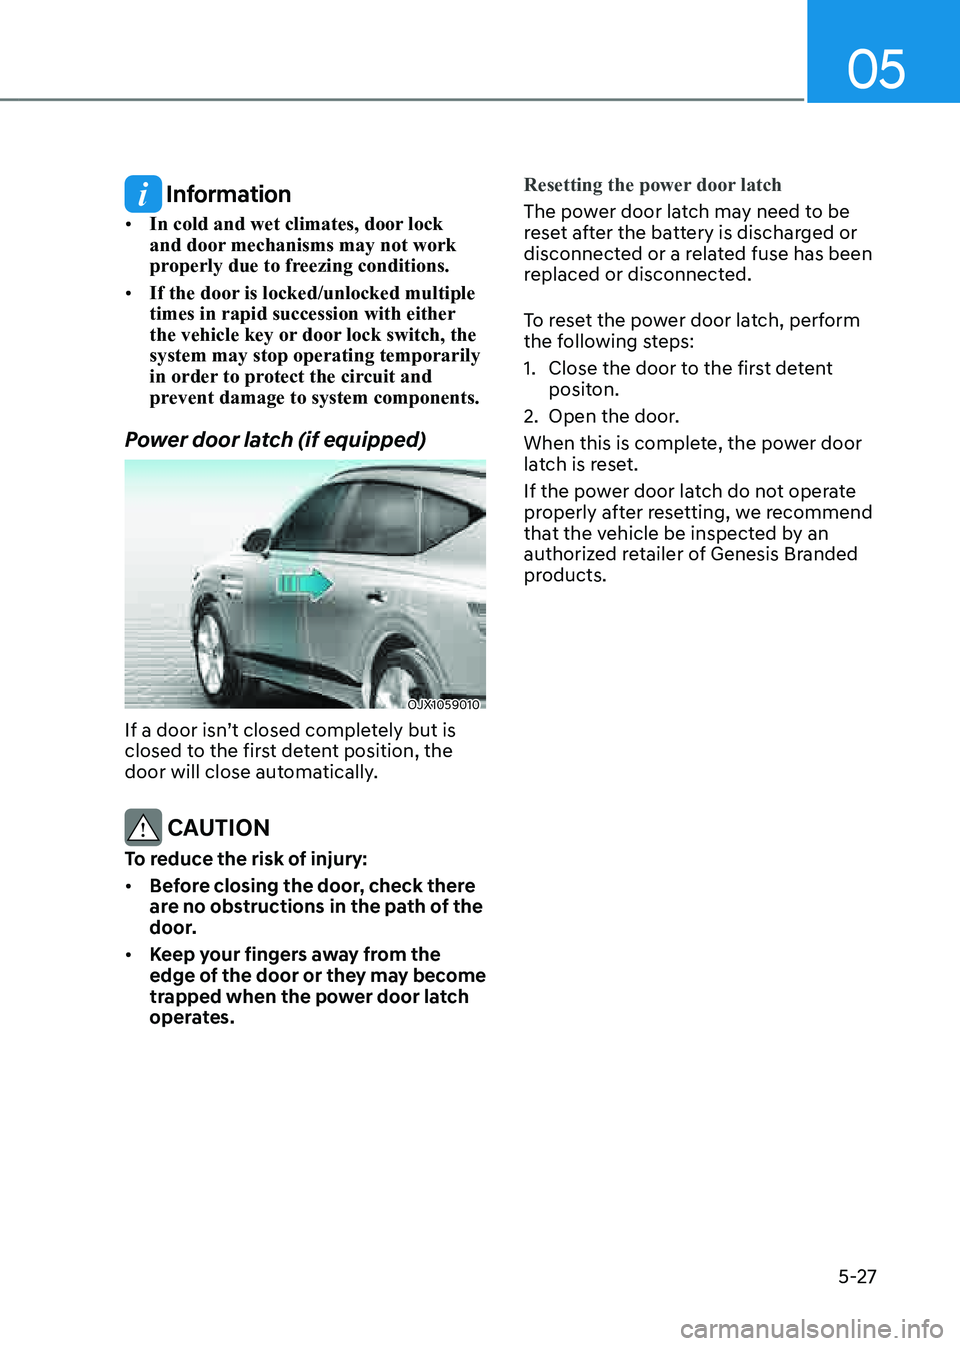
Power door latch (if equipped)
OJX1059010OJX1059010
If a door isn’t closed completely but is
closed to the first detent position, the
door will close automatically.
CAUTION
To reduce the risk of injury:
• Before closing the door, check there
are no obstructions in the path of the
door.
• Keep your fingers away from the
edge of the door or they may become
trapped when the power door latch
operates.Resetting the power door latch
The power door latch may need to be
reset after the battery is discharged or
disconnected or a related fuse has been
replaced or disconnected.
To reset the power door latch, perform
the following steps:
1. Close the door to the first detent
positon.
2. Open the door.
When this is complete, the power door
latch is reset.
If the power door latch do not operate
properly after resetting, we recommend
that the vehicle be inspected by an
authorized retailer of Genesis Branded
products.
Page 176 of 632
Convenient Features
5-34
This system helps to protect your vehicle
and valuables. The horn will sound and
the hazard warning lights will blink
continuously if any of the following
occur:
-A door is opened without using the
smart key.
-The liftgate is opened without using
the smart key.
-The engine hood is opened.
The alarm continues for 30 seconds, then
the system resets. To turn off the alarm,
unlock the doors with the smart key.
The Theft Alarm System automatically
sets 30 seconds after you lock the
doors and the liftgate. For the system to
activate, you must lock the doors and
the liftgate from outside the vehicle with
the smart key or by touching the touch
sensor on the outside of the door handle
with the smart key in your possession.
The hazard warning lights will blink and
the chime will sound once to indicate the
system is armed.
Once the security system is set, opening
any door, the liftgate, or the hood
without using the smart key will cause
the alarm to activate.
The Theft Alarm System will not set if the
hood, the liftgate, or any door is not fully
closed. If the system will not set, check
the hood, the liftgate, or the doors are
fully closed.
Do not attempt to alter this system or
add other devices to it.
Information
• Do not lock the doors until all
passengers have left the vehicle. If the
remaining passenger leaves the vehicle
when the system is armed, the alarm
will be activated.
• If the vehicle is not disarmed with the
smart key, open the doors by using the
mechanical key and start the engine by
directly pressing the Engine Start/Stop
button with the smart key.
• If the system is disarmed by unlocking
the vehicle, but neither a door or the
liftgate is opened within 30 seconds, the
doors will re-lock and the system will
rearm automatically.
• It is not recommended to install any
secondary aftermarket theft-alarm
systems into the vehicle factory
electrical system.
THEFT-ALARM SYSTEM
Page 178 of 632
Convenient Features
5-36
Recalling Memory Positions
1. Shift to P (Park) while the Engine
Start/Stop button is in the ON
position.
2. Press the desired memory button (1
or 2). The system will beep once, and
then the driver’s seat position, outer
side view mirror position, steering
wheel position, instrument panel
illumination intensity and head-
up display height/brightness will
automatically adjust to the stored
positions.
3. ‘Driver 1 (or 2) settings applied’ will
appear on the cluster LCD display.
Information
• If you press the SET button or the
corresponding button which the
setting is being recalled, the setting will
temporarily deactivate. If you press the
other buttons, the setting of the pressed
button will activate.
For example, if you press the SET
button or number 1 button with the
number 1 setting in operation, the
setting will temporarily deactivate. If
you press the number 2 button, the
number 2 setting will activate.
• If you adjust the seat, side view mirror,
steering wheel, instrument panel
illumination or head-up display while
recalling the stored positions, the pre-
set settings will become ineffective.
Resetting the System
Take the following procedures to reset
Integrated Memory System, when it does
not operate properly.
Resetting Integrated Memory
System
1. Stop the vehicle and open the driver’s
door with the vehicle shifted to P
(Park).
2. Adjust the driver’s seat and seatback
to the foremost position.
3. Press the SET button and push
forward the driver’s seat movement
switch over 2 seconds simultaneously.
While resetting Integrated Memory
System
1. Resetting starts with a notification
sound.
2. The driver’s seat and seatback is
adjusted to the rearward position with
the notification sound.
3. The driver’s seat and seatback is
re-adjusted to the default position
(central position) with the notification
sound.
However, in the following cases, the
resetting procedure and the notification
sound may stop.
• The memory button is pressed.
• The seat control switch is operated.
• The driving speed exceeds
2 mph (3 km/h).
• The driver’s door is closed.
Page 179 of 632
05
5-37
NOTICE
• While Integrated Memory System
is being reset, if the resetting
and notification sound stops
incompletely, restart the resetting
procedure again.
• Make sure that there is no objects
around the driver’s seat in advance
of resetting the Integrated Memory
System.
Seat Easy Access
Seat easy access will move the driver’s
seat and steering wheel automatically as
follows:
• Exiting the vehicle:
The driver’s seat, steering wheel and
seat bolster will move as follows when
the Engine Start/Stop button is in the
OFF position with the gear in P (Park)
and the driver’s door open.
-Driver seat: Moves rearward
depending on the distance selected
from the Settings menu in the
infotainment system.
-Steering wheel: Moves upward
-Seat bolster (if equipped): Adjusted
to the default position.
However, the driver’s seat may not
move rearward if there is not enough
space between the driver’s seat and
the rear seats.
Also, on a regular basis, the steering
wheel will also move forward to adjust
its location by itself.
• Entering the vehicle:
The driver’s seat, steering wheel and
seat bolster will move as follows
when the Engine Start/Stop button
is pressed to the ACC, ON or START
position or while carrying the smart
key, the driver’s door is closed with
the Engine Start/Stop button in the
OFF position.
- Driver seat: Moves back to its
original position.
-Steering wheel: Moves back to its
original position.
-Seat bolster (if equipped): Adjusted
to the default position.
• You can set the Seat Easy Access
function from the Settings menu
in the infotainment system screen.
Select:
-Driver seat
Setup → Vehicle Settings → Seat →
Seating Easy Access → Driver Seat
Easy Access → Normal/Extended/Off
-Steering wheel
Setup → Vehicle Settings → Seat
→ Seating Easy Access → Steering
wheel easy access
See additional information in
supplied Infotainment Manual.
Page 183 of 632
05
5-41
Resetting steering wheel power adjustment
If adjustment is no longer possible within
the operable range while adjusting the
steering wheel position (angle or height),
reset as follows.
1. From the position the steering wheel
has stopped, push the control switch
(1) for 10 seconds in the direction you
were adjusting the steering wheel.
The steering wheel will move in the
direction the control switch is pushed.
2. Continue pushing the switch (1) for
at least 2 seconds after the steering
wheel has stopped. Resetting will be
complete after the operational range
is recognized.
If the adjustment is still not possible
after resetting the steering wheel
power adjustment, have the system
inspected by authorized retailer of
Genesis Branded products.
Horn
OJX1059025OJX1059025
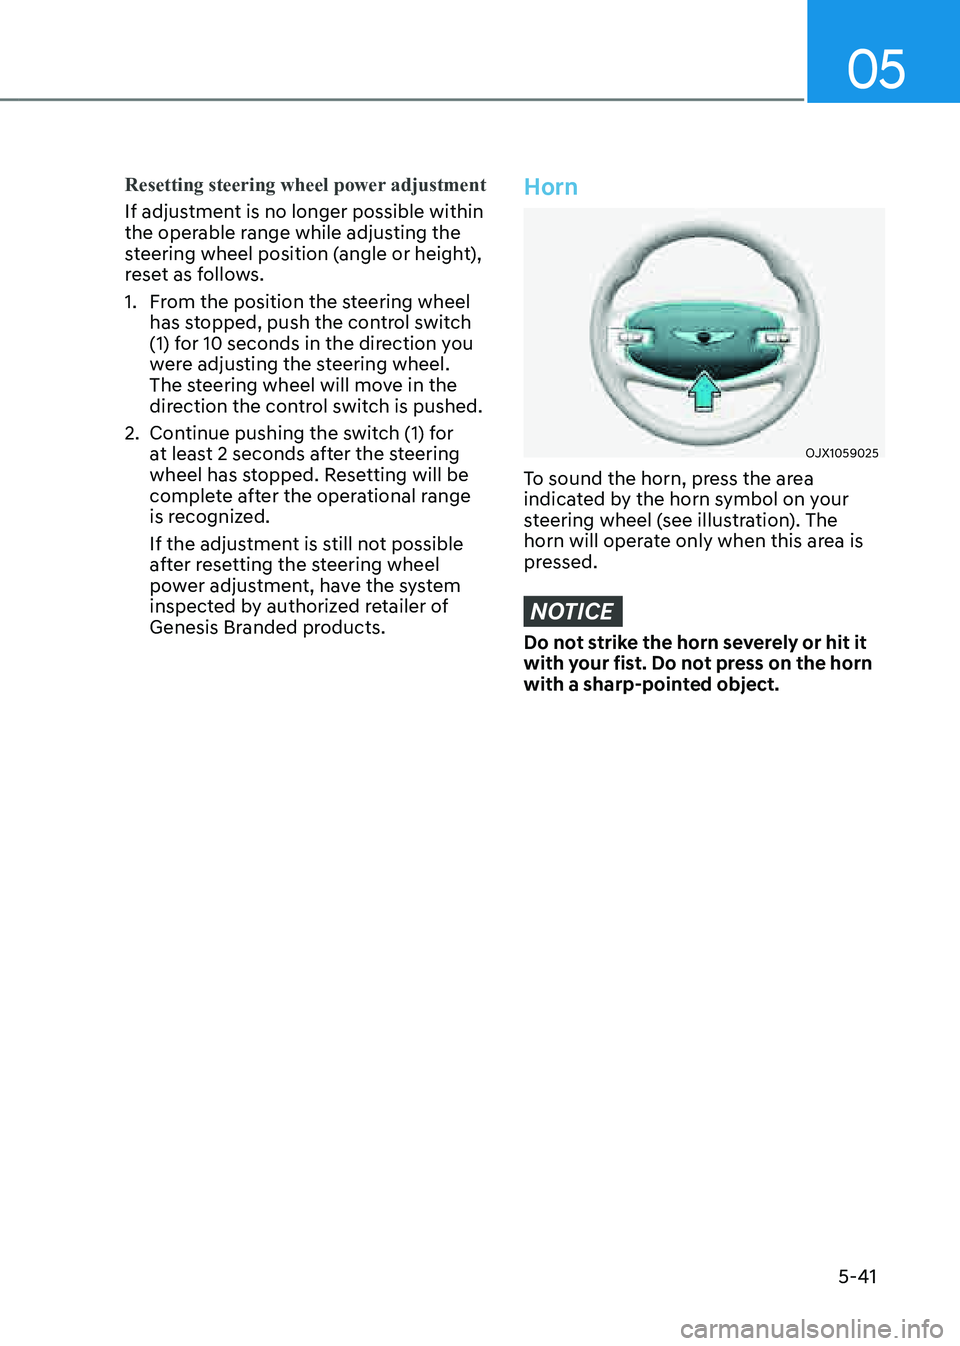
To sound the horn, press the area
indicated by the horn symbol on your
steering wheel (see illustration). The
horn will operate only when this area is
pressed.
NOTICE
Do not strike the horn severely or hit it
with your fist. Do not press on the horn
with a sharp-pointed object.
Page 194 of 632
Convenient Features
5-52
Reverse parking aid user settings
mode
You may change the angle of the side
view mirror if it is difficult to see the rear
view with the basic downward mirror
angle provided when reversing.
When the vehicle is first delivered, the
set downward angle of the left and right
side view mirror are different to ensure
driver visibility.
1. Make sure the vehicle is stopped.
2. Depress the brake pedal and shift
the gear to R (Reverse). When L (Left)
or R (Right) button is pressed, both
side view mirror angle will move
downward to the basic set position.
3. Press either L or R button to select
the side view mirror you would like
to adjust. Then press “▼, ▲, ◄, ►”
switch to adjust the side view mirror
to the desired angle.
4. After adjusting the angle to save the
adjusted side view mirror angle, shift
the gear to another position other
than R (Reverse), or change the L and
R buttons to the neutral position (L
and R buttons are not pressed).
5. Set the other side view mirror
following the above procedure 1 to 4.
Resetting reverse parking aid user settings
mode
To change the side view mirror angle
back to the basic angle, shift the gear to
R (Reverse), and adjust the mirror angle
higher than when the gear is in P (Park),
N (Neutral) and D (Drive).
NOTICE
When changing the angle of both side
view mirrors, it is recommended to
change the angle one side at a time
following the procedure 1 to 4.
Page 196 of 632
Convenient Features
5-54
Power Windows
The Engine Start/Stop button must be
in the ON position to be able to raise
or lower the windows. Each door has a
Power Window switch to control that
door’s window. The driver has a Power
Window Lock button which can block
the operation of passenger windows.
The power windows will operate for
approximately 3 minutes after the Engine
Start/Stop button is in the ACC or OFF
position. However, if the front doors are
opened, the Power Windows will not
operate even within the 3 minute period.
Window opening and closing
OJX1059031OJX1059031
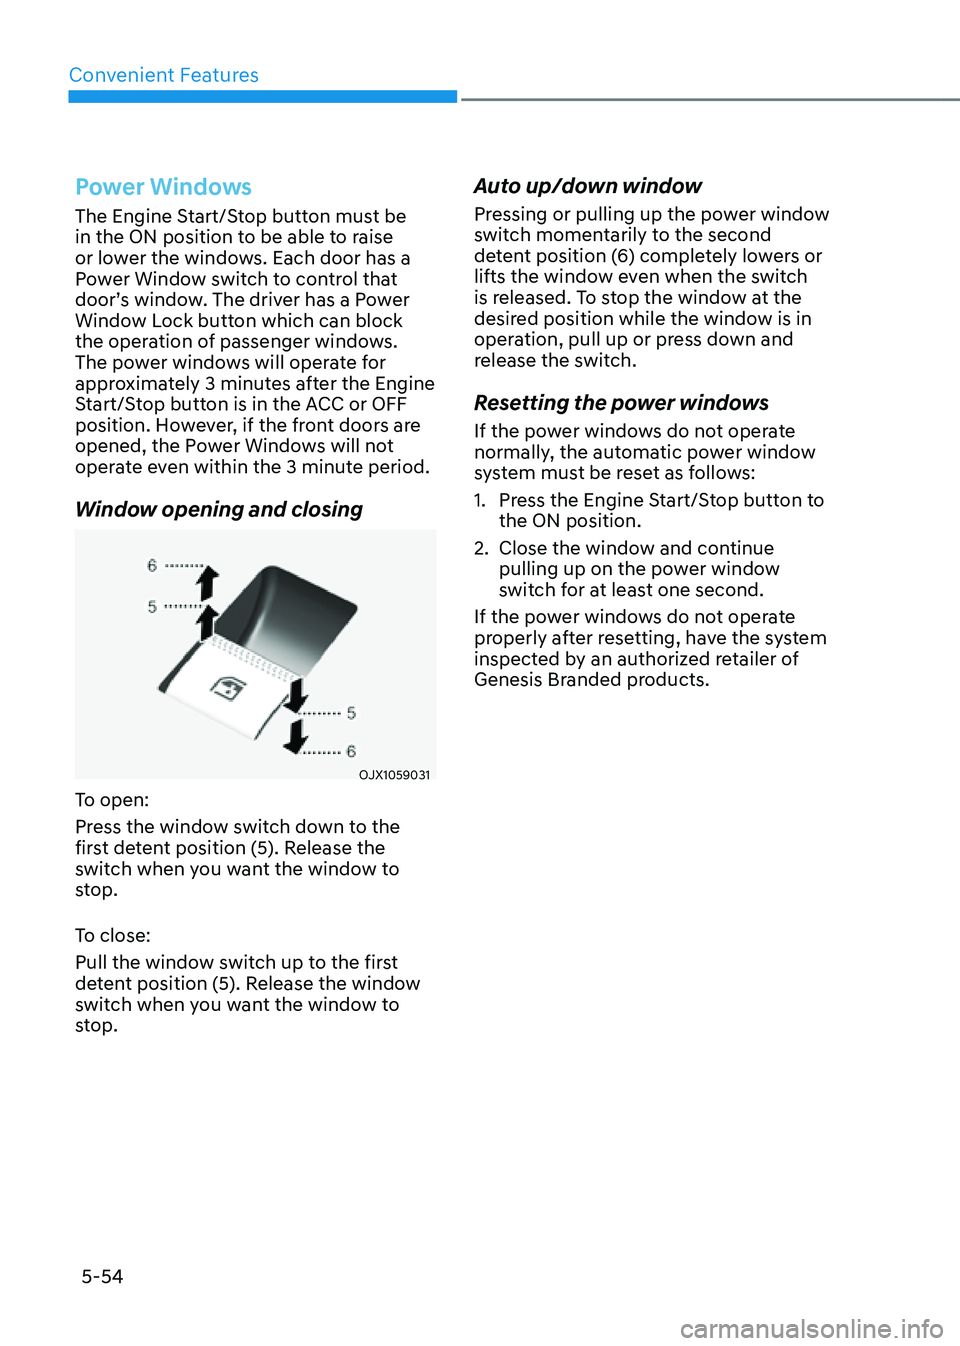
To open:
Press the window switch down to the
first detent position (5). Release the
switch when you want the window to
stop.
To close:
Pull the window switch up to the first
detent position (5). Release the window
switch when you want the window to
stop.
Auto up/down window
Pressing or pulling up the power window
switch momentarily to the second
detent position (6) completely lowers or
lifts the window even when the switch
is released. To stop the window at the
desired position while the window is in
operation, pull up or press down and
release the switch.
Resetting the power windows
If the power windows do not operate
normally, the automatic power window
system must be reset as follows:
1. Press the Engine Start/Stop button to
the ON position.
2. Close the window and continue
pulling up on the power window
switch for at least one second.
If the power windows do not operate
properly after resetting, have the system
inspected by an authorized retailer of
Genesis Branded products.
Page 202 of 632
Convenient Features
5-60
Automatic reverse
ODH043039ODH043039
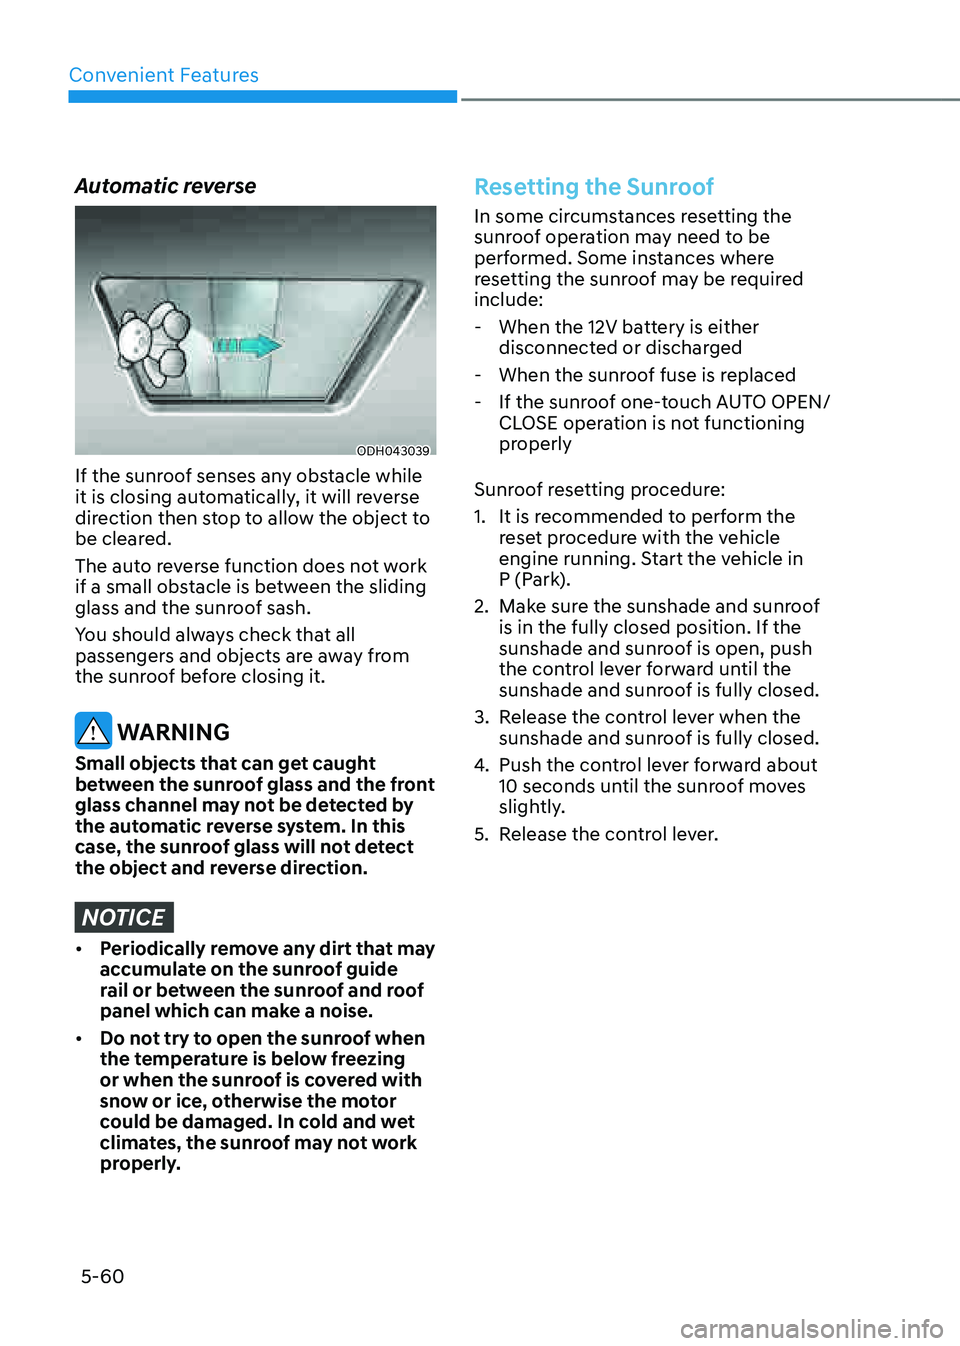
If the sunroof senses any obstacle while
it is closing automatically, it will reverse
direction then stop to allow the object to
be cleared.
The auto reverse function does not work
if a small obstacle is between the sliding
glass and the sunroof sash.
You should always check that all
passengers and objects are away from
the sunroof before closing it.
WARNING
Small objects that can get caught
between the sunroof glass and the front
glass channel may not be detected by
the automatic reverse system. In this
case, the sunroof glass will not detect
the object and reverse direction.
NOTICE
• Periodically remove any dirt that may
accumulate on the sunroof guide
rail or between the sunroof and roof
panel which can make a noise.
• Do not try to open the sunroof when
the temperature is below freezing
or when the sunroof is covered with
snow or ice, otherwise the motor
could be damaged. In cold and wet
climates, the sunroof may not work
properly.
Resetting the Sunroof
In some circumstances resetting the
sunroof operation may need to be
performed. Some instances where
resetting the sunroof may be required
include:
-When the 12V battery is either
disconnected or discharged
-When the sunroof fuse is replaced
-If the sunroof one-touch AUTO OPEN/
CLOSE operation is not functioning
properly
Sunroof resetting procedure:
1. It is recommended to perform the
reset procedure with the vehicle
engine running. Start the vehicle in
P (Park).
2. Make sure the sunshade and sunroof
is in the fully closed position. If the
sunshade and sunroof is open, push
the control lever forward until the
sunshade and sunroof is fully closed.
3. Release the control lever when the
sunshade and sunroof is fully closed.
4. Push the control lever forward about
10 seconds until the sunroof moves
slightly.
5. Release the control lever.
Page 203 of 632
05
5-61
6. Within 3 seconds, push and hold
the control lever forward until the
sunshade and sunroof operates as
follows:
Sunshade Open → Glass Tilt Open →
Glass Slide Open → Glass Slide Close →
Sunshade Close
Do not release the lever until the
operation is completed.
If you release the control lever during
operation, start the procedure again from
step 2.
7. Release the sunroof control lever after
all steps have completed. The sunroof
system has been reset.
Information
If the sunroof is not reset when the vehicle
battery is disconnected or discharged, or
the sunroof fuse is blown, the sunroof may
not operate normally.
For more detailed information, contact
an authorized retailer of Genesis Branded
products.
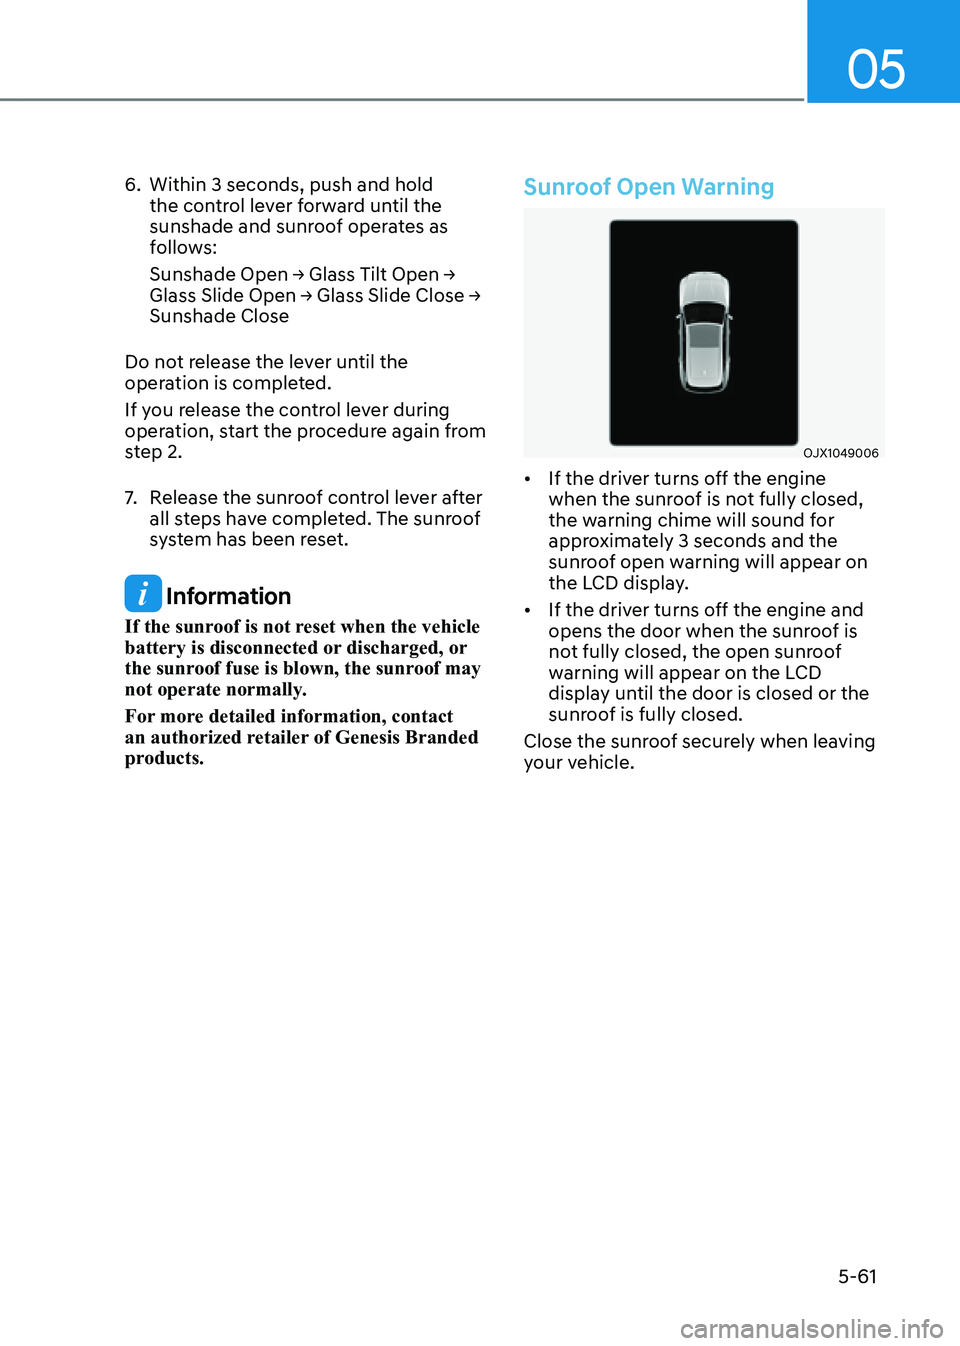
Sunroof Open Warning
OJX1049006 OJX1049006
• If the driver turns off the engine
when the sunroof is not fully closed,
the warning chime will sound for
approximately 3 seconds and the
sunroof open warning will appear on
the LCD display.
• If the driver turns off the engine and
opens the door when the sunroof is
not fully closed, the open sunroof
warning will appear on the LCD
display until the door is closed or the
sunroof is fully closed.
Close the sunroof securely when leaving
your vehicle.
Page 209 of 632
05
5-67
Non-operating conditions of the
power liftgate
• The power liftgate does not open
when the vehicle is in motion.
The chime will sound if you drive with
the liftgate opened. Stop your vehicle
immediately at a safe place and check
if your liftgate is opened.
• Operating the power liftgate more
than 5 times continuously could
cause damage to the operating motor.
If this occurs, the power liftgate
system enters into thermal protection
mode to prevent the motor from
overheating. In thermal protection
mode, the power liftgate will not
operate. If any of the power liftgate
buttons are pressed to try to open the
liftgate, the chime will sound 3 times
but the liftgate will remain closed.
Allow the power liftgate system
to cool for about 1 minute before
operating the system again.
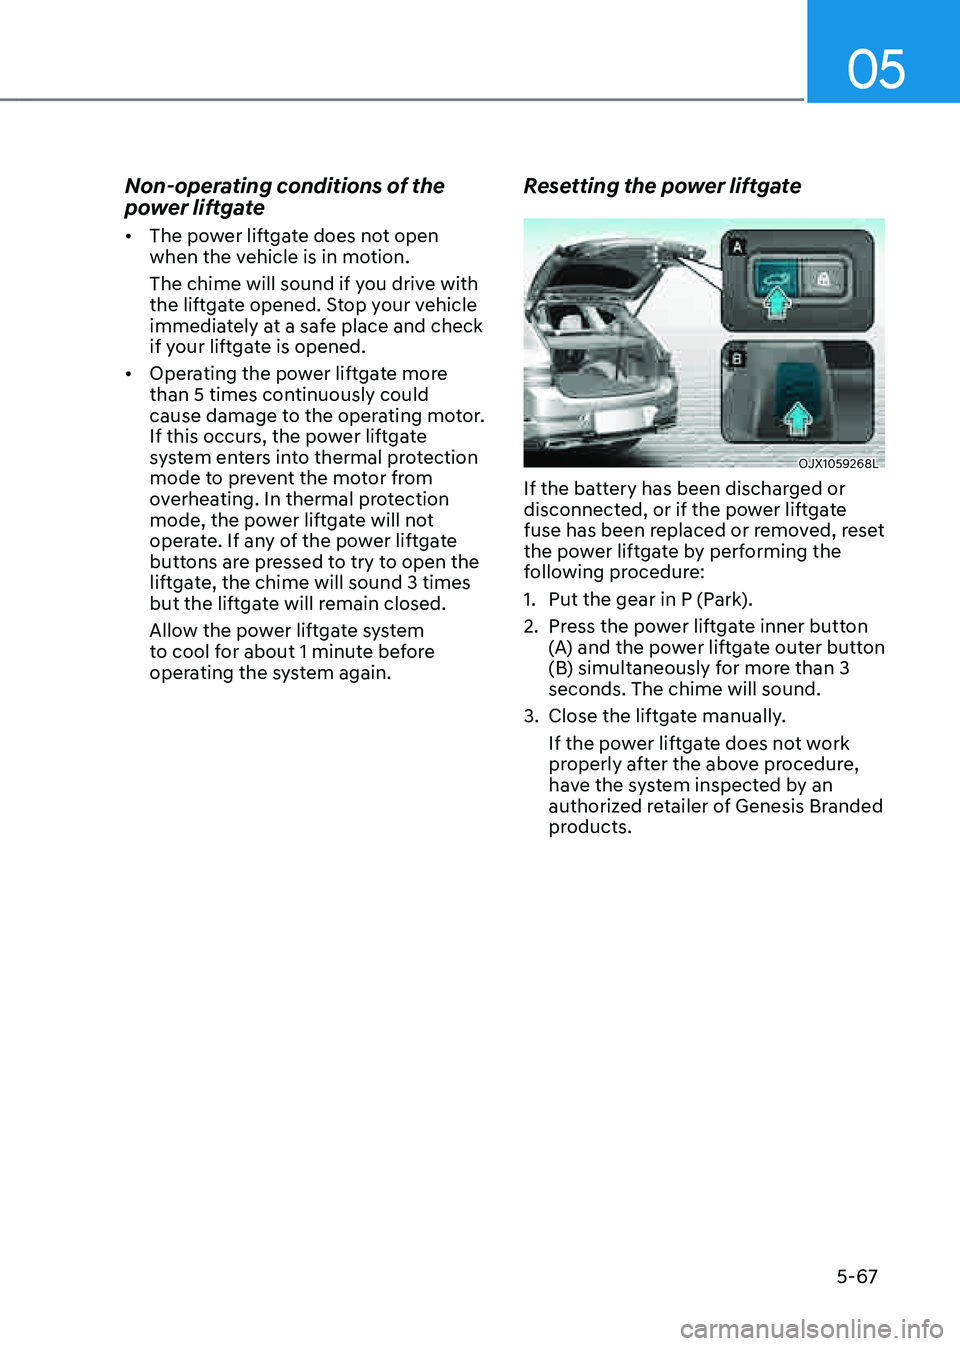
Resetting the power liftgate
OJX1059268LOJX1059268L
If the battery has been discharged or
disconnected, or if the power liftgate
fuse has been replaced or removed, reset
the power liftgate by performing the
following procedure:
1. Put the gear in P (Park).
2. Press the power liftgate inner button
(A) and the power liftgate outer button
(B) simultaneously for more than 3
seconds. The chime will sound.
3. Close the liftgate manually.
If the power liftgate does not work
properly after the above procedure,
have the system inspected by an
authorized retailer of Genesis Branded
products.