battery warning GENESIS GV80 2021 Owner's Guide
[x] Cancel search | Manufacturer: GENESIS, Model Year: 2021, Model line: GV80, Model: GENESIS GV80 2021Pages: 632, PDF Size: 9.37 MB
Page 320 of 632
Driving Your Vehicle
6-48
Idle Stop and Go helps reduce fuel
consumption by automatically shutting
down the engine, when the vehicle is
at a standstill (i.e. red stop light, stop
sign, and traffic jam) subject to certain
prerequisite conditions being satisfied as
listed below.
The engine is automatically started upon
satisfying the starting conditions.
ISG system is always active, when the
engine is running.
Information
When the engine is automatically started
by ISG system, warning lights (i.e. ABS,
ESC, ESC OFF, EPS, and parking brake
warning light) may illuminate for a few
seconds due to low battery voltage.
However, it does not indicate a
malfunction with ISG system.
ISG System Operation
Prerequisite for activation
ISG system operates in the following
situations.
• The driver's seatbelt is fastened
• The driver's door and hood are closed
• The brake vacuum pressure is
adequate
• The battery sensor is activated and
the battery is sufficiently charged
• Outside temperature is not too low or
too high
• The vehicle is driven over a constant
speed and stops
• The climate control system satisfies
the conditions
• The vehicle is sufficiently warmed up
• ISG related parts are working properly
• The incline is gradual
• The steering wheel is turned less than
180 degrees and then the vehicle
stops
Information
ISG system is not activated, when the
prerequisites to activate the ISG system
are not satisfied. If this occurs, the ISG
OFF button indicator illuminates, and the
Auto Stop (
) indicator illuminates in
yellow on the instrument cluster.
When the Auto Stop (
) indicator stays
on the instrument cluster, have the system
inspected by an authorized retailer of
Genesis Branded products.
Auto stop
When ISG is on the engine will be
stopped automatically when both of the
following occurs:
1. Vehicle speed decreases to 0mph (0 km/h) full stop condition.
2. Brake pedal is depressed and gear is
in D (Drive) or N (Neutral).
The Auto Stop (
) indicator illuminates
in green on the instrument cluster, when
the engine stops.
Information
Idle stop cannot reoccur again until the vehicle speed goes above 3 mph (5 km/h) and then returns again to the automatic
stop conditions as previously mentioned.
IDLE STOP AND GO (ISG)
Page 323 of 632
06
6-51
Forced to Restart Engine
The engine is automatically restarted in
the following situations.
• The brake vacuum pressure is low
• The engine has stopped for about 5
minutes
• The air conditioning is ON with the fan
speed set to a certain high level
• The front defroster is ON
• The battery is weak
• The cooling and heating performance
of the climate control system is
unsatisfactory
• The vehicle is shifted to P (Park) or R
(Reverse) when Auto Hold is activated
• The door is opened or the seatbelt
is unfastened when Auto Hold is
activated
• The EPB switch is pressed when Auto
Hold is activated
The Auto Stop (
) indicator blinks in
green for 5 seconds on the instrument
cluster when the engine is restarted.
WARNING
When the engine is in Idle Stop mode,
the engine may restart without the
driver taking any action. Before leaving
the vehicle or working on the engine
compartment, turn off the engine by
pressing the ENGINE START/STOP
button to the OFF position.
ISG Malfunction
ISG system may not operate when there
is a malfunction with the ISG sensors or
ISG system.
The following will occur, when there is a
malfunction with the ISG system:
• The Auto Stop () indicator will blink
in yellow on the instrument cluster.
• The light on the ISG OFF button will
illuminate.
Contact an authorized retailer of Genesis
Branded products.
NOTICE
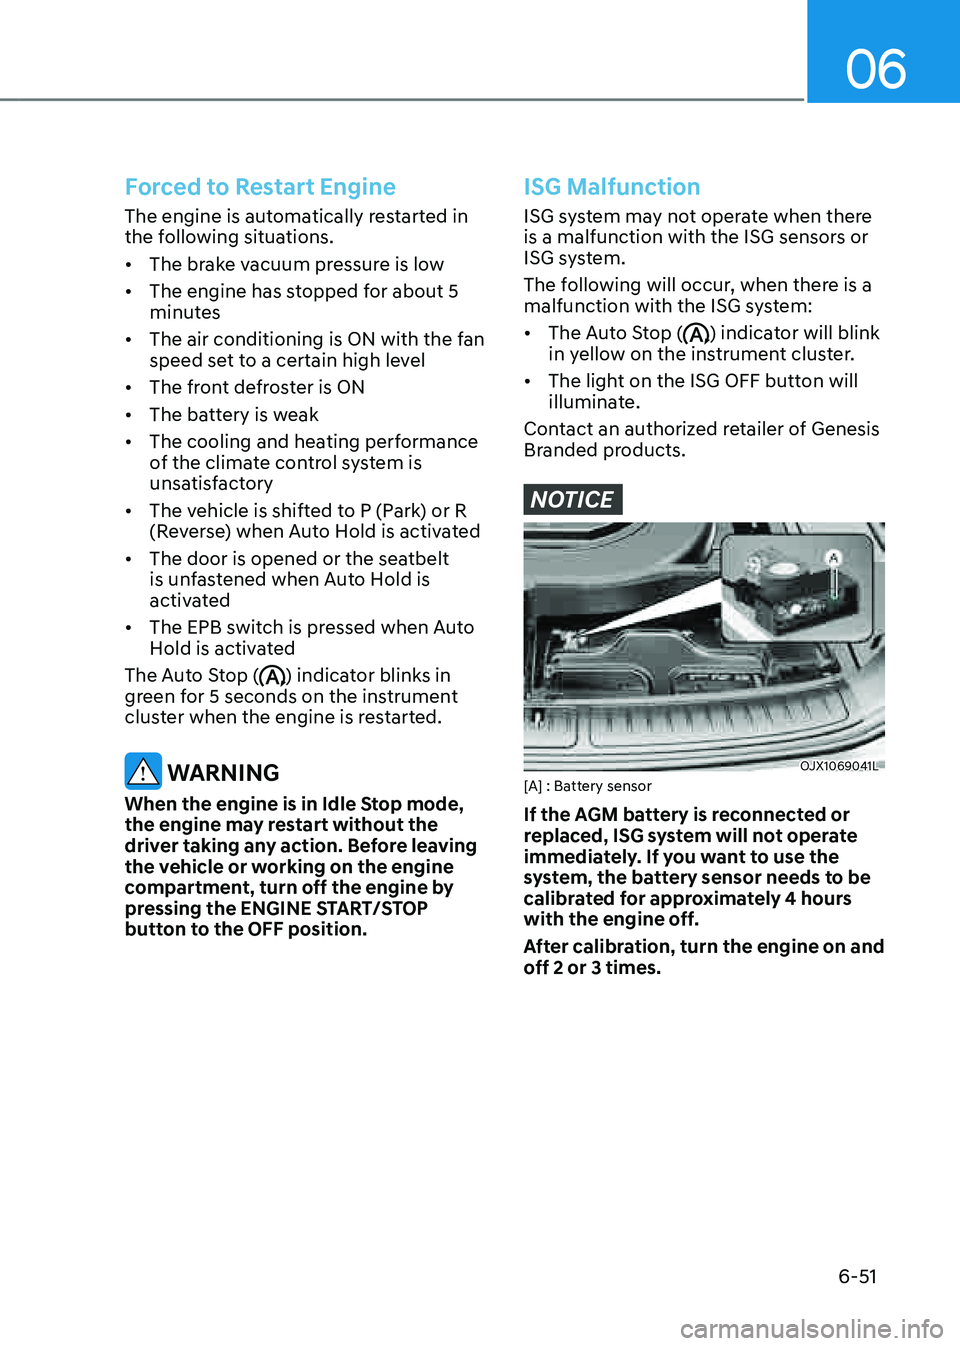
OJX1069041LOJX1069041L[A] : Battery sensor
If the AGM battery is reconnected or
replaced, ISG system will not operate
immediately. If you want to use the
system, the battery sensor needs to be
calibrated for approximately 4 hours
with the engine off.
After calibration, turn the engine on and
off 2 or 3 times.
Page 334 of 632
Driving Your Vehicle
6-62
Chain Installation
When installing tire chains, follow the
manufacturer’s instructions and mount
them as tightly possible. Drive slowly
(less than 20 mph (30 km/h)) with
chains installed. If you hear the chains
contacting the body or chassis, stop and
tighten them. If they still make contact,
slow down until the noise stops. Remove
the tire chains as soon as you begin
driving on cleared roads.
When mounting snow chains, park the
vehicle on level ground away from traffic.
Turn on the vehicle Hazard Warning
Flasher and place a triangular emergency
warning device behind the vehicle (if
available). Always place the vehicle in P
(Park), apply the parking brake and turn
off the engine before installing snow
chains.
NOTICE
When using tire chains:
• Wrong size chains or improperly
installed chains can damage your
vehicle’s brake lines, suspension,
body and wheels.
• Use SAE “S” class or wire chains.
• If you hear noise caused by chains
contacting the body, retighten the
chain to prevent contact with the
vehicle body.
• To prevent body damage, retighten
the chains after driving 0.3~0.6 miles
(0.5~1.0 km).
• Do not use tire chains on vehicles
equipped with aluminum wheels. If
unavoidable, use a wire type chain.
• Use wire chains less than 0.47 in. (12 mm) thick to prevent damage to the chain’s connection.
Winter Precautions
Use high quality ethylene glycol coolant
Your vehicle is delivered with high
quality ethylene glycol coolant in the
cooling system. It is the only type of
coolant that should be used because it
helps prevent corrosion in the cooling
system, lubricates the water pump and
prevents freezing. Be sure to replace or
replenish your coolant in accordance
with the maintenance schedule in
chapter 9. Before winter, have your
coolant tested to assure that its freezing
point is sufficient for the temperatures
anticipated during the winter.
Check battery and cables
Winter temperatures affect battery
performance. Inspect the battery and
cables, as specified in chapter 9. The
battery charging level can be checked by
an authorized retailer of Genesis Branded
products or in a service station.
Change to “winter weight” oil if
necessary
In some regions during winter, it is
recommended to use the “winter
weight” oil with lower viscosity. In
addition, replace the engine oil and filter
if it is close to the next maintenance
interval. Fresh engine oil ensures
optimum engine operation during the
winter months. For further information,
refer to chapter 2. When you are not sure
about a type of winter weight oil, consult
an authorized retailer of Genesis Branded
products.
Page 508 of 632
Driver Assistance System
7-160
OJX1079199LOJX1079199L
System standby
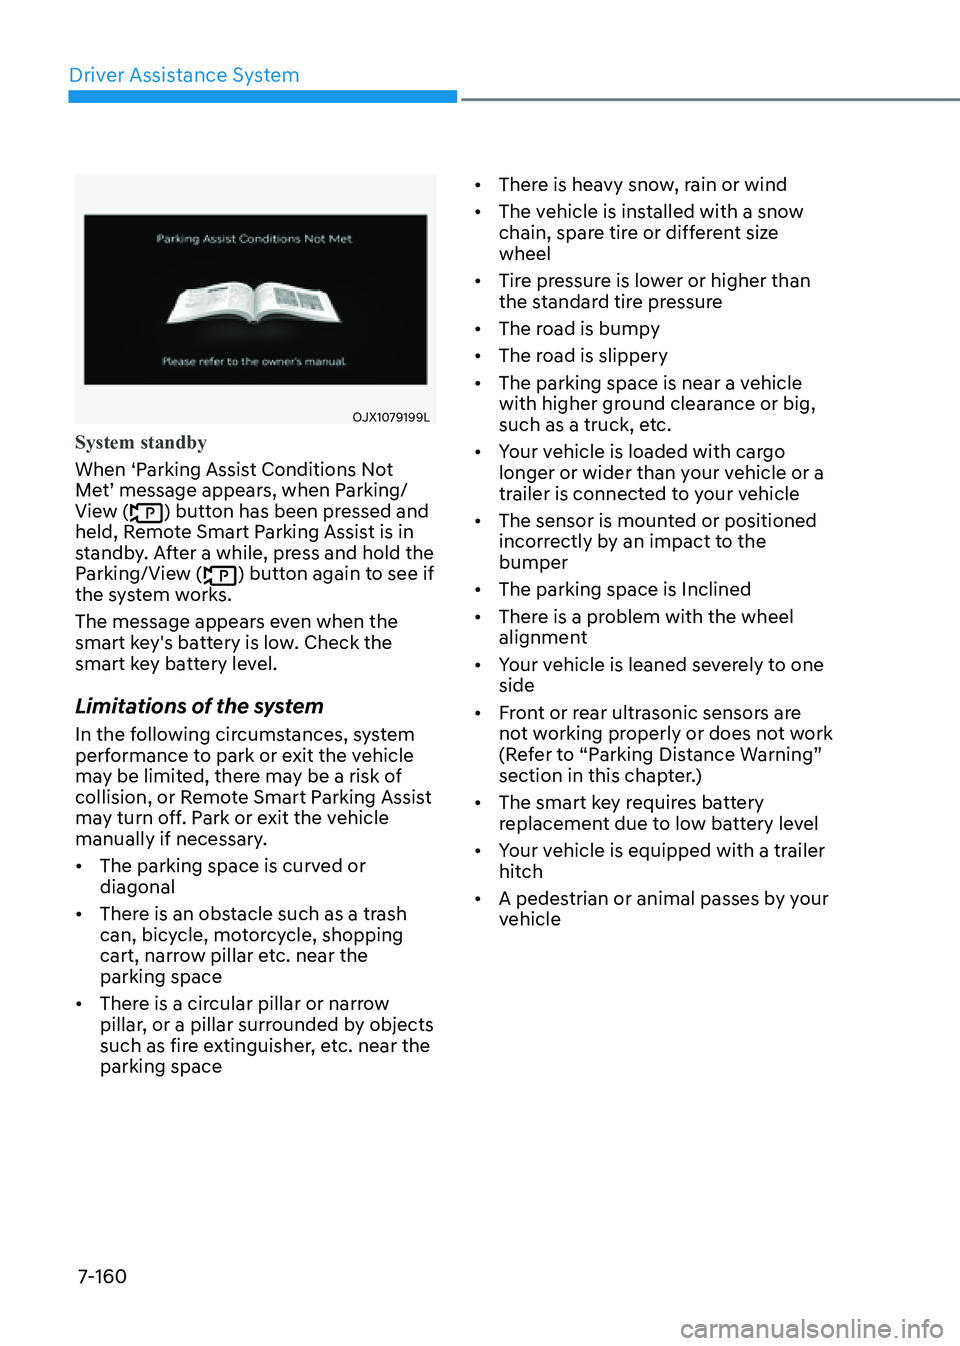
When ‘Parking Assist Conditions Not
Met’ message appears, when Parking/
View (
) button has been pressed and
held, Remote Smart Parking Assist is in
standby. After a while, press and hold the
Parking/View (
) button again to see if
the system works.
The message appears even when the
smart key's battery is low. Check the
smart key battery level.
Limitations of the system
In the following circumstances, system
performance to park or exit the vehicle
may be limited, there may be a risk of
collision, or Remote Smart Parking Assist
may turn off. Park or exit the vehicle
manually if necessary.
• The parking space is curved or
diagonal
• There is an obstacle such as a trash
can, bicycle, motorcycle, shopping
cart, narrow pillar etc. near the
parking space
• There is a circular pillar or narrow
pillar, or a pillar surrounded by objects
such as fire extinguisher, etc. near the
parking space
• There is heavy snow, rain or wind
• The vehicle is installed with a snow
chain, spare tire or different size
wheel
• Tire pressure is lower or higher than
the standard tire pressure
• The road is bumpy
• The road is slippery
• The parking space is near a vehicle
with higher ground clearance or big,
such as a truck, etc.
• Your vehicle is loaded with cargo
longer or wider than your vehicle or a
trailer is connected to your vehicle
• The sensor is mounted or positioned
incorrectly by an impact to the
bumper
• The parking space is Inclined
• There is a problem with the wheel
alignment
• Your vehicle is leaned severely to one
side
• Front or rear ultrasonic sensors are
not working properly or does not work
(Refer to “Parking Distance Warning”
section in this chapter.)
• The smart key requires battery
replacement due to low battery level
• Your vehicle is equipped with a trailer
hitch
• A pedestrian or animal passes by your
vehicle
Page 514 of 632
08
8-3
If You Have a Flat Tire While
Driving
If a tire goes flat while you are driving:
• Take your foot off the accelerator
pedal and let the vehicle slow down
while driving straight ahead. Do not
apply the brakes immediately or
attempt to pull off the road as this
may cause loss of vehicle control
resulting in an accident. When the
vehicle has slowed to such a speed
that it is safe to do so, brake carefully
and pull off the road. Drive off the
road as far as possible and park on
firm, level ground. If you are on a
divided highway, do not park in the
median area between the two traffic
lanes.
• When the vehicle is stopped, press the
hazard warning flasher button, shift
the gear to P (Park), apply the parking
brake, and press the Engine Start/Stop
button to the OFF position.
• Have all passengers get out of the
vehicle. Be sure they all get out on the
side of the vehicle that is away from
traffic.
• When changing a flat tire, follow the
instructions provided later in this
chapter.
IF THE ENGINE WILL NOT
START
• Be sure to shift the gear to N (Neutral)
or P (Park). The engine starts only
when the gear is in N (Neutral) or P
(Park).
• Turn on the interior light. If the light
dims or goes out when you operate
the starter, the battery is drained.
See instructions for “Jump Starting”
provided in this chapter.
• Check the fuel level and add fuel if
necessary.
If the vehicle still does not start, call an
authorized retailer of Genesis Branded
products for assistance.
NOTICE
Push or pull starting the vehicle may
cause the catalytic converter to
overload which can lead to damage to
the emission control system.
Page 515 of 632
Emergency Situations
8-4
Jump starting can be dangerous if done
incorrectly. Follow the jump starting
procedure in this section to avoid serious
injury or damage to your vehicle. If in
doubt about how to properly jump start
your vehicle, we strongly recommend
that you have a service technician or
towing service do it for you.
WARNING
To prevent SERIOUS INJURY or DEATH
to you or bystanders, always follow
these precautions when working near
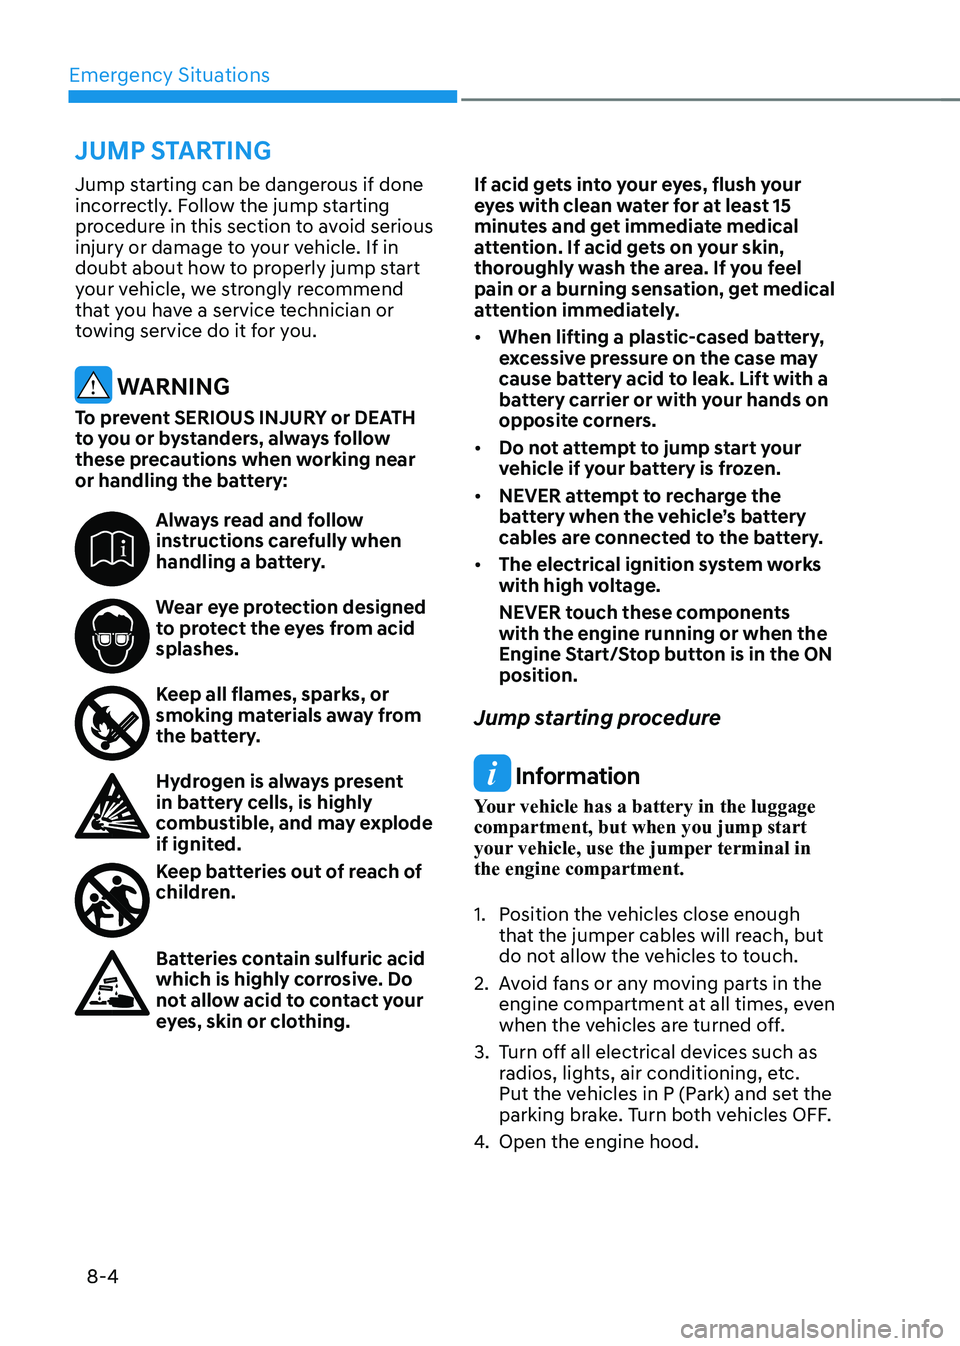
or handling the battery:
Always read and follow instructions carefully when
handling a battery.
Wear eye protection designed to protect the eyes from acid
splashes.
Keep all flames, sparks, or smoking materials away from
the battery.
Hydrogen is always present in battery cells, is highly
combustible, and may explode
if ignited.
Keep batteries out of reach of children.
Batteries contain sulfuric acid which is highly corrosive. Do
not allow acid to contact your
eyes, skin or clothing.If acid gets into your eyes, flush your
eyes with clean water for at least 15
minutes and get immediate medical
attention. If acid gets on your skin,
thoroughly wash the area. If you feel
pain or a burning sensation, get medical
attention immediately.
• When lifting a plastic-cased battery,
excessive pressure on the case may
cause battery acid to leak. Lift with a
battery carrier or with your hands on
opposite corners.
• Do not attempt to jump start your
vehicle if your battery is frozen.
• NEVER attempt to recharge the
battery when the vehicle’s battery
cables are connected to the battery.
• The electrical ignition system works
with high voltage.
NEVER touch these components
with the engine running or when the
Engine Start/Stop button is in the ON
position.
Jump starting procedure
Information
Your vehicle has a battery in the luggage
compartment, but when you jump start
your vehicle, use the jumper terminal in
the engine compartment.
1. Position the vehicles close enough
that the jumper cables will reach, but
do not allow the vehicles to touch.
2. Avoid fans or any moving parts in the
engine compartment at all times, even
when the vehicles are turned off.
3. Turn off all electrical devices such as
radios, lights, air conditioning, etc.
Put the vehicles in P (Park) and set the
parking brake. Turn both vehicles OFF.
4. Open the engine hood.
JUMP STARTING
Page 517 of 632
Emergency Situations8-6
If your temperature gauge indicates
overheating, you experience a loss of
power, or hear loud pinging or knocking,
the engine may be overheating. If this
happens, you should:
1. Pull off the road and stop as soon as it
is safe to do so.
2. Shift the gear to P (Park) and set the
parking brake. If the air conditioning is
ON, turn it OFF.
3. If engine coolant is running out under
the vehicle or steam is coming out from
the hood, stop the engine. Do not open
the hood until the coolant has stopped
running or the steaming has stopped. If
there is no visible loss of engine coolant
and no steam, leave the engine running
and check to be sure the engine cooling
fan is operating. If the fan is not running,
turn the engine off.
WARNING
While the engine is running, keep hands, clothing and tools
away from the moving parts
such as the cooling fan and
drive belt to prevent serious
injury.
4. Check for coolant leaking from the
radiator, hoses or under the vehicle. (If
the air conditioning had been in use, it
is normal for cold water to be draining
from it when you stop.)
5. If engine coolant is leaking out, stop
the engine immediately and call the
nearest authorized retailer of Genesis
Branded products for assistance.
IF THE ENGINE OVERHEATS
Disconnect the jumper cables in the
exact reverse order you connected them:
1. Disconnect the jumper cable from the
black, negative (-) chassis ground of
your vehicle (4).
2. Disconnect the other end of the
jumper cable from the black, negative
(-) battery/chassis ground of the
assisting vehicle (3).
3. Disconnect the second jumper cable
from the red, positive (+) battery/
jumper terminal of the assisting
vehicle (2).
4. Disconnect the other end of the
jumper cable from the red, positive (+)
jumper terminal of your vehicle (1).
Information
An inappropriately disposed battery can be harmful to
the environment and human
health. Dispose of the battery
according to your local law(s) or
regulations.
NOTICE
To prevent damage to your vehicle:
• Only use a 12-volt power supply
(battery or jumper system) to jump
start your vehicle.
• Do not attempt to jump start your
vehicle by push-starting.
Page 532 of 632

08
8-21
WARNING
Do not use the TMK if a tire is severely
damaged by driving run flat or with
insufficient air pressure.
Only punctured areas located within the
tread region of the tire can be sealed
using the TMK.
OJX1070305NOJX1070305N[A] : Tread
Notes on the Safe Use of the Tire
Mobility Kit
• Park your car at the side of the road
so that you can work with the Tire
Mobility Kit away from moving traffic.
• To be sure your vehicle will not move,
even when you’re on fairly level
ground, always set your parking brake.
• Only use the Tire Mobility Kit for
sealing/inflation passenger car tires.
• Do not use on motorcycles, bicycles
or any other type of tires.
• When the tire and wheel are
damaged, do not use Tire Mobility Kit
for your safety.
• Use of the Tire Mobility Kit may not be
effective for tire damage larger than
approximately 0.16 in. (4 mm).
Please contact the nearest retailer of
Genesis Branded products if the tire
cannot be made roadworthy with the
Tire Mobility Kit.
• Do not use the Tire Mobility Kit if a tire
is severely damaged by driving run flat
or with insufficient air pressure.
• Do not remove any foreign objects
such as nails or screws that have
penetrated the tire.
• Provided the car is outdoors, leave the
engine running. Otherwise operating
the compressor may eventually drain
the car battery.
• Never leave the Tire Mobility Kit
unattended while it is being used.
• Do not leave the compressor running
for more than 10 minutes at a time or
it may overheat.
• Do not use the Tire Mobility Kit if the
ambient temperature is below -22°F
(-30°C).
• In case of skin contact with the
sealant, wash the area thoroughly
with plenty of water. If the irritation
persists, seek medical attention.
• In case of eye contact with the
sealant, flush your eyes for at least 15
minutes. If the irritation persists, seek
medical attention.
• In case of swallowing the sealant,
rinse the mouth and drink plenty of
water. However, never give anything
to an unconscious person and seek
medical attention immediately.
• Long time exposure to the sealant
may cause damage to bodily tissue
such as kidney, etc.
Page 536 of 632
08
8-25
WARNING
Do not leave your vehicle running in
a poorly ventilated area for extended
periods of time. Carbon monoxide
poisoning and suffocation can occur.
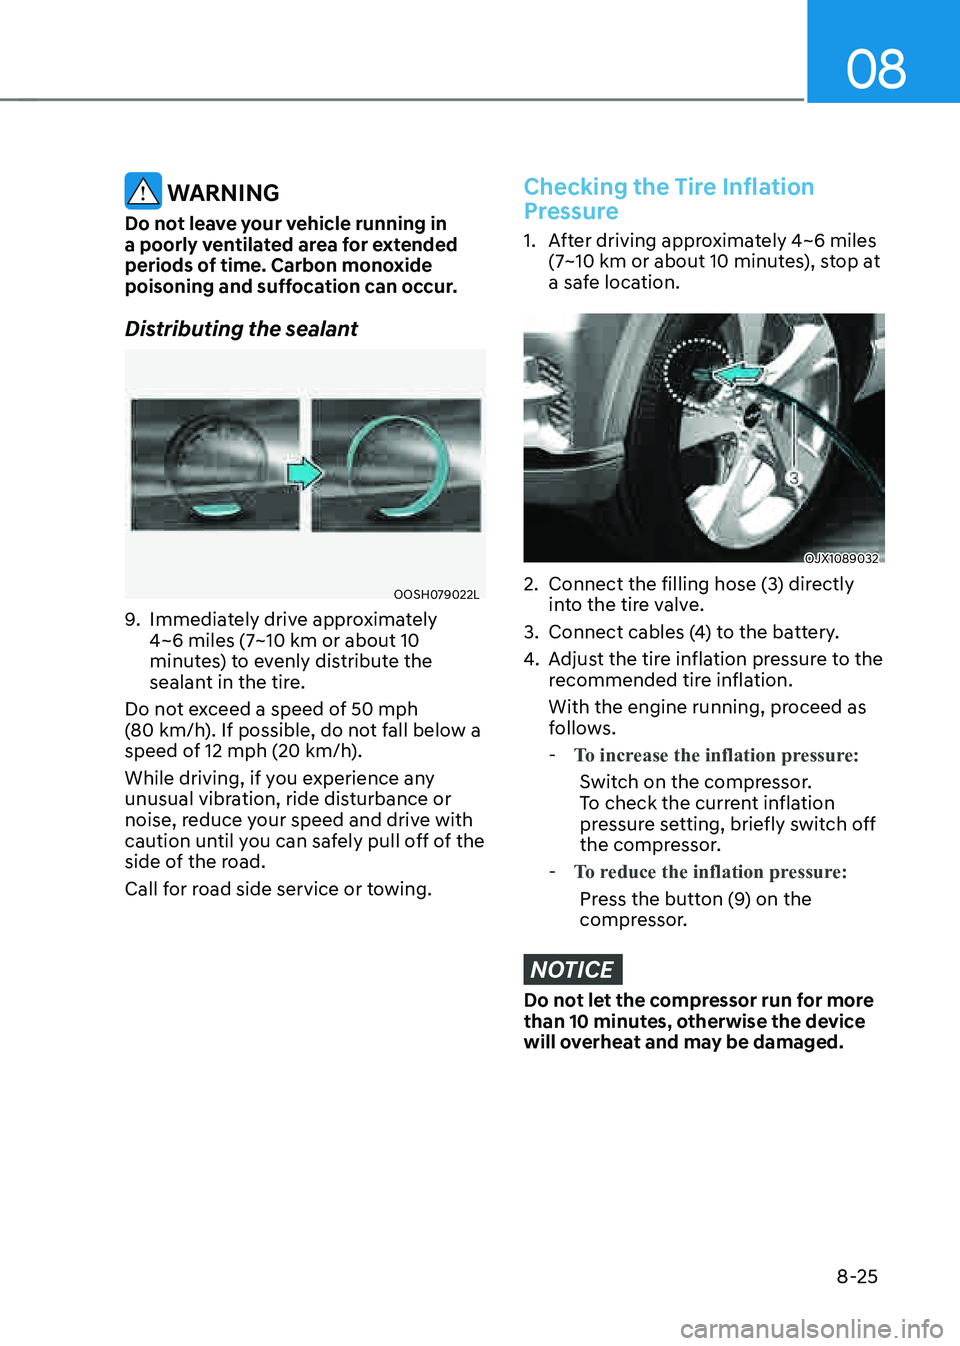
Distributing the sealant
OOSH079022LOOSH079022L
9. Immediately drive approximately 4~6 miles (7~10 km or about 10 minutes) to evenly distribute the
sealant in the tire.
Do not exceed a speed of 50 mph
(80 km/h). If possible, do not fall below a speed of 12 mph (20 km/h).
While driving, if you experience any
unusual vibration, ride disturbance or
noise, reduce your speed and drive with
caution until you can safely pull off of the
side of the road.
Call for road side service or towing.
Checking the Tire Inflation
Pressure
1. After driving approximately 4~6 miles
(7~10 km or about 10 minutes), stop at
a safe location.
OJX1089032OJX1089032
2. Connect the filling hose (3) directly
into the tire valve.
3. Connect cables (4) to the battery.
4. Adjust the tire inflation pressure to the
recommended tire inflation.
With the engine running, proceed as
follows.
- To increase the inflation pressure:
Switch on the compressor.
To check the current inflation
pressure setting, briefly switch off
the compressor.
- To reduce the inflation pressure:
Press the button (9) on the
compressor.
NOTICE
Do not let the compressor run for more
than 10 minutes, otherwise the device
will overheat and may be damaged.
Page 546 of 632

09
9-5
WARNING
Performing maintenance work on a
vehicle can be dangerous. If you lack
sufficient knowledge and experience or
the proper tools and equipment to do
the work, have it done by an authorized
retailer of Genesis Branded products.
ALWAYS follow these precautions for
performing maintenance work:
• Park your vehicle on level ground.
Shift the vehicle to P (Park), apply
the parking brake, and press the
Engine Start/Stop button to the OFF
position.
• Block the tires (front and back) to
prevent the vehicle from moving.
Remove loose clothing or jewelry
that can become entangled in
moving parts.
• If you must operate the engine
during maintenance, do so
outdoors or in an area with plenty of
ventilation.
• Keep flames, sparks, or smoking
materials away from the battery and
fuel-related parts.
WARNING
Touching metal parts
Do not touch metal parts
(including strut bars) while
the engine is operating or
hot. Doing so could result in
serious personal injury. Turn
the engine off and wait until
the metal parts cool down to
perform maintenance work on
the vehicle.
The following lists are vehicle checks and
inspections that should be performed
by the owner or an authorized retailer
of Genesis Branded products at the
frequencies indicated to help ensure
safe, dependable operation of your
vehicle.
Any adverse conditions should be
brought to the attention of your dealer as
soon as possible.
These Owner Maintenance vehicle
checks are generally not covered by
warranties and you may be charged for
labor, parts and lubricants used.
OWNER MAINTENANCE