steering GENESIS GV80 2021 Owner's Guide
[x] Cancel search | Manufacturer: GENESIS, Model Year: 2021, Model line: GV80, Model: GENESIS GV80 2021Pages: 632, PDF Size: 9.37 MB
Page 145 of 632
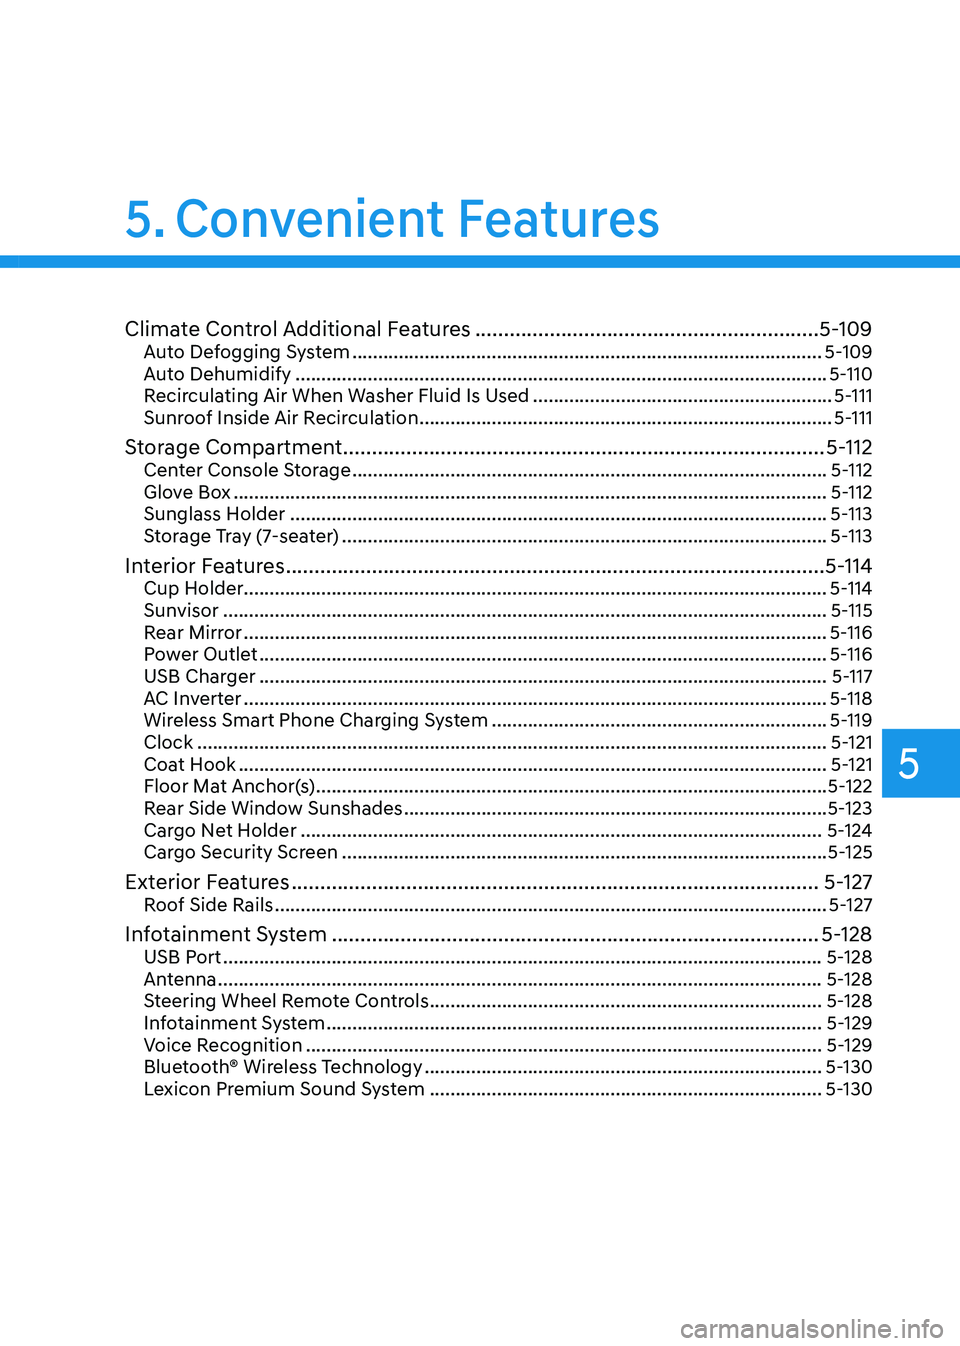
Climate Control Additional Features ............................................................5-109Auto Defogging System ........................................................................\
...................5-109
Auto Dehumidify ........................................................................\
...............................5-110
Recirculating Air When Washer Fluid Is Used ..........................................................5-111
Sunroof Inside Air Recirculation ........................................................................\
........5-111
Storage Compartment ........................................................................\
............5-112Center Console Storage ........................................................................\
....................5-112
Glove Box ........................................................................\
...........................................5-112
Sunglass Holder ........................................................................\
................................5-113
Storage Tray (7-seater) ........................................................................\
......................5-113
Interior Features ........................................................................\
......................5-114Cup Holder ........................................................................\
.........................................5-114
Sunvisor ........................................................................\
.............................................5-115
Rear Mirror ........................................................................\
.........................................5-116
Power Outlet ........................................................................\
......................................5-116
USB Charger ........................................................................\
......................................5-117
AC Inverter ........................................................................\
.........................................5-118
Wireless Smart Phone Charging System .................................................................5-119
Clock ........................................................................\
..................................................5-121
Coat Hook ........................................................................\
..........................................5-121
Floor Mat Anchor(s) ........................................................................\
...........................5-122
Rear Side Window Sunshades ........................................................................\
..........5-123
Cargo Net Holder ........................................................................\
.............................5-124
Cargo Security Screen ........................................................................\
......................5-125
Exterior Features ........................................................................\
....................5-127Roof Side Rails ........................................................................\
...................................5-127
Infotainment System ........................................................................\
.............5-128USB Port ........................................................................\
............................................5-128
Antenna ........................................................................\
.............................................5-128
Steering Wheel Remote Controls ........................................................................\
....5-128
Infotainment System ........................................................................\
........................5-129
Voice Recognition ........................................................................\
............................5-129
Bluetooth® Wireless Technology
........................................................................\
.....5-130
Lexicon Premium Sound System ........................................................................\
....5-130
5. Convenient Features
5
Page 166 of 632
Convenient Features
5-24
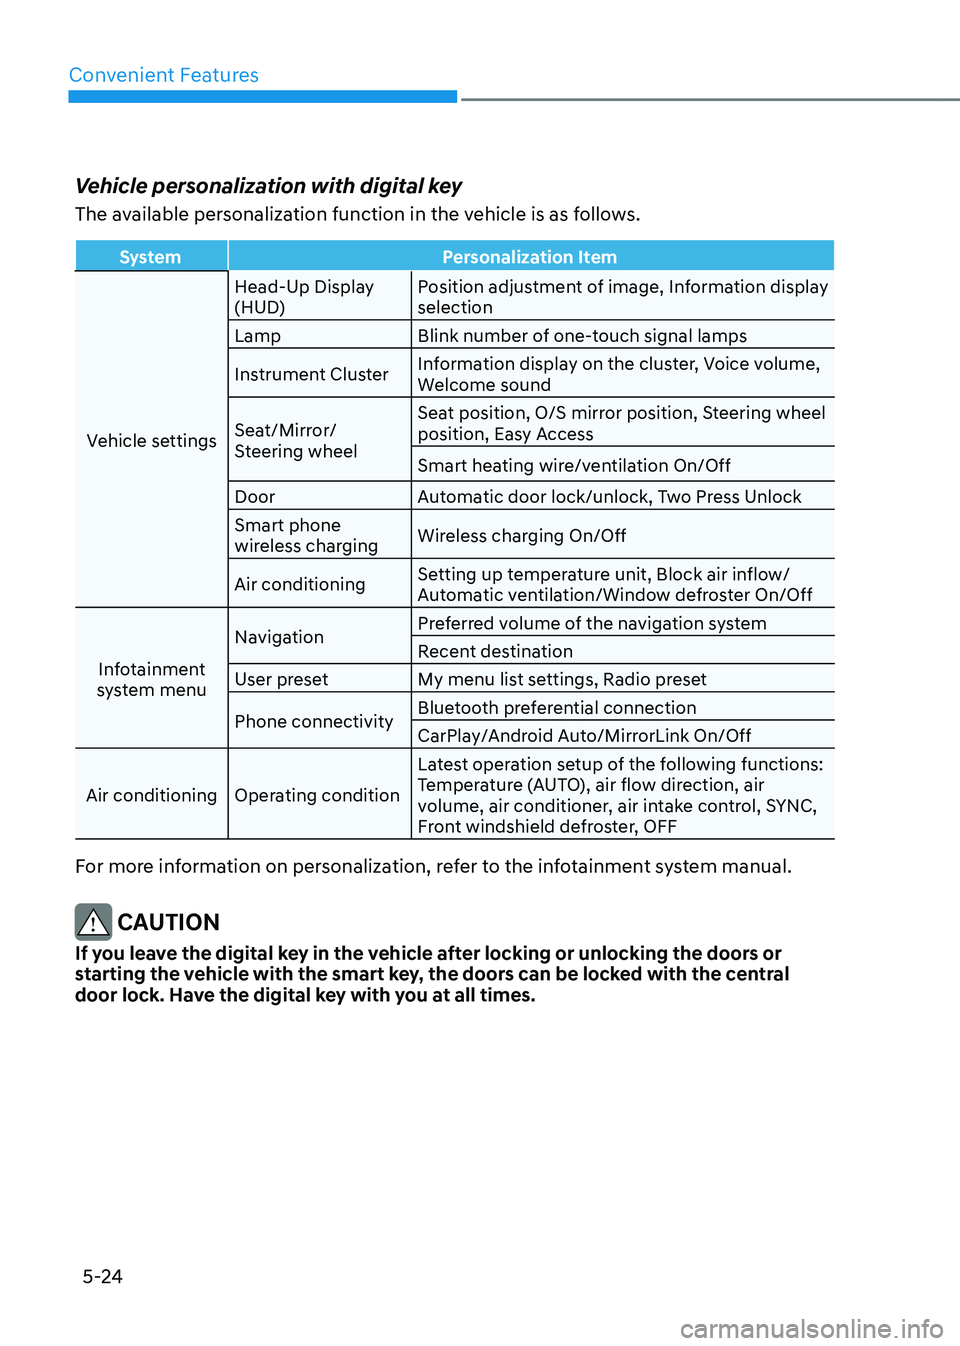
Vehicle personalization with digital key
The available personalization function in the vehicle is as follows.
SystemPersonalization Item
Vehicle settings Head-Up Display
(HUD)
Position adjustment of image, Information display
selection
Lamp Blink number of one-touch signal lamps
Instrument Cluster Information display on the cluster, Voice volume,
Welcome sound
Seat/Mirror/
Steering wheel Seat position, O/S mirror position, Steering wheel
position, Easy Access
Smart heating wire/ventilation On/Off
Door Automatic door lock/unlock, Two Press Unlock
Smart phone
wireless charging Wireless charging On/Off
Air conditioning Setting up temperature unit, Block air inflow/
Automatic ventilation/Window defroster On/Off
Infotainment
system menu Navigation
Preferred volume of the navigation system
Recent destination
User preset My menu list settings, Radio preset
Phone connectivity Bluetooth preferential connection
CarPlay/Android Auto/MirrorLink On/Off
Air conditioning Operating condition Latest operation setup of the following functions:
Temperature (AUTO), air flow direction, air
volume, air conditioner, air intake control, SYNC,
Front windshield defroster, OFF
For more information on personalization, refer to the infotainment system manual.
CAUTION
If you leave the digital key in the vehicle after locking or unlocking the doors or
starting the vehicle with the smart key, the doors can be locked with the central
door lock. Have the digital key with you at all times.
Page 177 of 632
05
5-35
OJX1059020OJX1059020
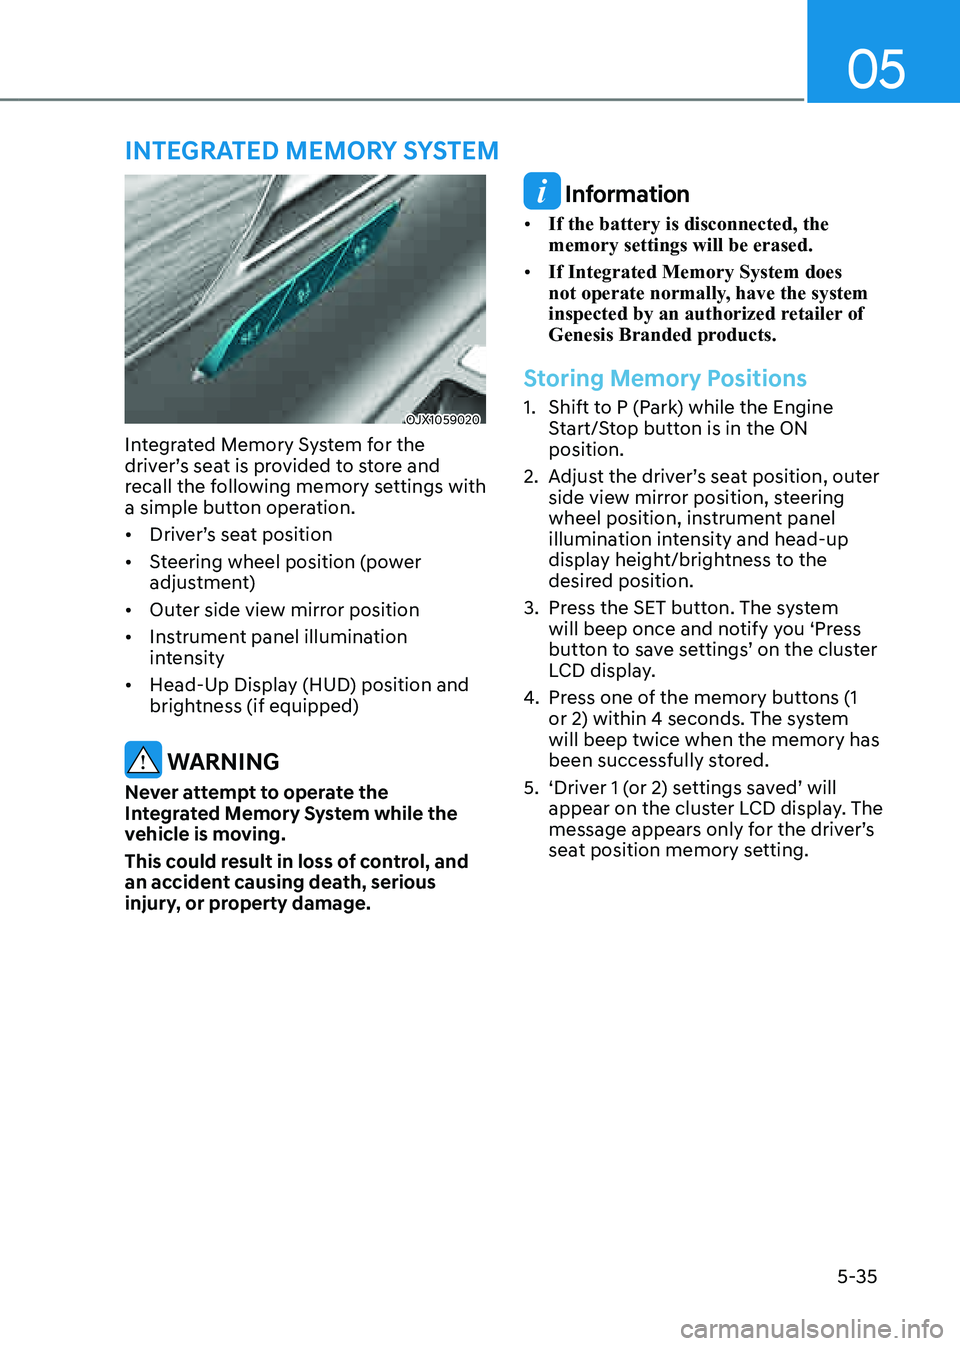
Integrated Memory System for the
driver’s seat is provided to store and
recall the following memory settings with
a simple button operation.
• Driver’s seat position
• Steering wheel position (power
adjustment)
• Outer side view mirror position
• Instrument panel illumination
intensity
• Head-Up Display (HUD) position and
brightness (if equipped)
WARNING
Never attempt to operate the
Integrated Memory System while the
vehicle is moving.
This could result in loss of control, and
an accident causing death, serious
injury, or property damage.
Information
• If the battery is disconnected, the
memory settings will be erased.
• If Integrated Memory System does
not operate normally, have the system
inspected by an authorized retailer of
Genesis Branded products.
Storing Memory Positions
1. Shift to P (Park) while the Engine
Start/Stop button is in the ON
position.
2. Adjust the driver’s seat position, outer
side view mirror position, steering
wheel position, instrument panel
illumination intensity and head-up
display height/brightness to the
desired position.
3. Press the SET button. The system
will beep once and notify you ‘Press
button to save settings’ on the cluster
LCD display.
4. Press one of the memory buttons (1
or 2) within 4 seconds. The system
will beep twice when the memory has
been successfully stored.
5. ‘Driver 1 (or 2) settings saved’ will
appear on the cluster LCD display. The
message appears only for the driver’s
seat position memory setting.
INTEGRATED MEMORY SYSTEM
Page 178 of 632
Convenient Features
5-36
Recalling Memory Positions
1. Shift to P (Park) while the Engine
Start/Stop button is in the ON
position.
2. Press the desired memory button (1
or 2). The system will beep once, and
then the driver’s seat position, outer
side view mirror position, steering
wheel position, instrument panel
illumination intensity and head-
up display height/brightness will
automatically adjust to the stored
positions.
3. ‘Driver 1 (or 2) settings applied’ will
appear on the cluster LCD display.
Information
• If you press the SET button or the
corresponding button which the
setting is being recalled, the setting will
temporarily deactivate. If you press the
other buttons, the setting of the pressed
button will activate.
For example, if you press the SET
button or number 1 button with the
number 1 setting in operation, the
setting will temporarily deactivate. If
you press the number 2 button, the
number 2 setting will activate.
• If you adjust the seat, side view mirror,
steering wheel, instrument panel
illumination or head-up display while
recalling the stored positions, the pre-
set settings will become ineffective.
Resetting the System
Take the following procedures to reset
Integrated Memory System, when it does
not operate properly.
Resetting Integrated Memory
System
1. Stop the vehicle and open the driver’s
door with the vehicle shifted to P
(Park).
2. Adjust the driver’s seat and seatback
to the foremost position.
3. Press the SET button and push
forward the driver’s seat movement
switch over 2 seconds simultaneously.
While resetting Integrated Memory
System
1. Resetting starts with a notification
sound.
2. The driver’s seat and seatback is
adjusted to the rearward position with
the notification sound.
3. The driver’s seat and seatback is
re-adjusted to the default position
(central position) with the notification
sound.
However, in the following cases, the
resetting procedure and the notification
sound may stop.
• The memory button is pressed.
• The seat control switch is operated.
• The driving speed exceeds
2 mph (3 km/h).
• The driver’s door is closed.
Page 179 of 632
05
5-37
NOTICE
• While Integrated Memory System
is being reset, if the resetting
and notification sound stops
incompletely, restart the resetting
procedure again.
• Make sure that there is no objects
around the driver’s seat in advance
of resetting the Integrated Memory
System.
Seat Easy Access
Seat easy access will move the driver’s
seat and steering wheel automatically as
follows:
• Exiting the vehicle:
The driver’s seat, steering wheel and
seat bolster will move as follows when
the Engine Start/Stop button is in the
OFF position with the gear in P (Park)
and the driver’s door open.
-Driver seat: Moves rearward
depending on the distance selected
from the Settings menu in the
infotainment system.
-Steering wheel: Moves upward
-Seat bolster (if equipped): Adjusted
to the default position.
However, the driver’s seat may not
move rearward if there is not enough
space between the driver’s seat and
the rear seats.
Also, on a regular basis, the steering
wheel will also move forward to adjust
its location by itself.
• Entering the vehicle:
The driver’s seat, steering wheel and
seat bolster will move as follows
when the Engine Start/Stop button
is pressed to the ACC, ON or START
position or while carrying the smart
key, the driver’s door is closed with
the Engine Start/Stop button in the
OFF position.
- Driver seat: Moves back to its
original position.
-Steering wheel: Moves back to its
original position.
-Seat bolster (if equipped): Adjusted
to the default position.
• You can set the Seat Easy Access
function from the Settings menu
in the infotainment system screen.
Select:
-Driver seat
Setup → Vehicle Settings → Seat →
Seating Easy Access → Driver Seat
Easy Access → Normal/Extended/Off
-Steering wheel
Setup → Vehicle Settings → Seat
→ Seating Easy Access → Steering
wheel easy access
See additional information in
supplied Infotainment Manual.
Page 180 of 632

Convenient Features
5-38
The Smart Posture Care system
automatically provides a healthy posture
(position) for the driver’s back, and sets
the steering wheel, side view mirrors,
head-up display positions according to
the driver’s body measurements.
Information
If the Seat Posture Care system does
not operate normally, have the system
checked by an authorized retailer of
Genesis Branded products.
OJX1079170LOJX1079170L
1. Check that the gear is in P (Park) while
the Engine Start/Stop button is in the
ON position.
2. Select ‘Setup → Vehicle Settings → Seat
→ Smart Posture Care → Enter Driver’s
Information’ from the Settings menu
in the infotainment system screen.
3. Enter information (Height, Sitting
height, Weight) in the infotainment
system screen.
4. After entering the driver’s information,
press ‘Posture Analysis → Adjust
Posture → Save Current Posture’. The
driver’s seat, steering wheel, side view
mirror and head-up display will be
adjusted.
5. Save the adjusted seat position in
‘Settings 1’ or ‘Settings 2’.
See additional information in
supplied Infotainment Manual.
SMART POSTURE CARE SYSTEM (IF EQUIPPED)
Page 181 of 632
05
5-39
Electric Power Steering (EPS)
The system assists you with steering the
vehicle. If the vehicle is turned off or
if the power steering system becomes
inoperative, you may still steer the
vehicle, but it will require increased
steering effort.
Should you notice any change in the
effort required to steer during normal
vehicle operation, have the system
checked by an authorized retailer of
Genesis Branded products.
CAUTION
If Electric Power Steering does not
operate normally, the warning light and the message ‘Check motor driven
power steering’ will illuminate on the
instrument cluster. You may steer the
vehicle, but it will require increased
steering efforts. Take the vehicle to an
authorized retailer of Genesis Branded
products and have the system checked
as soon as possible.
Information
The following symptoms may occur during
normal vehicle operation:
• The steering effort may be high
immediately after pressing the Engine
Start/Stop button to the ON position.
This happens as the system performs
the EPS system diagnostics. When the
diagnostics are completed, the steering
wheel effort will return to its normal
condition.
• When the battery voltage is low, you
may have to put more steering effort.
However, it is a temporary condition so
that it will return to normal condition
after charging the battery.
• A click noise may be heard from the
EPS relay after the Engine Start/Stop
button is in the ON or OFF position.
• Motor noise may be heard when the
vehicle is at a stop or at a low driving
speed.
• When you operate the steering wheel
in low temperatures, abnormal noise
may occur. If the temperature rises, the
noise will disappear. This is a normal
condition.
• When an error is detected from EPS,
the steering effort assist function will
not be activated in order to prevent
accidents. Instrument cluster warning
lights may be on or the steering effort
may be high. If these symptoms occur,
drive the vehicle to a safe area as soon
as it is safe to do so. Have the system
checked by an authorized retailer of
Genesis Branded products as soon as
possible.
STEERING WHEEL
Page 182 of 632
Convenient Features
5-40
Tilt / Telescopic Steering
When adjusting the steering wheel to a
comfortable position, adjust the steering
wheel so that it points toward your chest,
not toward your face. Make sure you can
see the instrument cluster warning lights
and gauges. After adjusting, push the
steering wheel both up and down to be
certain it is locked in position.
Always adjust the position of the steering
wheel before driving.
WARNING
NEVER adjust the steering wheel while
driving. This may cause loss of vehicle
control resulting in an accident.
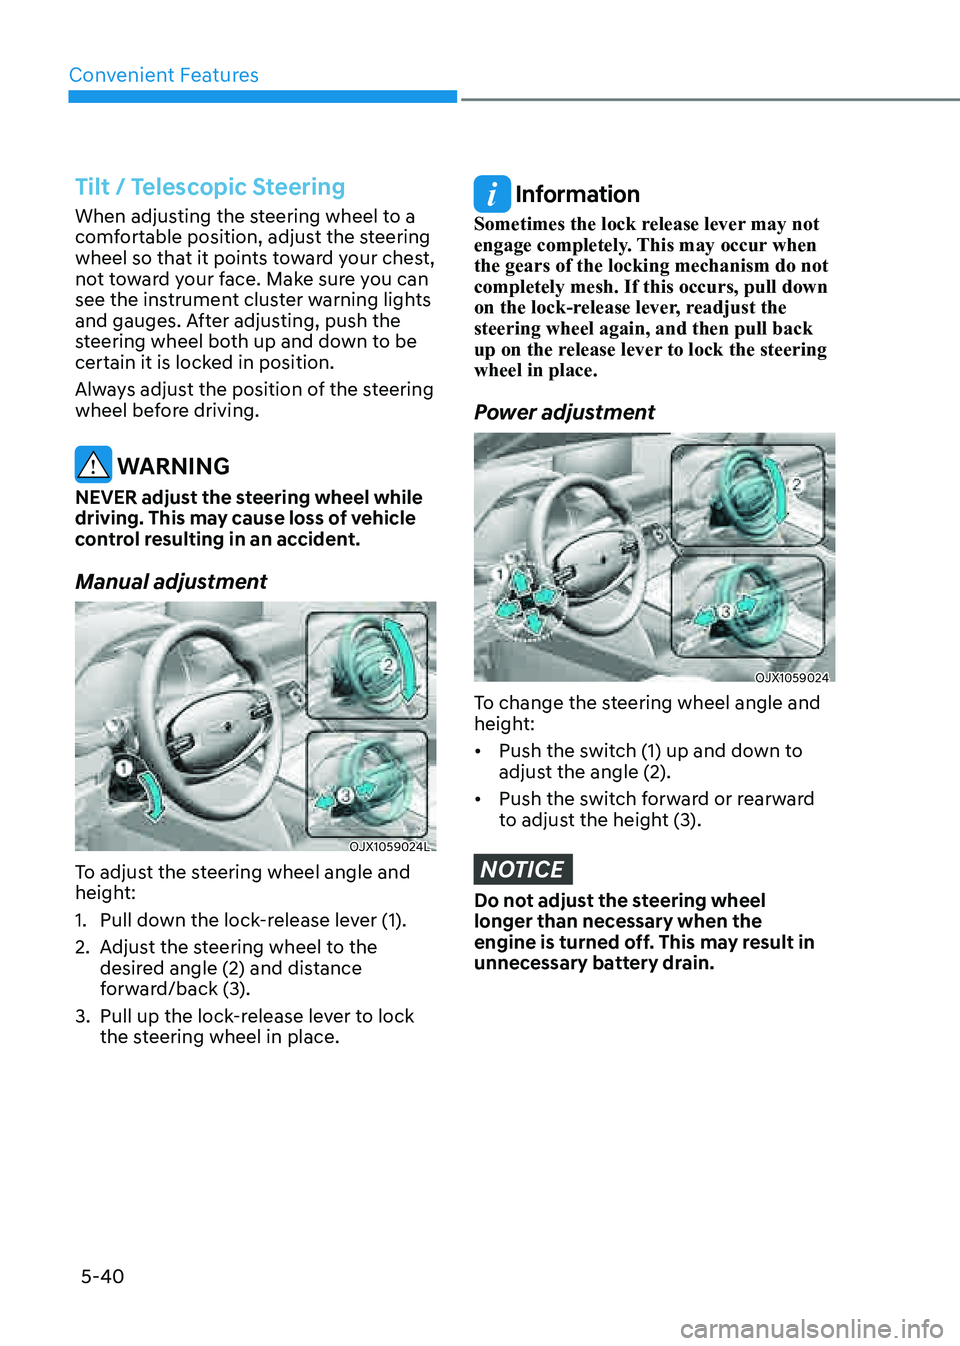
Manual adjustment
OJX1059024LOJX1059024L
To adjust the steering wheel angle and
height:
1. Pull down the lock-release lever (1).
2. Adjust the steering wheel to the
desired angle (2) and distance
forward/back (3).
3. Pull up the lock-release lever to lock
the steering wheel in place.
Information
Sometimes the lock release lever may not
engage completely. This may occur when
the gears of the locking mechanism do not
completely mesh. If this occurs, pull down
on the lock-release lever, readjust the
steering wheel again, and then pull back
up on the release lever to lock the steering
wheel in place.
Power adjustment
OJX1059024OJX1059024
To change the steering wheel angle and
height:
• Push the switch (1) up and down to
adjust the angle (2).
• Push the switch forward or rearward
to adjust the height (3).
NOTICE
Do not adjust the steering wheel
longer than necessary when the
engine is turned off. This may result in
unnecessary battery drain.
Page 183 of 632
05
5-41
Resetting steering wheel power adjustment
If adjustment is no longer possible within
the operable range while adjusting the
steering wheel position (angle or height),
reset as follows.
1. From the position the steering wheel
has stopped, push the control switch
(1) for 10 seconds in the direction you
were adjusting the steering wheel.
The steering wheel will move in the
direction the control switch is pushed.
2. Continue pushing the switch (1) for
at least 2 seconds after the steering
wheel has stopped. Resetting will be
complete after the operational range
is recognized.
If the adjustment is still not possible
after resetting the steering wheel
power adjustment, have the system
inspected by authorized retailer of
Genesis Branded products.
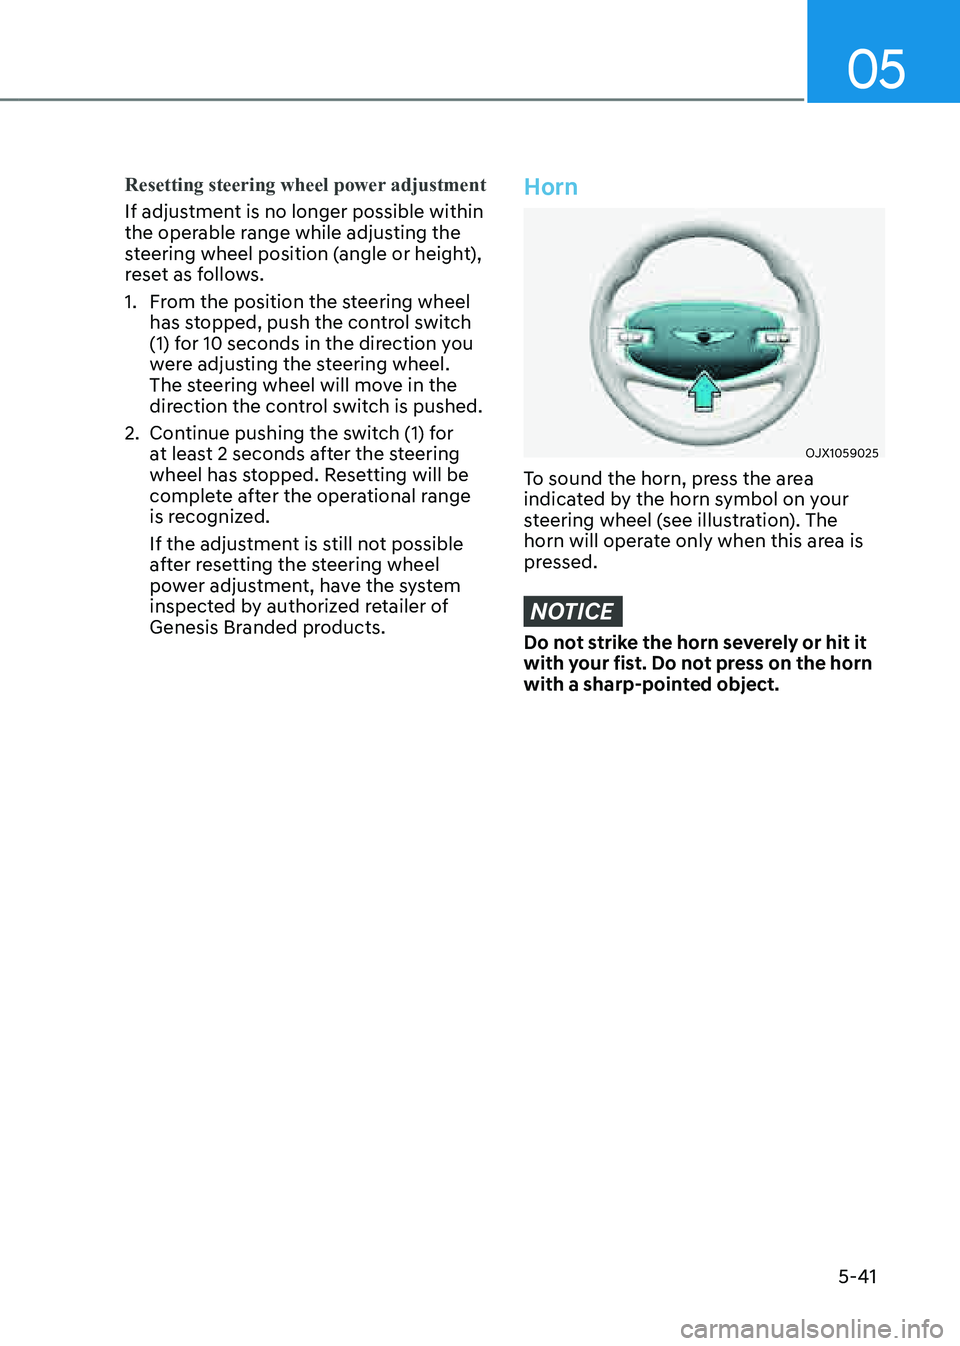
Horn
OJX1059025OJX1059025
To sound the horn, press the area
indicated by the horn symbol on your
steering wheel (see illustration). The
horn will operate only when this area is
pressed.
NOTICE
Do not strike the horn severely or hit it
with your fist. Do not press on the horn
with a sharp-pointed object.
Page 184 of 632
Convenient Features
5-42
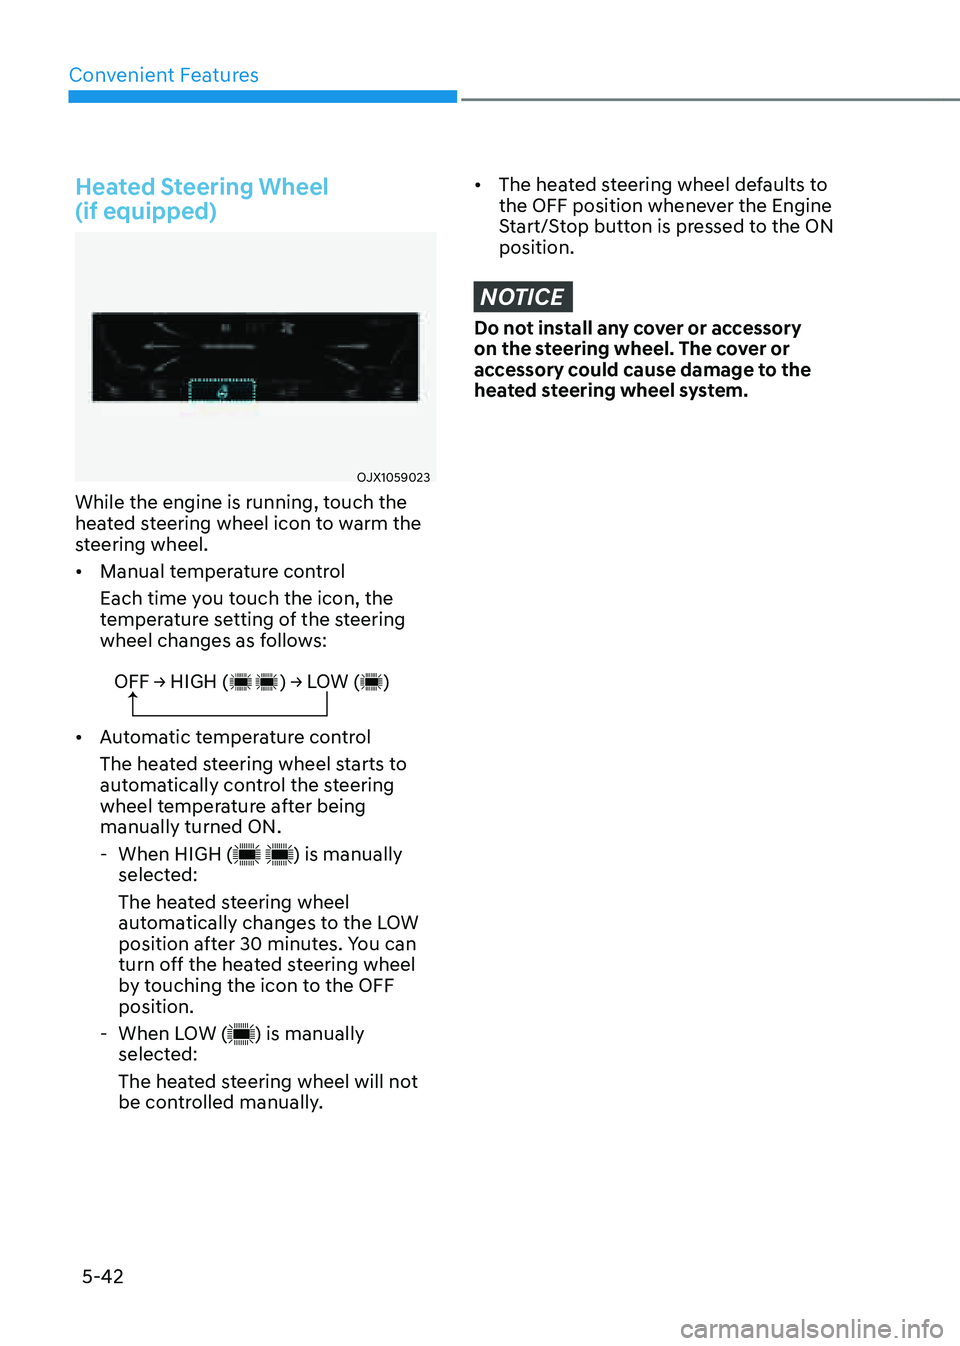
Heated Steering Wheel
(if equipped)
OJX1059023OJX1059023
While the engine is running, touch the
heated steering wheel icon to warm the
steering wheel.
• Manual temperature control
Each time you touch the icon, the
temperature setting of the steering
wheel changes as follows:
OFF → HIGH ( ) → LOW ( )
• Automatic temperature control
The heated steering wheel starts to
automatically control the steering
wheel temperature after being
manually turned ON.
-When HIGH () is manually
selected:
The heated steering wheel
automatically changes to the LOW
position after 30 minutes. You can
turn off the heated steering wheel
by touching the icon to the OFF
position.
- When LOW () is manually
selected:
The heated steering wheel will not
be controlled manually.
• The heated steering wheel defaults to
the OFF position whenever the Engine
Start/Stop button is pressed to the ON
position.
NOTICE
Do not install any cover or accessory
on the steering wheel. The cover or
accessory could cause damage to the
heated steering wheel system.