Oil Light GENESIS GV80 2021 Owner's Manual
[x] Cancel search | Manufacturer: GENESIS, Model Year: 2021, Model line: GV80, Model: GENESIS GV80 2021Pages: 632, PDF Size: 9.37 MB
Page 106 of 632
Instrument Cluster
4
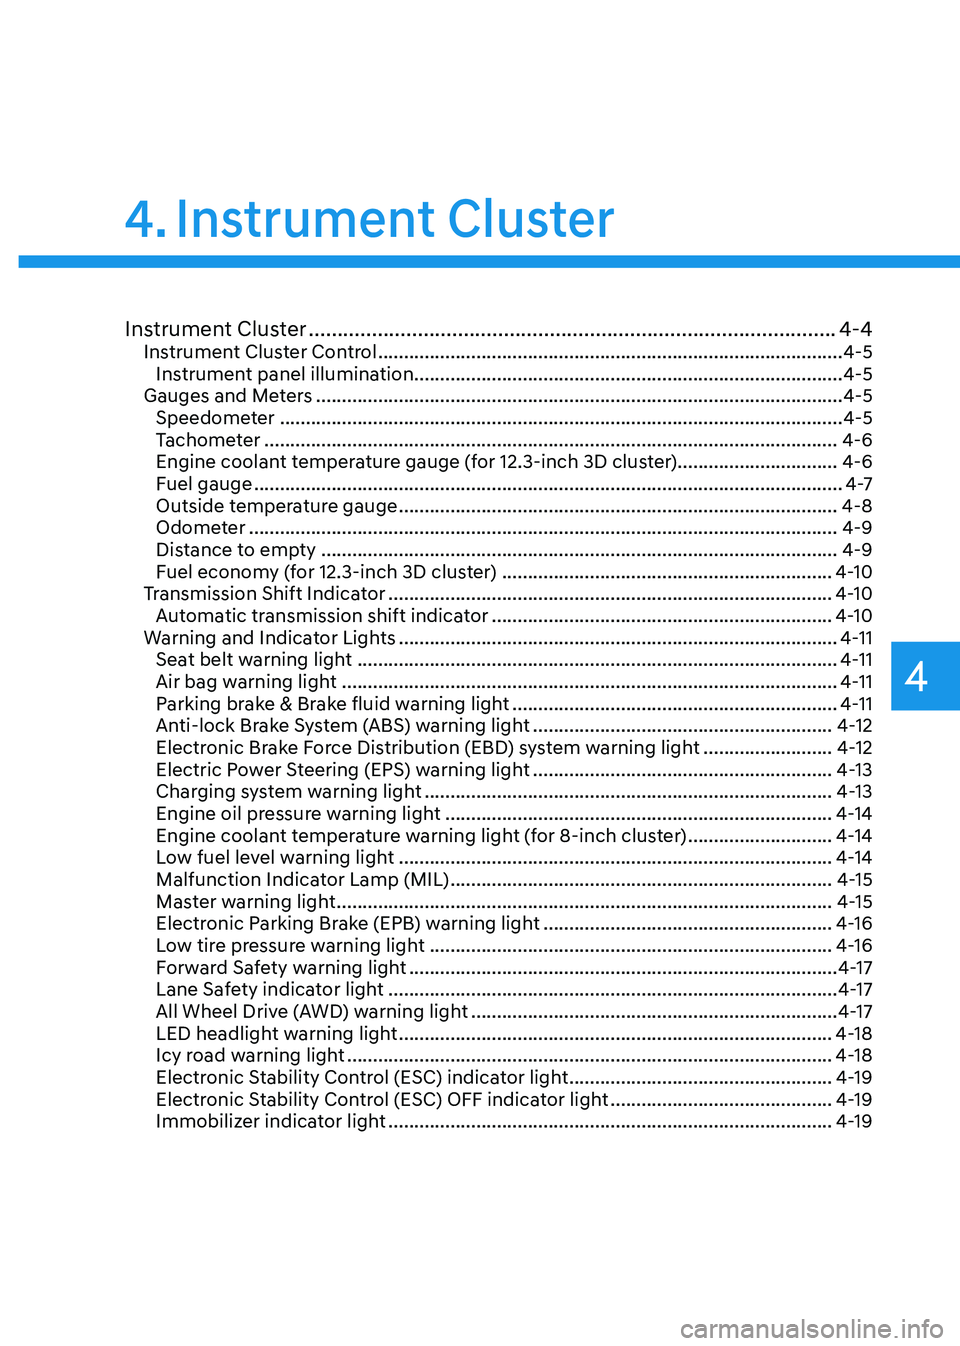
Instrument Cluster ........................................................................\
....................4-4Instrument Cluster Control ........................................................................\
..................4-5
Instrument panel illumination ........................................................................\
...........4-5
Gauges and Meters ........................................................................\
..............................4-5
Speedometer ........................................................................\
.....................................4-5
Tachometer ........................................................................\
.......................................4-6
Engine coolant temperature gauge (for 12.3-inch 3D cluster) ...............................4-6
Fuel gauge
........................................................................\
..........................................4 -7
Outside temperature gauge ........................................................................\
.............4-8
Odometer ........................................................................\
..........................................4-9
Distance to empty ........................................................................\
............................4-9
Fuel economy (for 12.3-inch 3D cluster) ................................................................4-10
Transmission Shift Indicator ........................................................................\
..............4-10
Automatic transmission shift indicator ..................................................................4-10
Warning and Indicator Lights ........................................................................\
.............4-11
Seat belt warning light ........................................................................\
.....................4-11
Air bag warning light ........................................................................\
........................4-11
Parking brake & Brake fluid warning light ...............................................................4-11
Anti-lock Brake System (ABS) warning light ..........................................................4-12
Electronic Brake Force Distribution (EBD) system warning light .........................4-12
Electric Power Steering (EPS) warning light ..........................................................4-13
Charging system warning light ........................................................................\
.......4-13
Engine oil pressure warning light ........................................................................\
...4-14
Engine coolant temperature warning light (for 8-inch cluster) ............................4-14
Low fuel level warning light ........................................................................\
............4-14
Malfunction Indicator Lamp (MIL) ........................................................................\
..4-15
Master warning light ........................................................................\
........................4-15
Electronic Parking Brake (EPB) warning light ........................................................4-16
Low tire pressure warning light ........................................................................\
......4-16
Forward Safety warning light ........................................................................\
...........4-17
Lane Safety indicator light ........................................................................\
...............4-17
All Wheel Drive (AWD) warning light .......................................................................4-17
LED headlight warning light ........................................................................\
............4-18
Icy road warning light ........................................................................\
......................4-18
Electronic Stability Control (ESC) indicator light ...................................................4-19
Electronic Stability Control (ESC) OFF indicator light ...........................................4-19
Immobilizer indicator light ........................................................................\
..............4-19
4. Instrument Cluster
Page 107 of 632
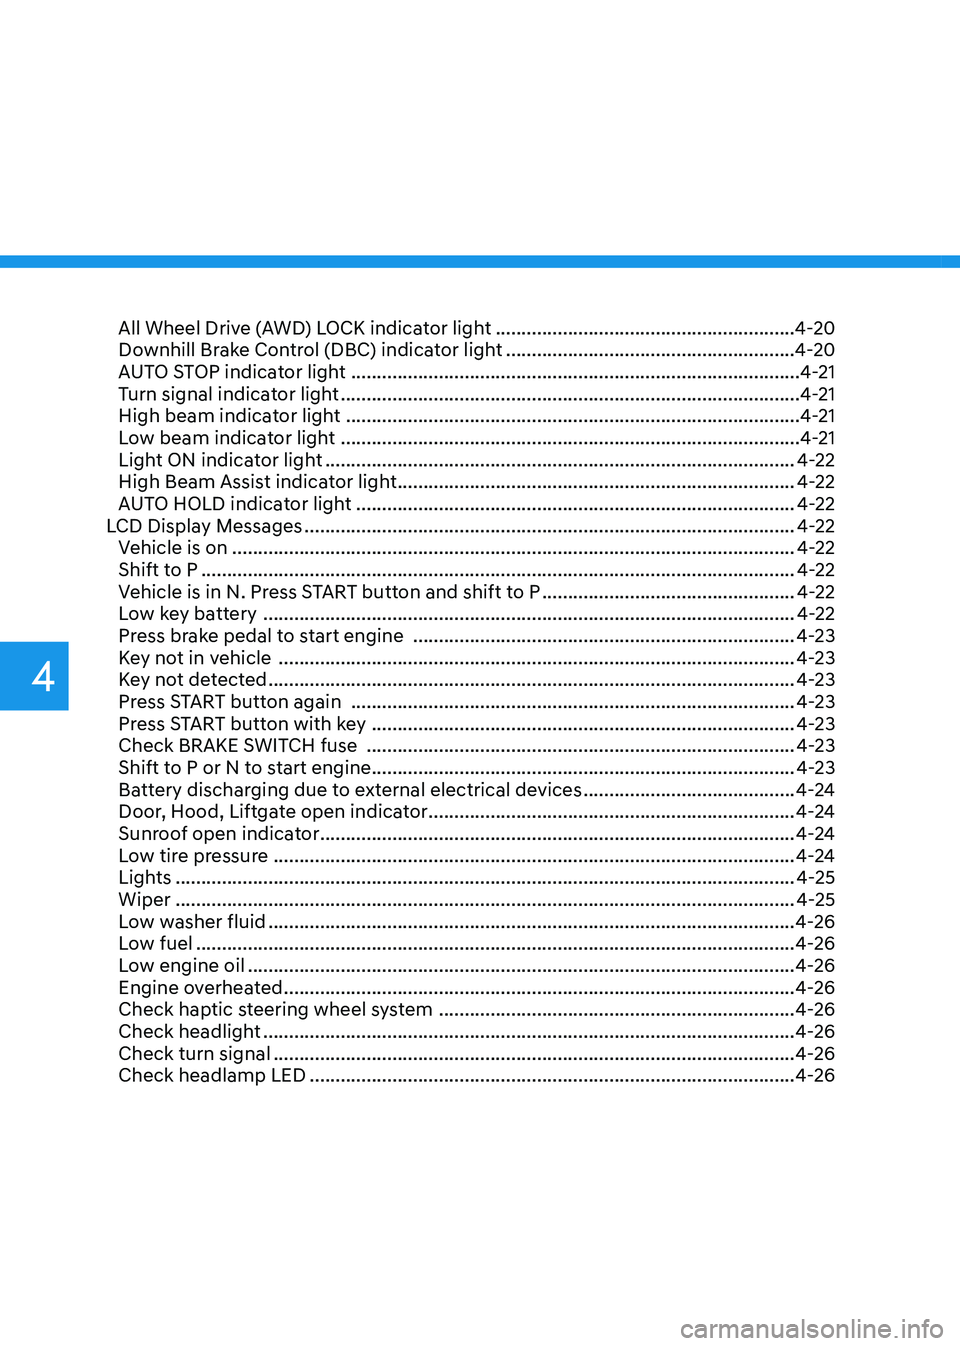
All Wheel Drive (AWD) LOCK indicator light ..........................................................4-20
Downhill Brake Control (DBC) indicator light ........................................................4-20
AUTO STOP indicator light ........................................................................\
...............4-21
Turn signal indicator light ........................................................................\
.................4-21
High beam indicator light ........................................................................\
................4-21
Low beam indicator light ........................................................................\
.................4-21
Light ON indicator light ........................................................................\
...................4-22
High Beam Assist indicator light ........................................................................\
.....4-22
AUTO HOLD indicator light ........................................................................\
.............4-22
LCD Display Messages ........................................................................\
.......................4-22
Vehicle is on ........................................................................\
.....................................4-22
Shift to P ........................................................................\
...........................................4-22
Vehicle is in N. Press START button and shift to P .................................................4-22
Low key battery ........................................................................\
...............................4-22
Press brake pedal to start engine ........................................................................\
..4-23
Key not in vehicle ........................................................................\
............................4-23
Key not detected ........................................................................\
..............................4-23
Press START button again ........................................................................\
..............4-23
Press START button with key ........................................................................\
..........4-23
Check BRAKE SWITCH fuse ........................................................................\
...........4-23
Shift to P or N to start engine ........................................................................\
..........4-23
Battery discharging due to external electrical devices
.........................................4-24
Door, Hood, Liftgate open indicator .......................................................................4-24
Sunroof open indicator ........................................................................\
....................4-24
Low tire pressure ........................................................................\
.............................4-24
Lights ........................................................................\
................................................4-25
Wiper ........................................................................\
................................................4-25
Low washer fluid ........................................................................\
..............................4-26
Low fuel ........................................................................\
............................................4-26
Low engine oil ........................................................................\
..................................4-26
Engine overheated ........................................................................\
...........................4-26
Check haptic steering wheel system .....................................................................4-26
Check headlight ........................................................................\
...............................4-26
Check turn signal ........................................................................\
.............................4-26
Check headlamp LED ........................................................................\
......................4-26
4
Page 119 of 632
Instrument Cluster
4-14
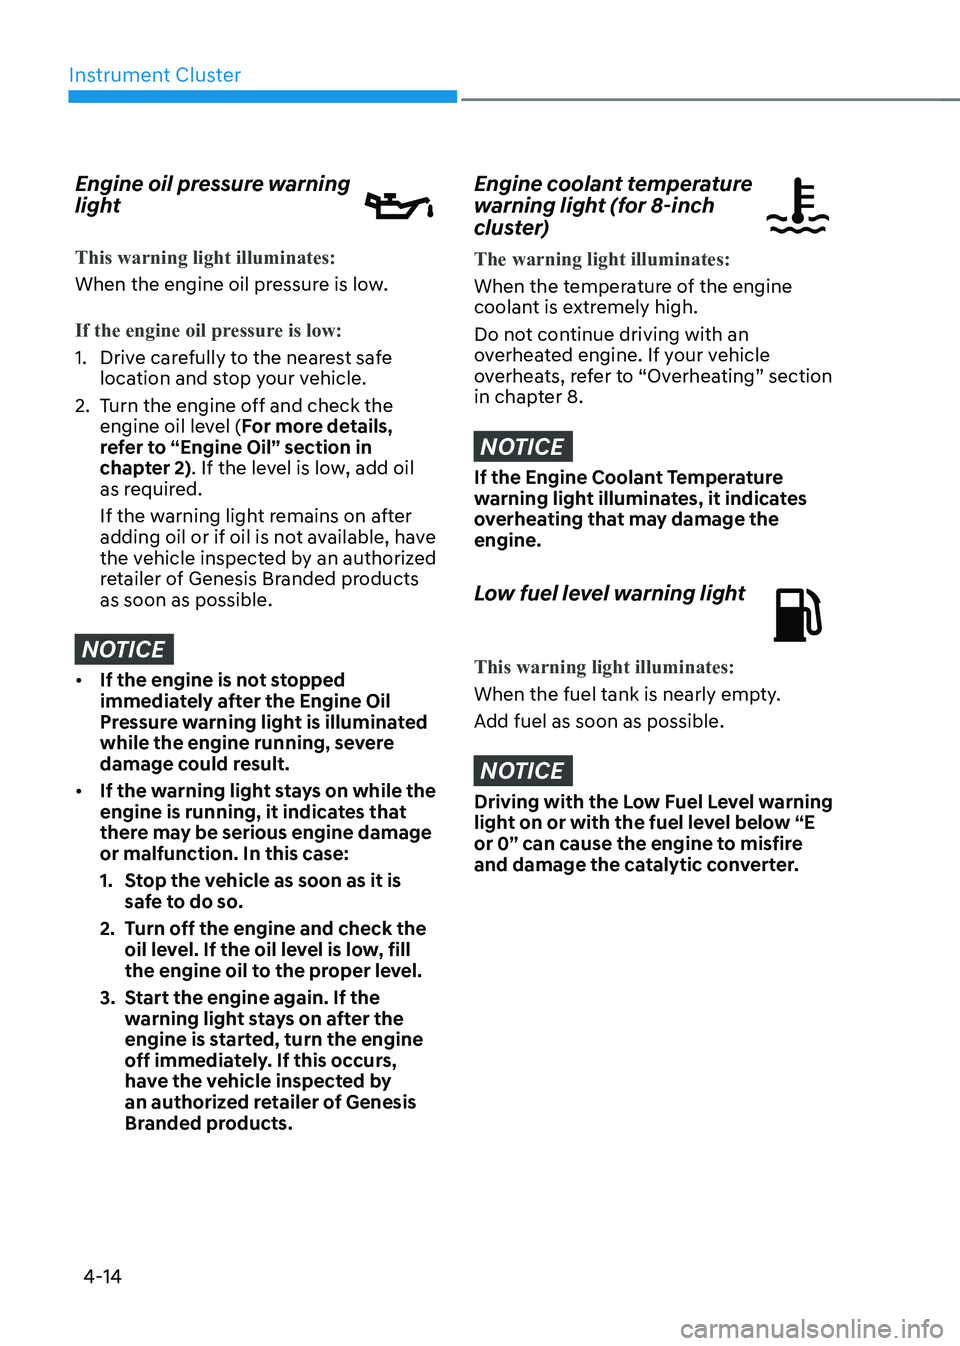
Engine oil pressure warning
light
This warning light illuminates:
When the engine oil pressure is low.
If the engine oil pressure is low:
1. Drive carefully to the nearest safe
location and stop your vehicle.
2. Turn the engine off and check the
engine oil level (For more details,
refer to “Engine Oil” section in
chapter 2). If the level is low, add oil
as required.
If the warning light remains on after
adding oil or if oil is not available, have
the vehicle inspected by an authorized
retailer of Genesis Branded products
as soon as possible.
NOTICE
• If the engine is not stopped
immediately after the Engine Oil
Pressure warning light is illuminated
while the engine running, severe
damage could result.
• If the warning light stays on while the
engine is running, it indicates that
there may be serious engine damage
or malfunction. In this case:
1. Stop the vehicle as soon as it is
safe to do so.
2. Turn off the engine and check the
oil level. If the oil level is low, fill
the engine oil to the proper level.
3. Start the engine again. If the
warning light stays on after the
engine is started, turn the engine
off immediately. If this occurs,
have the vehicle inspected by
an authorized retailer of Genesis
Branded products.
Engine coolant temperature
warning light (for 8-inch
cluster)
The warning light illuminates:
When the temperature of the engine
coolant is extremely high.
Do not continue driving with an
overheated engine. If your vehicle
overheats, refer to “Overheating” section
in chapter 8.
NOTICE
If the Engine Coolant Temperature
warning light illuminates, it indicates
overheating that may damage the
engine.
Low fuel level warning light
This warning light illuminates:
When the fuel tank is nearly empty.
Add fuel as soon as possible.
NOTICE
Driving with the Low Fuel Level warning
light on or with the fuel level below “E
or 0” can cause the engine to misfire
and damage the catalytic converter.
Page 131 of 632
Instrument Cluster
4-26
Low washer fluid
This message is displayed if the washer
fluid level in the reservoir is nearly empty.
Have the washer fluid reservoir refilled.
Low fuel
This message is displayed if the fuel tank
is almost out of fuel.
When this message is displayed, the low
fuel level warning light in the cluster will
come on.
It is recommended to look for the nearest
fueling station and refuel as soon as
possible.
Low engine oil (if equipped)
This warning message is displayed when
the engine oil level should be checked.
If this warning message is displayed,
check the engine oil level as soon as
possible and add engine oil as required.
Slowly pour the recommended oil little
by little into a funnel.
Use only the specified engine oil. (Refer
to "Recommended Lubricants and
Capacities“ section in chapter 2.)
Do not overfill the engine oil. Make sure
the oil level is not above F (Full) mark on
the dipstick.
Information
After adding engine oil, if you travel
approximately 31~62 miles (50~100 km)
after the engine warms up, the warning
message should disappear.
If the warning message remains on, have
the vehicle inspected by an authorized
retailer of Genesis Branded products as
soon as possible.
Engine overheated
This message is displayed when the
engine coolant temperature is above
approximately 248°F (120°C). This means
that the engine is overheated and may
be damaged.
If your vehicle is overheated, refer to
“Overheating” section in chapter 8.
Check haptic steering wheel system
This message is displayed if there is a
problem with the haptic steering wheel
system. Have the vehicle inspected by an
authorized retailer of Genesis Branded
products.
Check headlight
This message is displayed if the
headlights are not operating properly. A
lamp may need to be replaced.
Make sure to replace the burned out
bulb with a new one of the same wattage
rating.
Check turn signal
This message is displayed if the turn
signal lamps are not operating properly.
A lamp may need to be replaced.
Make sure to replace the burned out
bulb with a new one of the same wattage
rating.
Check headlamp LED (if equipped)
This message is displayed if there is a
problem with the LED headlamp. Have
the vehicle inspected by an authorized
retailer of Genesis Branded products.
Page 266 of 632
Convenient Features
5-124
Information
If the upward or downward movement of
the sunshade is blocked by an object or
part of the body, the sunshade will detect
the resistance and will stop movement and
move downward or upward.
NOTICE
• Do not apply excessive external force
on the rear side window sunshade
while operating. It may cause a
malfunction.
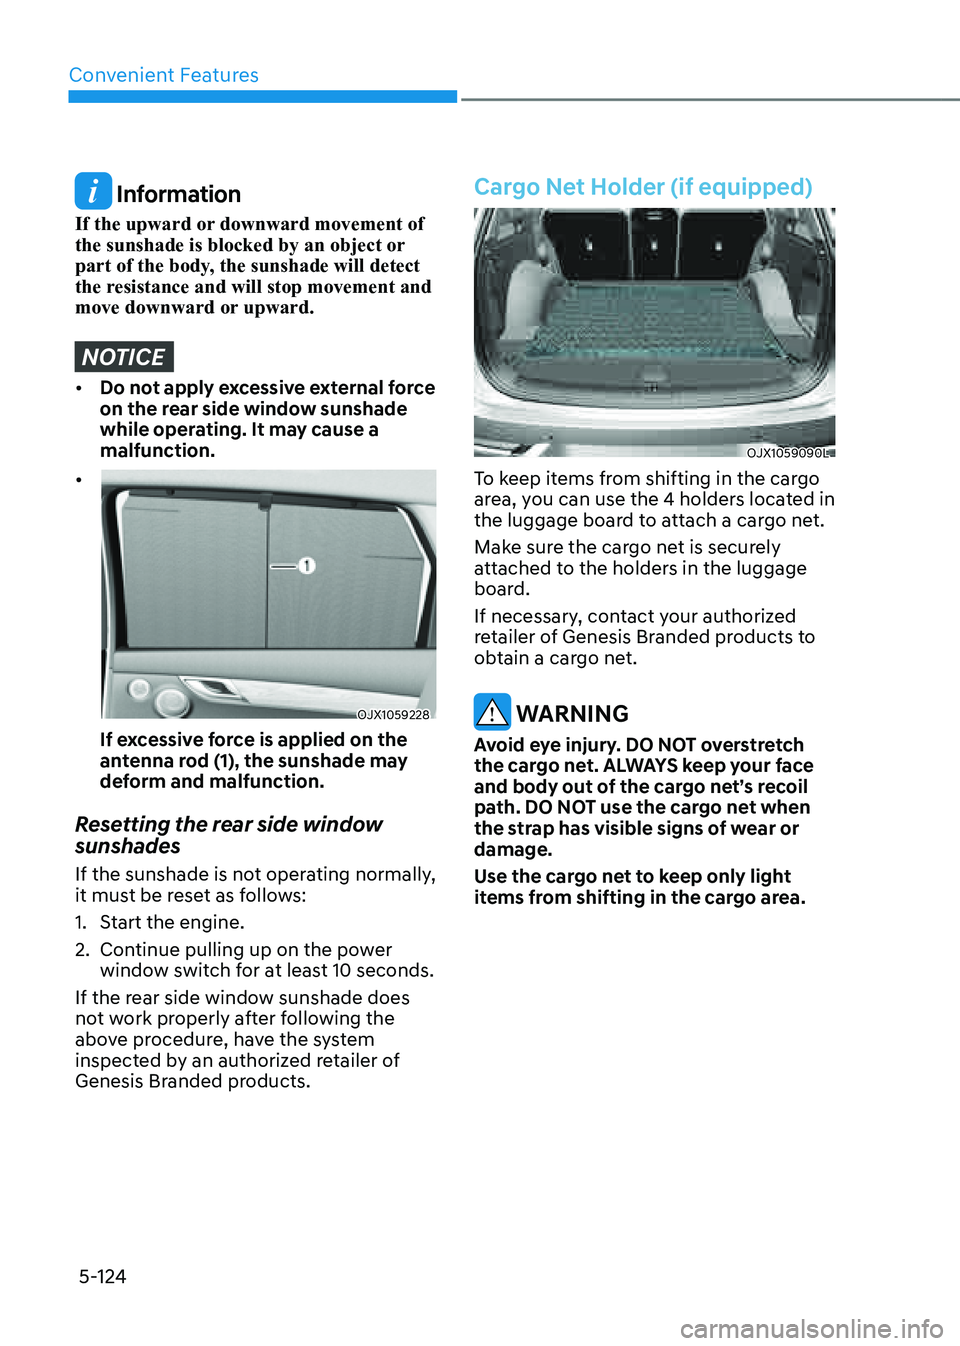
•
OJX1059228OJX1059228
If excessive force is applied on the
antenna rod (1), the sunshade may
deform and malfunction.
Resetting the rear side window
sunshades
If the sunshade is not operating normally,
it must be reset as follows:
1. Start the engine.
2. Continue pulling up on the power
window switch for at least 10 seconds.
If the rear side window sunshade does
not work properly after following the
above procedure, have the system
inspected by an authorized retailer of
Genesis Branded products.
Cargo Net Holder (if equipped)
OJX1059090LOJX1059090L
To keep items from shifting in the cargo
area, you can use the 4 holders located in
the luggage board to attach a cargo net.
Make sure the cargo net is securely
attached to the holders in the luggage
board.
If necessary, contact your authorized
retailer of Genesis Branded products to
obtain a cargo net.
WARNING
Avoid eye injury. DO NOT overstretch
the cargo net. ALWAYS keep your face
and body out of the cargo net’s recoil
path. DO NOT use the cargo net when
the strap has visible signs of wear or
damage.
Use the cargo net to keep only light
items from shifting in the cargo area.
Page 378 of 632

Driver Assistance System
7-30
System Malfunction and
Limitations
System malfunction
OJX1079024LOJX1079024L
When Lane Keeping Assist is not working
properly, the ‘Check Lane Keeping Assist
(LKA) system’ warning message will
appear and the yellow
indicator
light will illuminate on the cluster. If this
occurs, have the system inspected by an
authorized retailer of Genesis Branded
products.
Limitations of the system
Lane Keeping Assist may not operate
normally or may operate unexpectedly
under the following circumstances:
• The lane is contaminated or difficult
to distinguish because,
- The lane markings is covered with
rain, snow, dirt, oil, etc.
-The color of the lane marking is not
distinguishable from the road
-There are markings on the road near
the lane or the markings on the road
looks similar to the lane markings
-The lane marking is indistinct or
damaged
-The shadow is on the lane marking
by a median strip, trees, guardrail,
noise barriers, etc.
• There are more than two lane
markings on the road
• The lane number increases or
decreases, or the lane markings are
crossing
• The lane markings are complicated or
a structure substitutes for the lines,
such as a construction area
• There are road markings, such as
zigzag lanes, crosswalk markings and
road signs
• The lane suddenly disappears, such as
at the intersection
• The lane is very wide or narrow
• There is a road edge without a lane
• There is a boundary structure in the
roadway, such as a tollgate, sidewalk,
curb, etc.
• The distance to the front vehicle is
extremely short or the vehicle in front
is covering the lane marking
Page 547 of 632
Maintenance
9-6
Owner Maintenance Schedule
When you stop for fuel:
• Check the engine oil level.
• Check the coolant level in the engine
coolant reservoir or the liquid-cooled
intercooler coolant reservoir.
• Check the windshield liquid fluid level.
• Check for low or under-inflated tires.
WARNING
Be careful when checking your coolant
level when the engine is hot. This may
result in coolant being blown out of the
opening and cause serious burns and
other injuries.
While operating your vehicle:
• Note any changes in the sound of the
exhaust or any smell of exhaust fumes
in the vehicle.
• Check for vibrations in the steering
wheel. Notice if there is any increased
steering effort or looseness in the
steering wheel, or change in its
straight-ahead position.
• Notice if your vehicle constantly turns
slightly or “pulls” to one side when
traveling on smooth, level road.
• When stopping, listen and check for
unusual sounds, pulling to one side,
increased brake pedal travel or “hard-
to-push” brake pedal.
• If any slipping or changes in the
operation of your transmission occurs,
check the transmission fluid level.
• Check the automatic transmission P
(Park) function.
• Check the parking brake.
• Check for fluid leaks under your
vehicle (water dripping from the air
conditioning system during or after
use is normal).
At least monthly:
• Check coolant level in the engine
coolant reservoir.
• Check the operation of all exterior
lights, including the stoplights, turn
signals and hazard warning flashers.
• Check the inflation pressures of all
tires including the spare for tires that
are worn, show uneven wear, or are
damaged.
• Check for loose wheel lug nuts.
At least twice a year: (i.e., every
Spring and Autumn)
• Check radiator, heater and air
conditioning hoses for leaks or
damage.
• Check windshield washer spray and
wiper operation. Clean wiper blades
with a clean cloth dampened with
washer fluid.
• Check headlamp alignment.
• Check muffler, exhaust pipes, shields
and clamps.
• Check the seat belts for wear and
function.
At least once a year:
• Clean body and door drain holes.
• Lubricate door hinges and hood
hinges.
• Lubricate door and hood locks and
latches.
• Lubricate door rubber weather strips.
• Check the air conditioning system.
• Inspect and lubricate automatic
transmission linkage and controls.
• Clean the battery and terminals.
• Check the brake fluid level.
Page 580 of 632

09
9-39
Bias ply tire
A pneumatic tire in which the plies are
laid at alternate angles less than 90
degrees to the centerline of the tread.
Cold tire pressure
The amount of air pressure in a tire,
measured in pounds per square inch
(psi) or kilopascals (kPa) before a tire
has built up heat from driving.
Curb weight
This means the weight of a motor
vehicle with standard and optional
equipment including the maximum
capacity of fuel, oil and coolant, but
without passengers and cargo.
DOT markings
A code molded into the sidewall
of a tire signifying that the tire
is in compliance with the U.S.
Department of Transportation motor
vehicle safety standards. The DOT
code includes the Tire Identification
Number (TIN), an alphanumeric
designator which can also identify
the tire manufacturer, production
plant, brand and date of production.
GVWR
Gross Vehicle Weight Rating
GAWR FRT
Gross Axle Weight Rating for the
Front Axle.
GAWR RR
Gross Axle Weight Rating for the
Rear axle.Intended outboard sidewall
The side of an asymmetrical tire,
that must always face outward when
mounted on a vehicle.
Kilopascal (kPa)
The metric unit for air pressure.
Light Truck (LT) tire
A tire designated by its manufacturer
as primarily intended for use on
lightweight trucks or multipurpose
passenger vehicles.
Load ratings
The maximum load that a tire is rated
to carry for a given inflation pressure.
Load index
An assigned number ranging from 1
to 279 that corresponds to the load
carrying capacity of a tire.
Maximum inflation pressure
The maximum air pressure to which
a cold tire may be inflated. The
maximum air pressure is molded
onto the sidewall.
Maximum load rating
The load rating for a tire at the
maximum permissible inflation
pressure for that tire.
Page 585 of 632
Maintenance
9-44
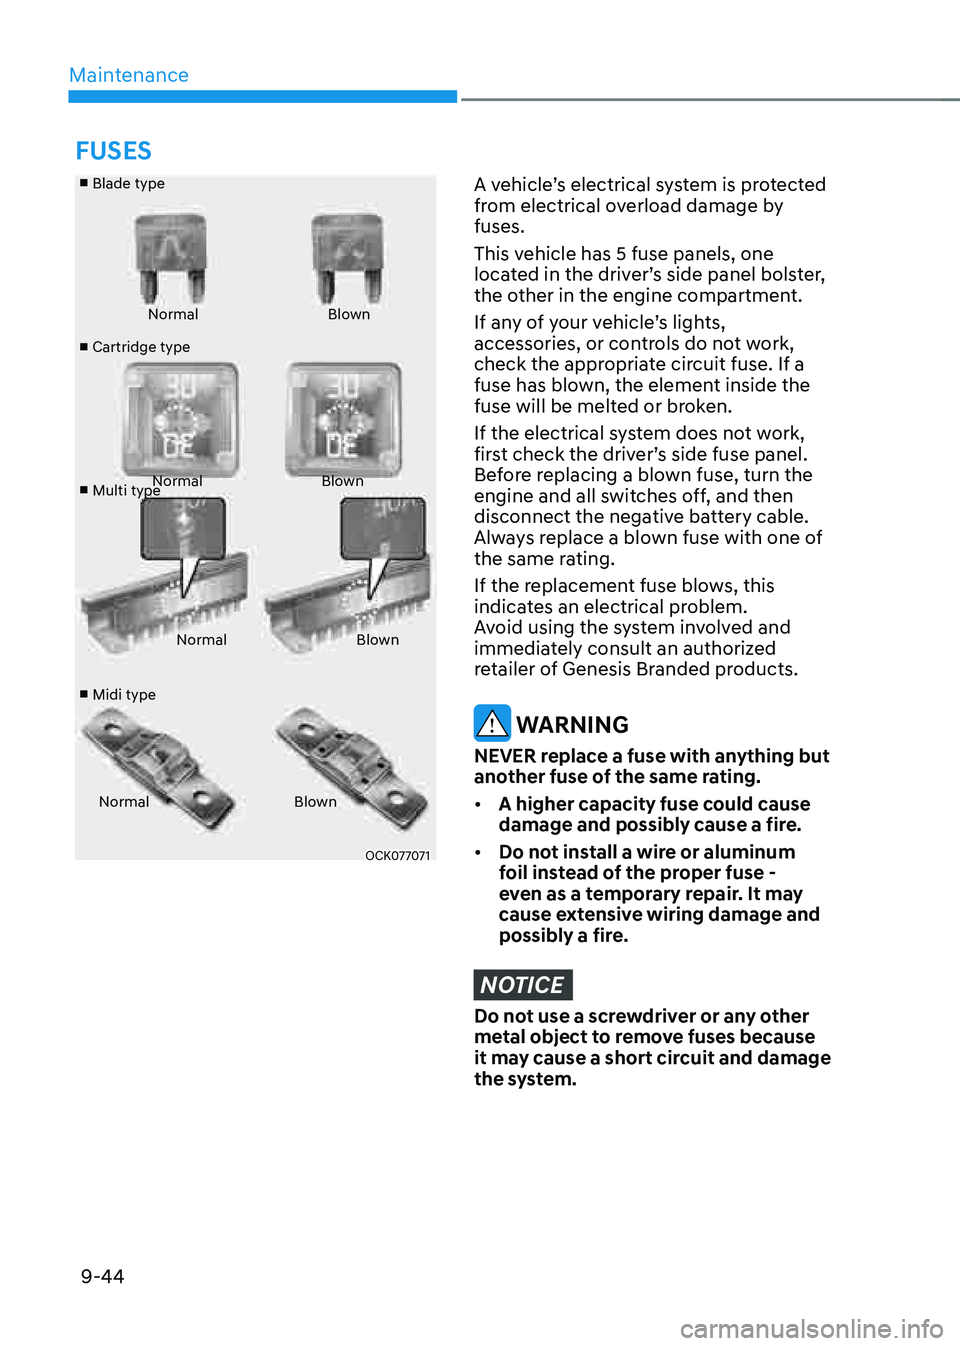
■ Blade type
■ Cartridge type
■ Multi type
■ Midi type Normal
Blown
Normal Blown
Normal Blown
Normal Blown
OCK077071OCK077071
A vehicle’s electrical system is protected
from electrical overload damage by
fuses.
This vehicle has 5 fuse panels, one
located in the driver’s side panel bolster,
the other in the engine compartment.
If any of your vehicle’s lights,
accessories, or controls do not work,
check the appropriate circuit fuse. If a
fuse has blown, the element inside the
fuse will be melted or broken.
If the electrical system does not work,
first check the driver’s side fuse panel.
Before replacing a blown fuse, turn the
engine and all switches off, and then
disconnect the negative battery cable.
Always replace a blown fuse with one of
the same rating.
If the replacement fuse blows, this
indicates an electrical problem.
Avoid using the system involved and
immediately consult an authorized
retailer of Genesis Branded products.
WARNING
NEVER replace a fuse with anything but
another fuse of the same rating.
• A higher capacity fuse could cause
damage and possibly cause a fire.
• Do not install a wire or aluminum
foil instead of the proper fuse -
even as a temporary repair. It may
cause extensive wiring damage and
possibly a fire.
NOTICE
Do not use a screwdriver or any other
metal object to remove fuses because
it may cause a short circuit and damage
the system.
FUSES
Page 608 of 632
09
9-67
NOTICE
• Do not use strong soap, chemical
detergents or hot water, and do not
wash the vehicle in direct sunlight
or when the body of the vehicle is
warm.
• Be careful when washing the side
windows of your vehicle.
• Especially, with high-pressure water,
water may leak through the windows
and wet the interior.
• To prevent damage to the plastic
parts, do not clean with chemical
solvents or strong detergents.
NOTICE
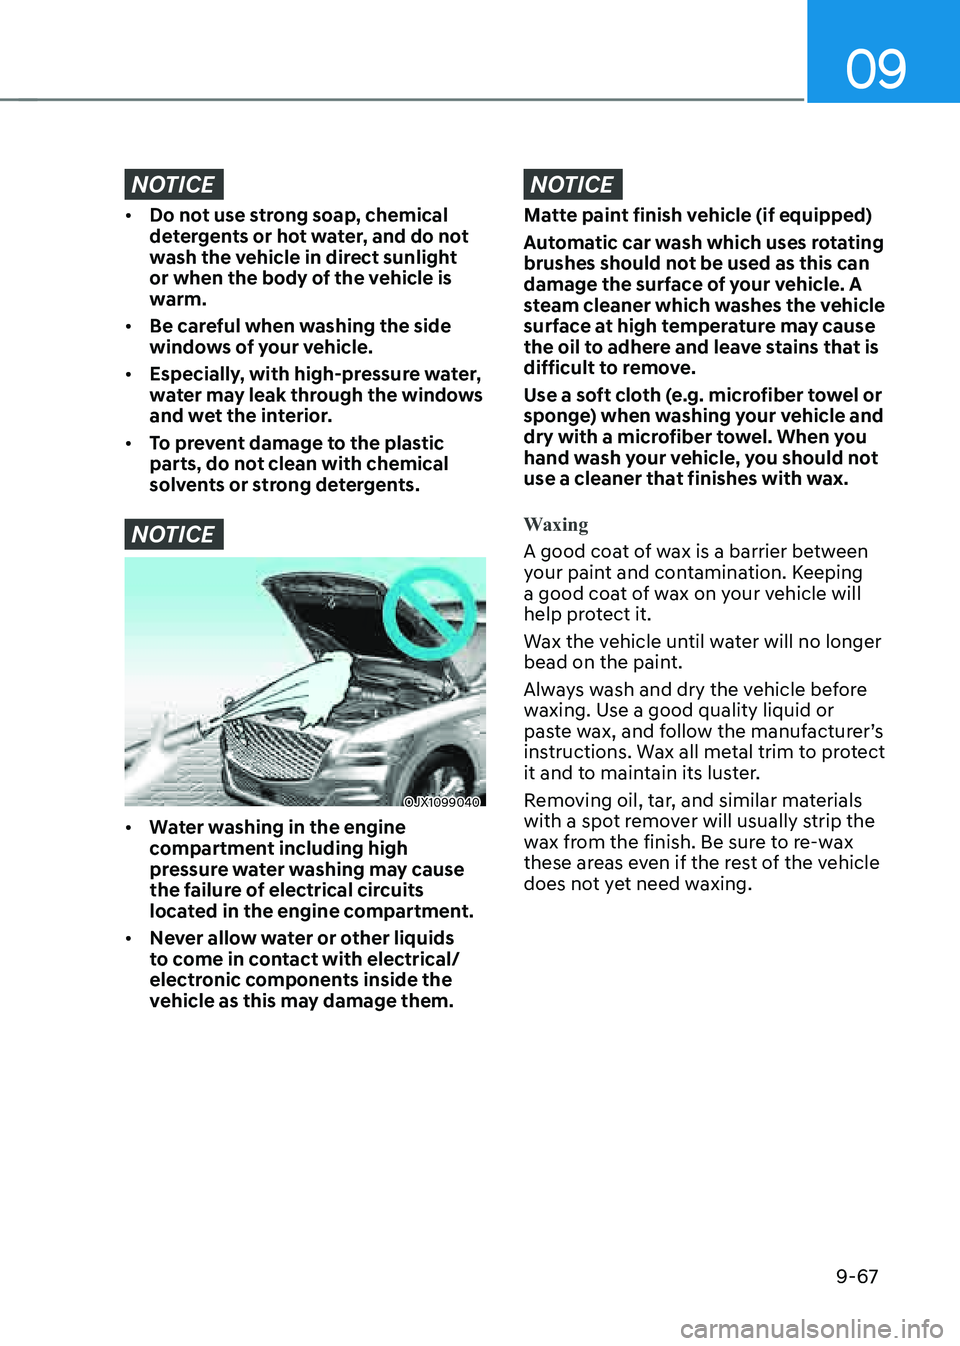
OJX1099040OJX1099040
• Water washing in the engine
compartment including high
pressure water washing may cause
the failure of electrical circuits
located in the engine compartment.
• Never allow water or other liquids
to come in contact with electrical/
electronic components inside the
vehicle as this may damage them.
NOTICE
Matte paint finish vehicle (if equipped)
Automatic car wash which uses rotating
brushes should not be used as this can
damage the surface of your vehicle. A
steam cleaner which washes the vehicle
surface at high temperature may cause
the oil to adhere and leave stains that is
difficult to remove.
Use a soft cloth (e.g. microfiber towel or
sponge) when washing your vehicle and
dry with a microfiber towel. When you
hand wash your vehicle, you should not
use a cleaner that finishes with wax.
Waxing
A good coat of wax is a barrier between
your paint and contamination. Keeping
a good coat of wax on your vehicle will
help protect it.
Wax the vehicle until water will no longer
bead on the paint.
Always wash and dry the vehicle before
waxing. Use a good quality liquid or
paste wax, and follow the manufacturer’s
instructions. Wax all metal trim to protect
it and to maintain its luster.
Removing oil, tar, and similar materials
with a spot remover will usually strip the
wax from the finish. Be sure to re-wax
these areas even if the rest of the vehicle
does not yet need waxing.