check engine GMC ACADIA 2008 Get To Know Guide
[x] Cancel search | Manufacturer: GMC, Model Year: 2008, Model line: ACADIA, Model: GMC ACADIA 2008Pages: 24, PDF Size: 1.48 MB
Page 3 of 24

3
See Section 3 of your Owner Manual.
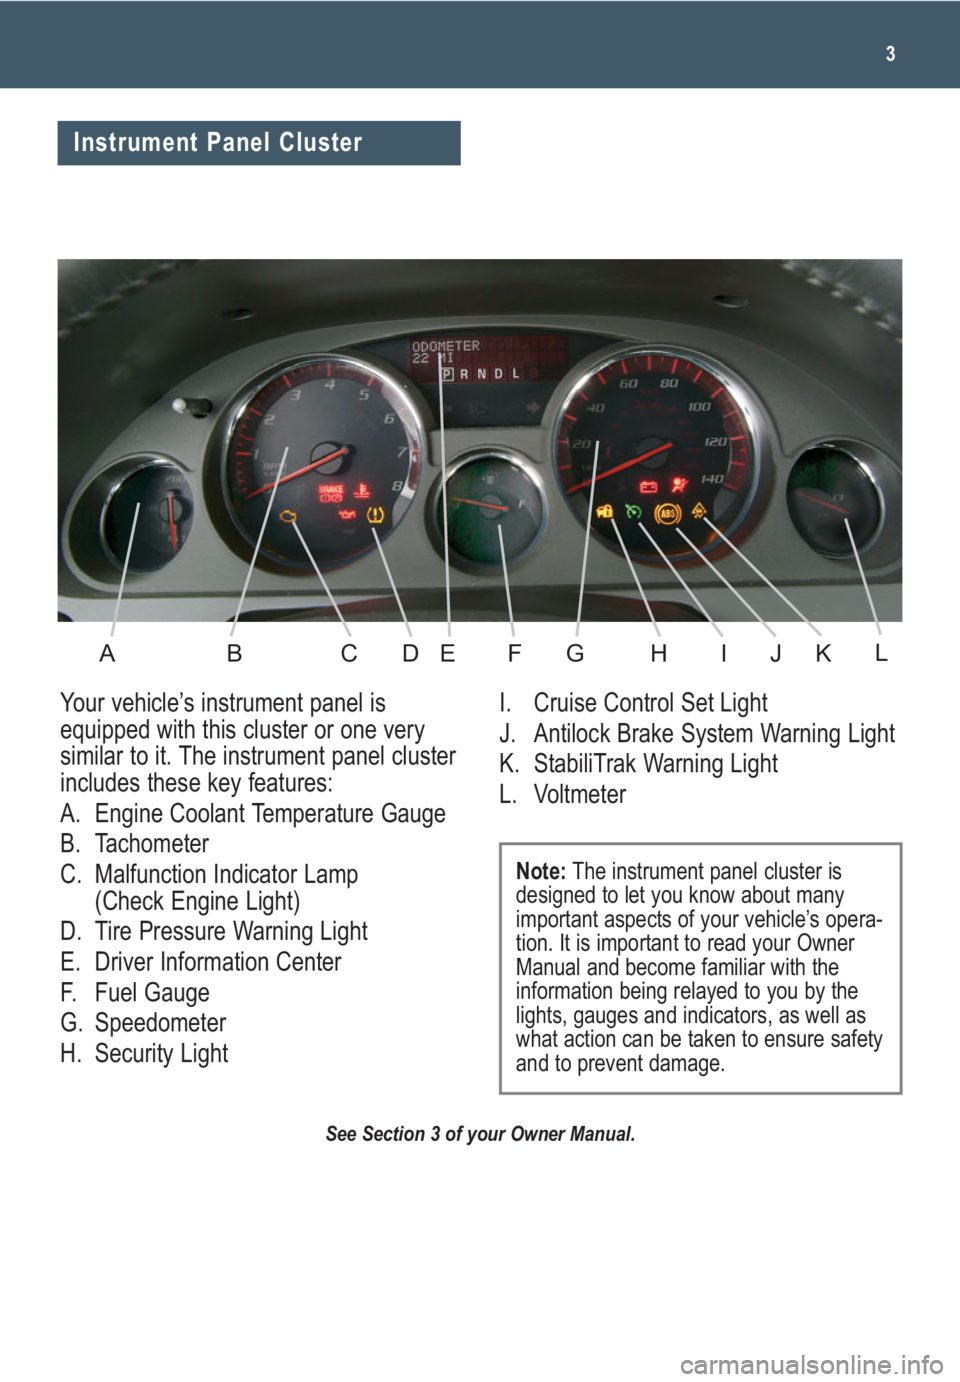
Your vehicle’s instrument panel is
equipped with this cluster or one very
similar to it. The instrument panel cluster
includes these key features:
A. Engine Coolant Temperature Gauge
B. Tachometer
C. Malfunction Indicator Lamp
(Check Engine Light)
D. Tire Pressure Warning Light
E. Driver Information Center
F. Fuel Gauge
G. Speedometer
H. Security LightI. Cruise Control Set Light
J. Antilock Brake System Warning Light
K. StabiliTrak Warning Light
L. Voltmeter
Note:The instrument panel cluster is
designed to let you know about many
important aspects of your vehicle’s opera-
tion. It is important to read your Owner
Manual and become familiar with the
information being relayed to you by the
lights, gauges and indicators, as well as
what action can be taken to ensure safety
and to prevent damage.
Instrument Panel Cluster
ABCDEFGHIKJL
Page 6 of 24

Getting to Know Your Acadia6
If you change your seat position, you
may have to readjust the HUD image for
proper viewing.
(Page):Press and hold this button to
change the display format. Release the
button when the desired display is
shown.
If the ignition is on and you cannot see
the HUD image, check to see whether:
• Something is covering the HUD lens
• The brightness is adjusted properly
• The HUD image is adjusted to the
proper height
• The windshield and HUD lens are
clean (do not spray glass cleaner
directly on the HUD lens)
• You are wearing polarized sunglass-
es, which could make the image
harder to see
• A fuse is blown (see your Owner
Manual)
See Section 3 of your Owner Manual.
and/or horn chirp) can be programmed
using the Driver Information Center (DIC).
(Unlock):Press this button to unlock
the driver’s door. Press it again within
five seconds to unlock all remaining
doors. RKE feedback (light flash) can be
programmed using the DIC.
(Power Liftgate)(if equipped):
Press and hold this button until the lift-
gate starts moving to open and close
the liftgate. The taillamps will flash and
a chime will sound when the liftgate is
moving.
(Vehicle Locator/Panic Alarm):
Press and release this button to locate
your vehicle. The turn signal lamps will
flash and the horn will sound three
times.
Press and hold the button to activate the
panic alarm. The turn signal lamps will
flash and the horn will sound for 30 sec-
onds. Press the button again or turn the
ignition to On to cancel the panic alarm.
See Section 2 of your Owner Manual.
Remote Keyless Entry
SAFETY & SECURITY
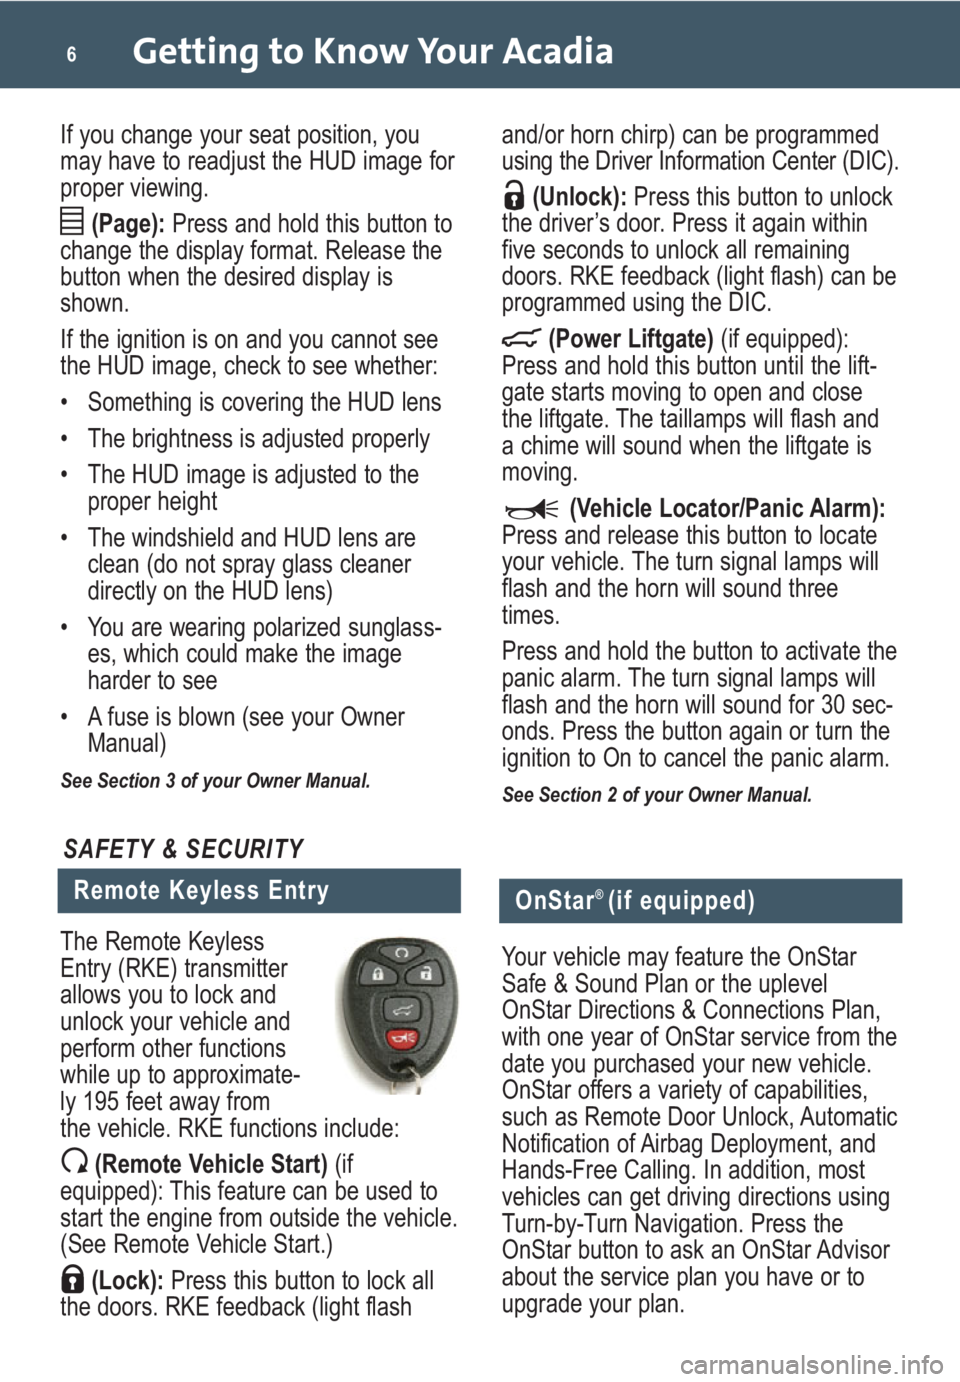
The Remote Keyless
Entry (RKE) transmitter
allows you to lock and
unlock your vehicle and
perform other functions
while up to approximate-
ly 195 feet away from
the vehicle. RKE functions include:
(Remote Vehicle Start)(if
equipped): This feature can be used to
start the engine from outside the vehicle.
(See Remote Vehicle Start.)
(Lock):Press this button to lock all
the doors. RKE feedback (light flash
OnStar® (if equipped)
Your vehicle may feature the OnStar
Safe & Sound Plan or the uplevel
OnStar Directions & Connections Plan,
with one year of OnStar service from the
date you purchased your new vehicle.
OnStar offers a variety of capabilities,
such as Remote Door Unlock, Automatic
Notification of Airbag Deployment, and
Hands-Free Calling. In addition, most
vehicles can get driving directions using
Turn-by-Turn Navigation. Press the
OnStar button to ask an OnStar Advisor
about the service plan you have or to
upgrade your plan.
Page 21 of 24

21
There are several ways to open and
close the power liftgate:
• Press and hold the (Power
Liftgate) button on the Remote
Keyless Entry transmitter until the
liftgate starts moving. Press it again
to reverse operation.
• Press the (Power Liftgate) button
on the center console in front of the
shift lever. Press it again to reverse
operation.
• Press the touchpad on the liftgate
handle to open. Press it again to
reverse operation.
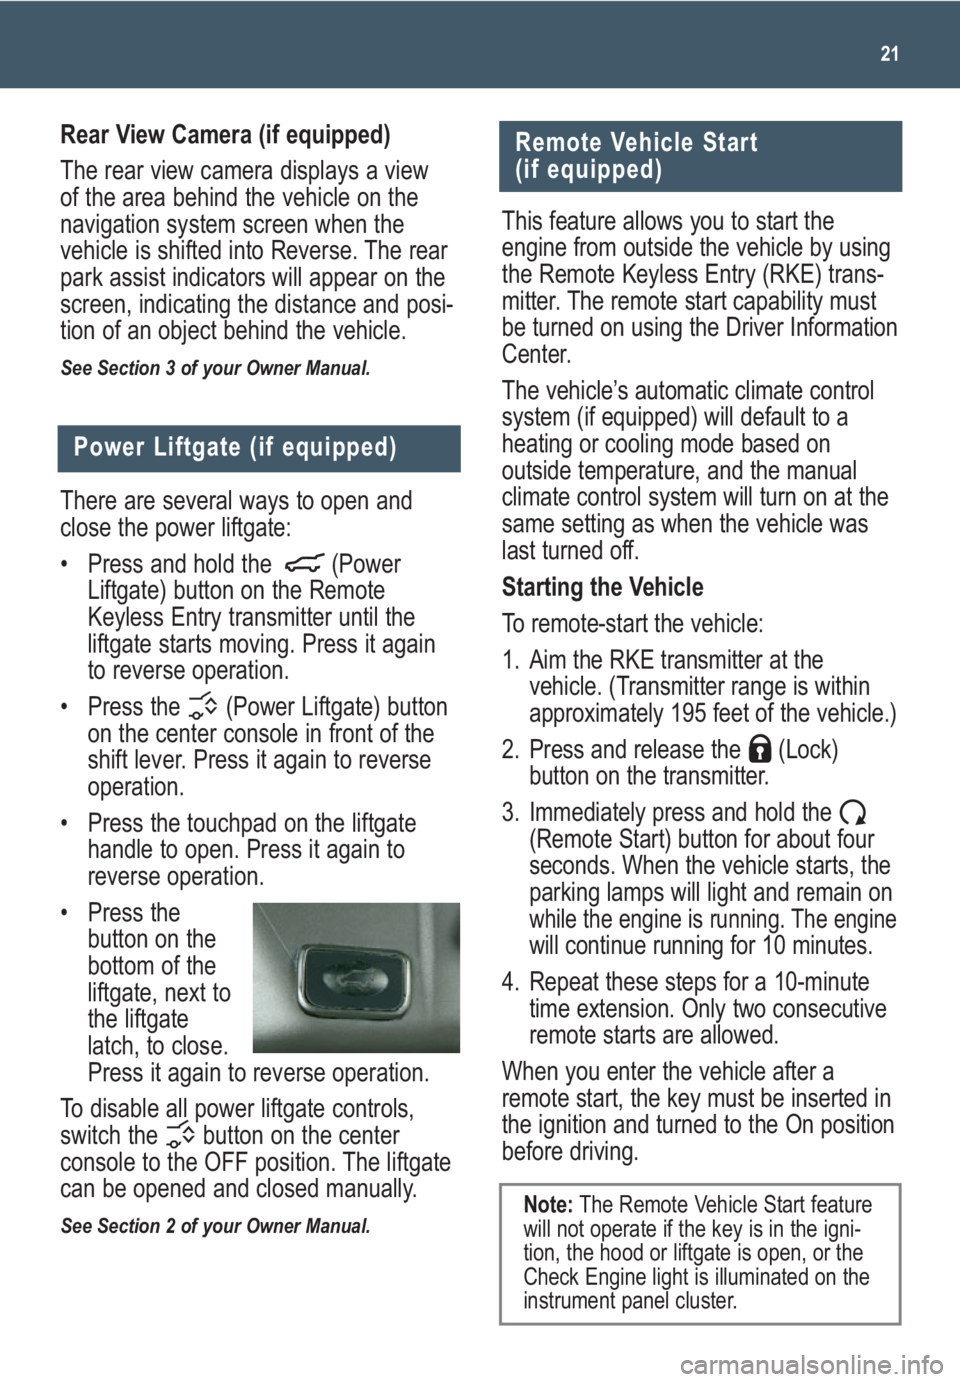
• Press the
button on the
bottom of the
liftgate, next to
the liftgate
latch, to close.
Press it again to reverse operation.
To disable all power liftgate controls,
switch the button on the center
console to the OFF position. The liftgate
can be opened and closed manually.
See Section 2 of your Owner Manual.
Power Liftgate (if equipped)
Remote Vehicle Start
(if equipped)
This feature allows you to start the
engine from outside the vehicle by using
the Remote Keyless Entry (RKE) trans-
mitter. The remote start capability must
be turned on using the Driver Information
Center.
The vehicle’s automatic climate control
system (if equipped) will default to a
heating or cooling mode based on
outside temperature, and the manual
climate control system will turn on at the
same setting as when the vehicle was
last turned off.
Starting the Vehicle
To remote-start the vehicle:
1. Aim the RKE transmitter at the
vehicle. (Transmitter range is within
approximately 195 feet of the vehicle.)
2. Press and release the (Lock)
button on the transmitter.
3. Immediately press and hold the
(Remote Start) button for about four
seconds. When the vehicle starts, the
parking lamps will light and remain on
while the engine is running. The enginewill continue running for 10 minutes.
4. Repeat these steps for a 10-minute
time extension. Only two consecutive
remote starts are allowed.
When you enter the vehicle after a
remote start, the key must be inserted in
the ignition and turned to the On position
before driving.
Note:The Remote Vehicle Start feature
will not operate if the key is in the igni-
tion, the hood or liftgate is open, or the
Check Engine light is illuminated on the
instrument panel cluster.
Rear View Camera (if equipped)
The rear view camera displays a view
of the area behind the vehicle on the
navigation system screen when the
vehicle is shifted into Reverse. The rear
park assist indicators will appear on the
screen, indicating the distance and posi-
tion of an object behind the vehicle.
See Section 3 of your Owner Manual.
Page 23 of 24

The Tow/Haul mode (if equipped) assists
when pulling a heavy trailer by reducing
the frequency of transmission shifts and
improves the control of vehicle speed.
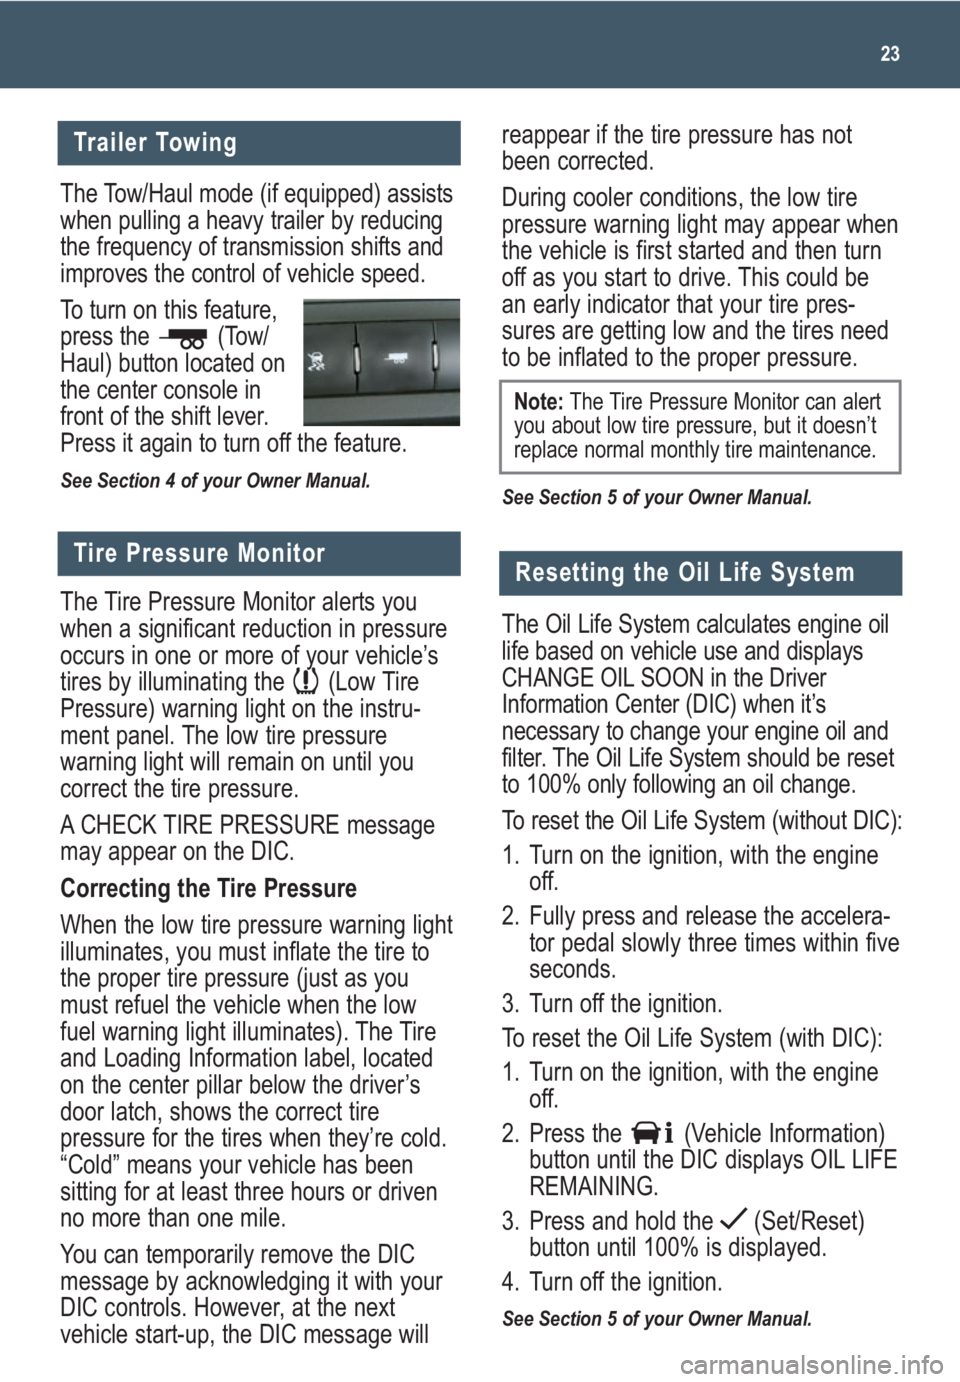
To turn on this feature,
press the (Tow/
Haul) button located on
the center console in
front of the shift lever.
Press it again to turn off the feature.
See Section 4 of your Owner Manual.
reappear if the tire pressure has not
been corrected.
During cooler conditions, the low tire
pressure warning light may appear when
the vehicle is first started and then turn
off as you start to drive. This could be
an early indicator that your tire pres-
sures are getting low and the tires need
to be inflated to the proper pressure.
See Section 5 of your Owner Manual.
23
Trailer Towing
Tire Pressure Monitor
The Tire Pressure Monitor alerts you
when a significant reduction in pressure
occurs in one or more of your vehicle’s
tires by illuminating the (Low Tire
Pressure) warning light on the instru-
ment panel. The low tire pressure
warning light will remain on until you
correct the tire pressure.
A CHECK TIRE PRESSURE message
may appear on the DIC.
Correcting the Tire Pressure
When the low tire pressure warning light
illuminates, you must inflate the tire to
the proper tire pressure (just as you
must refuel the vehicle when the low
fuel warning light illuminates). The Tire
and Loading Information label, located
on the center pillar below the driver’s
door latch, shows the correct tire
pressure for the tires when they’re cold.
“Cold” means your vehicle has been
sitting for at least three hours or driven
no more than one mile.
You can temporarily remove the DIC
message by acknowledging it with your
DIC controls. However, at the next
vehicle start-up, the DIC message will
Note:The Tire Pressure Monitor can alert
you about low tire pressure, but it doesn’t
replace normal monthly tire maintenance.
Resetting the Oil Life System
The Oil Life System calculates engine oil
life based on vehicle use and displays
CHANGE OIL SOON in the Driver
Information Center (DIC) when it’s
necessary to change your engine oil and
filter. The Oil Life System should be reset
to 100% only following an oil change.
To reset the Oil Life System (without DIC):
1. Turn on the ignition, with the engine
off.
2. Fully press and release the accelera-
tor pedal slowly three times within five
seconds.
3. Turn off the ignition.
To reset the Oil Life System (with DIC):
1. Turn on the ignition, with the engine
off.
2. Press the (Vehicle Information)
button until the DIC displays OIL LIFE
REMAINING.
3. Press and hold the (Set/Reset)
button until 100% is displayed.
4. Turn off the ignition.
See Section 5 of your Owner Manual.