tow GMC ACADIA 2008 Get To Know Guide
[x] Cancel search | Manufacturer: GMC, Model Year: 2008, Model line: ACADIA, Model: GMC ACADIA 2008Pages: 24, PDF Size: 1.48 MB
Page 1 of 24
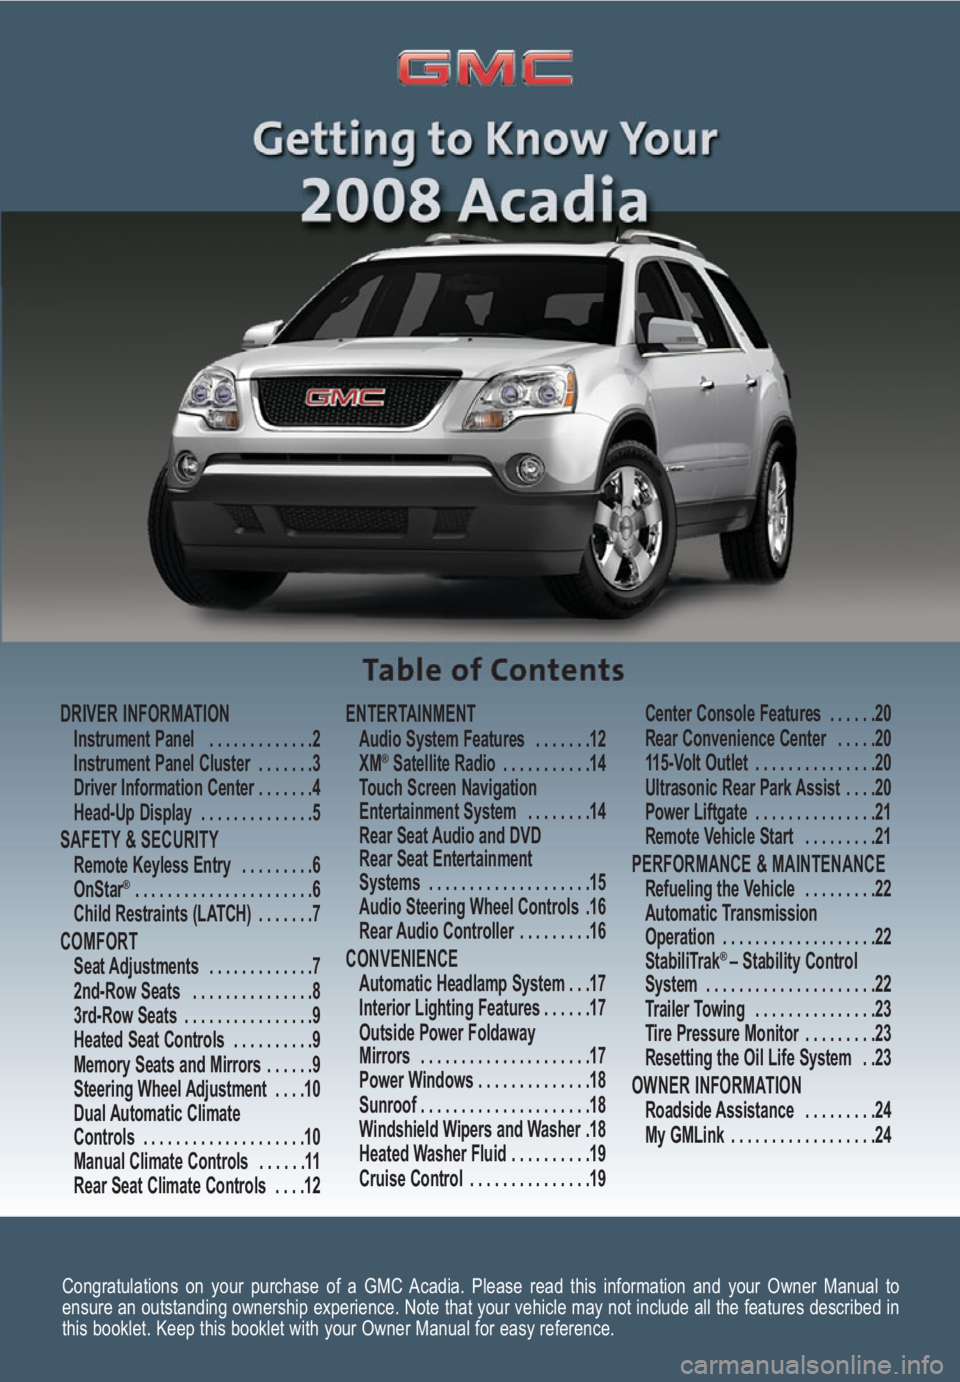
Congratulations on your purchase of a GMC Acadia. Please read this information and your Owner Manual to
ensure an outstanding ownership experience. Note that your vehicle may not include all the features described in
this booklet. Keep this booklet with your Owner Manual for easy reference.
DRIVER INFORMATIONInstrument Panel . . . . . . . . . . . . .2
Instrument Panel Cluster . . . . . . .3
Driver Information Center . . . . . . .4
Head-Up Display . . . . . . . . . . . . . .5
SAFETY & SECURITYRemote Keyless Entry . . . . . . . . .6
OnStar® . . . . . . . . . . . . . . . . . . . . . .6
Child Restraints (LATCH) . . . . . . .7
COMFORT Seat Adjustments . . . . . . . . . . . . .7
2nd-Row Seats . . . . . . . . . . . . . . .8
3rd-Row Seats . . . . . . . . . . . . . . . .9
Heated Seat Controls . . . . . . . . . .9
Memory Seats and Mirrors . . . . . .9
Steering Wheel Adjustment . . . .10
Dual Automatic Climate
Controls . . . . . . . . . . . . . . . . . . . .10
Manual Climate Controls . . . . . .11
Rear Seat Climate Controls . . . .12
ENTERTAINMENT Audio System Features . . . . . . .12
XM®Satellite Radio . . . . . . . . . . .14
Touch Screen Navigation
Entertainment System . . . . . . . .14
Rear Seat Audio and DVD
Rear Seat Entertainment
Systems . . . . . . . . . . . . . . . . . . . .15
Audio Steering Wheel Controls .16
Rear Audio Controller . . . . . . . . .16
CONVENIENCE Automatic Headlamp System . . .17
Interior Lighting Features . . . . . .17
Outside Power Foldaway
Mirrors . . . . . . . . . . . . . . . . . . . . .17
Power Windows . . . . . . . . . . . . . .18
Sunroof . . . . . . . . . . . . . . . . . . . . .18
Windshield Wipers and Washer .18
Heated Washer Fluid . . . . . . . . . .19
Cruise Control . . . . . . . . . . . . . . .19Center Console Features . . . . . .20
Rear Convenience Center . . . . .20
115-Volt Outlet . . . . . . . . . . . . . . .20
Ultrasonic Rear Park Assist . . . .20
Power Liftgate . . . . . . . . . . . . . . .21
Remote Vehicle Start . . . . . . . . .21
PERFORMANCE & MAINTENANCE Refueling the Vehicle . . . . . . . . .22
Automatic Transmission
Operation . . . . . . . . . . . . . . . . . . .22
StabiliTrak
® – Stability Control
System . . . . . . . . . . . . . . . . . . . . .22
Trailer Towing . . . . . . . . . . . . . . .23
Tire Pressure Monitor . . . . . . . . .23
Resetting the Oil Life System . .23
OWNER INFORMATIONRoadside Assistance . . . . . . . . .24
My GMLink . . . . . . . . . . . . . . . . . .24
Page 2 of 24
Getting to Know Your Acadia2
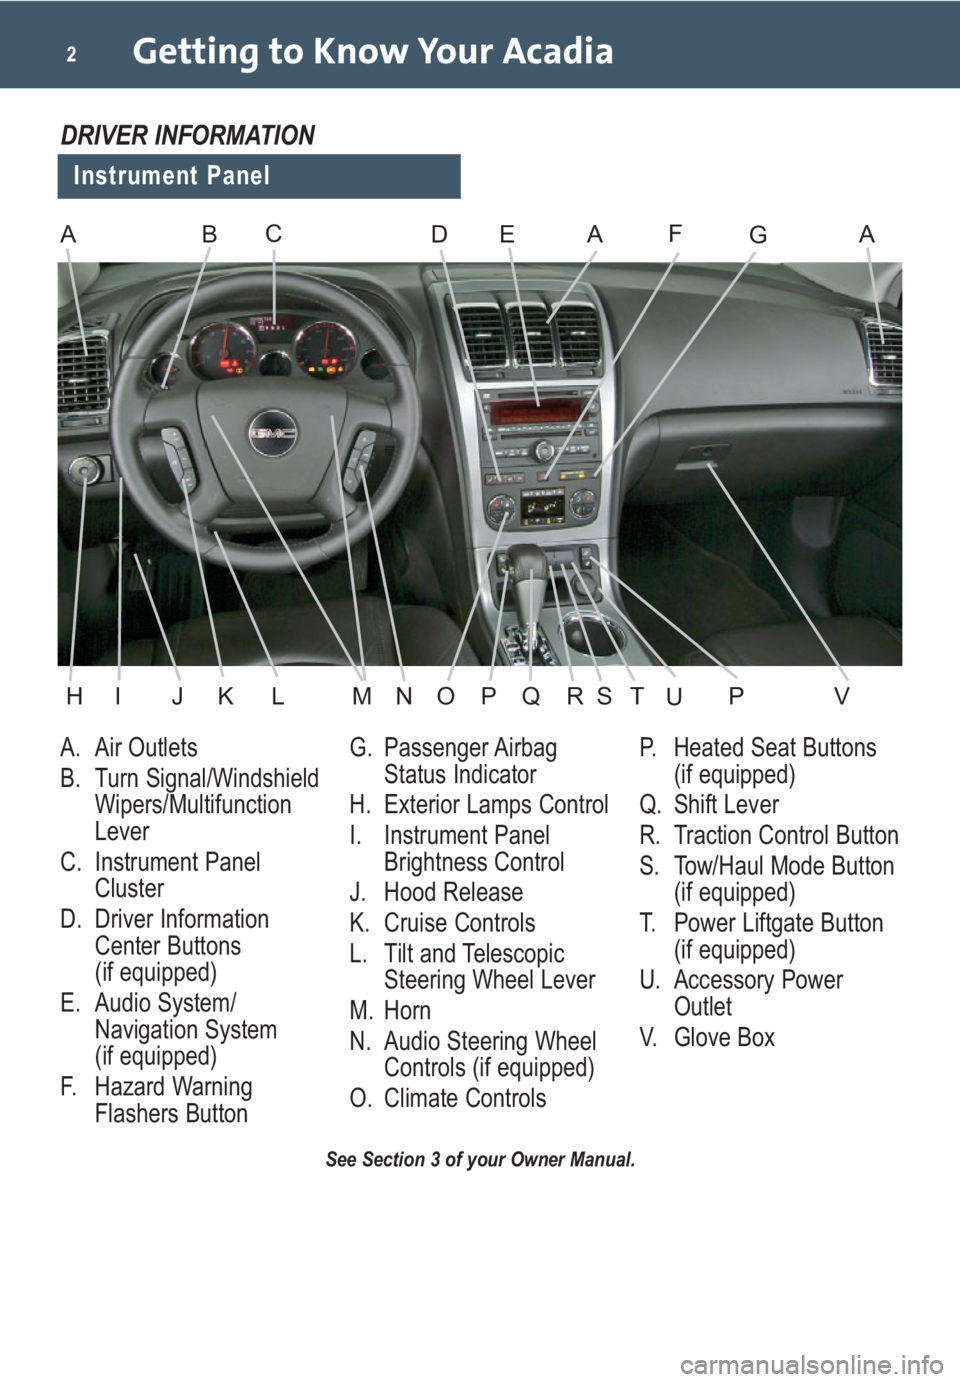
A. Air Outlets
B. Turn Signal/Windshield
Wipers/Multifunction
Lever
C. Instrument Panel
Cluster
D. Driver Information
Center Buttons
(if equipped)
E. Audio System/
Navigation System
(if equipped)
F. Hazard Warning
Flashers ButtonG. Passenger Airbag
Status Indicator
H. Exterior Lamps Control
I. Instrument Panel
Brightness Control
J. Hood Release
K. Cruise Controls
L. Tilt and Telescopic
Steering Wheel Lever
M. Horn
N. Audio Steering Wheel
Controls (if equipped)
O. Climate ControlsP. Heated Seat Buttons
(if equipped)
Q. Shift Lever
R. Traction Control Button
S. Tow/Haul Mode Button
(if equipped)
T. Power Liftgate Button
(if equipped)
U. Accessory Power
Outlet
V. Glove Box
See Section 3 of your Owner Manual.
Instrument Panel
DRIVER INFORMATION
ABDEAFAGC
HIJKLMNOPVQRSPTU
Page 5 of 24
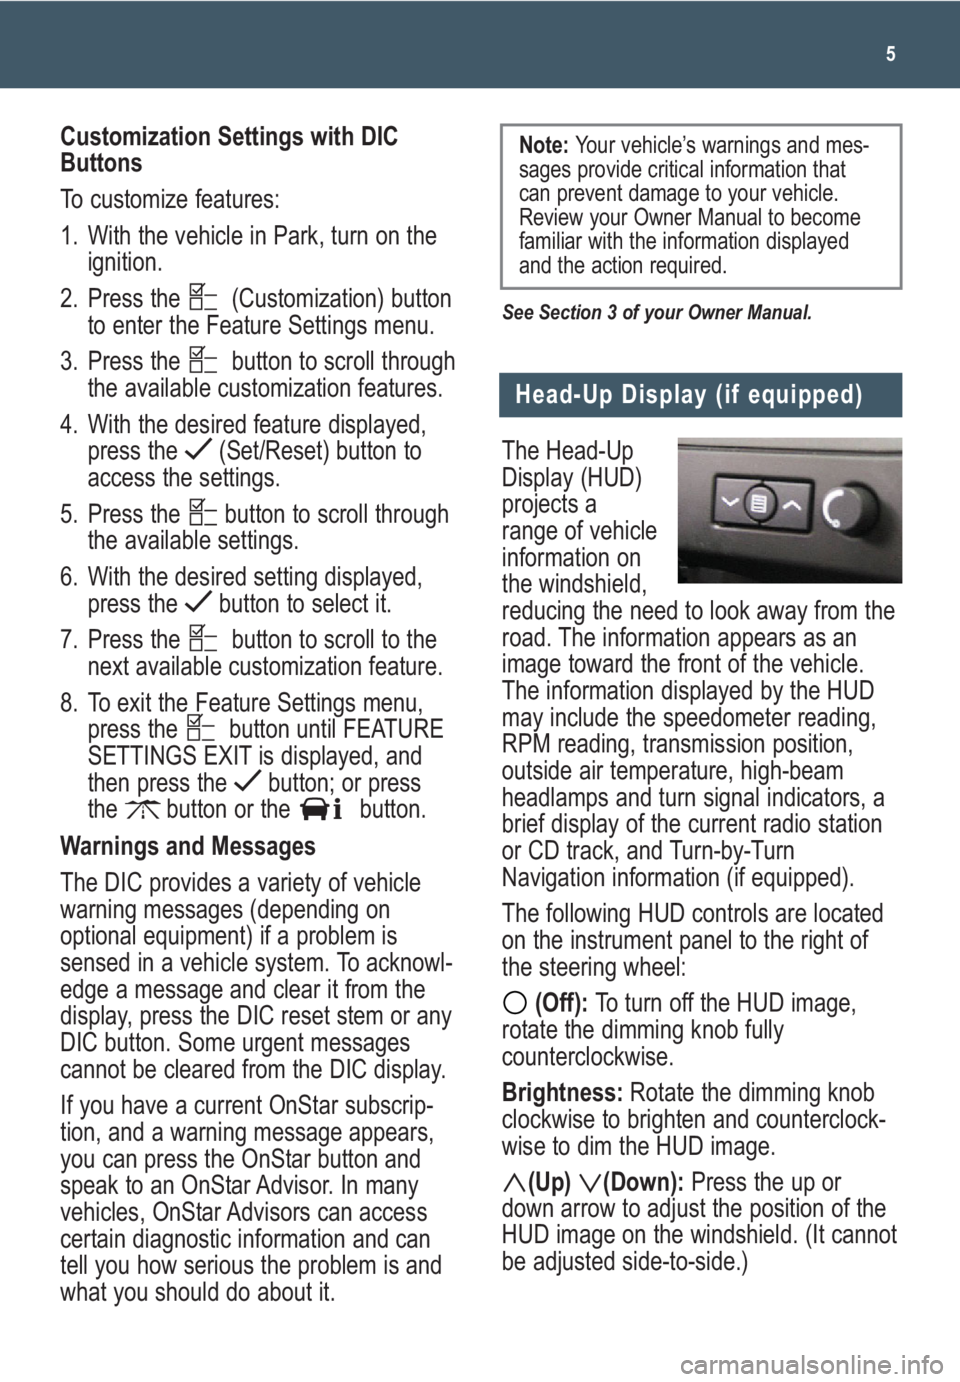
The Head-Up
Display (HUD)
projects a
range of vehicle
information on
the windshield,
reducing the need to look away from the
road. The information appears as an
image toward the front of the vehicle.
The information displayed by the HUD
may include the speedometer reading,
RPM reading, transmission position,
outside air temperature, high-beam
headlamps and turn signal indicators, a
brief display of the current radio station
or CD track, and Turn-by-Turn
Navigation information (if equipped).
The following HUD controls are located
on the instrument panel to the right of
the steering wheel:
(Off): To turn off the HUD image,
rotate the dimming knob fully
counterclockwise.
Brightness: Rotate the dimming knob
clockwise to brighten and counterclock-
wise to dim the HUD image.
(Up) (Down):Press the up or
down arrow to adjust the position of the
HUD image on the windshield. (It cannot
be adjusted side-to-side.)
5
Head-Up Display (if equipped)
Customization Settings with DIC
Buttons
To customize features:
1. With the vehicle in Park, turn on the
ignition.
2. Press the (Customization) button
to enter the Feature Settings menu.
3. Press the button to scroll through
the available customization features.
4. With the desired feature displayed,
press the (Set/Reset) button to
access the settings.
5. Press the button to scroll through
the available settings.
6. With the desired setting displayed,
press the button to select it.
7. Press the button to scroll to the
next available customization feature.
8. To exit the Feature Settings menu,
press the button until FEATURE
SETTINGS EXIT is displayed, and
then press the button; or press
the button or the button.
Warnings and Messages
The DIC provides a variety of vehicle
warning messages (depending on
optional equipment) if a problem is
sensed in a vehicle system. To acknowl-
edge a message and clear it from the
display, press the DIC reset stem or any
DIC button. Some urgent messages
cannot be cleared from the DIC display.
If you have a current OnStar subscrip-
tion, and a warning message appears,
you can press the OnStar button and
speak to an OnStar Advisor. In many
vehicles, OnStar Advisors can access
certain diagnostic information and can
tell you how serious the problem is and
what you should do about it.
See Section 3 of your Owner Manual.
Note: Your vehicle’s warnings and mes-
sages provide critical information that
can prevent damage to your vehicle.
Review your Owner Manual to become
familiar with the information displayed
and the action required.
Page 20 of 24
Getting to Know Your Acadia20
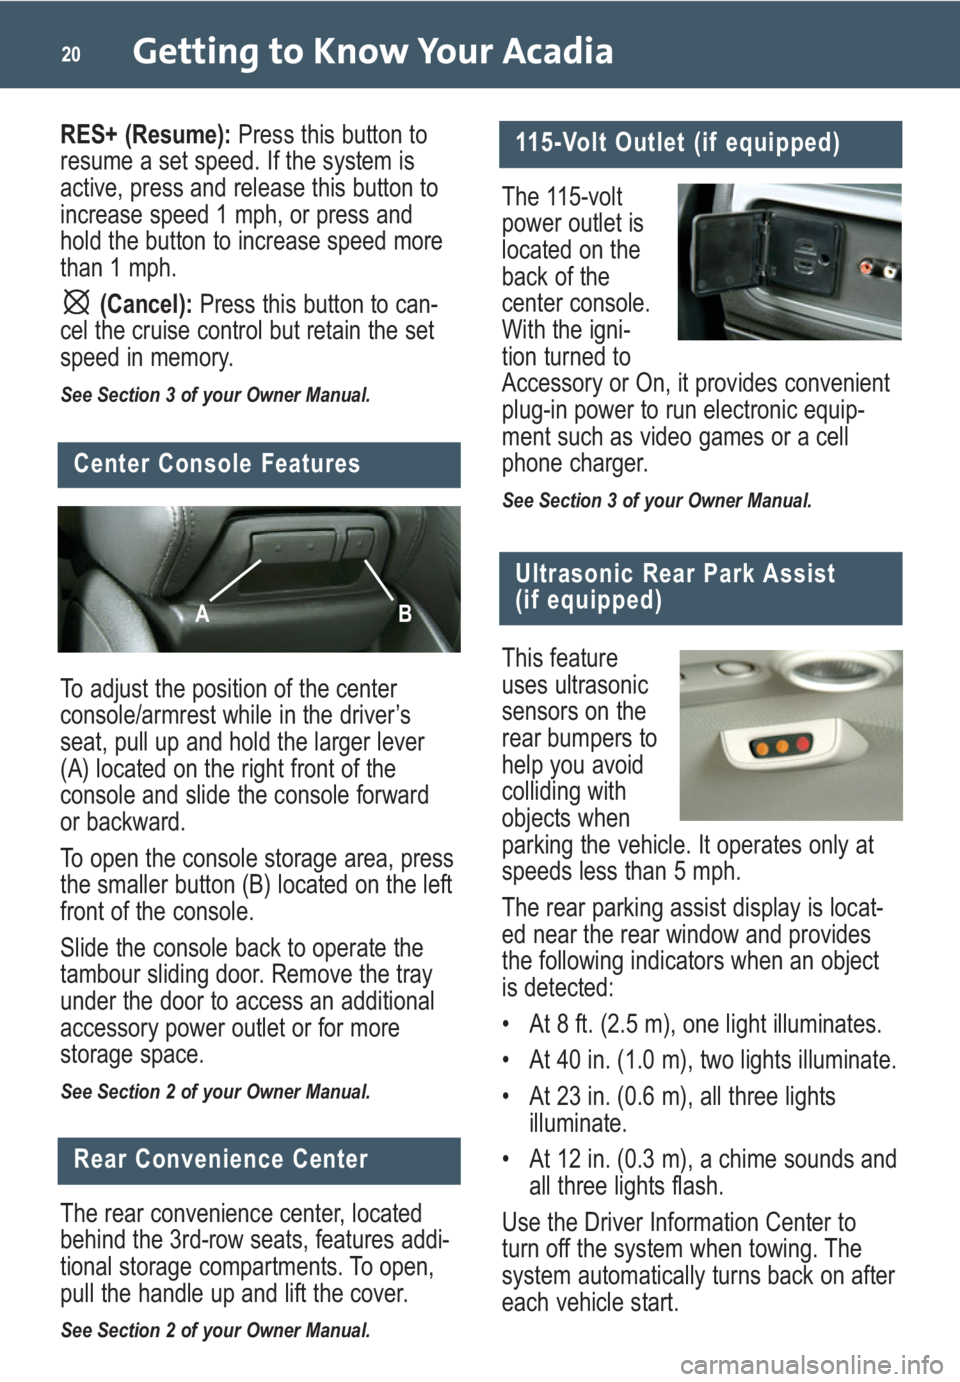
To adjust the position of the center
console/armrest while in the driver’s
seat, pull up and hold the larger lever
(A) located on the right front of the
console and slide the console forward
or backward.
To open the console storage area, press
the smaller button (B) located on the left
front of the console.
Slide the console back to operate the
tambour sliding door. Remove the tray
under the door to access an additional
accessory power outlet or for more
storage space.
See Section 2 of your Owner Manual.
The 115-volt
power outlet is
located on the
back of the
center console.
With the igni-
tion turned to
Accessory or On, it provides convenient
plug-in power to run electronic equip-
ment such as video games or a cell
phone charger.
See Section 3 of your Owner Manual.
115-Volt Outlet (if equipped)
Center Console Features
AB
The rear convenience center, located
behind the 3rd-row seats, features addi-
tional storage compartments. To open,
pull the handle up and lift the cover.
See Section 2 of your Owner Manual.
Rear Convenience Center
Ultrasonic Rear Park Assist
(if equipped)
This feature
uses ultrasonic
sensors on the
rear bumpers to
help you avoid
colliding with
objects when
parking the vehicle. It operates only at
speeds less than 5 mph.
The rear parking assist display is locat-
ed near the rear window and provides
the following indicators when an object
is detected:
• At 8 ft. (2.5 m), one light illuminates.
• At 40 in. (1.0 m), two lights illuminate.
• At 23 in. (0.6 m), all three lights
illuminate.
• At 12 in. (0.3 m), a chime sounds and
all three lights flash.
Use the Driver Information Center to
turn off the system when towing. The
system automatically turns back on after
each vehicle start.
RES+ (Resume):Press this button to
resume a set speed. If the system is
active, press and release this button to
increase speed 1 mph, or press and
hold the button to increase speed more
than 1 mph.
(Cancel): Press this button to can-
cel the cruise control but retain the set
speed in memory.
See Section 3 of your Owner Manual.
Page 23 of 24
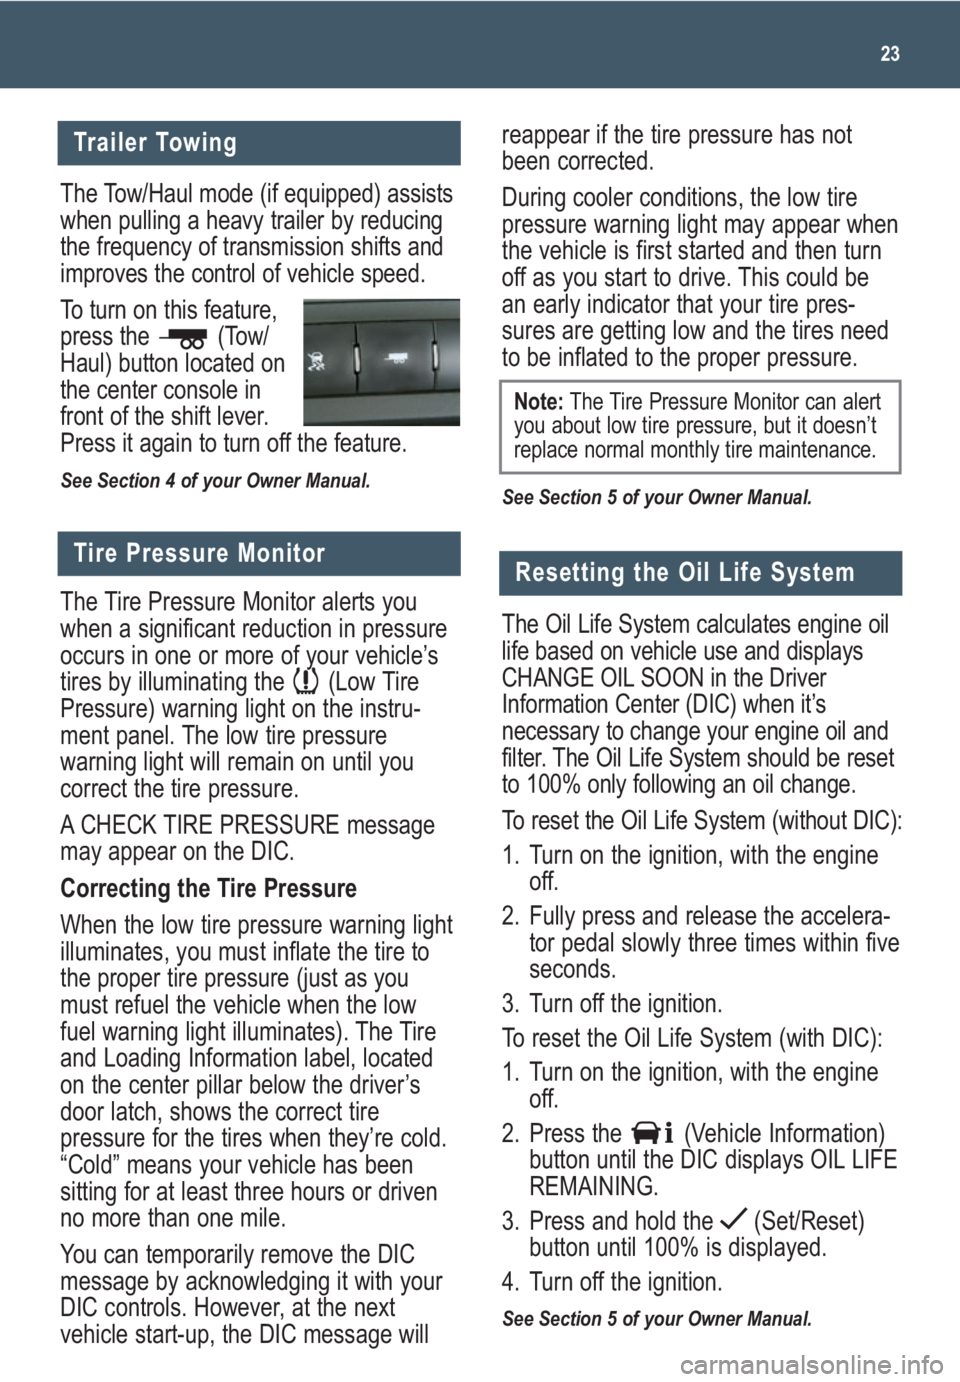
The Tow/Haul mode (if equipped) assists
when pulling a heavy trailer by reducing
the frequency of transmission shifts and
improves the control of vehicle speed.
To turn on this feature,
press the (Tow/
Haul) button located on
the center console in
front of the shift lever.
Press it again to turn off the feature.
See Section 4 of your Owner Manual.
reappear if the tire pressure has not
been corrected.
During cooler conditions, the low tire
pressure warning light may appear when
the vehicle is first started and then turn
off as you start to drive. This could be
an early indicator that your tire pres-
sures are getting low and the tires need
to be inflated to the proper pressure.
See Section 5 of your Owner Manual.
23
Trailer Towing
Tire Pressure Monitor
The Tire Pressure Monitor alerts you
when a significant reduction in pressure
occurs in one or more of your vehicle’s
tires by illuminating the (Low Tire
Pressure) warning light on the instru-
ment panel. The low tire pressure
warning light will remain on until you
correct the tire pressure.
A CHECK TIRE PRESSURE message
may appear on the DIC.
Correcting the Tire Pressure
When the low tire pressure warning light
illuminates, you must inflate the tire to
the proper tire pressure (just as you
must refuel the vehicle when the low
fuel warning light illuminates). The Tire
and Loading Information label, located
on the center pillar below the driver’s
door latch, shows the correct tire
pressure for the tires when they’re cold.
“Cold” means your vehicle has been
sitting for at least three hours or driven
no more than one mile.
You can temporarily remove the DIC
message by acknowledging it with your
DIC controls. However, at the next
vehicle start-up, the DIC message will
Note:The Tire Pressure Monitor can alert
you about low tire pressure, but it doesn’t
replace normal monthly tire maintenance.
Resetting the Oil Life System
The Oil Life System calculates engine oil
life based on vehicle use and displays
CHANGE OIL SOON in the Driver
Information Center (DIC) when it’s
necessary to change your engine oil and
filter. The Oil Life System should be reset
to 100% only following an oil change.
To reset the Oil Life System (without DIC):
1. Turn on the ignition, with the engine
off.
2. Fully press and release the accelera-
tor pedal slowly three times within five
seconds.
3. Turn off the ignition.
To reset the Oil Life System (with DIC):
1. Turn on the ignition, with the engine
off.
2. Press the (Vehicle Information)
button until the DIC displays OIL LIFE
REMAINING.
3. Press and hold the (Set/Reset)
button until 100% is displayed.
4. Turn off the ignition.
See Section 5 of your Owner Manual.
Page 24 of 24
Getting to Know Your Acadia24
My GMLink
Roadside Assistance
1-800-GMC-8782
1-800-462-8782
TTY Users: 1-888-889-2438
As the proud owner of a new GMC vehicle,
you are automatically enrolled in the GMC
Roadside Assistance program. This value-
added service is intended to provide you
with peace of mind as you drive in the city
or travel the open road.
GMC’s Roadside Assistance toll-free num-
ber is staffed by a team of technically trained
advisors who are available 24 hours a day,
365 days a year, to provide minor repair
information or make arrangements to tow
your vehicle to the nearest GMC dealer.
GMC will provide the following services
for 5 years/100,000 miles at no expense
to you:
• Fuel delivery
• Lockout service (identification required)
• Tow to nearest dealership for warranty
service
• Flat tire assistance
• Jump starts
In many instances, mechanical failures
are covered under GMC’s comprehensive
warranty. However, when other services
are utilized, our advisors will explain any
payment obligations you might incur.
The GMC Owner Center at My GMLink is a
complimentary service for GMC owners, a
one-stop resource to enhance your GMC
ownership experience. Exclusive member
benefits include online service reminders,
vehicle maintenance tips, online owner
manual, special privileges and more. Sign
up today at www.mygmlink.com. For prompt and efficient assistance when
calling, please provide the following infor-
mation to the advisor:
• Location of the vehicle
• Telephone number and your location
• Vehicle model, year and color
• Vehicle mileage
• Vehicle Identification Number (VIN)
• Vehicle license plate number
GMC reserves the right to limit services
or reimbursement to an owner or driver
when, in GMC’s judgment, the claims
become excessive in frequency or type
of occurrence.
Roadside Assistance and OnStar
(if equipped)
If you have a current OnStar subscription,
press the OnStar button and the vehicle
will send your current GPS location to an
OnStar Advisor who will speak to you,
assess your problem, contact Roadside
Assistance and relay your exact location
so you will get the help you need.
Certain restrictions, precautions and safety procedures apply to your vehicle. Please read your Owner
Manual for complete instructions. All information contained herein is based on information available at the
time of printing and is subject to change without notice. Copyright 2007 by GM Corp. All rights reserved.
15861577 B
!15861577=B!
Roadside Assistance
OWNER INFORMATION