AUX GMC ACADIA 2009 Get To Know Guide
[x] Cancel search | Manufacturer: GMC, Model Year: 2009, Model line: ACADIA, Model: GMC ACADIA 2009Pages: 24, PDF Size: 1.48 MB
Page 13 of 24

13
(Information):Press this button to
display additional information related to
the current FM-RDS or XM station, or
MP3 song.
FAV (Favorite):Press this button to go
through up to six pages of any combina-
tion (AM, FM, or XM, if equipped) of pre-
set favorite radio stations. On each
page, up to six stations are available by
using the six pushbuttons below the
radio display.
BAND: Press this button to switch to
FM, AM, or XM (if equipped). When
playing a CD or portable audio player,
press this button to play the radio
instead.
CD/AUX:Press this button to play a CD
instead of the radio. Press again and
the system will automatically search for
a portable audio player connected to the
auxiliary input jack.
EQ (Equalization):Press this button to
select preset equalization settings.
CAT (Category) (if equipped): Press
this button to find XM stations within a
desired category.
Auxiliary Input Jack:A portable audio
player (such as an iPod
®or other MP3
player) can be connected to the auxiliary
input jack located on the radio. Press
the CD/AUX button to begin playing
audio from the portable player over the
vehicle speakers. To optimize speaker
volume, fully increase the volume level
of the portable player.
Playing MP3 Files
Your audio system has MP3 file play-
back capability. A CD-R containing MP3
audio tracks will play automatically when
inserted into the CD player. An MP3
label will be displayed.
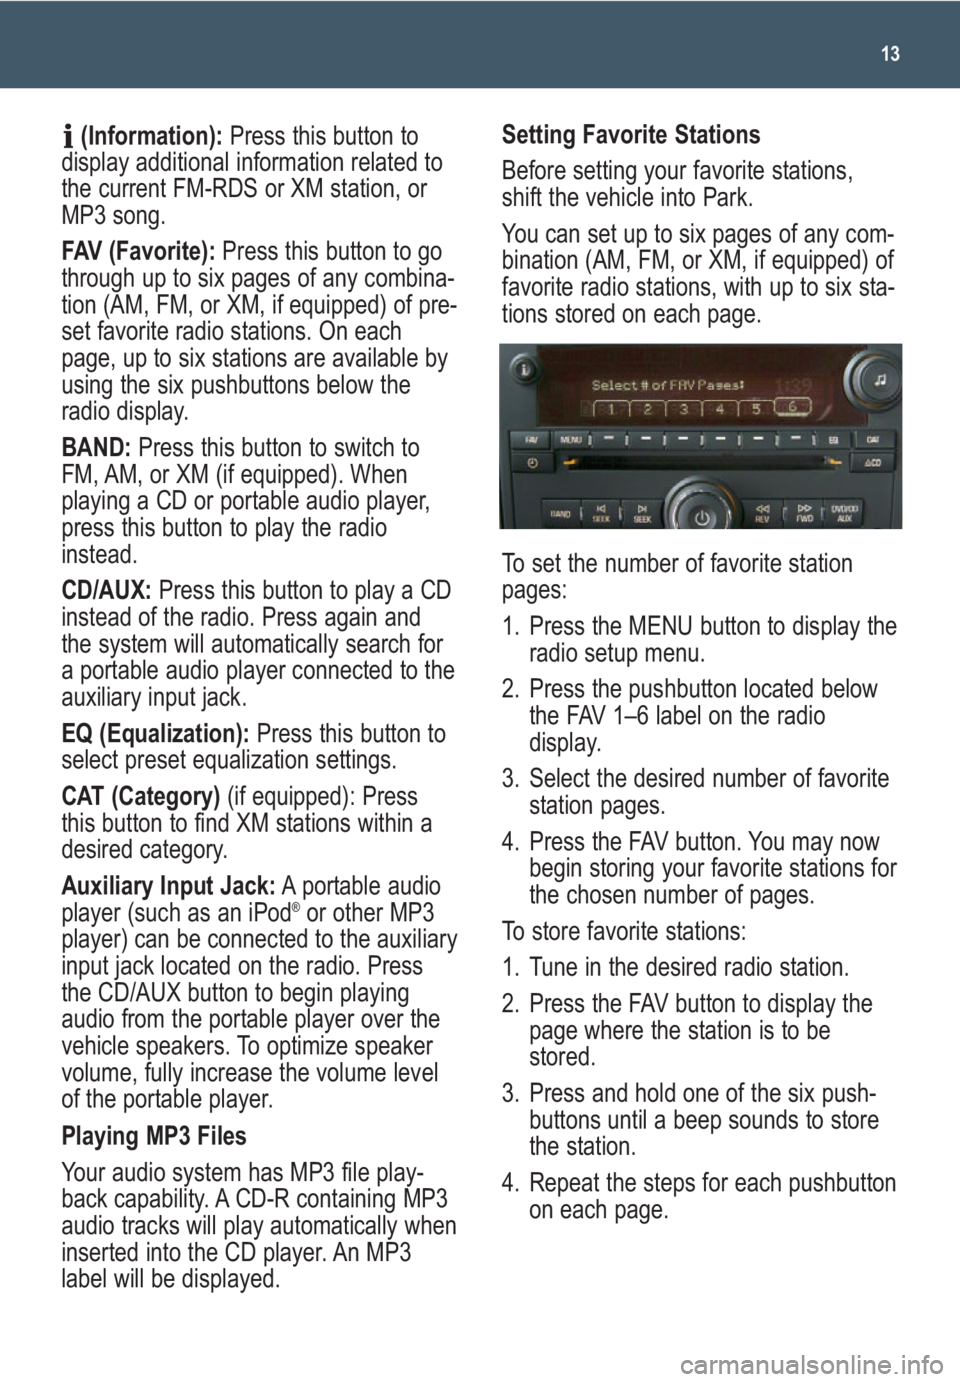
Setting Favorite Stations
Before setting your favorite stations,
shift the vehicle into Park.
You can set up to six pages of any com-
bination (AM, FM, or XM, if equipped) of
favorite radio stations, with up to six sta-
tions stored on each page.
To set the number of favorite station
pages:
1. Press the MENU button to display the
radio setup menu.
2. Press the pushbutton located below
the FAV 1–6 label on the radio
display.
3. Select the desired number of favorite
station pages.
4. Press the FAV button. You may now
begin storing your favorite stations for
the chosen number of pages.
To store favorite stations:
1. Tune in the desired radio station.
2. Press the FAV button to display the
page where the station is to be
stored.
3. Press and hold one of the six push-
buttons until a beep sounds to store
the station.
4. Repeat the steps for each pushbutton
on each page.
Page 15 of 24

15
Rear Seat Audio and DVD
Rear Seat Entertainment
Systems (if equipped)
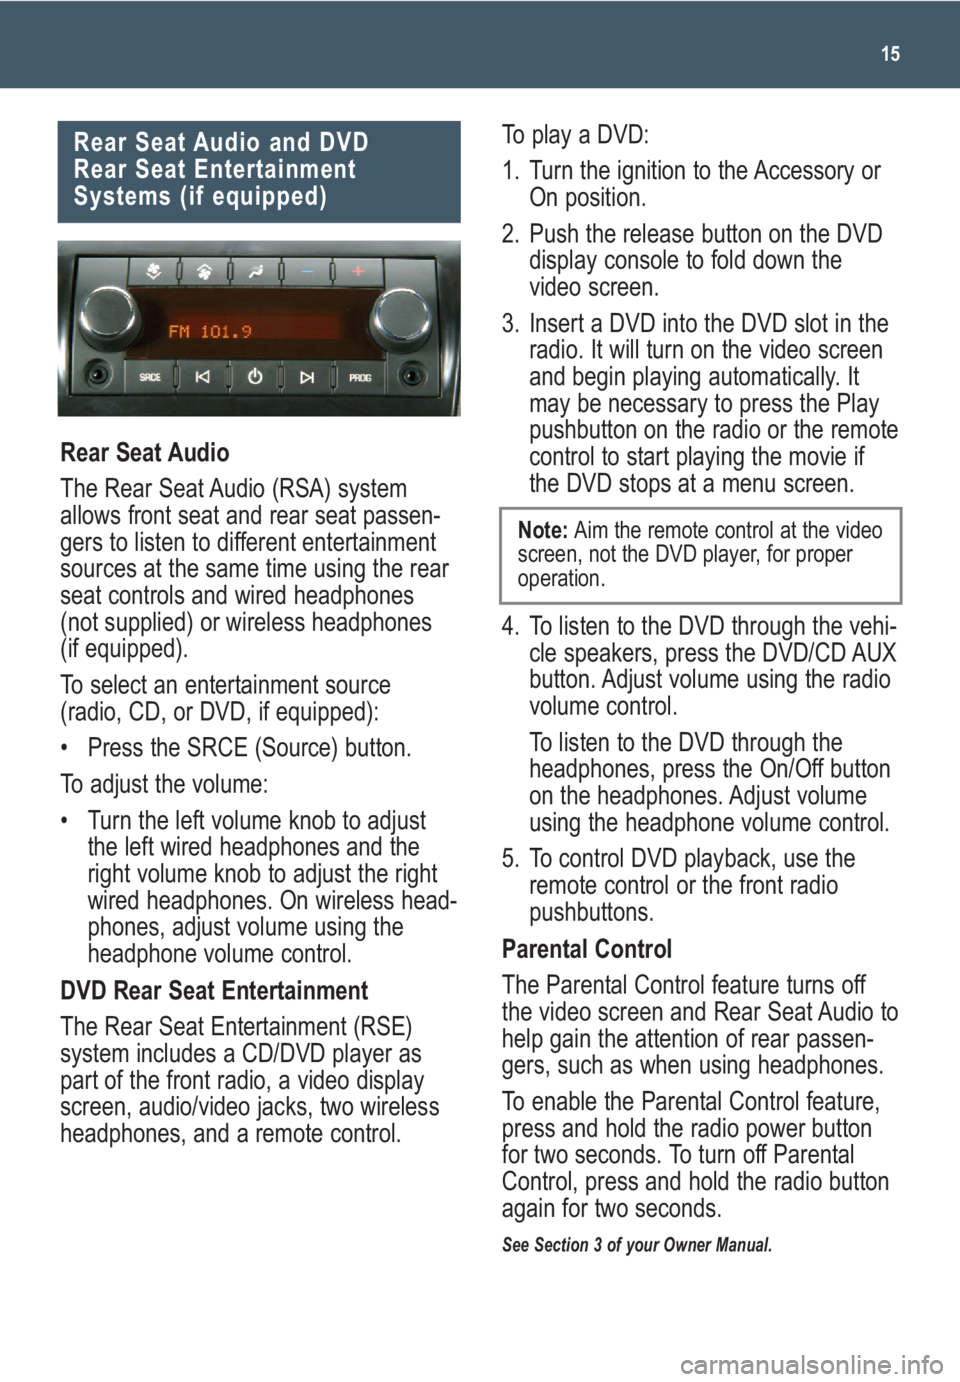
Rear Seat Audio
The Rear Seat Audio (RSA) system
allows front seat and rear seat passen-
gers to listen to different entertainment
sources at the same time using the rear
seat controls and wired headphones
(not supplied) or wireless headphones
(if equipped).
To select an entertainment source
(radio, CD, or DVD, if equipped):
• Press the SRCE (Source) button.
To adjust the volume:
• Turn the left volume knob to adjust
the left wired headphones and the
right volume knob to adjust the right
wired headphones. On wireless head-
phones, adjust volume using the
headphone volume control.
DVD Rear Seat Entertainment
The Rear Seat Entertainment (RSE)
system includes a CD/DVD player as
part of the front radio, a video display
screen, audio/video jacks, two wireless
headphones, and a remote control.
To play a DVD:
1. Turn the ignition to the Accessory or
On position.
2. Push the release button on the DVD
display console to fold down the
video screen.
3. Insert a DVD into the DVD slot in the
radio. It will turn on the video screen
and begin playing automatically. It
may be necessary to press the Play
pushbutton on the radio or the remote
control to start playing the movie if
the DVD stops at a menu screen.
4. To listen to the DVD through the vehi-
cle speakers, press the DVD/CD AUX
button. Adjust volume using the radio
volume control.
To listen to the DVD through the
headphones, press the On/Off button
on the headphones. Adjust volume
using the headphone volume control.
5. To control DVD playback, use the
remote control or the front radio
pushbuttons.
Parental Control
The Parental Control feature turns off
the video screen and Rear Seat Audio to
help gain the attention of rear passen-
gers, such as when using headphones.
To enable the Parental Control feature,
press and hold the radio power button
for two seconds. To turn off Parental
Control, press and hold the radio button
again for two seconds.
See Section 3 of your Owner Manual.
Note: Aim the remote control at the video
screen, not the DVD player, for proper
operation.
Page 16 of 24

Getting to Know Your Acadia16
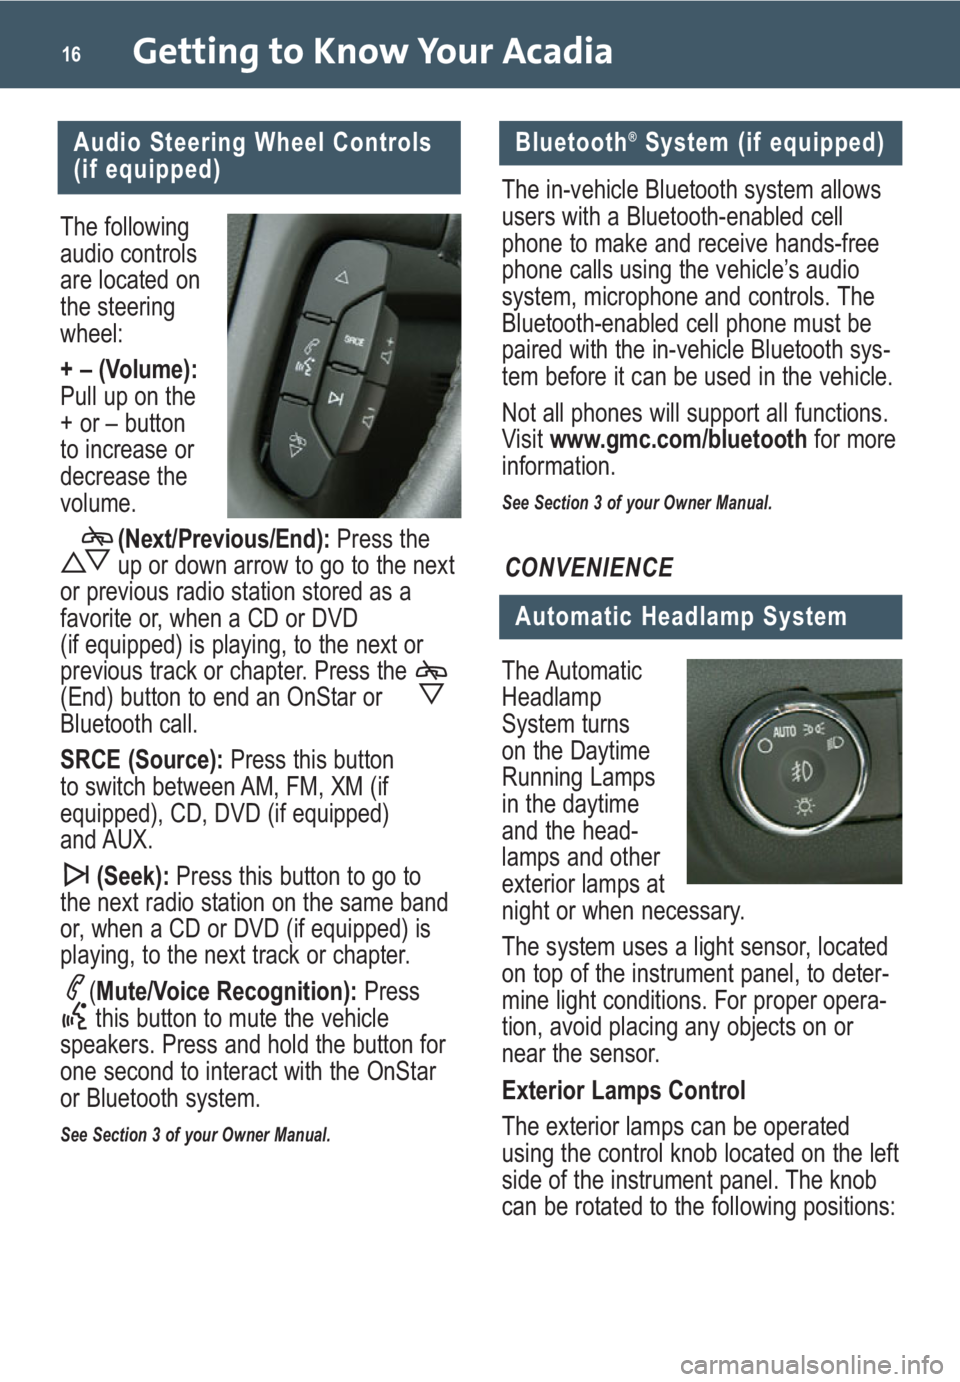
The following
audio controls
are located on
the steering
wheel:
+ – (Volume):
Pull up on the
+ or – button
to increase or
decrease the
volume.(Next/Previous/End): Press the
up or down arrow to go to the next
or previous radio station stored as a
favorite or, when a CD or DVD
(if equipped) is playing, to the next or
previous track or chapter. Press the
(End) button to end an OnStar or
Bluetooth call.
SRCE (Source): Press this button
to switch between AM, FM, XM (if
equipped), CD, DVD (if equipped)
and AUX.
(Seek): Press this button to go to
the next radio station on the same band
or, when a CD or DVD (if equipped) is
playing, to the next track or chapter.
(Mute/Voice Recognition): Press
this button to mute the vehicle
speakers. Press and hold the button for
one second to interact with the OnStar
or Bluetooth system.
See Section 3 of your Owner Manual.
Audio Steering Wheel Controls
(if equipped)
The Automatic
Headlamp
System turns
on the Daytime
Running Lamps
in the daytime
and the head-
lamps and other
exterior lamps at
night or when necessary.
The system uses a light sensor, located
on top of the instrument panel, to deter-
mine light conditions. For proper opera-
tion, avoid placing any objects on or
near the sensor.
Exterior Lamps Control
The exterior lamps can be operated
using the control knob located on the left
side of the instrument panel. The knob
can be rotated to the following positions:
Automatic Headlamp System
CONVENIENCE
The in-vehicle Bluetooth system allows
users with a Bluetooth-enabled cell
phone to make and receive hands-free
phone calls using the vehicle’s audio
system, microphone and controls. The
Bluetooth-enabled cell phone must be
paired with the in-vehicle Bluetooth sys-
tem before it can be used in the vehicle.
Not all phones will support all functions.
Visit www.gmc.com/bluetooth for more
information.
See Section 3 of your Owner Manual.
Bluetooth®System (if equipped)