program GMC ACADIA 2017 User Guide
[x] Cancel search | Manufacturer: GMC, Model Year: 2017, Model line: ACADIA, Model: GMC ACADIA 2017Pages: 419, PDF Size: 5.89 MB
Page 35 of 419
GMC Acadia/Acadia Denali Owner Manual (GMNA-Localizing-U.S./Canada/
Mexico-9803770) - 2017 - crc - 7/12/16
34 Keys, Doors, and Windows
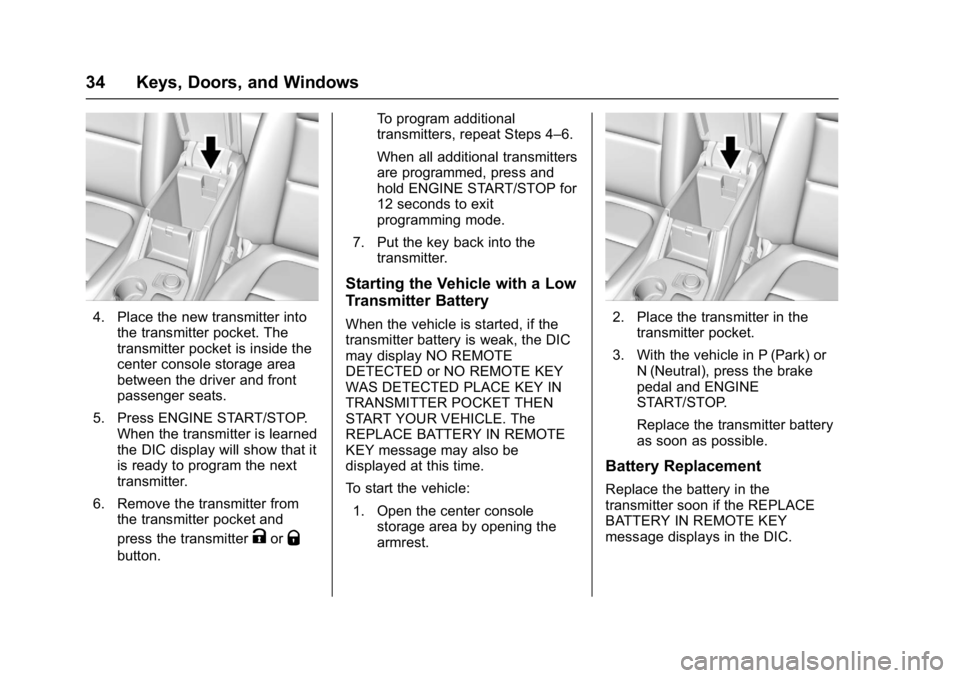
4. Place the new transmitter intothe transmitter pocket. The
transmitter pocket is inside the
center console storage area
between the driver and front
passenger seats.
5. Press ENGINE START/STOP. When the transmitter is learned
the DIC display will show that it
is ready to program the next
transmitter.
6. Remove the transmitter from the transmitter pocket and
press the transmitter
KorQ
button. To program additional
transmitters, repeat Steps 4–6.
When all additional transmitters
are programmed, press and
hold ENGINE START/STOP for
12 seconds to exit
programming mode.
7. Put the key back into the transmitter.
Starting the Vehicle with a Low
Transmitter Battery
When the vehicle is started, if the
transmitter battery is weak, the DIC
may display NO REMOTE
DETECTED or NO REMOTE KEY
WAS DETECTED PLACE KEY IN
TRANSMITTER POCKET THEN
START YOUR VEHICLE. The
REPLACE BATTERY IN REMOTE
KEY message may also be
displayed at this time.
To start the vehicle:
1. Open the center console storage area by opening the
armrest.2. Place the transmitter in thetransmitter pocket.
3. With the vehicle in P (Park) or N (Neutral), press the brake
pedal and ENGINE
START/STOP.
Replace the transmitter battery
as soon as possible.
Battery Replacement
Replace the battery in the
transmitter soon if the REPLACE
BATTERY IN REMOTE KEY
message displays in the DIC.
Page 40 of 419
GMC Acadia/Acadia Denali Owner Manual (GMNA-Localizing-U.S./Canada/
Mexico-9803770) - 2017 - crc - 7/12/16
Keys, Doors, and Windows 39
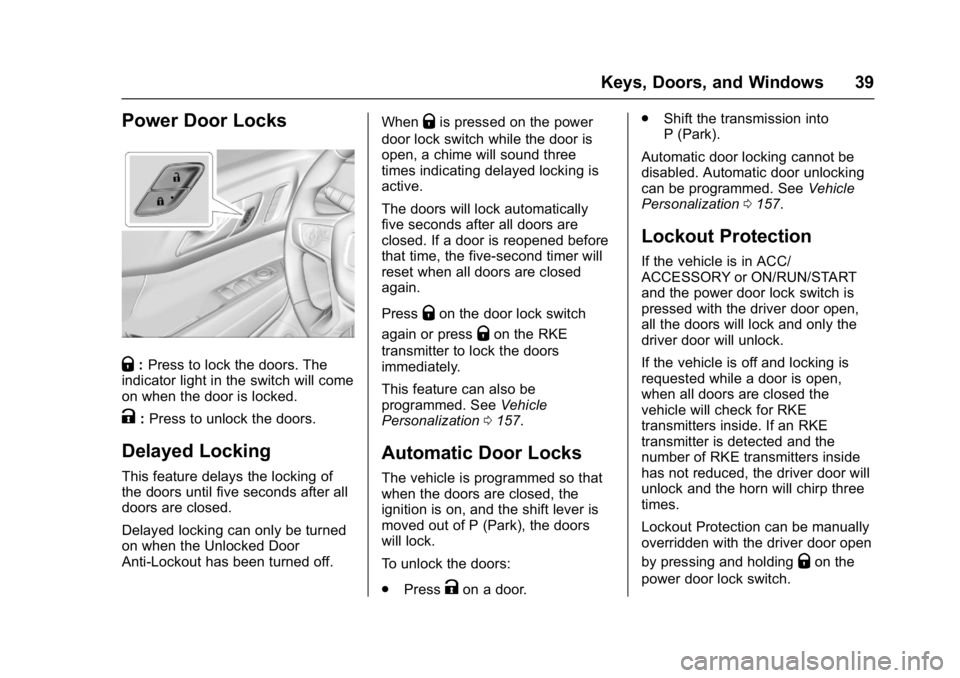
Power Door Locks
Q:Press to lock the doors. The
indicator light in the switch will come
on when the door is locked.
K: Press to unlock the doors.
Delayed Locking
This feature delays the locking of
the doors until five seconds after all
doors are closed.
Delayed locking can only be turned
on when the Unlocked Door
Anti-Lockout has been turned off. When
Qis pressed on the power
door lock switch while the door is
open, a chime will sound three
times indicating delayed locking is
active.
The doors will lock automatically
five seconds after all doors are
closed. If a door is reopened before
that time, the five-second timer will
reset when all doors are closed
again.
Press
Qon the door lock switch
again or press
Qon the RKE
transmitter to lock the doors
immediately.
This feature can also be
programmed. See Vehicle
Personalization 0157.
Automatic Door Locks
The vehicle is programmed so that
when the doors are closed, the
ignition is on, and the shift lever is
moved out of P (Park), the doors
will lock.
To unlock the doors:
.
Press
Kon a door. .
Shift the transmission into
P (Park).
Automatic door locking cannot be
disabled. Automatic door unlocking
can be programmed. See Vehicle
Personalization 0157.
Lockout Protection
If the vehicle is in ACC/
ACCESSORY or ON/RUN/START
and the power door lock switch is
pressed with the driver door open,
all the doors will lock and only the
driver door will unlock.
If the vehicle is off and locking is
requested while a door is open,
when all doors are closed the
vehicle will check for RKE
transmitters inside. If an RKE
transmitter is detected and the
number of RKE transmitters inside
has not reduced, the driver door will
unlock and the horn will chirp three
times.
Lockout Protection can be manually
overridden with the driver door open
by pressing and holding
Qon the
power door lock switch.
Page 45 of 419
GMC Acadia/Acadia Denali Owner Manual (GMNA-Localizing-U.S./Canada/
Mexico-9803770) - 2017 - crc - 7/12/16
44 Keys, Doors, and Windows
3. Press and holdlnext to the
pull cup on the outside of the
liftgate until the turn signals
flash and a beep sounds. This
indicates the setting has been
recorded.
The liftgate cannot be set below a
minimum programmable height.
If there is no light flash or sound,
then the height adjustment may be
too low.
Manual Operation
Select OFF to manually operate the
liftgate. See “Manual Liftgate” at the
beginning of this section.
Caution
Attempting to move the liftgate
too quickly and with excessive
force may result in damage to the
vehicle. Operate the liftgate manually with a
smooth motion and moderate
speed. The system includes a
feature which limits the manual
closing speed to protect the
components.
Hands-Free Operation
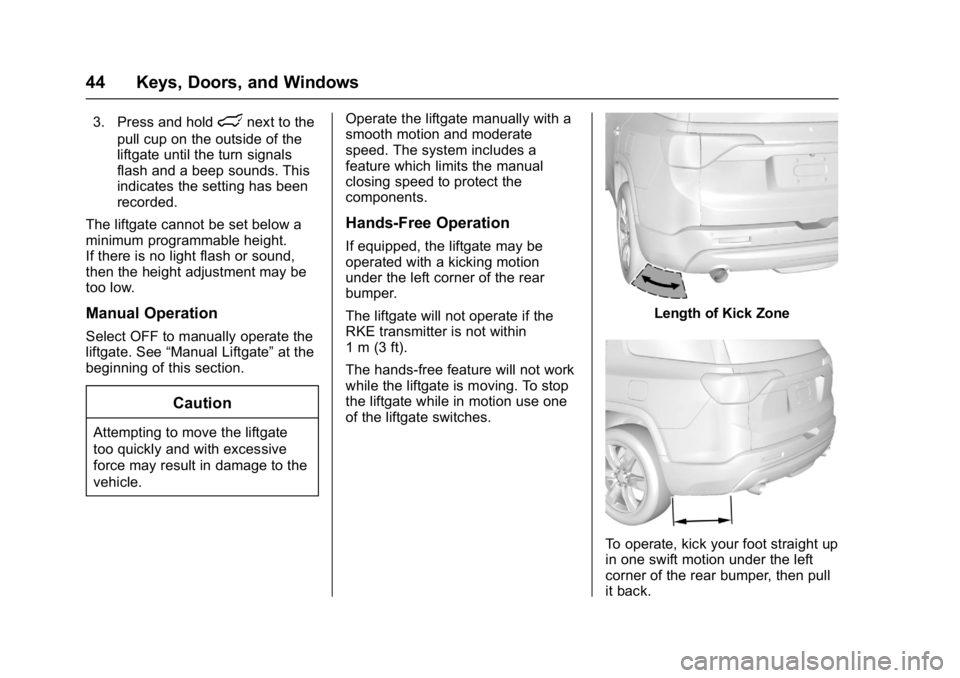
If equipped, the liftgate may be
operated with a kicking motion
under the left corner of the rear
bumper.
The liftgate will not operate if the
RKE transmitter is not within
1 m (3 ft).
The hands-free feature will not work
while the liftgate is moving. To stop
the liftgate while in motion use one
of the liftgate switches.
Length of Kick Zone
To operate, kick your foot straight up
in one swift motion under the left
corner of the rear bumper, then pull
it back.
Page 48 of 419
GMC Acadia/Acadia Denali Owner Manual (GMNA-Localizing-U.S./Canada/
Mexico-9803770) - 2017 - crc - 7/12/16
Keys, Doors, and Windows 47
How to Detect a Tamper
Condition
IfKis pressed and the horn chirps
and the lights flash three times, the
alarm was activated while the alarm
system was armed.
If the alarm system has been
activated, a message will appear on
the DIC. See Security
Messages 0155.
Immobilizer
See Radio Frequency
Statement 0394.
Immobilizer Operation
This vehicle has a passive
theft-deterrent system.
The system does not have to be
manually armed or disarmed.
The vehicle is automatically
immobilized when the vehicle is
turned off. The immobilization system is
disarmed when the pushbutton start
is activated to enter the ACC/
ACCESSORY mode or the ON/
RUN/START mode and a valid
transmitter is present in the vehicle.
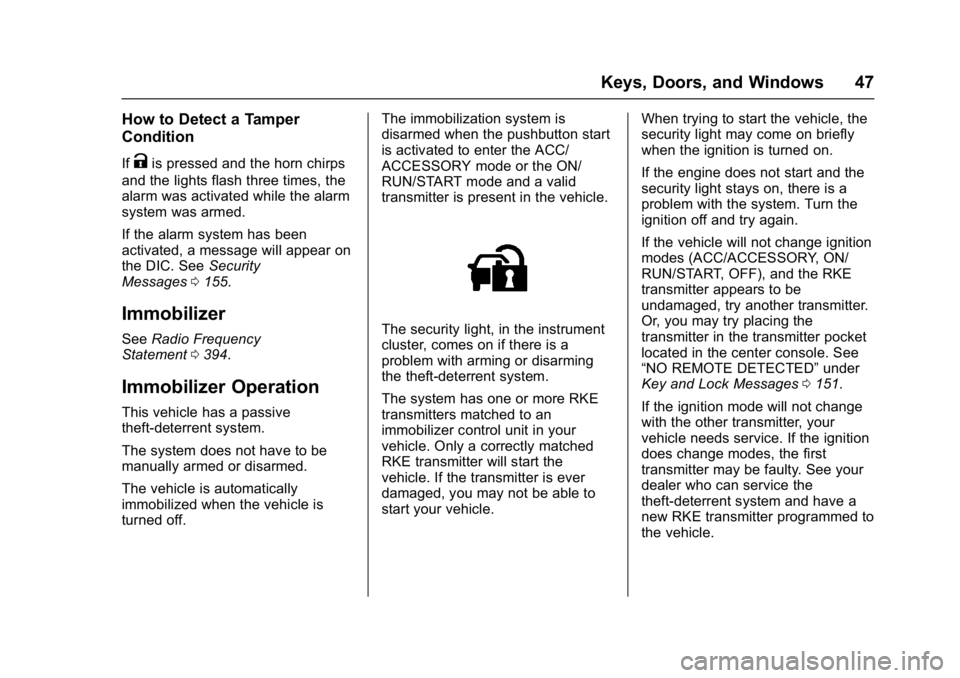
The security light, in the instrument
cluster, comes on if there is a
problem with arming or disarming
the theft-deterrent system.
The system has one or more RKE
transmitters matched to an
immobilizer control unit in your
vehicle. Only a correctly matched
RKE transmitter will start the
vehicle. If the transmitter is ever
damaged, you may not be able to
start your vehicle.
When trying to start the vehicle, the
security light may come on briefly
when the ignition is turned on.
If the engine does not start and the
security light stays on, there is a
problem with the system. Turn the
ignition off and try again.
If the vehicle will not change ignition
modes (ACC/ACCESSORY, ON/
RUN/START, OFF), and the RKE
transmitter appears to be
undamaged, try another transmitter.
Or, you may try placing the
transmitter in the transmitter pocket
located in the center console. See
“NO REMOTE DETECTED”
under
Key and Lock Messages 0151.
If the ignition mode will not change
with the other transmitter, your
vehicle needs service. If the ignition
does change modes, the first
transmitter may be faulty. See your
dealer who can service the
theft-deterrent system and have a
new RKE transmitter programmed to
the vehicle.
Page 49 of 419
GMC Acadia/Acadia Denali Owner Manual (GMNA-Localizing-U.S./Canada/
Mexico-9803770) - 2017 - crc - 7/12/16
48 Keys, Doors, and Windows
It is possible for the immobilizer
system to learn new or replacement
RKE transmitters. Up to eight
transmitters can be programmed for
the vehicle. To program additional
transmitters, see“Programming
Transmitters to the Vehicle” under
Remote Keyless Entry (RKE)
System Operation 029.
Do not leave the key or device that
disarms or deactivates the
theft-deterrent system in the vehicle.Exterior Mirrors
Convex Mirrors
{Warning
A convex mirror can make things,
like other vehicles, look farther
away than they really are. If you
cut too sharply into the right lane,
you could hit a vehicle on the
right. Check the inside mirror or
glance over your shoulder before
changing lanes.
The passenger side mirror is convex
shaped. A convex mirror's surface is
curved so more can be seen from
the driver seat.
Power Mirrors
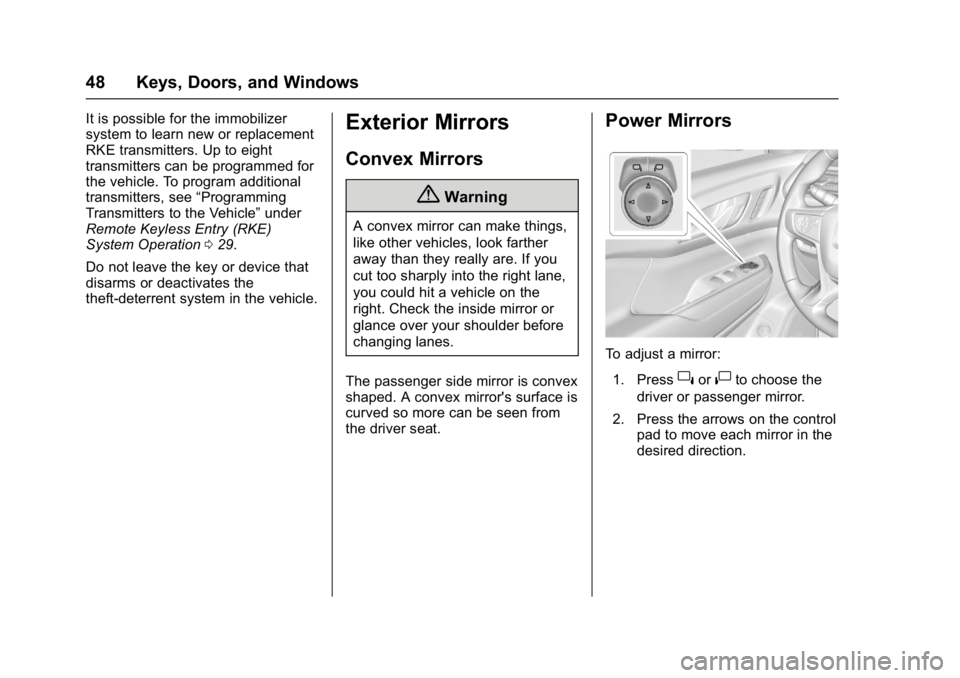
To adjust a mirror: 1. Press
}or|to choose the
driver or passenger mirror.
2. Press the arrows on the control pad to move each mirror in the
desired direction.
Page 52 of 419
GMC Acadia/Acadia Denali Owner Manual (GMNA-Localizing-U.S./Canada/
Mexico-9803770) - 2017 - crc - 7/12/16
Keys, Doors, and Windows 51
Window Lockout
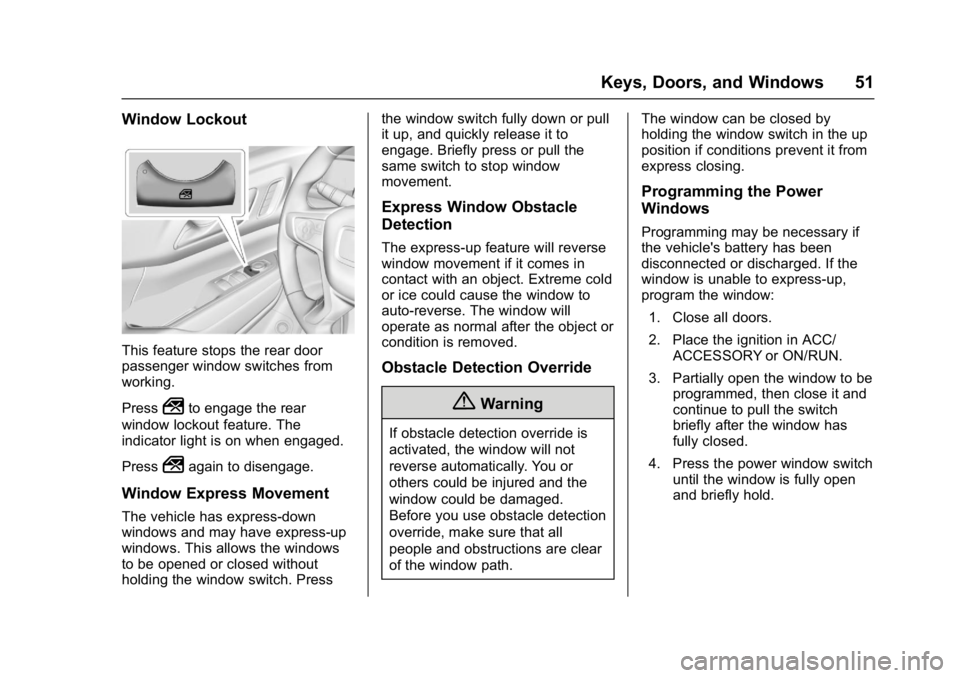
This feature stops the rear door
passenger window switches from
working.
Press
2to engage the rear
window lockout feature. The
indicator light is on when engaged.
Press
2again to disengage.
Window Express Movement
The vehicle has express-down
windows and may have express-up
windows. This allows the windows
to be opened or closed without
holding the window switch. Press the window switch fully down or pull
it up, and quickly release it to
engage. Briefly press or pull the
same switch to stop window
movement.
Express Window Obstacle
Detection
The express-up feature will reverse
window movement if it comes in
contact with an object. Extreme cold
or ice could cause the window to
auto-reverse. The window will
operate as normal after the object or
condition is removed.
Obstacle Detection Override
{Warning
If obstacle detection override is
activated, the window will not
reverse automatically. You or
others could be injured and the
window could be damaged.
Before you use obstacle detection
override, make sure that all
people and obstructions are clear
of the window path.
The window can be closed by
holding the window switch in the up
position if conditions prevent it from
express closing.
Programming the Power
Windows
Programming may be necessary if
the vehicle's battery has been
disconnected or discharged. If the
window is unable to express-up,
program the window:
1. Close all doors.
2. Place the ignition in ACC/ ACCESSORY or ON/RUN.
3. Partially open the window to be programmed, then close it and
continue to pull the switch
briefly after the window has
fully closed.
4. Press the power window switch until the window is fully open
and briefly hold.
Page 61 of 419
GMC Acadia/Acadia Denali Owner Manual (GMNA-Localizing-U.S./Canada/
Mexico-9803770) - 2017 - crc - 7/12/16
60 Seats and Restraints
Memory Seats
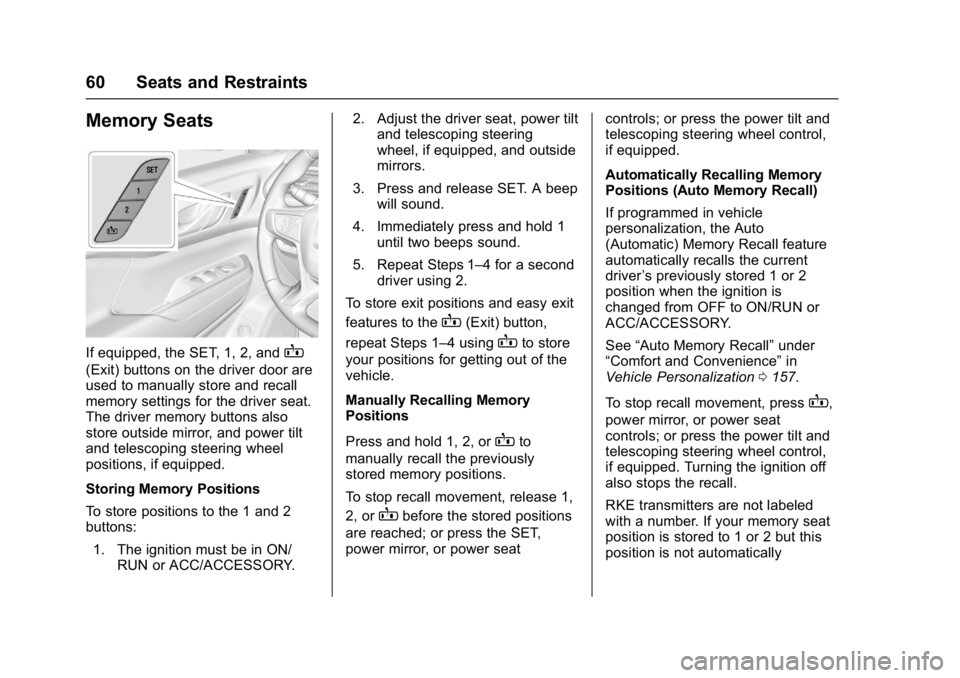
If equipped, the SET, 1, 2, andB
(Exit) buttons on the driver door are
used to manually store and recall
memory settings for the driver seat.
The driver memory buttons also
store outside mirror, and power tilt
and telescoping steering wheel
positions, if equipped.
Storing Memory Positions
To store positions to the 1 and 2
buttons:1. The ignition must be in ON/ RUN or ACC/ACCESSORY. 2. Adjust the driver seat, power tilt
and telescoping steering
wheel, if equipped, and outside
mirrors.
3. Press and release SET. A beep will sound.
4. Immediately press and hold 1 until two beeps sound.
5. Repeat Steps 1–4 for a second driver using 2.
To store exit positions and easy exit
features to the
B(Exit) button,
repeat Steps 1–4 using
Bto store
your positions for getting out of the
vehicle.
Manually Recalling Memory
Positions
Press and hold 1, 2, or
Bto
manually recall the previously
stored memory positions.
To stop recall movement, release 1,
2, or
Bbefore the stored positions
are reached; or press the SET,
power mirror, or power seat controls; or press the power tilt and
telescoping steering wheel control,
if equipped.
Automatically Recalling Memory
Positions (Auto Memory Recall)
If programmed in vehicle
personalization, the Auto
(Automatic) Memory Recall feature
automatically recalls the current
driver
’s previously stored 1 or 2
position when the ignition is
changed from OFF to ON/RUN or
ACC/ACCESSORY.
See “Auto Memory Recall” under
“Comfort and Convenience” in
Vehicle Personalization 0157.
To stop recall movement, press
B,
power mirror, or power seat
controls; or press the power tilt and
telescoping steering wheel control,
if equipped. Turning the ignition off
also stops the recall.
RKE transmitters are not labeled
with a number. If your memory seat
position is stored to 1 or 2 but this
position is not automatically
Page 62 of 419
GMC Acadia/Acadia Denali Owner Manual (GMNA-Localizing-U.S./Canada/
Mexico-9803770) - 2017 - crc - 7/12/16
Seats and Restraints 61
recalling, then store your positions
to the other button or switch RKE
transmitters with the other driver.
If the vehicle’s driver has changed,
in some vehicles the Driver ID may
be displayed for the next few
ignition cycles.
Easy Exit Recall
If programmed on in vehicle
personalization, the easy exit
feature automatically recalls the
previously stored exit positions
when leaving the vehicle. See
“Storing Memory Positions”earlier in
this section. See also Vehicle
Personalization 0157.
Easy exit recall automatically
activates when one of the following
occurs:
. The vehicle is turned off and the
driver door is opened within a
short time.
. The vehicle is turned off with the
driver door open.
RKE transmitters are not labeled
with a number. If your memory seat
position is stored to 1 or 2 but this position is not automatically
recalling, then store your positions
to the other button or switch RKE
transmitters with the other driver.
To stop recall movement, press one
of the memory, power mirror,
or power seat controls; or press the
power tilt and telescoping steering
wheel control, if equipped.
Obstructions
If something has blocked the driver
seat while recalling a memory
position, the recall may stop.
Remove the obstruction. Then do
one of the following:
.
If automatically or manually
recalling the stored memory
position, press and hold the
appropriate manual control for
two seconds. Try recalling again
by pressing the appropriate
memory button. If automatically
recalling the position, try
recalling again by opening the
driver door and pressing
Kon
the RKE transmitter. .
If recalling the exit position,
press and hold the appropriate
manual control for the exit
feature not recalling for
two seconds. Then try recalling
the exit position again.
If the memory position is still not
recalling, see your dealer for
service.
Heated and Ventilated
Front Seats
{Warning
If you cannot feel temperature
change or pain to the skin, the
seat heater may cause burns. To
reduce the risk of burns, people
with such a condition should use
care when using the seat heater,
especially for long periods of
time. Do not place anything on
the seat that insulates against
heat, such as a blanket, cushion,
cover, or similar item. This may
cause the seat heater to (Continued)
Page 116 of 419
GMC Acadia/Acadia Denali Owner Manual (GMNA-Localizing-U.S./Canada/
Mexico-9803770) - 2017 - crc - 7/12/16
Instruments and Controls 115
Security Messages . . . . . . . . . . . 155
Service Vehicle Messages . . . . 155
Steering SystemMessages . . . . . . . . . . . . . . . . . . . 155
Starting the Vehicle
Messages . . . . . . . . . . . . . . . . . . . 156
Tire Messages . . . . . . . . . . . . . . . . 156
Transmission Messages . . . . . . 156
Vehicle Reminder Messages . . . . . . . . . . . . . . . . . . . 157
Vehicle Speed Messages . . . . . 157
Washer Fluid Messages . . . . . . 157
Vehicle Personalization
Vehicle Personalization . . . . . . . 157
Universal Remote System
Universal Remote System . . . . 165
Universal Remote System Programming . . . . . . . . . . . . . . . 165
Universal Remote System Operation . . . . . . . . . . . . . . . . . . . 168
Controls
Steering Wheel
Adjustment
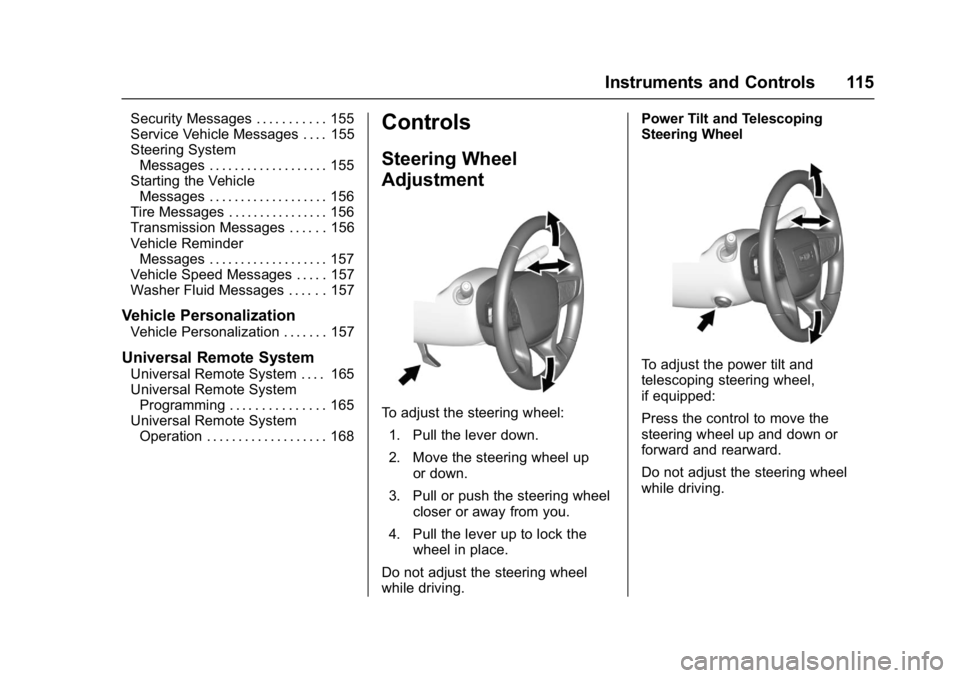
To adjust the steering wheel:
1. Pull the lever down.
2. Move the steering wheel up or down.
3. Pull or push the steering wheel closer or away from you.
4. Pull the lever up to lock the wheel in place.
Do not adjust the steering wheel
while driving. Power Tilt and Telescoping
Steering Wheel
To adjust the power tilt and
telescoping steering wheel,
if equipped:
Press the control to move the
steering wheel up and down or
forward and rearward.
Do not adjust the steering wheel
while driving.
Page 135 of 419
GMC Acadia/Acadia Denali Owner Manual (GMNA-Localizing-U.S./Canada/
Mexico-9803770) - 2017 - crc - 7/12/16
134 Instruments and Controls
.Poor fuel quality can cause
inefficient engine operation and
poor driveability, which may go
away once the engine is warmed
up. If this occurs, change the
fuel brand. It may require at
least one full tank of the proper
fuel to turn the light off. See
Fuel 0269.
If the light remains on, see your
dealer.
Emissions Inspection and
Maintenance Programs
If the vehicle requires an Emissions
Inspection/Maintenance test, the
test equipment will likely connect to
the vehicle's Data Link
Connector (DLC).
The DLC is under the instrument
panel to the left of the steering
wheel. Connecting devices that are not used to perform an Emissions
Inspection/Maintenance test or to
service the vehicle may affect
vehicle operation. See
Add-On
Electrical Equipment 0280. See
your dealer if assistance is needed.
The vehicle may not pass
inspection if:
. The light is on when the engine
is running.
. The light does not come on
when the ignition is in Service
Only Mode.
. Critical emission control systems
have not been completely
diagnosed. If this happens, the
vehicle would not be ready for
inspection and might require
several days of routine driving
before the system is ready for
inspection. This can happen if
the 12-volt battery has recently
been replaced or run down, or if
the vehicle has been recently
serviced.
See your dealer if the vehicle will
not pass or cannot be made ready
for the test.
Brake System Warning
Light
The vehicle brake system consists
of two hydraulic circuits. If one
circuit is not working, the remaining
circuit can still work to stop the
vehicle. For normal braking
performance, both circuits need to
be working.
If the warning light comes on, there
is a brake problem. Have the brake
system inspected right away.
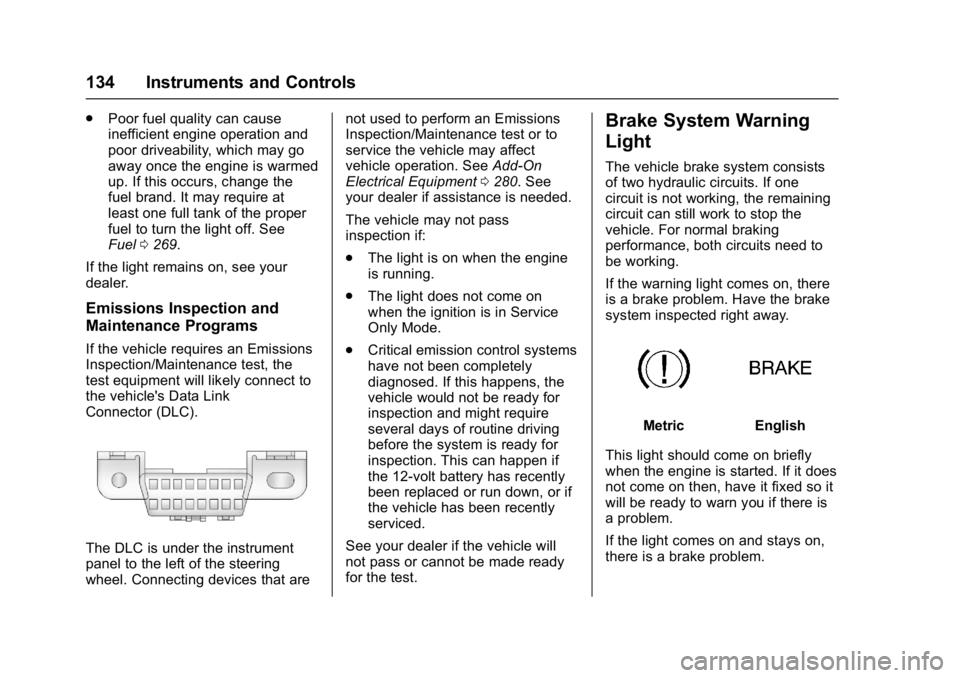
MetricEnglish
This light should come on briefly
when the engine is started. If it does
not come on then, have it fixed so it
will be ready to warn you if there is
a problem.
If the light comes on and stays on,
there is a brake problem.