clock setting GMC CANYON 2009 Get To Know Guide
[x] Cancel search | Manufacturer: GMC, Model Year: 2009, Model line: CANYON, Model: GMC CANYON 2009Pages: 20, PDF Size: 0.6 MB
Page 9 of 20

9
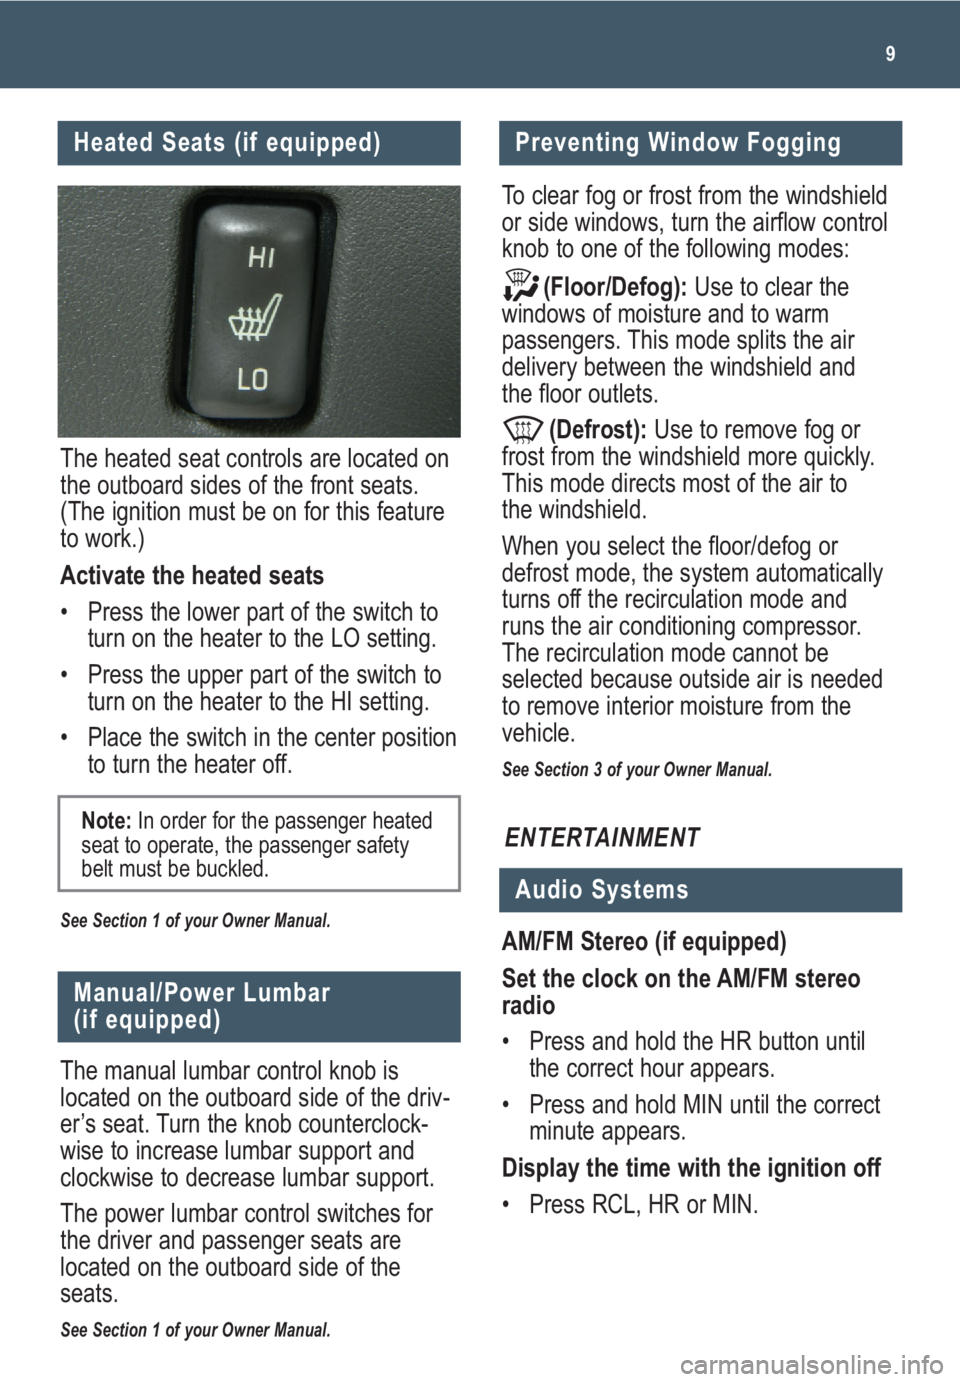
The heated seat controls are located on
the outboard sides of the front seats.
(The ignition must be on for this feature
to work.)
Activate the heated seats
• Press the lower part of the switch to
turn on the heater to the LO setting.
• Press the upper part of the switch to
turn on the heater to the HI setting.
• Place the switch in the center position
to turn the heater off.
See Section 1 of your Owner Manual.
Note:In order for the passenger heated
seat to operate, the passenger safety
belt must be buckled.
Manual/Power Lumbar
(if equipped)
The manual lumbar control knob is
located on the outboard side of the driv-
er’s seat. Turn the knob counterclock-
wise to increase lumbar support and
clockwise to decrease lumbar support.
The power lumbar control switches for
the driver and passenger seats are
located on the outboard side of the
seats.
See Section 1 of your Owner Manual.
Preventing Window Fogging
ENTERTAINMENT
Audio Systems
AM/FM Stereo (if equipped)
Set the clock on the AM/FM stereo
radio
• Press and hold the HR button until
the correct hour appears.
• Press and hold MIN until the correct
minute appears.
Display the time with the ignition off
• Press RCL, HR or MIN. To clear fog or frost from the windshield
or side windows, turn the airflow control
knob to one of the following modes:
(Floor/Defog):Use to clear the
windows of moisture and to warm
passengers. This mode splits the air
delivery between the windshield and
the floor outlets.
(Defrost):Use to remove fog or
frost from the windshield more quickly.
This mode directs most of the air to
the windshield.
When you select the floor/defog or
defrost mode, the system automatically
turns off the recirculation mode and
runs the air conditioning compressor.
The recirculation mode cannot be
selected because outside air is needed
to remove interior moisture from the
vehicle.
See Section 3 of your Owner Manual.
Heated Seats (if equipped)
Page 10 of 20

Getting to Know Your Canyon10
Presetting Radio Stations
You can set up to 18 station presets
(six AM, six FM1 and six FM2) using the
process shown below.
Set a station
1. Turn the radio on.
2. Press the BAND button to select the
band (AM, FM1 or FM2).
3. Tune to the desired station using the
seek function or tune knob.
4. Press AUTO EQ or AUTO TONE (on
equipped audio systems, as applies
to your radio) to select the sound
equalization best suiting the type of
station selected.
5. Press/hold a numbered button until a
beep confirms storage of the station.
6. Repeat the previous steps for each
pushbutton.
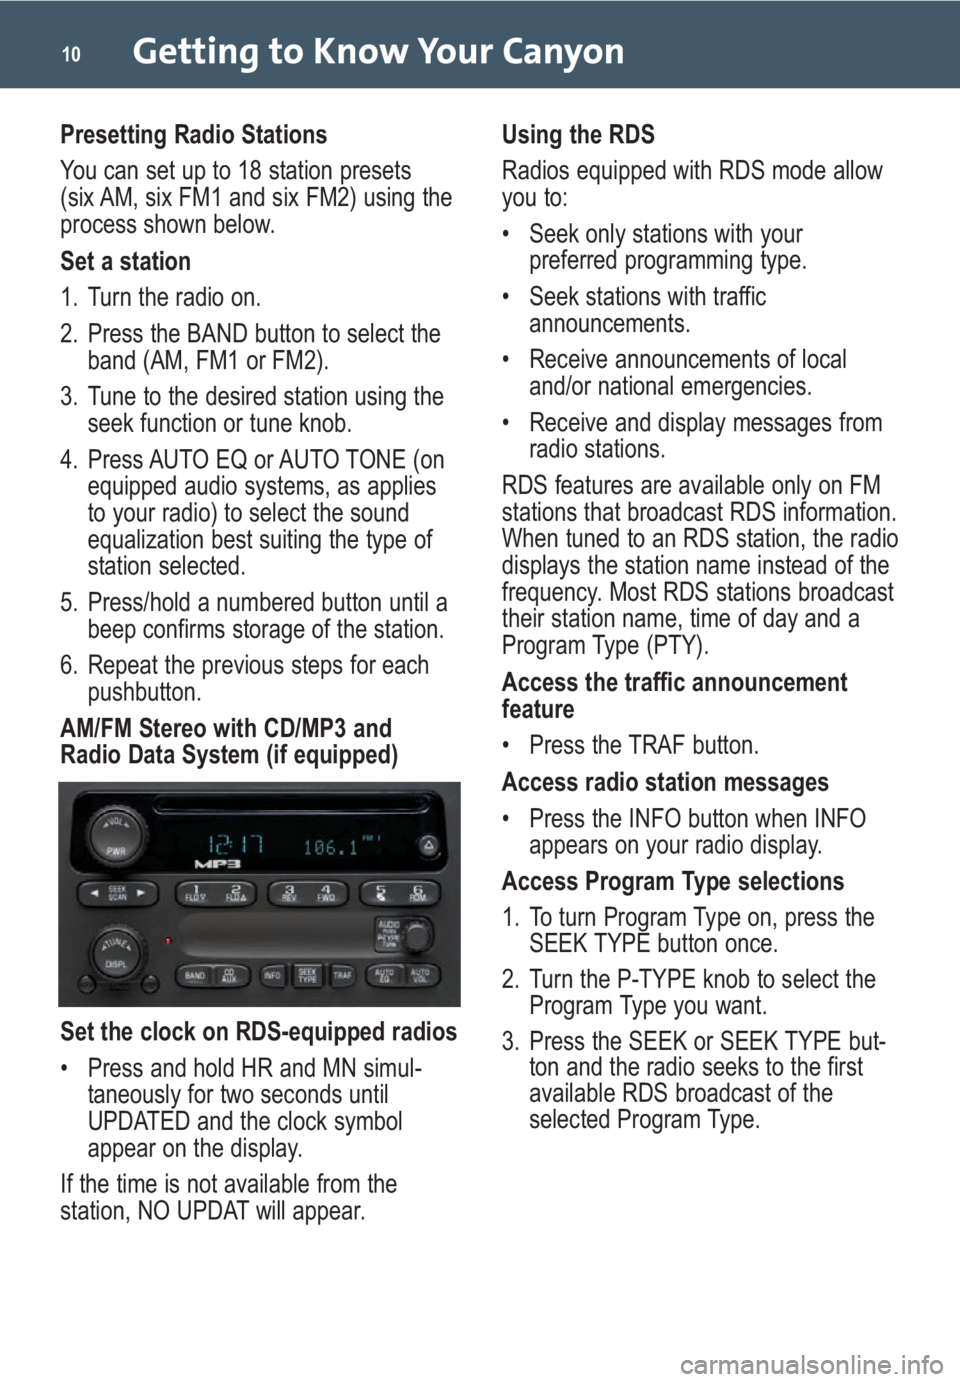
AM/FM Stereo with CD/MP3 and
Radio Data System (if equipped)
Set the clock on RDS-equipped radios
• Press and hold HR and MN simul-
taneously for two seconds until
UPDATED and the clock symbol
appear on the display.
If the time is not available from the
station, NO UPDAT will appear. Using the RDS
Radios equipped with RDS mode allow
you to:
• Seek only stations with your
preferred programming type.
• Seek stations with traffic
announcements.
• Receive announcements of local
and/or national emergencies.
• Receive and display messages from
radio stations.
RDS features are available only on FM
stations that broadcast RDS information.
When tuned to an RDS station, the radio
displays the station name instead of the
frequency. Most RDS stations broadcast
their station name, time of day and a
Program Type (PTY).
Access the traffic announcement
feature
• Press the TRAF button.
Access radio station messages
• Press the INFO button when INFO
appears on your radio display.
Access Program Type selections
1. To turn Program Type on, press the
SEEK TYPE button once.
2. Turn the P-TYPE knob to select the
Program Type you want.
3. Press the SEEK or SEEK TYPE but-
ton and the radio seeks to the first
available RDS broadcast of the
selected Program Type.