4 wheel drive GMC CANYON 2010 Owner's Manual
[x] Cancel search | Manufacturer: GMC, Model Year: 2010, Model line: CANYON, Model: GMC CANYON 2010Pages: 448, PDF Size: 2.62 MB
Page 1 of 448
In Brief........................................................... 1-1
Instrument Panel
........................................ 1-2
Initial Drive Information
............................... 1-3
Vehicle Features
......................................1-15
Performance and Maintenance
...................1-17
Seats and Restraint System............................. 2-1
Front Seats
............................................... 2-2
Rear Seats
..............................................2-10
Safety Belts
.............................................2-13
Child Restraints
.......................................2-35
Airbag System
.........................................2-64
Restraint System Check
............................2-81
Features and Controls..................................... 3-1
Keys
........................................................ 3-2
Doors and Locks
....................................... 3-5
Windows
.................................................3-10
Theft-Deterrent Systems
............................3-13
Starting and Operating Your Vehicle
...........3-16
Mirrors
....................................................3-36
Storage Areas
.........................................3-40
Sunroof
..................................................3-42Instrument Panel............................................. 4-1
Instrument Panel Overview
.......................... 4-3
Climate Controls
......................................4-16
Warning Lights, Gages, and Indicators
........4-18
Driver Information Center (DIC)
..................4-33
Audio System(s)
.......................................4-42
Driving Your Vehicle....................................... 5-1
Your Driving, the Road, and the Vehicle
....... 5-2
Towing
...................................................5-41
Service and Appearance Care.......................... 6-1
Service
..................................................... 6-3
Fuel
......................................................... 6-5
Checking Things Under the Hood
...............6-10
Rear Axle
...............................................6-47
Four-Wheel Drive
.....................................6-48
Front Axle
...............................................6-49
Headlamp Aiming
.....................................6-50
Bulb Replacement
....................................
6-50
Windshield Wiper Blade Replacement
.........6-55
Tires
......................................................6-57
2010 GMC Canyon Owner ManualM
Page 7 of 448
Instrument Panel..............................................1-2
Initial Drive Information....................................1-3
Remote Keyless Entry (RKE) System................1-4
Door Locks....................................................1-4
Tailgate........................................................1-5
Windows.......................................................1-6
Seat Adjustment.............................................1-7
Heated Seats.................................................1-9
Head Restraint Adjustment...............................1-9
Safety Belt...................................................1-10
Sensing System for Passenger Airbag.............1-10
Mirror Adjustment.........................................1-11
Steering Wheel Adjustment............................1-12
Interior Lighting............................................1-12
Exterior Lighting...........................................1-13
Windshield Wiper/Washer...............................1-14
Climate Controls...........................................1-14Vehicle Features.............................................1-15
Radio(s)......................................................1-15
Satellite Radio..............................................1-16
Driver Information Center (DIC).......................1-16
Cruise Control..............................................1-17
Power Outlets..............................................1-17
Performance and Maintenance.........................1-17
Traction Control System (TCS).......................1-17
StabiliTrak
®..................................................1-18
Tire Pressure Monitor....................................1-18
Engine Oil Life System..................................1-19
Driving for Better Fuel Economy.....................1-19
Roadside Assistance Program........................1-20
OnStar
®......................................................1-20
Section 1 In Brief
1-1
Page 9 of 448
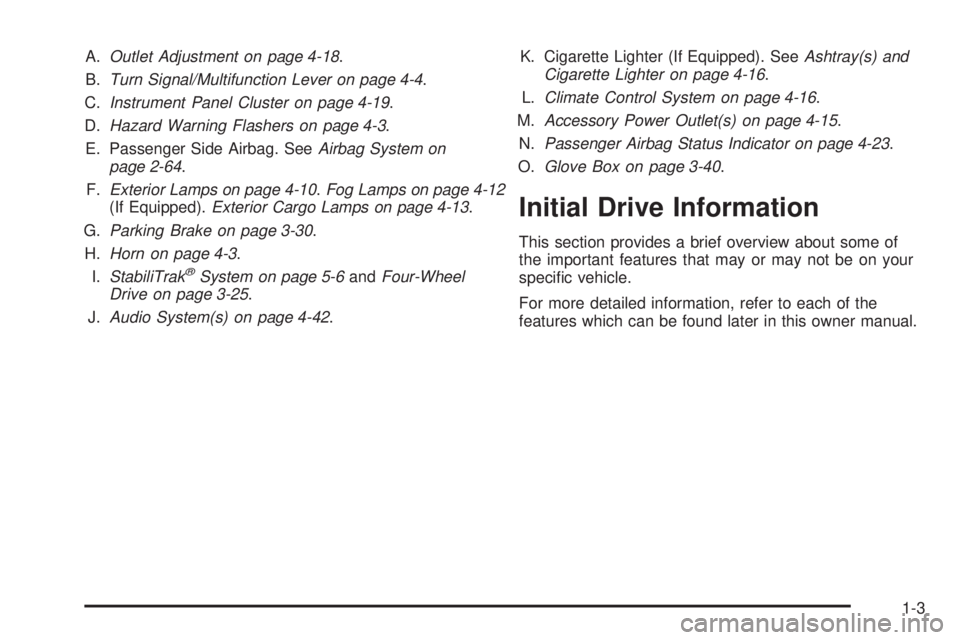
A.Outlet Adjustment on page 4-18.
B.Turn Signal/Multifunction Lever on page 4-4.
C.Instrument Panel Cluster on page 4-19.
D.Hazard Warning Flashers on page 4-3.
E. Passenger Side Airbag. SeeAirbag System on
page 2-64.
F.Exterior Lamps on page 4-10.Fog Lamps on page 4-12
(If Equipped).Exterior Cargo Lamps on page 4-13.
G.Parking Brake on page 3-30.
H.Horn on page 4-3.
I.StabiliTrak
®System on page 5-6andFour-Wheel
Drive on page 3-25.
J.Audio System(s) on page 4-42.K. Cigarette Lighter (If Equipped). SeeAshtray(s) and
Cigarette Lighter on page 4-16.
L.Climate Control System on page 4-16.
M.Accessory Power Outlet(s) on page 4-15.
N.Passenger Airbag Status Indicator on page 4-23.
O.Glove Box on page 3-40.
Initial Drive Information
This section provides a brief overview about some of
the important features that may or may not be on your
specific vehicle.
For more detailed information, refer to each of the
features which can be found later in this owner manual.
1-3
Page 92 of 448
If the vehicle is equipped with the passenger sensing
system, and when the passenger sensing system
has turned off the right front passenger frontal airbag,
the off indicator on the passenger airbag status indicator
should light and stay lit when you start the vehicle.
SeePassenger Airbag Status Indicator on page 4-23.
If a child restraint has been installed and on indicator is
lit, see “If the On Indicator is Lit for a Child Restraint”
underPassenger Sensing System on page 2-73for more
information.
To remove the child restraint, unbuckle the vehicle
safety belt and let it return to the stowed position.
Airbag System
The vehicle has the following airbags:
•A frontal airbag for the driver.
•A frontal airbag for the right front passenger
Your vehicle may also have the following airbags:
•A roof-rail airbag for the driver and the passenger
seated directly behind the driver.
•A roof-rail airbag for the right front passenger and
the passenger seated directly behind the right
front passenger.All of the airbags in your vehicle will have the word
AIRBAG embossed in the trim or on an attached label
near the deployment opening.
For frontal airbags, the word AIRBAG will appear on the
middle part of the steering wheel for the driver and
on the instrument panel for the right front passenger.
With roof-rail airbags, the word AIRBAG will appear
along the headliner or trim.
Airbags are designed to supplement the protection
provided by safety belts. Even though today’s airbags
are also designed to help reduce the risk of injury
from the force of an inflating bag, all airbags must inflate
very quickly to do their job.
2-64
Page 95 of 448
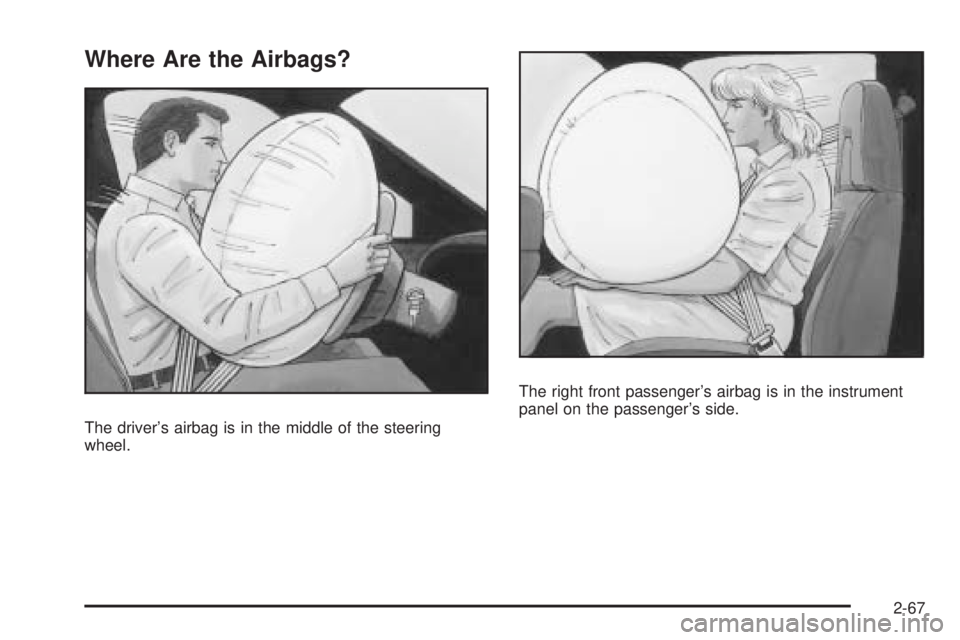
Where Are the Airbags?
The driver’s airbag is in the middle of the steering
wheel.The right front passenger’s airbag is in the instrument
panel on the passenger’s side.
2-67
Page 96 of 448
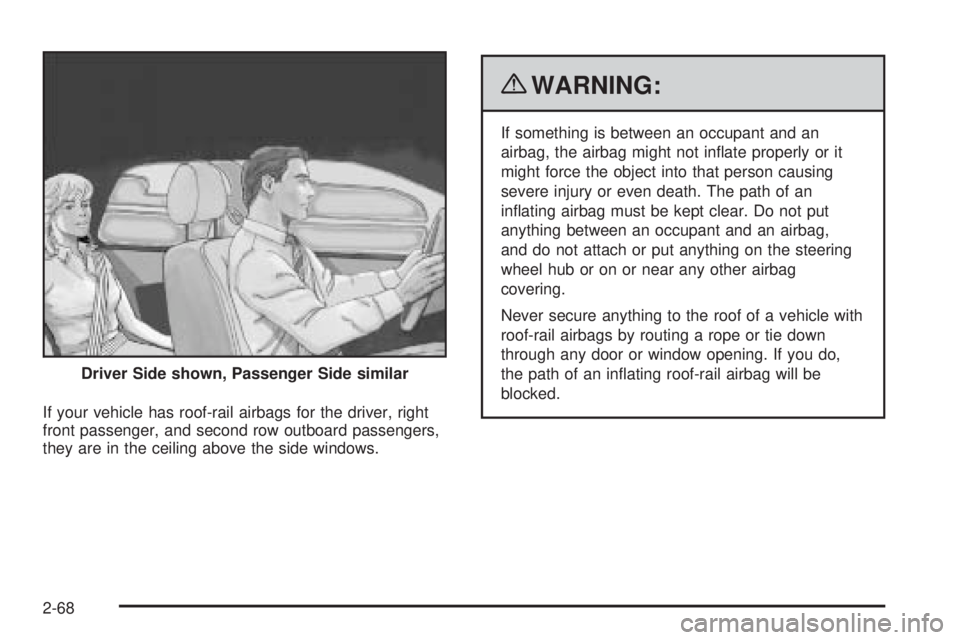
If your vehicle has roof-rail airbags for the driver, right
front passenger, and second row outboard passengers,
they are in the ceiling above the side windows.
{WARNING:
If something is between an occupant and an
airbag, the airbag might not inflate properly or it
might force the object into that person causing
severe injury or even death. The path of an
inflating airbag must be kept clear. Do not put
anything between an occupant and an airbag,
and do not attach or put anything on the steering
wheel hub or on or near any other airbag
covering.
Never secure anything to the roof of a vehicle with
roof-rail airbags by routing a rope or tie down
through any door or window opening. If you do,
the path of an inflating roof-rail airbag will be
blocked. Driver Side shown, Passenger Side similar
2-68
Page 111 of 448
Keys...............................................................3-2
Remote Keyless Entry (RKE) System................3-3
Remote Keyless Entry (RKE) System
Operation...................................................3-3
Doors and Locks.............................................3-5
Door Locks....................................................3-5
Power Door Locks..........................................3-6
Programmable Automatic Door Locks................3-6
Rear Door Security Locks (Crew Cab).................3-7
Lockout Protection..........................................3-7
Rear Doors (Extended Cab)..............................3-7
Tailgate........................................................3-8
Windows........................................................3-10
Manual Windows..........................................3-10
Power Windows............................................3-11
Sliding Rear Window.....................................3-12
Sun Visors...................................................3-12
Theft-Deterrent Systems..................................3-13
Content Theft-Deterrent.................................3-13
Passlock
®(U.S. Only)...................................3-14
PASS-Key®III+ Electronic Immobilizer.............3-15
PASS-Key®III+ Electronic Immobilizer
Operation (Canada Only).............................3-15
Starting and Operating Your Vehicle................3-16
New Vehicle Break-In....................................3-16
Ignition Positions..........................................3-17
Retained Accessory Power (RAP)...................3-18Starting the Engine.......................................3-18
Engine Coolant Heater..................................3-20
Automatic Transmission Operation...................3-21
Manual Transmission Operation......................3-23
Four-Wheel Drive..........................................3-25
Parking Brake..............................................3-30
Shifting Into Park (Automatic Transmission)......3-31
Shifting Out of Park (Automatic Transmission).....3-32
Parking the Vehicle (Manual Transmission).......3-33
Parking Over Things That Burn.......................3-33
Engine Exhaust............................................3-34
Running the Vehicle While Parked..................3-34
Mirrors...........................................................3-36
Manual Rearview Mirror.................................3-36
Automatic Dimming Rearview Mirror................3-36
Compass.....................................................3-37
Outside Manual Mirrors..................................3-38
Outside Power Mirrors...................................3-38
Outside Convex Mirror...................................3-39
Storage Areas................................................3-40
Glove Box...................................................3-40
Cupholders..................................................3-40
Center Console Storage.................................3-40
Assist Handles.............................................3-40
Rear Storage Area........................................3-41
Sunroof.........................................................3-42
Section 3 Features and Controls
3-1
Page 132 of 448
R (Reverse):Use this gear to back up.
Notice:Shifting to R (Reverse) while the vehicle is
moving forward could damage the transmission.
The repairs would not be covered by the vehicle
warranty. Shift to R (Reverse) only after the vehicle
is stopped.
To rock your vehicle back and forth to get out of snow,
ice, or sand without damaging the transmission, see
If Your Vehicle is Stuck in Sand, Mud, Ice, or Snow on
page 5-31.
N (Neutral):In this position, the engine does not
connect with the wheels. To restart the engine when the
vehicle is are already moving, use N (Neutral) only.
{WARNING:
Shifting into a drive gear while the engine is
running at high speed is dangerous. Unless your
foot is firmly on the brake pedal, the vehicle could
move very rapidly. You could lose control and hit
people or objects. Do not shift into a drive gear
while the engine is running at high speed.Notice:Shifting out of P (Park) or N (Neutral) with
the engine running at high speed may damage
the transmission. The repairs would not be covered
by the vehicle warranty. Be sure the engine is
not running at high speed when shifting the vehicle.
D (Drive):This position is for normal driving. It provides
the best fuel economy. If you need more power for
passing, and you are:
•Going less than about 35 mph (55 km/h), push the
accelerator pedal about halfway down.
•Going about 35 mph (55 km/h) or more, push the
accelerator all the way down.
The transmission will shift down to the next gear and
the vehicle will have more power.
Downshifting the transmission in slippery road conditions
could result in skidding, see “Skidding” underLoss of
Control on page 5-12.
3-22
Page 134 of 448
3 (Third), 4 (Fourth) and 5 (Fifth):Shift into 3 (Third),
4 (Fourth) and 5 (Fifth) the same way you do for
2 (Second). Slowly let up on the clutch pedal as you
press the accelerator pedal.
To stop, let up on the accelerator pedal and press the
brake pedal. Just before the vehicle stops, press the
clutch pedal and the brake pedal, and shift to Neutral.
Neutral:Use this position when you start or idle the
engine.
R (Reverse):To back up, press the clutch pedal.
After the vehicle stops, shift into R (Reverse). Slowly let
up on the clutch pedal as you press the accelerator
pedal. If it is hard to shift, let the shift lever return
to Neutral and release the clutch pedal. Then press
the clutch again and shift into R (Reverse). Do not
attempt to shift into 5 (Fifth) prior to shifting into
R (Reverse). The transmission has a lock out feature
which prevents a 5 (Fifth) gear to R (Reverse) gear shift.
Notice:Shifting to R (Reverse) while the vehicle
is moving forward could damage the transmission.
The repairs would not be covered by the vehicle
warranty. Shift to R (Reverse) only after the vehicle
is stopped.
Use R (Reverse), along with the parking brake, for
parking the vehicle.Up-Shift Light
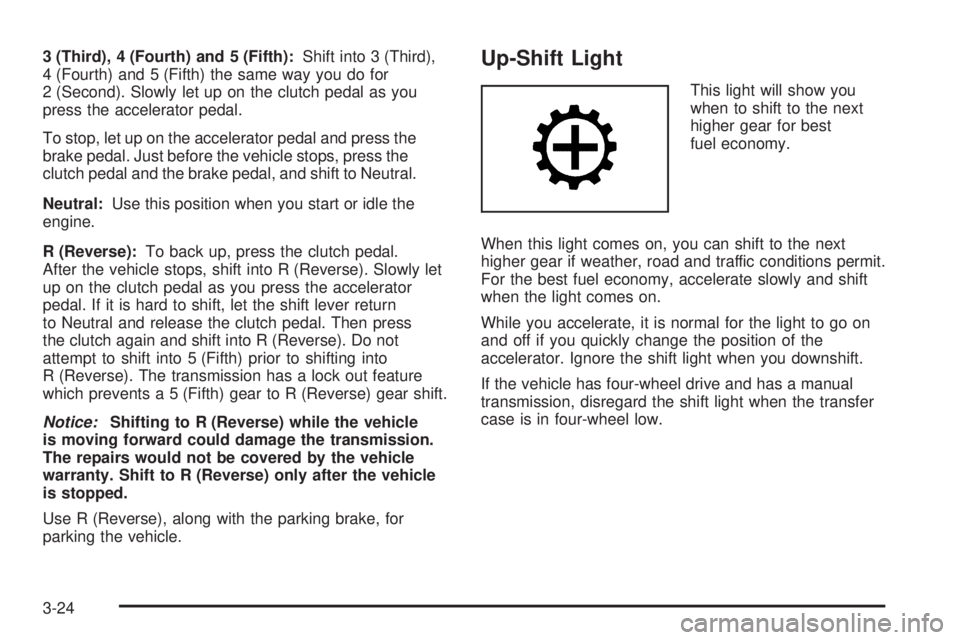
This light will show you
when to shift to the next
higher gear for best
fuel economy.
When this light comes on, you can shift to the next
higher gear if weather, road and traffic conditions permit.
For the best fuel economy, accelerate slowly and shift
when the light comes on.
While you accelerate, it is normal for the light to go on
and off if you quickly change the position of the
accelerator. Ignore the shift light when you downshift.
If the vehicle has four-wheel drive and has a manual
transmission, disregard the shift light when the transfer
case is in four-wheel low.
3-24
Page 135 of 448
Shift Speeds
{WARNING:
If you skip a gear when you downshift, you could
lose control of the vehicle. You could injure
yourself or others. Do not shift down more than
one gear at a time when you downshift.
Four-Wheel Drive
If the vehicle has four-wheel drive, you can send the
engine’s driving power to all four wheels for extra
traction. To get the best performance out of four-wheel
drive, you must be familiar with its operation. Read
this section before using four-wheel drive. You should
use two-wheel-drive high for most normal driving
conditions.
Notice:Driving on clean, dry pavement in
four-wheel drive for an extended period of time can
cause premature wear on the vehicle’s powertrain.
Do not drive on clean, dry pavement in Four-Wheel
Drive for extended periods of time.Notice:If the vehicle has four-wheel drive and the
different size spare tire is installed on the vehicle,
do not drive in four-wheel drive until you can have
your �at tire repaired and/or replaced. You could
damage the vehicle, and the repair costs would not
be covered by your warranty. Never use four-wheel
drive when the different size spare tire is installed on
the vehicle.
Notice:If the vehicle has four-wheel drive and the
compact spare tire is installed on the vehicle, do not
drive in four-wheel drive until you can have the �at
tire repaired and/or replaced. You could damage the
vehicle, and the repair costs would not be covered by
your warranty. Never use four-wheel drive when the
compact spare tire is installed on the vehicle.
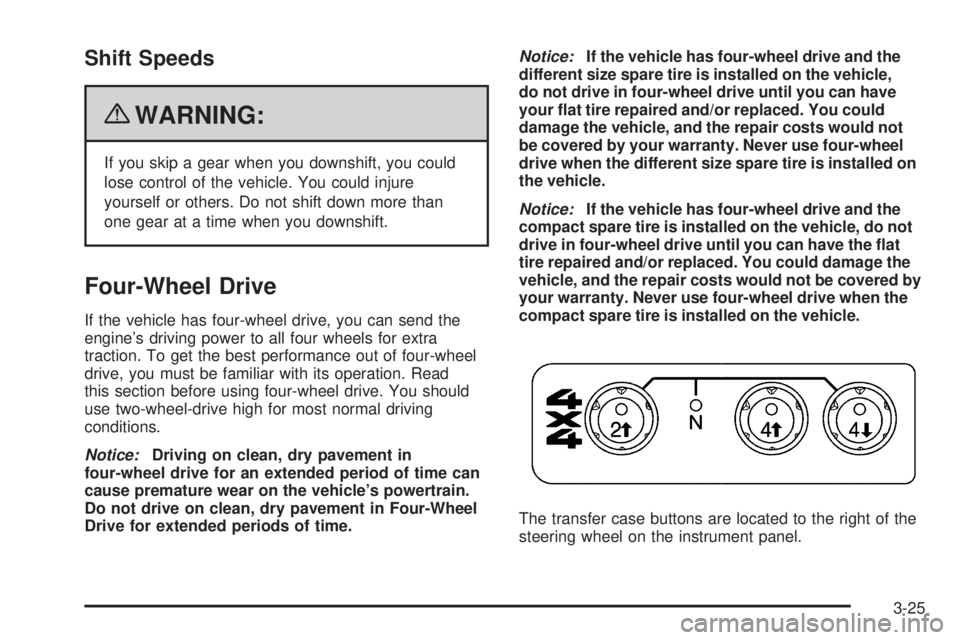
The transfer case buttons are located to the right of the
steering wheel on the instrument panel.
3-25