light GMC ENVOY 1998 User Guide
[x] Cancel search | Manufacturer: GMC, Model Year: 1998, Model line: ENVOY, Model: GMC ENVOY 1998Pages: 386, PDF Size: 20.33 MB
Page 74 of 386

During normal operation, the SECURITY light will go
off after the engine is started.
If the engine stalls and the SECURITY light flashes,
wait about
10 minutes until the light stops flashing
before trying to restart the engine. Remember to release
the key from the
START position as soon as the
engine starts.
If the engine does not start after three (3) tries, the
vehicle needs service.
If you are driving and the SECURITY light comes on,
you will be able to restart the engine if you turn the
engine
off. However, your Passlock system is not
working properly and
must be serviced by your dealer.
Your vehicle is not protected by Passlock at this time.
You may also want to check the fuse (see ”FLIS~S and
Circuit Breakers”
in the Index). See your dealer
for service.
If the SECURITY light comes on while the engine is
running.
a problem has been detected and the system
may need service. See your dealer for service.
In an emergency, call the GMC Roadside Assistance
Center
at 1 -800-GMC-8782 (in Canada, call
1-800-268-6800).
New Vehicle “Break-In”
NOTICE:
~~~ ~ ~
Your vehicle doesn’t need an elaborate
“break-in.” But it will perform better in the long
run if you follow these guidelines:
0
0
0
0
Keep your speed at 55 mph (88 kmh) or
less for the first
500 miles (805 km).
Don’t drive at any one speed
-- fast or
slow -- for the first 500 miles (805 km).
Don’t make full-throttle starts.
Avoid making hard stops for the first
200
miles (322 km) or so. During this time your
new brake linings aren’t yet broken in.
Hard stops with new linings can mean
premature wear and earlier replacement.
Follow this breaking-in guideline every
time you get new brake linings.
Don’t tow a trailer during break-in.
See “Towing a Trailer” in the Index for
more information.
2-13
ProCarManuals.com
Page 81 of 386

FIRST (1): This position gives you even more power
but lower fuel economy than SECOND (2). You can use
it on very steep hills, or in deep snow or mud. If the
selector lever
is put in FIRST (1) while the vehicle is
moving forward, the transmission won’t shift into
FIRST (1) until the vehicle is going slowly enough.
NOTICE:
If your rear wheels can’t rotate, don’t try to
drive. This might happen if you were stuck in
very deep sand or mud or were up against a solid
object. You could damage your transmission.
Also, if you
stop when going uphill, don’t hold
your vehicle there with only the accelerator
pedal. This could overheat and damage the
transmission.
Use your brakes or shift into
PARK
(P) to hold your vehicle in position
on a hill.
Parking Brake
To set the parking brake. hold the regular brake pedal
down with your
right foot. Push down the parking brake
pedal with your left foot.
If the ignition is on, the brake
system warning light
will come on.
To release the parking brake, hold the regular brake
pedal down.
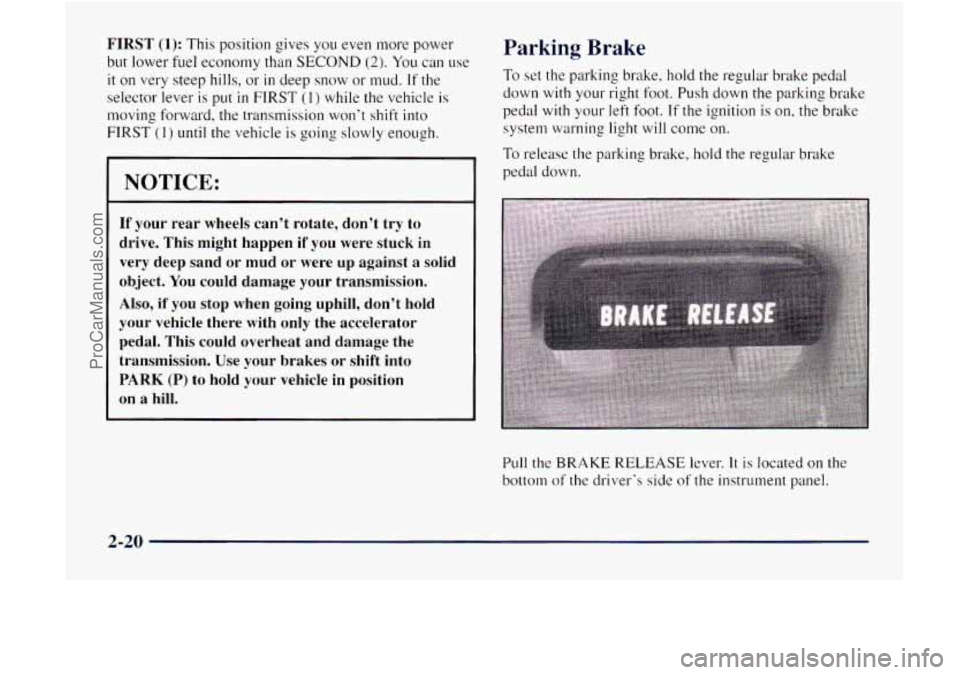
Pull the BRAKE RELEASE lever. It is located on the
bottom of the driver’s side of the instrument panel.
2-20
ProCarManuals.com
Page 88 of 386

4LO: This setting also engages your front axle to give
you extra traction. You may never need 4LO. It sends
the maximum power to all four wheels.
You might
choose 4LO if you were driving off-road in sand, mud
or deep snow and climbing or descending steep hills.
Indicator lights in the switches show
you which setting
you are in. The indicator lights will come on briefly
when you turn on the ignition and one will stay on.
If the lights do not come on, you should take your
vehicle in for service. An indicator light will flash
while shifting. It will remain illuminated when the
shift is completed.
Shifting from 2HI to 4HI
Press and release the 4HI switch. This can be done at
any speed, and the front axle will lock automatically.
Shifting from 4HI to 2HI
Press and release the 2HI switch. This can be done at
any speed, and the front axle will unlock automatically.
Shifting from 2HI or 4HI to 4LO
To shift from 2HI or 4HI to 4L0, the vehicle must be
stopped
or moving less than 3 mph (4.8 kmh) with the
transmission
in NEUTRAL (N). The preferred method
for shifting into 4LO is to
have your vehicle moving 1 to
2 mph (1.6 to 3.2 kmh). Press and release the 4LO
switch. You must wait for the 4LO indicator light to stop
flashing and remain illuminated before shifting your
transmission into gear.
If the 4LO switch
is pressed when your vehicle is in
gear and/or moving,
the 4LO indicator light will flash
for
30 seconds and not complete the shift unless your
vehicle
is moving slower than 3 mph (4.8 kdh) and the
transmission is in NEUTRAL
(N).
If your transfer case does not shift into 4L0, your
transmission indicator switch may require adjustment.
With your transmission in NEUTRAL (N), press and
release the 4LO switch. While the 4LO indicator light
is
flashing, shift your transmission into PARK (P). Wait
until the 4LO indicator light remains illuminated before
shifting your transmission into gear. This will get you
into 4L0, but you should take your vehicle in for service
to restore normal operation.
2-27
ProCarManuals.com
Page 89 of 386

Shifting from 4LO to 4HI or 2HI
To shift from 4LO to 4H1 or 2H1, your vehicle must be
stopped or moving less than
3 mph (4.8 kdh) with the
transmission in NEUTRAL
(N). The preferred method
for shifting out of 4LO is to have your vehicle moving
1 to 2 mph (1.6 to 3.2 kdh). Press and release the 4HI
switch.
You must wait for the 4H1 indicator light to stop
flashing and remain illuminated before shifting your
transmission into gear.
If the 4HI switch is pressed when your vehicle is in gear
and/or moving, the 4HI indicator light will flash for
30 seconds but not complete the shift unless the vehicle
is moving slower than 3 mph (4.8 kmh) and the
transmission
is in NEUTRAL (N).
If your transfer case does not shift into 4H1, your
transmission indicator switch may require adjustment.
With your transmission in NEUTRAL
(N), press and
release the 4HI switch. While the 4HI indicator light is
flashing, shift your transmission into PARK
(P). Wait
until the 4HI indicator light remains illuminated before
shifting your transmission into gear. This will get you
into 4H1, but you should take your vehicle
in for service
to restore normal operation.
Windows
Power Windows
The controls for the power windows are on each of the
side doors. The switches control
the windows when the
ignition is on or when Retained Accessory Power (RAP)
is present. (See “Retained Accessory Power” in the
Index.) The driver’s door has
a switch to control the
passenger windows as well.
2-28
ProCarManuals.com
Page 90 of 386

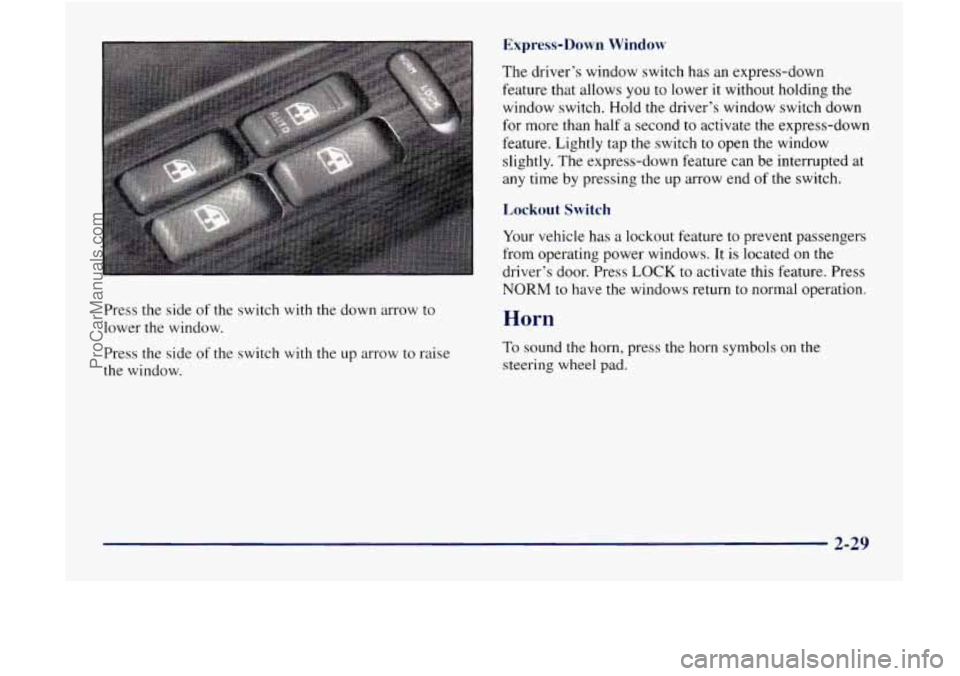
Press the side of the switch with the down arrow to
lower the window.
Press the side of the switch
with the up arrow to raise
the window.
Express-Down Window
The driver’s window switch has an express-down
feature that allows
you to lower it without holding the
window switch, Hold the. driver’s window switch down
for more than half a second to activate
the express-down
feature, Lightly tap the switch
to open the window
slightly. The express-down feature can be interrupted at
any time by pressing the up arrow end
of the switch.
Lockout Switch
Your vehicle has a lockout feature to prevent passengers
from operating power windows. It is located on the
driver’s door. Press
LOCK to activate this feature. Press
NORM to have the windows return to normal operation.
Horn
To sound the horn, press the horn symbols on the
steering wheel pad.
2-29
ProCarManuals.com
Page 92 of 386

Turn and Lane Change Signals
The turn signal has two upward (for right) and two
downward (for left) positions. These positions allow
you to signal a turn or a lane change.
To signal a turn, move the lever all the way up
or down. When the turn
is finished, the lever
will return automatically.
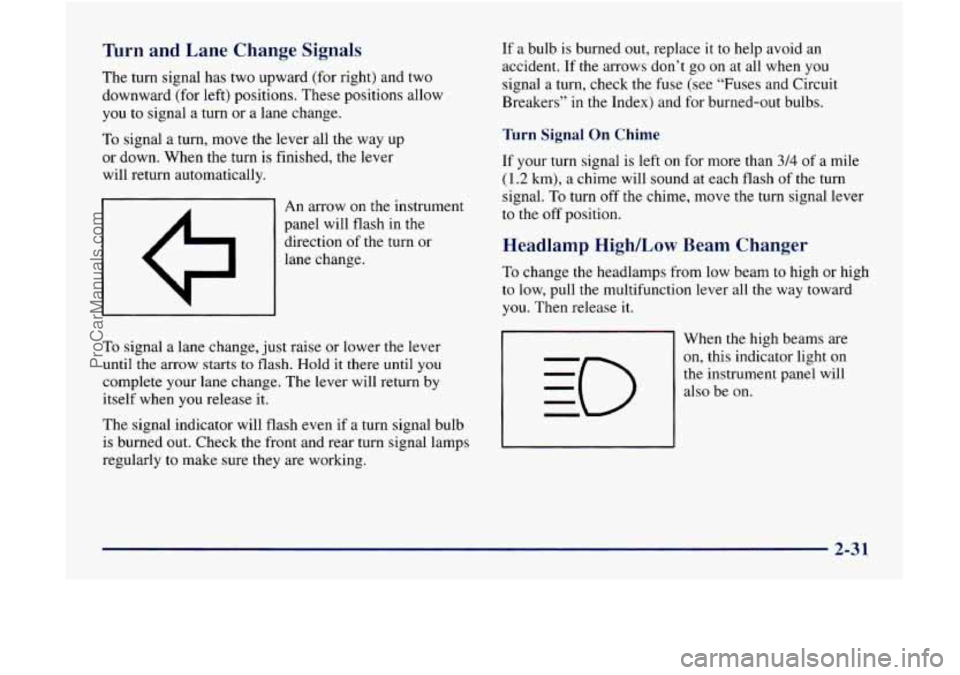
I 1 I An arrow on the instrument
panel will flash
in the
direction of the turn or
lane change.
To signal a lane change, just raise or lower the lever
until the arrow starts to flash. Hold it there until you
complete your lane change. The lever will return by
itself when you release it.
The signal indicator will flash even if a turn signal bulb
is burned out. Check the front and rear turn signal lamps
regularly
to make sure they are working. If
a bulb is burned out, replace it to help avoid an
accident. If the
arrows don’t go on at all when you
signal a turn, check the fuse (see “Fuses and Circuit
Breakers”
in the Index) and for burned-out bulbs.
Turn Signal On Chime
If your turn signal is left on for more than 3/4 of a mile
(1.2 km), a chime will sound at each flash of the turn
signal.
To turn off the chime, move the turn signal lever
to the off position.
Headlamp High/Low Beam Changer
To change the headlamps from low beam to high or high
to low, pull the multifunction lever all the way toward
you. Then release
it.
When the high beams are
on, this indicator light on
the instrument panel will
also be on.
2-31
ProCarManuals.com
Page 93 of 386

Windshield Wipers
You control the windshield wipers by turning the band
with the wiper symbol on
it.
For a single wiping cycle, turn the band to MIST. Hold
it there until the wipers start, then let go. The wipers will
stop after one wipe. If you want more wipes, hold the
band on
MIST longer.
You can set the wiper speed for a long or short delay
between wipes. This
can be very useful in light rain or
snow. Turn the band to choose the delay time. The
closer to
LO, the shorter the delay. For steady wiping at
low speed, turn the band away
from you to the
LO position. For high-speed wiping,
turn the band further,
to HI. To stop the wipers, move
the band
to the OFF position.
Be sure to clear ice and snow from the wiper blades
before using them.
If they’re frozen to the windshield,
carefully loosen
or thaw them. If your blades do become
worn or damaged, get new blades or blade inserts.
Windshield Washer
There is a paddle marked with the windshield washer
symbol at the top
of the multifunction lever. To spray
washer fluid on the windshield, push the paddle. The
wipers
will clear the window and then either stop or
return to your preset speed.
In freezing weather, don’t use your washer until
the windshield is warmed. Otherwise the washer
fluid can
form ice on the windshield, blocking
your vision.
2-32
ProCarManuals.com
Page 97 of 386

Passing Another Vehicle While Using Cruise Control Exterior Lamps
Use the accelerator pedal to increase your speed. When
you take your foot off the pedal, your vehicle will slow
down to the cruise control speed you set earlier.
Using Cruise Control on Hills
How well your cruise control will work on hills depends
upon your speed, load and the steepness of the hills.
When going up steep hills, you may want
to step on the
accelerator pedal to maintain your speed. When going
downhill, you may have to brake or shift to a lower gear
to keep your speed down.
Of course, applying the brake
takes you out of cruise control. Many drivers find this to
be too much trouble and don’t use cruise control on
steep hills.
Ending Cruise Control
There are two ways to turn off the cruise control:
Step lightly on the brake pedal.
Move the cruise control switch to OFF.
Erasing Speed Memory
When you turn off the cruise control or the ignition,
your cruise control set speed memory is erased. Your
parking lamp and headlamp switch is on the
driver’s side
of your instrument panel.
Rotate the
knob to the right to the parking lamps symbol
to manually turn on:
Parking Lamps
Sidemarker Lamps
Taillamps
License Plate Lamps
Instrument Panel Lights
2-36
ProCarManuals.com
Page 98 of 386

Rotate the knob to the right to the master lamps symbol
to turn on all the lamps listed as well as
the headlamps.
Rotate the
knob all the way to the left to turn off your
lamps and put the system in automatic headlamp mode.
Automatic Headlamp System
When it is dark enough outside, your automatic
headlamp system will turn on your headlamps at the
normal brightness along with other lamps such as the
taillamps, sidemarker, parking lamps and the instrument
panel lights. The radio lights will also be dim.
Your vehicle is equipped with High Intensity Discharge
(€€ID) headlamps. Your headlamps come on at lower
intensity and gradually increase to full brightness.
Your vehicle is equipped with
a light sensor on the top
of the instrument panel under the radio speaker grille,
so
be sure it is not covered, which will cause the system to
be on whenever the ignition is on.
The system may also turn on your headlamps when
driving through a parking garage, heavy overcast
weather, a tunnel or fueling your vehicle in a low-light
area. This is normal.
There is a delay in the transition between the daytime
and nighttime operation of the Daytime Running Lamps
(DRL) and the automatic headlamp systems
so that driving under bridges or bright overhead street lights
does not affect the system. The DRL and automatic
headlamp system will only be affected when the light
sensor
sees a change in lighting lasting longer than
the delay.
To idle your vehicle with the automatic headlamp
system
off, set the parking brake while the ignition is
off. Then start your vehicle. The automatic headlamp
system will stay off until you release the parking brake.
As with any vehicle, you should turn on the regular
headlamp system when you need it.
Lamps On Reminder
A reminder chime will sound when your headlamps or
parking lamps
are manually turned on and your ignition
is in
OFF, LOCK or ACCESSORY. To disable the
chime, rotate the thumb wheel all the way down. In
the
automatic mode, the headlamps turn off once the
ignition key is in
OFF,
Daytime Running Lamps
Daytime Running Lamps (DRL) can make it easier for
others to see the front of your vehicle during the day.
DRL can be helpful in many different driving
conditions, but they can be especially helpful in the short periods after dawn and before sunset.
2-37
ProCarManuals.com
Page 99 of 386

The DRL system will make your high-beam headlamps
come
on at reduced brightness when:
Fog Lamps
the ignition is on,
the headlamp switch is in automatic headlamp
mode and
the parking brake is released.
When the DRL are on, only your high-beam headlamps
will be on. The taillamps, sidemarker and other lamps
won’t be on. The instrument panel won’t be lit up either.
When it begins to get dark, the high-beam headlamps
will automatically switch from DRL to the regular
low-beam headlamps.
When you turn
the headlamp switch off, the regular
low-beam headlamps will
go off, and your high-beam
headlamps will change to the reduced brightness
of DRL
provided it is not dark outside.
To idle your vehicle with
the DRL off, set the parking
brake. The DRL will stay off until
you release the
parking brake.
As with any vehicle, you should turn on the regular
headlamp system
when you need it. Use your fog lamps
for better vision in foggy or misty
conditions. Your low-beam headlamps or your parking
lamps must be on for your fog lamps to work.
The fog lamp switch is
on the instrument panel under
the lamps switch. Press
the switch to turn the fog lamps
on. Press the switch again to turn them
off. A light will
glow in
the switch when the fog lamps are on.
Remember,
fog lamps alone will not give off as much
light as your headlamps. Never use your fog lamps in
the dark without turning on your headlamps.
The
fog lamps will go off whenever your high-beam
headlamps come on. When the high beams
go off, the
fog lamps will come on again.
2-38
ProCarManuals.com