glove box GMC ENVOY 2003 Owner's Manual
[x] Cancel search | Manufacturer: GMC, Model Year: 2003, Model line: ENVOY, Model: GMC ENVOY 2003Pages: 442, PDF Size: 3.1 MB
Page 70 of 442

Storage Areas................................................2-44
Glove Box...................................................2-44
Overhead Console........................................2-44
Front Storage Area.......................................2-45
Luggage Carrier...........................................2-48
Rear Floor Storage Lid..................................2-49Convenience Net..........................................2-49
Cargo Cover................................................2-50
Sunroof.........................................................2-51
Vehicle Personalization...................................2-51
Memory Seat...............................................2-51
Section 2 Features and Controls
2-2
Page 107 of 442

OnStaržSystem
Your vehicle may have this feature. OnStaržuses
global positioning system (GPS) satellite technology,
wireless communications, and state of the art call
centers to provide you with a wide range of safety,
security, information and convenience services.
A complete OnStar
žuser's guide and the terms and
conditions of the OnStaržSubscription Service
Agreement are included in your OnStarž-equipped
vehicle's glove box literature. For more information, visit
www.onstar.com, contact OnStar
žat 1-888-4-ONSTAR
(1-888-466-7827), or press the blue OnStaržbutton
to speak to an OnStaržadvisor 24 hours a day, 7 days
a week.
A completed Subscription Service Agreement is required
prior to delivery of OnStar
žservices and prepaid
calling minutes are also required for OnStaržPersonal
Calling and OnStaržVirtual Advisor use. Terms and
conditions of the Subscription Service Agreement can be
found at www.onstar.com.
OnStaržServices
One of the following plans is normally included for a
speci®c duration with each vehicle equipped with
OnStar
ž. You can upgrade or extend your OnStarž
service plan to meet your needs.
Safe and Sound Plan
·
Automatic Noti®cation of Air Bag Deployment
·Emergency Services
·Roadside Assistance
·Stolen Vehicle Assistance
·AccidentAssist
·Remote Door Unlock
·Remote Diagnostics
·Online Concierge
Directions and Connections Plan
·
All Safe and Sound Plan services
·Route Support
·RideAssist
·Information and Convenience Services
2-39
Page 108 of 442

Luxury and Leisure Plan
·
All Directions and Connections Plan services
·Personal Concierge
OnStaržPersonal Calling
With OnStaržPersonal Calling, you have a safer way to
stay connected while driving. It's a hands-free wireless
phone that's integrated into your vehicle. You can place
calls nationwide using voice-activated dialing with no
contracts and no additional roaming charges. To ®nd out
more about OnStar
žPersonal Calling, refer to the
OnStaržowner's guide in your vehicle's glove box, or
call OnStaržat 1-888-4-ONSTAR (1-888-466-7827).
OnStaržVirtual Advisor
With OnStaržVirtual Advisor you can listen to your
favorite news, entertainment and information topics,
such as traffic and weather reports, stock quotes
and sports scores. You listen to your e-mail through
your vehicle's speakers, and reply with your hands on
the wheel and your eyes on the road.
HomeLinkžTransmitter
HomeLinkž, a combined universal transmitter and
receiver, provides a way to replace up to three
hand-held transmitters used to activate devices such as
gate operators, garage door openers, entry door
locks, security systems and home lighting. Additional
HomeLink
žinformation can be found on the internet at
www.homelink.com or by calling 1- 800- 355- 3515.
If your vehicle is equipped with the HomeLink
ž
Transmitter, it complies with Part 15 of the FCC Rules.
Operation is subject to the following two conditions:
(1) this device may not cause harmful interference, and
(2) this device must accept any interference received,
including interference that may cause undesired
operation.
2-40
Page 112 of 442

Resetting Defaults
To reset HomeLinkžto default settings do the following:
1. Hold down the two outside buttons for about
20 seconds until the indicator light begins to ¯ash.
2. Continue to hold both buttons until the HomeLink
ž
indicator light turns off.
3. Release both buttons.
For questions or comments, contact HomeLink
žat
1-800-355-3515, or on the internet at
www.homelink.com.
Storage Areas
Glove Box
To open your glove box, pull the handle on the front of
the glove box and lower the door.
Overhead Console
Your vehicle may have this
feature. The overhead
console includes
sunglasses storage, a
HomeLink
žtransmitter and
a travel note recorder (if
equipped).
If your vehicle has a third row seat, the rear quarter
glass switches are also located in the overhead console.
These switches allow the driver to open and close
each third row seat window separately.
Sunglasses Storage Compartment
To open the sunglasses storage compartment in the
overhead console, press the release button. Then pull
the compartment down.
2-44
Page 125 of 442

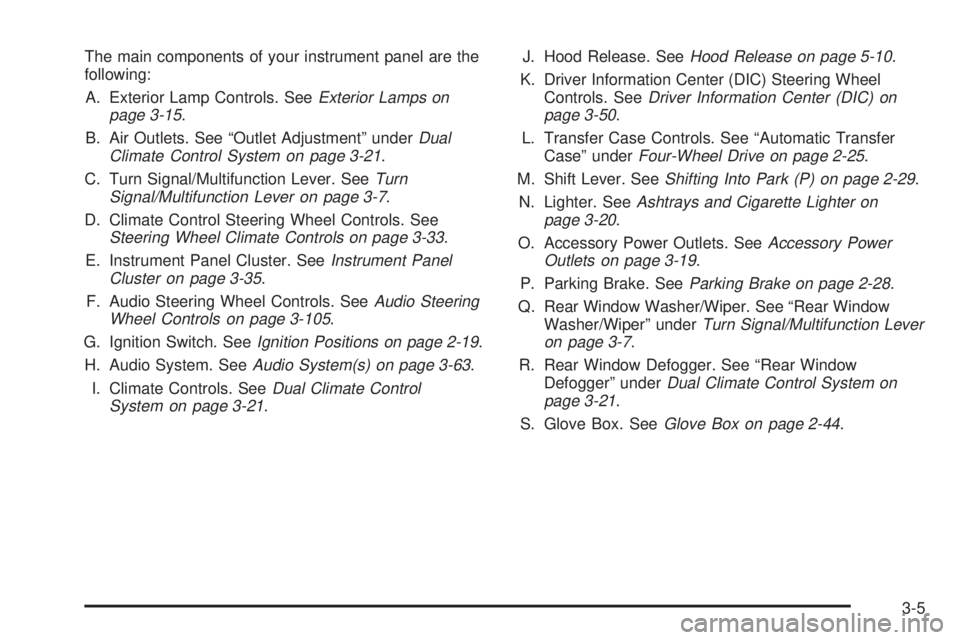
The main components of your instrument panel are the
following:
A. Exterior Lamp Controls. See
Exterior Lamps on
page 3-15.
B. Air Outlets. See ªOutlet Adjustmentº under
Dual
Climate Control System on page 3-21.
C. Turn Signal/Multifunction Lever. See
Turn
Signal/Multifunction Lever on page 3-7.
D. Climate Control Steering Wheel Controls. See
Steering Wheel Climate Controls on page 3-33.
E. Instrument Panel Cluster. See
Instrument Panel
Cluster on page 3-35.
F. Audio Steering Wheel Controls. See
Audio Steering
Wheel Controls on page 3-105.
G. Ignition Switch. See
Ignition Positions on page 2-19.
H. Audio System. See
Audio System(s) on page 3-63.
I. Climate Controls. See
Dual Climate Control
System on page 3-21.J. Hood Release. See
Hood Release on page 5-10.
K. Driver Information Center (DIC) Steering Wheel
Controls. See
Driver Information Center (DIC) on
page 3-50.
L. Transfer Case Controls. See ªAutomatic Transfer
Caseº under
Four-Wheel Drive on page 2-25.
M. Shift Lever. See
Shifting Into Park (P) on page 2-29.
N. Lighter. See
Ashtrays and Cigarette Lighter on
page 3-20.
O. Accessory Power Outlets. See
Accessory Power
Outlets on page 3-19.
P. Parking Brake. See
Parking Brake on page 2-28.
Q. Rear Window Washer/Wiper. See ªRear Window
Washer/Wiperº under
Turn Signal/Multifunction Lever
on page 3-7.
R. Rear Window Defogger. See ªRear Window
Defoggerº under
Dual Climate Control System on
page 3-21.
S. Glove Box. See
Glove Box on page 2-44.
3-5
Page 351 of 442

The air in¯ator kit may be located in the glove box. The
kit includes a 22 ft (6.7 m) hose with three nozzle
adapters.
To use the air in¯ator, attach the appropriate nozzle
adapter to the end of the hose if required. Then attach
that end of the hose to the object you wish to in¯ate.
Attach the other end of the hose to the outlet.
Press and release the switch to turn the air in¯ator on.
The indicator light will remain on when the in¯ator is
running.
The system has an internal clock to prevent overheating.
The system will allow about ®ve minutes of running
time, then the compressor will stop. The indicator light
will then begin to ¯ash. When the indicator is off,
the in¯ator can be started again by pressing the switch.
If the compressor is still hot, it may only run for a
short time before shutting off again.
Press and release the switch to turn the in¯ator off.
Place the in¯ator kit tools in the pouch and store
it properly. Remove the in¯ator hose from the outlet
during loading and unloading. Load leveling will
not function with the in¯ator hose attached to the in¯ator
outlet.To reinstall the cover, line up the tabs at the back of the
cover, put it in place and latch the tabs.
A continuous ¯ashing indicator light may also indicate a
malfunction in the air suspension system.
{CAUTION:
In¯ating something too much can make it
explode, and you or others could be injured.
Be sure to read the in¯ator instructions, and
in¯ate any object only to its recommended
pressure.
5-63
Page 376 of 442

Vehicle Identi®cation
Vehicle Identi®cation Number (VIN)
This is the legal identi®er for your vehicle. It appears on
a plate in the front corner of the instrument panel, on
the driver's side. You can see it if you look through the
windshield from outside your vehicle. The VIN also
appears on the Vehicle Certi®cation and Service Parts
labels and the certi®cates of title and registration.
Engine Identi®cation
The 8th character in your VIN is the engine code. This
code will help you identify your engine, speci®cations
and replacement parts.
Service Parts Identi®cation Label
You'll ®nd this label on the inside of the glove box. It's
very helpful if you ever need to order parts. On this
label is:
·your VIN,
·the model designation,
·paint information and
·a list of all production options and special
equipment.
Be sure that this label is not removed from the vehicle.
5-88
Page 433 of 442

Gate Operator and Canadian Programming........2-43
Getting Familiar with Off-Road Driving................4-17
Glove Box.....................................................2-44
GM Mobility Program for Persons with
Disabilities.................................................... 7-5
H
Hazard Warning Flashers................................... 3-6
Head Restraints............................................... 1-5
Headlamp High/Low-Beam Changer.................... 3-8
Headlamp Washer..........................................3-11
Headlamps....................................................5-50
Bulb Replacement.......................................5-50
Electrical System.........................................5-89
Front Turn Signal and Sidemarker Lamps.......5-51
Halogen Bulbs............................................5-50
Headphones...................................................3-92
Heated Seats................................................... 1-3
Highway Hypnosis...........................................4-36
Hill and Mountain Roads..................................4-37
Hitches..........................................................4-55
HomeLink Transmitter, Programming..................2-41
HomeLink
žTransmitter....................................2-40
Hood............................................................5-10
Checking Things Under................................5-10
Release.....................................................5-10
Horn............................................................... 3-7How to Add Coolant to the Coolant
Recovery Tank............................................5-31
How to Add Coolant to the Radiator..................5-33
How to Add Fluid............................................5-23
How to Check Lubricant...................................5-48
How to Check Power Steering Fluid..................5-36
How to Check........................................5-22, 5-55
How to Inspect...............................................5-20
How to Use This Manual...................................... ii
How to Wear Safety Belts Properly...................1-14
Hydroplaning..................................................4-31
I
ICE POSSIBLE..............................................3-62
If No Steam Is Coming From Your Engine..........5-28
If Steam Is Coming From Your Engine...............5-27
If the Light Is Flashing.....................................3-43
If the Light Is On Steady.................................3-43
If You Are Stuck in Sand, Mud, Ice or Snow.......4-44
If You Do Decide To Pull A Trailer.....................4-51
If You're Caught in a Blizzard...........................4-41
Ignition Positions.............................................2-19
Ignition Transmission Lock Check......................6-14
Infants and Young Children, Restraints...............1-32
In¯ation -- Tire Pressure..................................5-55
7
Page 440 of 442

Shifting Out of Park (P)...................................2-31
Skidding........................................................4-14
Snow Plow....................................................4-50
Some Other Rainy Weather Tips.......................4-32
Spare Tire Check............................................6-12
Special Fabric Cleaning Problems.....................5-81
Speci®cations, Capacities...............................5-102
Speedometer..................................................3-36
Stalling on an Incline.......................................4-26
Starter Switch Check.......................................6-13
Starting Your Engine.......................................2-21
Steering in Emergencies..................................4-11
Steering, Suspension and Front Drive Axle Boot
and Seal Inspection.....................................6-16
Steering Tips..................................................4-10
Steering Wheel Climate Controls.......................3-33
Steering Wheel Controls, Audio.......................3-105
Steering........................................................4-10
Stereo RCA Jacks..........................................3-93
Storage Areas................................................2-49
Convenience Net.........................................2-49
Front Storage Area......................................2-45
Glove Box..................................................2-44
Luggage Carrier..........................................2-48
Overhead Console.......................................2-44
Rear Floor Storage Lid.................................2-49
Storing a Flat or Spare Tire and Tools...............5-77
Stuck in Sand, Mud, Ice or Snow......................4-44Sun Visors.....................................................2-16
Sunglasses Storage Compartment.....................2-44
Sunroof.........................................................2-51
T
Tachometer....................................................3-36
Taillamps.......................................................5-51
Turn Signal Lamps......................................5-51
Testing the Alarm............................................2-18
Theft-Deterrent, Radio....................................3-104
Theft-Deterrent Systems...................................2-17
Content Theft-Deterrent................................2-17
Passlock
ž...................................................2-18
Tilt Wheel........................................................ 3-7
Tire In¯ation Check.........................................6-11
Tires.............................................................5-54
Buying New Tires........................................5-58
Chains.......................................................5-62
Changing a Flat Tire....................................5-64
If a Tire Goes Flat.......................................5-64
In¯ation -- Tire Pressure...............................5-55
Inspection and Rotation................................5-55
Uniform Tire Quality Grading.........................5-59
Wheel Alignment and Tire Balance.................5-60
Wheel Replacement.....................................5-60
When It Is Time for New Tires......................5-57
To Use the Engine Coolant Heater....................2-22
14