maintenance schedule GMC ENVOY 2003 Owner's Manual
[x] Cancel search | Manufacturer: GMC, Model Year: 2003, Model line: ENVOY, Model: GMC ENVOY 2003Pages: 442, PDF Size: 3.1 MB
Page 1 of 442

Seats and Restraint Systems........................... 1-1
Front Seats
............................................... 1-2
Rear Seats
............................................... 1-6
Safety Belts
.............................................. 1-9
Child Restraints
.......................................1-30
Air Bag Systems
......................................1-51
Restraint System Check
............................1-60
Features and Controls..................................... 2-1
Keys
........................................................ 2-3
Doors and Locks
....................................... 2-8
Windows
.................................................2-14
Theft-Deterrent Systems
............................2-17
Starting and Operating Your Vehicle
...........2-19
Mirrors
....................................................2-35
OnStar
žSystem
......................................2-39
HomeLinkžTransmitter
.............................2-40
Storage Areas
.........................................2-44
Sunroof
..................................................2-51
Vehicle Personalization
.............................2-51
Instrument Panel............................................. 3-1
Instrument Panel Overview
.......................... 3-4
Climate Controls
......................................3-21
Warning Lights, Gages and Indicators
.........3-34
Driver Information Center (DIC)
..................3-50
Audio System(s)
.......................................3-63Driving Your Vehicle....................................... 4-1
Your Driving, the Road, and Your Vehicle
..... 4-2
Towing
...................................................4-45
Service and Appearance Care.......................... 5-1
Service
..................................................... 5-3
Fuel
......................................................... 5-4
Checking Things Under the Hood
...............5-10
Rear Axle
...............................................5-48
Four-Wheel Drive
.....................................5-48
Bulb Replacement
....................................5-50
Windshield Wiper Blade Replacement
.........5-52
Tires
......................................................5-54
Appearance Care
.....................................5-80
Vehicle Identi®cation
.................................5-88
Electrical System
......................................5-89
Capacities and Speci®cations
...................5-102
Normal Maintenance Replacement Parts
....5-104
Maintenance Schedule..................................... 6-1
Maintenance Schedule
................................ 6-2
Customer Assistance Information.................... 7-1
Customer Assistance Information
.................. 7-2
Reporting Safety Defects
............................ 7-9
INDEX................................................................1
2003 GMC Envoy/Envoy XL Owner ManualM
Page 256 of 442

After Off-Road Driving
Remove any brush or debris that has collected on the
underbody, chassis or under the hood. These
accumulations can be a ®re hazard.
After operation in mud or sand, have the brake linings
cleaned and checked. These substances can cause
glazing and uneven braking. Check the body structure,
steering, suspension, wheels, tires and exhaust
system for damage. Also, check the fuel lines and
cooling system for any leakage.
Your vehicle will require more frequent service due to
off-road use. Refer to the Maintenance Schedule
for additional information.
Driving at Night
Night driving is more dangerous than day driving.
One reason is that some drivers are likely to be
impaired Ð by alcohol or drugs, with night vision
problems, or by fatigue.
4-28
Page 278 of 442

Indicator Light
The indicator light on the in¯ator switch in the rear
passenger compartment also serves as an indicator for
internal system error. If the indicator light is ¯ashing
without the load leveling function or the in¯ator being
active, turn off the ignition. The next day turn on
the ignition and check the indicator light. The vehicle
can be driven with the light ¯ashing, but if it is you
should have the vehicle serviced as soon as possible.
Adding a Snow Plow or Similar
Equipment
Your vehicle was neither designed nor intended for a
snow plow.
Notice:Adding a snow plow or similar equipment
to your vehicle can damage it, and the repairs
wouldn't be covered by warranty. Do not install a
snow plow or similar equipment on your vehicle.
Towing a Trailer
{CAUTION:
If you don't use the correct equipment and
drive properly, you can lose control when you
pull a trailer. For example, if the trailer is too
heavy, the brakes may not work well -- or even
at all. You and your passengers could be
seriously injured. Pull a trailer only if you have
followed all the steps in this section. Ask your
dealer for advice and information about towing
a trailer with your vehicle.
Notice:Pulling a trailer improperly can damage
your vehicle and result in costly repairs not covered
by your warranty. To pull a trailer correctly, follow
the advice in this part, and see your dealer for
important information about towing a trailer with
your vehicle. Additional rear axle maintenance
is required for a vehicle used to tow a trailer. See
ªScheduled Maintenance Servicesº in the Index.
To identify the trailering capacity of your vehicle,
you should read the information in ªWeight of the Trailerº
that appears later in this section.
4-50
Page 287 of 442

{CAUTION:
It can be dangerous to get out of your vehicle
if the shift lever is not fully in PARK (P) with
the parking brake ®rmly set. Your vehicle
can roll.
If you have left the engine running, the vehicle
can move suddenly. You or others could be
injured. To be sure your vehicle won't move,
even when you're on fairly level ground, use
the steps that follow.
Always put the shift lever fully in PARK (P)
with the parking brake ®rmly set.
If the transfer case on four-wheel drive
vehicles is in NEUTRAL, your vehicle will be
free to roll, even if your shift lever is in
PARK (P). So, be sure the transfer case is in a
drive gear Ð not in NEUTRAL.
See ªFour-Wheel Drive (Automatic Transfer
Case)º in the Index.
When You Are Ready to Leave After
Parking on a Hill
1. Apply your regular brakes and hold the pedal down
while you:
·start your engine,
·shift into a gear, and
·release the parking brake.
2. Let up on the brake pedal.
3. Drive slowly until the trailer is clear of the chocks.
4. Stop and have someone pick up and store the
chocks.
Maintenance When Trailer Towing
Your vehicle will need service more often when you're
pulling a trailer. See the Maintenance Schedule for more
on this. Things that are especially important in trailer
operation are automatic transmission ¯uid (don't over®ll),
engine oil, axle lubricant, belt(s), cooling system and
brake system. Each of these is covered in this manual,
and the Index will help you ®nd them quickly. If
you're trailering, it's a good idea to review these sections
before you start your trip.
Check periodically to see that all hitch nuts and bolts
are tight.
4-59
Page 311 of 442

Then, without shutting off the engine, follow these steps:
The automatic
transmission dipstick
handle with the
transmission and lock
symbol is located in the
engine compartment
on the passenger's side of
the vehicle.
See
Engine Compartment Overview on page 5-12for
more information on location.
1. Flip the handle up and then pull out the dipstick
and wipe it with a clean rag or paper towel.
2. Push it back in all the way, wait three seconds and
then pull it back out again. Check both sides of the
dipstick, and read the lower level.
3. If the ¯uid level is in the acceptable range, push the
dipstick back in all the way; then ¯ip the handle
down to lock the dipstick in place.
How to Add Fluid
Refer to the Maintenance Schedule to determine what
kind of transmission ¯uid to use. SeePart D:
Recommended Fluids and Lubricants on page 6-18.
Add ¯uid only after checking the transmission ¯uid while
it is hot. (A cold check is used only as a reference.) If
the ¯uid level is low, add only enough of the proper ¯uid
to bring the level up to the HOT area for a hot check.
It doesn't take much ¯uid, generally less than one
pint (0.5 L).
Don't over®ll.
Notice:
We recommend you use only ¯uid labeled
DEXRONž-III, because ¯uid with that label is
made especially for your automatic transmission.
Damage caused by ¯uid other than DEXRON
ž-III is
not covered by your new vehicle warranty.
·After adding ¯uid, recheck the ¯uid level as
described under ªHow to Check².
·When the correct ¯uid level is obtained, push the
dipstick back in all the way; then ¯ip the handle
down to lock the dipstick in place.
5-23
Page 326 of 442

Brakes
Brake Fluid
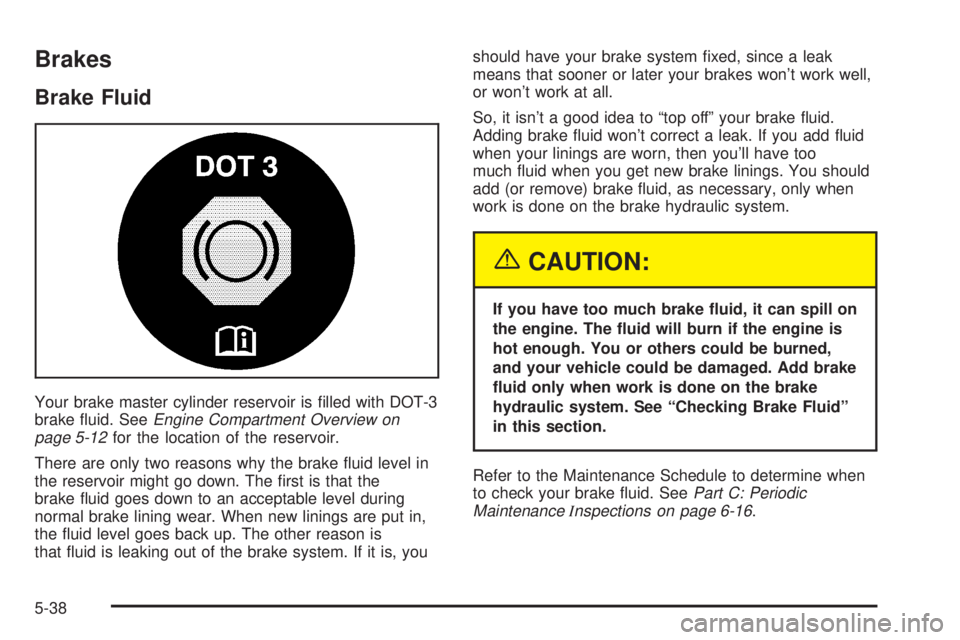
Your brake master cylinder reservoir is ®lled with DOT-3
brake ¯uid. SeeEngine Compartment Overview on
page 5-12for the location of the reservoir.
There are only two reasons why the brake ¯uid level in
the reservoir might go down. The ®rst is that the
brake ¯uid goes down to an acceptable level during
normal brake lining wear. When new linings are put in,
the ¯uid level goes back up. The other reason is
that ¯uid is leaking out of the brake system. If it is, youshould have your brake system ®xed, since a leak
means that sooner or later your brakes won't work well,
or won't work at all.
So, it isn't a good idea to ªtop offº your brake ¯uid.
Adding brake ¯uid won't correct a leak. If you add ¯uid
when your linings are worn, then you'll have too
much ¯uid when you get new brake linings. You should
add (or remove) brake ¯uid, as necessary, only when
work is done on the brake hydraulic system.
{CAUTION:
If you have too much brake ¯uid, it can spill on
the engine. The ¯uid will burn if the engine is
hot enough. You or others could be burned,
and your vehicle could be damaged. Add brake
¯uid only when work is done on the brake
hydraulic system. See ªChecking Brake Fluidº
in this section.
Refer to the Maintenance Schedule to determine when
to check your brake ¯uid. See
Part C: Periodic
MaintenanceInspections on page 6-16.
5-38
Page 336 of 442

Rear Axle
When to Check Lubricant
Refer to the Maintenance Schedule to determine how
often to check the lubricant.
How to Check Lubricant
To get an accurate reading, the vehicle should be on a
level surface.
The proper level is from 0 to 3/8 inch (0 to 10 mm)
below the bottom of the ®ller plug hole.
What to Use
Refer to the Maintenance Schedule to determine what
kind of lubricant to use. SeePart D: Recommended
Fluids and Lubricants on page 6-18.
Four-Wheel Drive
Lubricant checks in this section also apply to these
vehicles. However, there are two additional systems that
need lubrication.
Transfer Case
When to Check Lubricant
Refer to the Maintenance Schedule to determine how
often to check the lubricant. SeePart C: Periodic
MaintenanceInspections on page 6-16.
5-48
Page 337 of 442

How to Check Lubricant
To get an accurate
reading, the vehicle should
be on a level surface.
If the level is below the bottom of the ®ller plug hole,
you'll need to add some lubricant. Add enough lubricant
to raise the level to the bottom of the ®ller plug hole.
Use care not to overtighten the plug.
What to Use
Refer to the Maintenance Schedule to determine what
kind of lubricant to use. SeePart D: Recommended
Fluids and Lubricants on page 6-18.
Front Axle
When to Check and Change Lubricant
Refer to the Maintenance Schedule to determine how
often to check the lubricant and when to change it.
How to Check Lubricant
To get an accurate reading, the vehicle should be on a
level surface.
If the level is below the bottom of the ®ller plug hole,
you may need to add some lubricant.
5-49
Page 338 of 442

When the differential is cold, add enough lubricant
to raise the level to 1/2 inch (12 mm) below the ®ller
plug hole.
When the differential is at operating temperature
(warm), add enough lubricant to raise the level to the
bottom of the ®ller plug hole.
What to Use
Refer to the Maintenance Schedule to determine what
kind of lubricant to use. SeePart D: Recommended
Fluids and Lubricants on page 6-18.
Bulb Replacement
For the type of bulbs, seeReplacement Bulbs on
page 5-52.
For any bulb changing procedure not listed in this
section, contact your dealer.
Halogen Bulbs
{CAUTION:
Halogen bulbs have pressurized gas inside
and can burst if you drop or scratch the bulb.
You or others could be injured. Be sure to read
and follow the instructions on the bulb
package.
Headlamps
1. Open the hood.
2. Lift the inner quick release clips.
3. Pull the headlamp assembly away from the vehicle.
4. Remove the cover from the headlamp bulb.
5. Disconnect the wiring harness.
6. Remove the headlamp bulb by turning the socket
counterclockwise.
7. To install the replacement bulb, reverse Steps 1
through 6.
5-50
Page 344 of 442

The purpose of regular rotation is to achieve more
uniform wear for all tires on the vehicle. The ®rst rotation
is the most important. See ªPart A: Scheduled
Maintenance Services,º in Section 6, for scheduled
rotation intervals.
When rotating your tires, always use the correct rotation
pattern shown here.
After the tires have been rotated, adjust the front and
rear in¯ation pressures as shown on the
Certi®cation/Tire label. Make certain that all wheel nuts
are properly tightened. See ªWheel Nut Torqueº
under
Capacities and Speci®cations on page 5-102.
{CAUTION:
Rust or dirt on a wheel, or on the parts to
which it is fastened, can make wheel nuts
become loose after a time. The wheel could
come off and cause an accident. When you
change a wheel, remove any rust or dirt from
places where the wheel attaches to the vehicle.
In an emergency, you can use a cloth or a
paper towel to do this; but be sure to use a
scraper or wire brush later, if you need to, to
get all the rust or dirt off. See ªChanging a Flat
Tireº in the Index.
5-56