clock setting GMC ENVOY 2006 Get To Know Guide
[x] Cancel search | Manufacturer: GMC, Model Year: 2006, Model line: ENVOY, Model: GMC ENVOY 2006Pages: 20, PDF Size: 0.47 MB
Page 4 of 20

Getting to Know YourEnvoy4
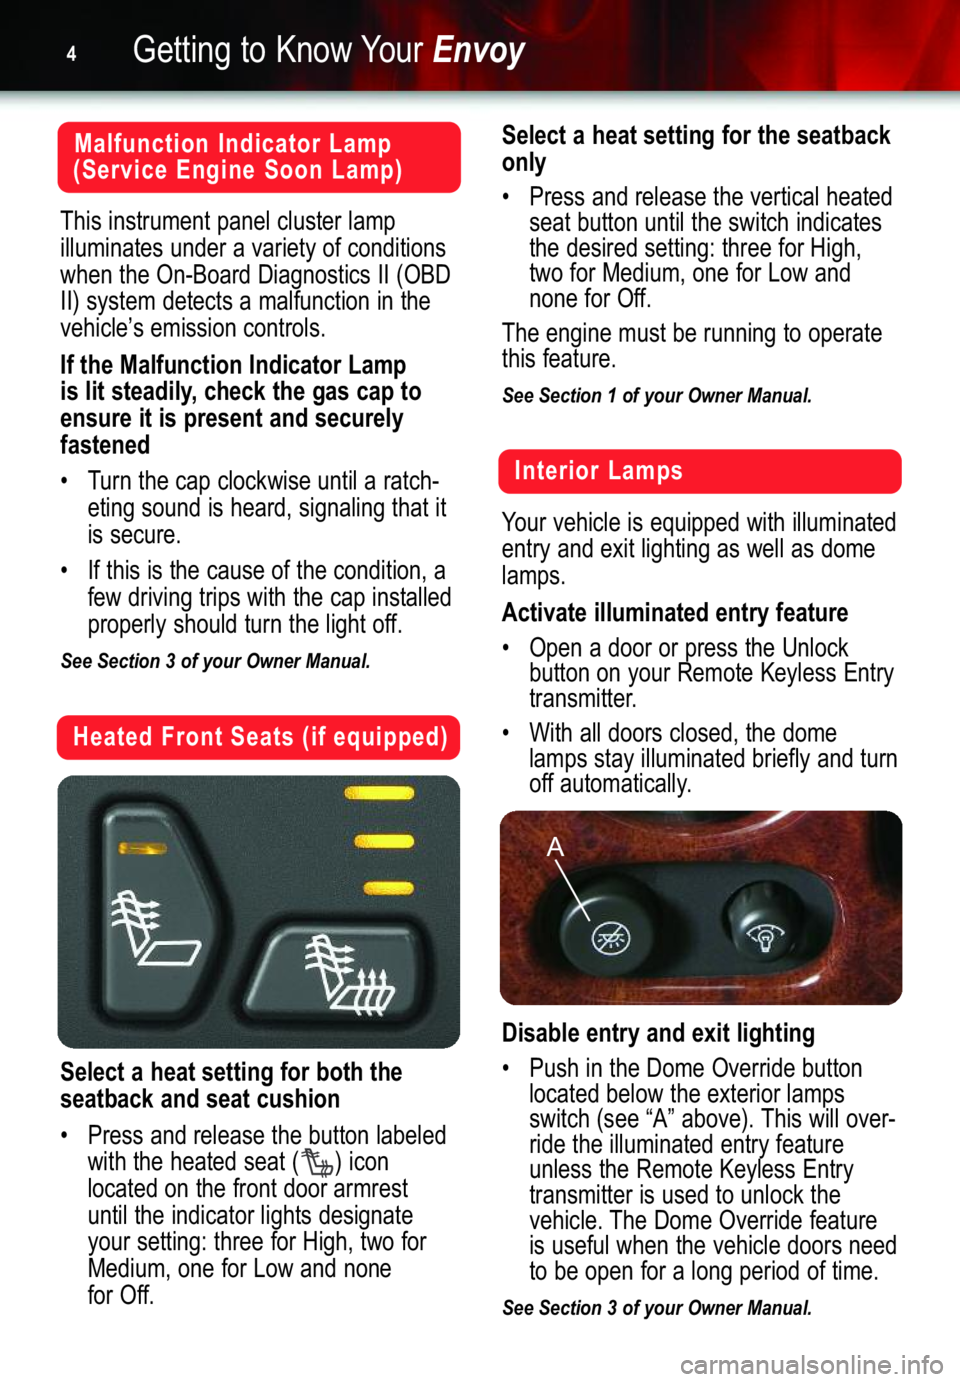
Heated Front Seats (if equipped)
Select a heat setting for both the
seatback and seat cushion
• Press and release the button labeled
with the heated seat ( ) icon
located on the front door armrest
until the indicator lights designate
your setting: three for High, two for
Medium, one for Low and none
for Off.
Select a heat setting for the seatback
only
• Press and release the vertical heated
seat button until the switch indicates
the desired setting: three for High,
two for Medium, one for Low and
none for Off.
The engine must be running to operate
this feature.
See Section 1 of your Owner Manual.
Malfunction Indicator Lamp
(Service Engine Soon Lamp)
This instrument panel cluster lamp
illuminates under a variety of conditions
when the On�Board Diagnostics II (OBD
II) system detects a malfunction in the
vehicle’s emission controls.
If the Malfunction Indicator Lamp
is lit steadily, check the gas cap to
ensure it is present and securely
fastened
• Turn the cap clockwise until a ratch�
eting sound is heard, signaling that it
is secure.
• If this is the cause of the condition, a
few driving trips with the cap installed
properly should turn the light off.
See Section 3 of your Owner Manual.
Interior Lamps
Your vehicle is equipped with illuminated
entry and exit lighting as well as dome
lamps.
Activate illuminated entry feature
• Open a door or press the Unlock
button on your Remote Keyless Entry
transmitter.
• With all doors closed, the dome
lamps stay illuminated briefly and turn
off automatically.
Disable entry and exit lighting
• Push in the Dome Override button
located below the exterior lamps
switch (see “A” above). This will over�
ride the illuminated entry feature
unless the Remote Keyless Entry
transmitter is used to unlock the
vehicle. The Dome Override feature
is useful when the vehicle doors need
to be open for a long period of time.
See Section 3 of your Owner Manual.
A
Page 11 of 20

11
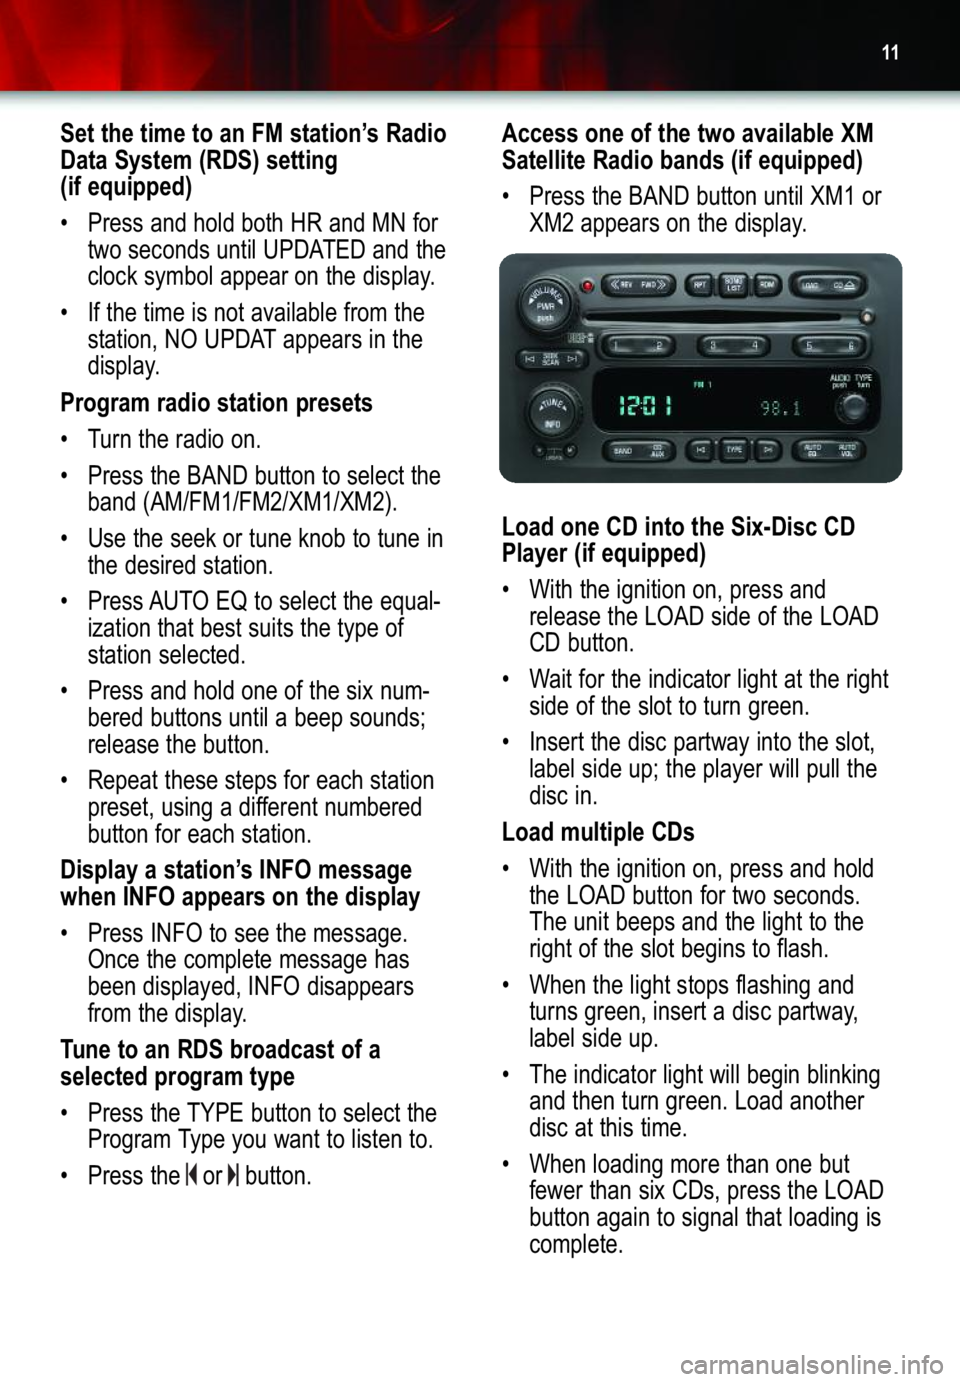
Set the time to an FM station’s Radio
Data System (RDS) setting
(if equipped)
• Press and hold both HR and MN for
two seconds until UPDATED and the
clock symbol appear on the display.
• If the time is not available from the
station, NO UPDAT appears in the
display.
Program radio station presets
• Turn the radio on.
• Press the BAND button to select the
band (AM/FM1/FM2/XM1/XM2).
• Use the seek or tune knob to tune in
the desired station.
• Press AUTO EQ to select the equal�
ization that best suits the type of
station selected.
•Press and hold one of the six num�
bered buttons until a beep sounds;
release the button.
•Repeat these steps for each station
preset, using a different numbered
button for each station.
Display a station’s INFO message
when INFO appears on the display
•Press INFO to see the message.
Once the complete message has
been displayed, INFO disappears
from the display.
Tune to an RDS broadcast of a
selected program type
• Press the TYPE button to select the
Program Type you want to listen to.
• Press the or button.
Access one of the two available XM
Satellite Radio bands (if equipped)
• Press the BAND button until XM1 or
XM2 appears on the display.
Load one CD into the Six�Disc CD
Player (if equipped)
• With the ignition on, press and
release the LOAD side of the LOAD
CD button.
• Wait for the indicator light at the right
side of the slot to turn green.
•Insert the disc partway into the slot,
label side up; the player will pull the
disc in.
Load multiple CDs
• With the ignition on, press and hold
the LOAD button for two seconds.
The unit beeps and the light to the
right of the slot begins to flash.
• When the light stops flashing and
turns green, insert a disc partway,
label side up.
• The indicator light will begin blinking
and then turn green. Load another
disc at this time.
• When loading more than one but
fewer than six CDs, press the LOAD
button again to signal that loading is
complete.