charging GMC ENVOY 2008 Owner's Manual
[x] Cancel search | Manufacturer: GMC, Model Year: 2008, Model line: ENVOY, Model: GMC ENVOY 2008Pages: 468, PDF Size: 2.64 MB
Page 110 of 468
Shifting Out of PARK (P)
This vehicle has an electronic shift lock release system.
The shift lock release is designed to:
Prevent ignition key removal unless the shift lever
is in PARK (P) with the shift lever button fully
released, and
Prevent movement of the shift lever out of
PARK (P), unless the ignition is in ON/RUN
and the regular brake pedal is applied.
The shift lock release is always functional except in the
case of an uncharged or low voltage (less than 9 volt)
battery.If your vehicle has an uncharged battery or a battery
with low voltage, try charging or jump starting the
battery. SeeJump Starting on page 5-42for more
information.
To shift out of PARK (P) use the following:
1. Apply the brake pedal.
2. Press the shift lever button.
3. Move the shift lever to the desired position.
If you still are unable to shift out of PARK (P):
1. Fully release the shift lever button.
2. Hold the brake pedal down and press the shift lever
button again.
3. Move the shift lever to the desired position.
If you still cannot move the shift lever from PARK (P),
consult your dealer/retailer or a professional towing
service.
2-36
Page 135 of 468
Instrument Panel Overview...............................3-4
Hazard Warning Flashers................................3-6
Other Warning Devices...................................3-6
Horn.............................................................3-6
Tilt Wheel.....................................................3-6
Turn Signal/Multifunction Lever.........................3-7
Turn and Lane-Change Signals........................3-7
Headlamp High/Low-Beam Changer..................3-8
Flash-to-Pass.................................................3-8
Windshield Wipers..........................................3-9
Windshield Washer.........................................3-9
Rear Window Wiper/Washer...........................3-10
Headlamp Washer........................................3-11
Cruise Control..............................................3-11
Headlamps..................................................3-14
Headlamps on Reminder................................3-15
Daytime Running Lamps (DRL).......................3-15
Automatic Headlamp System..........................3-15
Fog Lamps..................................................3-16
Instrument Panel Brightness...........................3-17
Dome Lamps...............................................3-17
Dome Lamp Override....................................3-17
Entry Lighting...............................................3-18
Exit Lighting.................................................3-18
Reading Lamps............................................3-18
Electric Power Management...........................3-18
Battery Run-Down Protection..........................3-19Accessory Power Outlet(s).............................3-20
Ashtray(s) and Cigarette Lighter......................3-20
Climate Controls............................................3-21
Dual Climate Control System..........................3-21
Dual Automatic Climate Control System...........3-23
Outlet Adjustment.........................................3-28
Rear Climate Control System.........................3-28
Warning Lights, Gages, and Indicators............3-30
Instrument Panel Cluster................................3-31
Speedometer and Odometer...........................3-32
Trip Odometer..............................................3-32
Tachometer.................................................3-32
Safety Belt Reminders...................................3-32
Airbag Readiness Light..................................3-33
Passenger Airbag Status Indicator...................3-34
Charging System Light..................................3-36
Voltmeter Gage............................................3-37
Brake System Warning Light..........................3-38
Antilock Brake System Warning Light...............3-39
StabiliTrak
®Service Light...............................3-39
StabiliTrak®Indicator Light..............................3-40
Engine Coolant Temperature Gage..................3-40
Tire Pressure Light.......................................3-41
Malfunction Indicator Lamp.............................3-41
Oil Pressure Gage........................................3-44
Change Engine Oil Light................................3-45
Section 3 Instrument Panel
3-1
Page 152 of 468
Entry Lighting
The vehicle has entry lighting.
When any door is opened, the dome lamps come on as
long as the dome override lamp override button is not
pressed in. When all the doors are closed, the lamps
stay on for a short period of time and then turn off
automatically. If you use the Remote Keyless Entry (RKE)
transmitter to unlock the vehicle, the interior lamps come
on for a short time whether or not the dome lamp override
is on.
Exit Lighting
With exit lighting, the interior lamps come on when you
remove the key from the ignition. If the dome override
is off, these lamps stay on for a short period of time
and then go out.
Reading Lamps
The reading lamps are located in the front console.
Press the lens on the lamps to turn the reading lamps
on or off.
Electric Power Management
The vehicle has Electric Power Management (EPM)
that estimates the battery’s temperature and state
of charge. It then adjusts the voltage for best
performance and extended life of the battery.
When the battery’s state of charge is low, the voltage is
raised slightly to quickly put the charge back in. When
the state of charge is high, the voltage is lowered slightly
to prevent overcharging. If the vehicle has a voltmeter
gage or a voltage display on the Driver Information
Center (DIC), you may see the voltage move up
or down. This is normal. If there is a problem, an
alert will be displayed.
The battery can be discharged at idle if the electrical
loads are very high. This is true for all vehicles. This is
because the generator (alternator) may not be spinning
fast enough at idle to produce all the power that is
needed for very high electrical loads.
A high electrical load occurs when several of the
following loads are on: headlamps, high beams, fog
lamps, rear window defogger, climate control fan at
high speed, heated seats, engine cooling fans, trailer
loads, and loads plugged into accessory power outlets.
3-18
Page 153 of 468
EPM works to prevent excessive discharge of the
battery. It does this by balancing the generator’s output
and the vehicle’s electrical needs. It can increase
engine idle speed to generate more power, whenever
needed. It can temporarily reduce the power demands
of some accessories.
Normally, these actions occur in steps or levels, without
being noticeable. In rare cases at the highest levels of
corrective action, this action may be noticeable to the
driver. If so, a Driver Information Center (DIC) message
might be displayed, such as Battery Saver Active or
Service Battery Charging System. If this message is
displayed, it is recommended that the driver reduce the
electrical loads as much as possible. SeeDIC Warnings
and Messages on page 3-53.Battery Run-Down Protection
This feature shuts off the dome, courtesy, and vanity
lamps if they are left on for more than 20 minutes
when the ignition is off. This will keep the battery
from running down.
If the battery run-down protection shuts off the interior
lamps, it may be necessary to do one of the following to
return to normal operation:
Shut off all lamps and close all doors.
Turn the ignition key to RUN.
This feature will also turn off the parking lamps and
headlamps under most circumstances, if they are left on.
If you would like to turn them back on, turn the exterior
lamps knob.
3-19
Page 170 of 468
If, after several seconds, both status indicator lights
remain on, or if there are no lights at all, there may
be a problem with the lights or the passenger sensing
system. See your dealer/retailer for service.
{CAUTION:
If the airbag readiness light in the instrument
panel cluster ever comes on and stays on,
it means that something may be wrong with
the airbag system. If this ever happens, have
the vehicle serviced promptly, because an
adult-size person sitting in the right front
passenger’s seat may not have the protection
of the airbag(s). SeeAirbag Readiness Light
on page 3-33for more on this, including
important safety information.
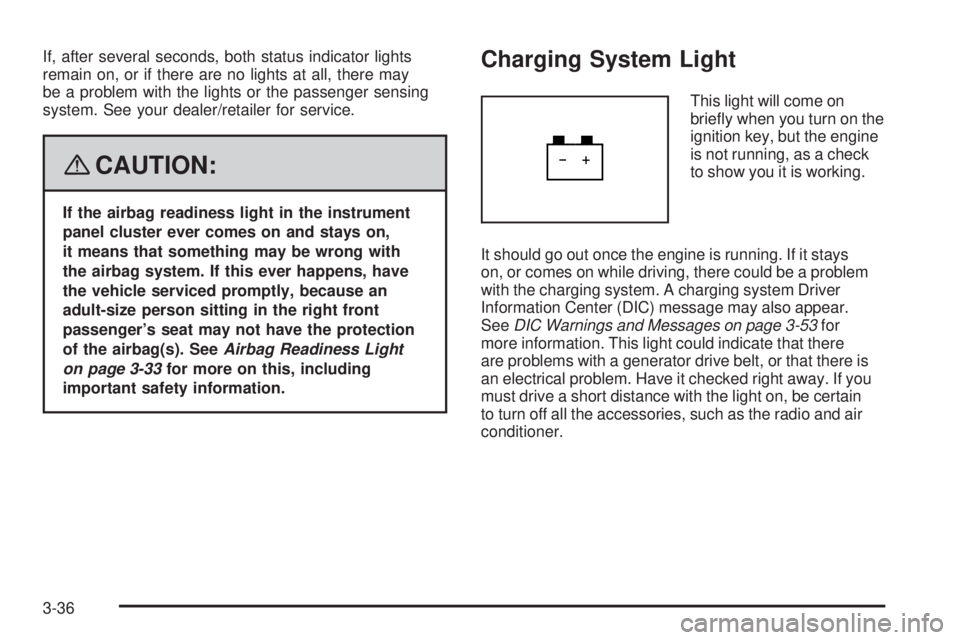
Charging System Light
This light will come on
brie�y when you turn on the
ignition key, but the engine
is not running, as a check
to show you it is working.
It should go out once the engine is running. If it stays
on, or comes on while driving, there could be a problem
with the charging system. A charging system Driver
Information Center (DIC) message may also appear.
SeeDIC Warnings and Messages on page 3-53for
more information. This light could indicate that there
are problems with a generator drive belt, or that there is
an electrical problem. Have it checked right away. If you
must drive a short distance with the light on, be certain
to turn off all the accessories, such as the radio and air
conditioner.
3-36
Page 171 of 468
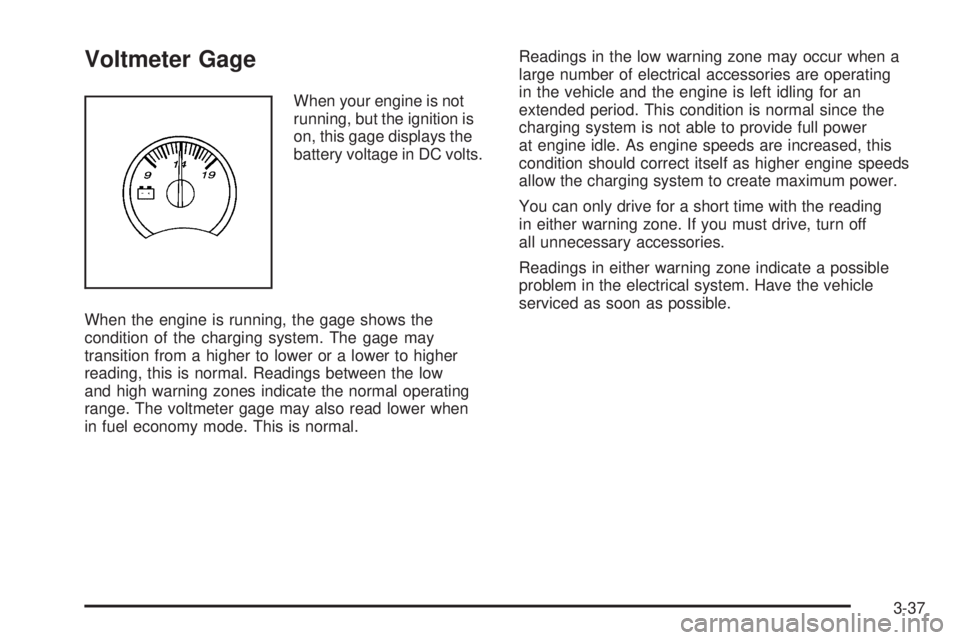
Voltmeter Gage
When your engine is not
running, but the ignition is
on, this gage displays the
battery voltage in DC volts.
When the engine is running, the gage shows the
condition of the charging system. The gage may
transition from a higher to lower or a lower to higher
reading, this is normal. Readings between the low
and high warning zones indicate the normal operating
range. The voltmeter gage may also read lower when
in fuel economy mode. This is normal.Readings in the low warning zone may occur when a
large number of electrical accessories are operating
in the vehicle and the engine is left idling for an
extended period. This condition is normal since the
charging system is not able to provide full power
at engine idle. As engine speeds are increased, this
condition should correct itself as higher engine speeds
allow the charging system to create maximum power.
You can only drive for a short time with the reading
in either warning zone. If you must drive, turn off
all unnecessary accessories.
Readings in either warning zone indicate a possible
problem in the electrical system. Have the vehicle
serviced as soon as possible.
3-37
Page 190 of 468
REAR ACCESS OPEN
This message displays and a chime sounds if the
liftgate or liftglass is open while the ignition is in
ON/RUN. Turn off the vehicle and check the liftgate
and liftglass. SeeLiftgate/Liftglass on page 2-12.
Restart the vehicle and check for the message on
the DIC display.
RIGHT REAR DOOR AJAR
This message displays and a chime sounds if the
passenger side rear door is not fully closed. Stop and
turn off the vehicle, check the door for obstructions,
and close the door again. Check to see if the message
still appears on the DIC.
SERVICE AIR BAG
This message displays if there is a problem with
the airbag system. Have your dealer/retailer inspect
the system for problems. SeeAirbag Readiness Light
on page 3-33andAirbag System on page 1-53for
more information.
SERVICE BRAKE SYSTEM
This message displays if a problem occurs with the
brake system. If this message appears, stop as soon as
possible and turn off the vehicle. Restart the vehicleand check for the message on the DIC display. If the
message is still displayed, or appears again when
you begin driving, the brake system needs service.
See your dealer/retailer.
SERVICE CHARGING SYS (System)
This message displays if there is a problem with the
battery charging system. Under certain conditions, the
charging system light may also turn on in the instrument
panel cluster. SeeCharging System Light on page 3-36.
The battery will not be charging at an optimal rate and
the vehicle will lose the ability to enter the fuel economy
mode. The vehicle is safe to drive, however you should
have the electrical system checked by your
dealer/retailer.
SERVICE STABILITRAK
If this message displays, it means there may be a
problem with the StabiliTrak®system. If this message
appears, try to reset the system by performing the
following: stop; turn off the engine; then start the engine
again. If this message still comes on, it means there is a
problem. You should see your dealer/retailer for service.
The vehicle is safe to drive, however, you do not have the
bene�t of StabiliTrak
®, so reduce your speed and drive
accordingly.
3-56
Page 294 of 468

Trailer Wiring Harness
Your vehicle may be equipped with the seven-wire
trailer towing harness. This harness has a seven-pin
universal heavy-duty trailer connector (if equipped with
the trailering package) that is attached to a bracket
on the hitch platform. If your vehicle is not equipped with
the heavy-duty trailer connector, you may purchase
one from your dealer.The seven-wire harness contains the following trailer
circuits:
Yellow: Left Stop/Turn Signal
Dark Green: Right Stop/Turn Signal
Brown: Running Lamps
White: Ground
Light Green: Back-up Lamps
Red: Battery Feed
Dark Blue: Electric Brakes
If you need to tow a light-duty trailer with a standard
four-way round pin connector, an adapter connector is
available from your dealer.
If you are charging a remote (non-vehicle) battery, turn
on the headlamps to boost the vehicle system voltage
and properly charge the battery.
Your vehicle may also be equipped with wiring for an
electric trailer brake controller. These wires are located
inside the vehicle on the driver’s side under the
instrument panel. These wires should be connected to
an electric trailer brake controller by your dealer or
a quali�ed service center.
4-56
Page 456 of 468
Audio System.................................................3-65
Audio Steering Wheel Controls....................3-101
Chime Level Adjustment.............................3-103
Fixed Mast Antenna...................................3-103
Navigation/Radio System,
see Navigation Manual..............................3-87
Radio Reception........................................3-102
Rear Seat Audio (RSA)...............................3-100
Setting the Clock.........................................3-66
Theft-Deterrent Feature...............................3-101
XM™ Satellite Radio Antenna System...........3-103
Audio System(s).............................................3-66
Automatic Headlamp System............................3-15
Automatic Transmission
Fluid..........................................................5-23
Operation...................................................2-26
B
Battery..........................................................5-41
Electric Power Management..........................3-18
Run-Down Protection...................................3-19
Brake
Emergencies................................................ 4-5
Brakes..........................................................5-38
System Warning Light..................................3-38
Braking........................................................... 4-3
Braking in Emergencies..................................... 4-5
Break-In, New Vehicle.....................................2-20Bulb Replacement...........................................5-49
Back-Up Lamps...........................................5-53
Front Turn Signal, Sidemarker and
Parking Lamps.........................................5-51
Halogen Bulbs............................................5-49
Headlamp Aiming........................................5-49
Headlamps.................................................5-50
License Plate Lamps....................................5-53
Replacement Bulbs......................................5-54
Taillamps, Turn Signal, and Stoplamps............5-51
Buying New Tires...........................................5-74
C
Calibration.....................................2-39, 2-41, 2-44
California Fuel.................................................. 5-6
California Perchlorate Materials Requirements....... 5-4
California Proposition 65 Warning....................... 5-4
Canadian Owners................................................ ii
Capacities and Speci�cations..........................5-120
Carbon Monoxide...................2-12, 2-37, 4-30, 4-45
Care of
Safety Belts..............................................5-103
Cargo Cover..................................................2-59
Cargo Tie Downs............................................2-60
CD, MP3 .......................................................3-82
Center Console Storage Area...........................2-57
Chains, Tire...................................................5-80
Charging System Light....................................3-36
2
Page 461 of 468
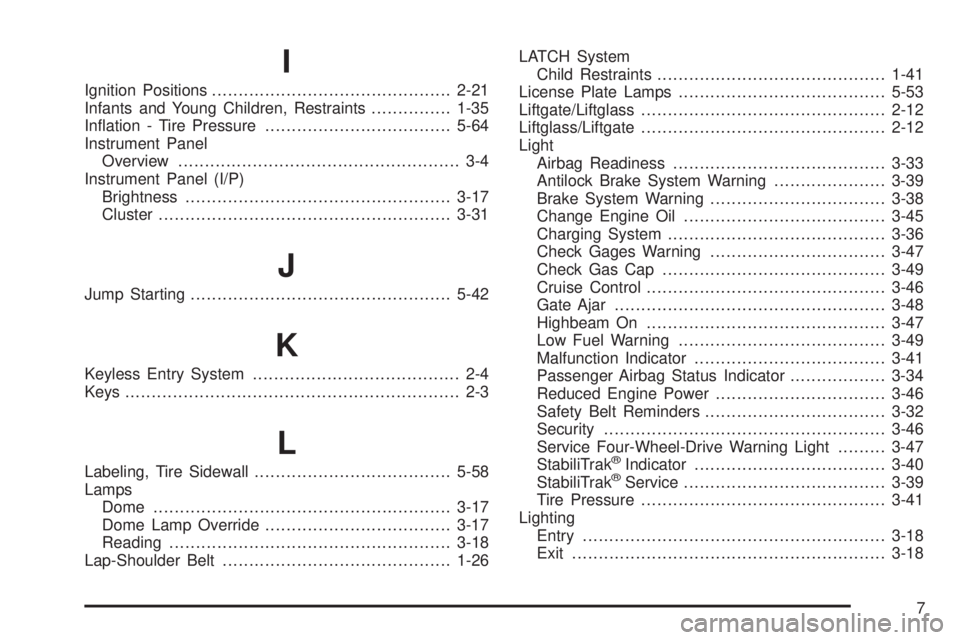
I
Ignition Positions.............................................2-21
Infants and Young Children, Restraints...............1-35
In�ation - Tire Pressure...................................5-64
Instrument Panel
Overview..................................................... 3-4
Instrument Panel (I/P)
Brightness..................................................3-17
Cluster.......................................................3-31
J
Jump Starting.................................................5-42
K
Keyless Entry System....................................... 2-4
Keys............................................................... 2-3
L
Labeling, Tire Sidewall.....................................5-58
Lamps
Dome........................................................3-17
Dome Lamp Override...................................3-17
Reading.....................................................3-18
Lap-Shoulder Belt...........................................1-26LATCH System
Child Restraints...........................................1-41
License Plate Lamps.......................................5-53
Liftgate/Liftglass..............................................2-12
Liftglass/Liftgate..............................................2-12
Light
Airbag Readiness........................................3-33
Antilock Brake System Warning.....................3-39
Brake System Warning.................................3-38
Change Engine Oil......................................3-45
Charging System.........................................3-36
Check Gages Warning.................................3-47
Check Gas Cap..........................................3-49
Cruise Control.............................................3-46
Gate Ajar...................................................3-48
Highbeam On.............................................3-47
Low Fuel Warning.......................................3-49
Malfunction Indicator....................................3-41
Passenger Airbag Status Indicator..................3-34
Reduced Engine Power................................3-46
Safety Belt Reminders..................................3-32
Security.....................................................3-46
Service Four-Wheel-Drive Warning Light.........3-47
StabiliTrak®Indicator....................................3-40
StabiliTrak®Service......................................3-39
Tire Pressure..............................................3-41
Lighting
Entry.........................................................3-18
Exit...........................................................3-18
7