four GMC ENVOY DENALI 2005 Owner's Guide
[x] Cancel search | Manufacturer: GMC, Model Year: 2005, Model line: ENVOY DENALI, Model: GMC ENVOY DENALI 2005Pages: 502, PDF Size: 2.66 MB
Page 225 of 502
6 RDM (Random):To random the tracks in the current
folder or playlist, press and release this pushbutton.
FLDR RDM will appear on the display. Once all of the
tracks in the current folder or playlist have been
played the system will move on to the next folder or
playlist and play all of the tracks in random order.
To random all the tracks on the CD, press and hold this
pushbutton for two seconds. You will hear a beep
and DISC RDM will appear on the display. This feature
will not work with playlists.
When in random, pressing and releasing either SEEK
arrow will take you to the next or previous random track.
Press and release this pushbutton again to turn off
random play. NO RDM will appear on the display.
oSEEKp:Press the left arrow to go to the start of
the previous track. Press the right arrow to go to the
start of the next track. Pressing either arrow for
more than two seconds will search the previous or next
tracks at two tracks per second. Release the button
to stop searching and to play the track.
oTUNEp:Turning the TUNE knob will fast track
reverse or advance through the tracks in all folders
or playlists. The track number and le name will appear
on the display for each track. Turning this knob while
in random will fast track reverse or advance the tracks in
sequential order.
DISPL (Display):Press this knob to switch between
track mode, folder/playlist mode, and time of day mode.
The display will show only eight characters, but there
can be up to four pages of text. If there are more
than eight characters in the song, folder, or playlist
name, pressing this knob within two seconds will take
you to the next page of text. If there are no other pages
to be shown, pressing this knob within two seconds
will take you to the next display mode.
Track mode will display the current track number
and the ID3 tag song name.
Folder/playlist mode will display the current folder or
playlist number and the folder/playlist name.
Time of day mode will display the time of day and
the ID3 tag song name.
To change the default on the display, press the DISPL
knob until you see the display you want, then hold
this knob for two seconds. The radio will produce one
beep and the selected display will now be the default.
3-91
Page 228 of 502
XM™ Satellite Radio Service
XM™ is a satellite radio service that is based in the
48 contiguous United States. XM™ offers
100 coast-to-coast channels including music, news,
sports, talk, and children’s programming. XM™ provides
digital quality audio and text information that includes
song title and artist name. A service fee is required
in order to receive the XM™ service. For more
information, contact XM™ at www.xmradio.com or call
1-800-852-XMXM (9696).
Playing the Radio
PWR (Power):Press this knob to turn the system on
and off.
oVOLp(Volume):Turn this knob to increase
or to decrease the volume.
INFO (Information):Press this knob to switch the
display between the radio station frequency and
the time. When the ignition is off, press this knob to
display the time.
For RDS, press the INFO knob to change what appears
on the display while using RDS. The display options
are station name, RDS station frequency, PTY, and the
name of the program (if available).For XM™ (if equipped), press the INFO knob while in
XM™ mode to retrieve four different categories of
information related to the current song or channel:
Artist, Song Title, Category or PTY, Channel Number/
Channel Name.
To change the default on the display, press the INFO
knob until you see the display you want, then hold the
knob until the display ashes. The selected display will
now be the default.
AUTO VOL (Automatic Volume):With automatic
volume, the audio system will adjust automatically to
make up for road and wind noise as you drive by
increasing the volume as vehicle speed increases.
Set the volume at the desired level. Press this button to
select LOW, MEDIUM, or HIGH. AVOL will appear
on the display. Each higher setting will provide more
volume compensation at faster vehicle speeds. To turn
automatic volume off, press this button until AVOL
OFF appears on the display.
3-94
Page 229 of 502
Finding a Station
BAND:Press this button to switch between FM1, FM2,
AM, or XM1 or XM2 (if equipped). The display will
show the selection.
oTUNEp:Turn this knob to select radio stations.
©SEEK¨:Press either the SEEK or the TYPE
arrows to go to the next or to the previous station and
stay there.
The radio will only seek stations with a strong signal
that are in the selected band.
©SCAN¨:Press and hold either the SCAN or the
TYPE arrows for two seconds until SCAN appears
on the display and you hear a beep. The radio will go to
a station, play for a few seconds, then go on to the
next station. Press either the SCAN or the TYPE arrows
again to stop scanning.To scan preset stations, press and hold either the
SCAN or the TYPE arrows for more than four seconds.
PSCN will appear on the display and you will hear a
double beep. The radio will go to a preset station, play
for a few seconds, then go on to the next preset
station. Press either the SCAN or the TYPE arrows
again to stop scanning presets.
The radio will only scan stations with a strong signal
that are in the selected band.
Setting Preset Stations
Up to 30 stations (six FM1, six FM2, and six AM,
six XM1 and six XM2 (if equipped)), can be programed
on the six numbered pushbuttons, by performing the
following steps:
1. Turn the radio on.
2. Press BAND to select FM1, FM2, AM, or XM1
or XM2.
3. Tune in the desired station.
3-95
Page 242 of 502
XM™ Satellite Radio Service
XM™ is a satellite radio service that is based in
the 48 contiguous United States. XM™ offers
100 coast-to-coast channels including music, news,
sports, talk, and children’s programming. XM™ provides
digital quality audio and text information that includes
song title and artist name. A service fee is required
in order to receive the XM™ service. For more
information, contact XM™ at www.xmradio.com or call
1-800-852-XMXM (9696).
Playing the Radio
PWR (Power):Push this knob to turn the system on
and off.
oVOLUMEp:Turn this knob to increase or to
decrease the volume.
INFO (Information):Press this knob to switch the
display between the radio station frequency and
the time. When the ignition is off, press this knob to
display the time.
For RDS, press the INFO knob to change what appears
on the display while using RDS. The display options
are station name, RDS station frequency, PTY, and the
name of the program (if available).For XM™ (if equipped), press the INFO knob while in
XM™ mode to retrieve four different categories of
information related to the current song or channel:
Artist, Song Title, Category or PTY, Channel
Number/Channel Name.
To change the default on the display, press the INFO
knob until you see the display you want, then hold
the knob until you hear a beep. The selected display will
now be the default.
AUTO VOL (Automatic Volume):With automatic
volume, the audio system will adjust automatically to
make up for road and wind noise as you drive by
increasing the volume as vehicle speed increases.
Set the volume at the desired level. Press this button to
select MIN, MED, or MAX. AUTO VOL will appear on
the display. Each higher setting will provide more
volume compensation at faster vehicle speeds. To turn
automatic volume off, press this button until AUTO
VOL OFF appears on the display.
3-108
Page 243 of 502
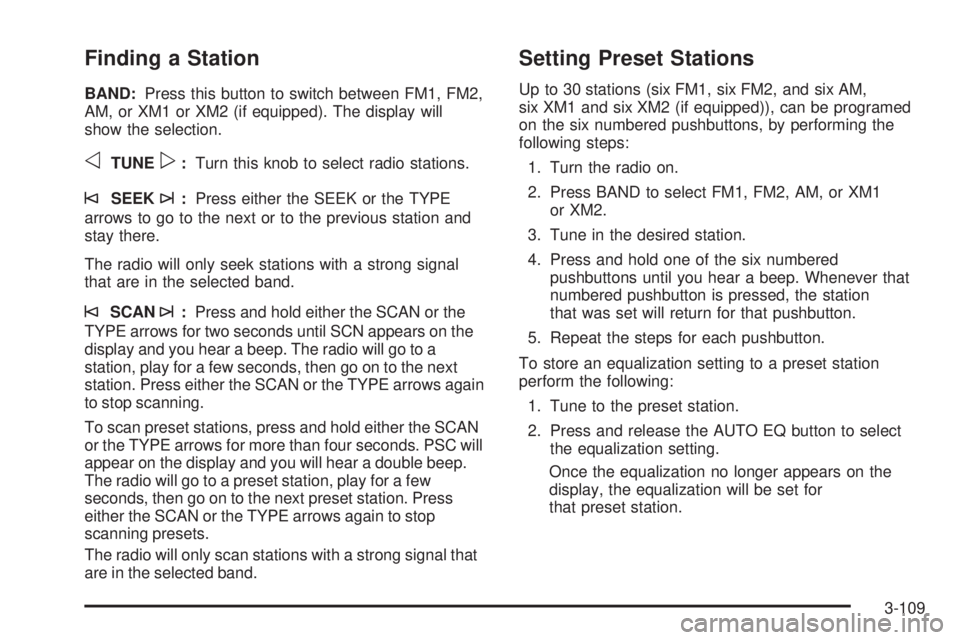
Finding a Station
BAND:Press this button to switch between FM1, FM2,
AM, or XM1 or XM2 (if equipped). The display will
show the selection.
oTUNEp:Turn this knob to select radio stations.
©SEEK¨:Press either the SEEK or the TYPE
arrows to go to the next or to the previous station and
stay there.
The radio will only seek stations with a strong signal
that are in the selected band.
©SCAN¨:Press and hold either the SCAN or the
TYPE arrows for two seconds until SCN appears on the
display and you hear a beep. The radio will go to a
station, play for a few seconds, then go on to the next
station. Press either the SCAN or the TYPE arrows again
to stop scanning.
To scan preset stations, press and hold either the SCAN
or the TYPE arrows for more than four seconds. PSC will
appear on the display and you will hear a double beep.
The radio will go to a preset station, play for a few
seconds, then go on to the next preset station. Press
either the SCAN or the TYPE arrows again to stop
scanning presets.
The radio will only scan stations with a strong signal that
are in the selected band.
Setting Preset Stations
Up to 30 stations (six FM1, six FM2, and six AM,
six XM1 and six XM2 (if equipped)), can be programed
on the six numbered pushbuttons, by performing the
following steps:
1. Turn the radio on.
2. Press BAND to select FM1, FM2, AM, or XM1
or XM2.
3. Tune in the desired station.
4. Press and hold one of the six numbered
pushbuttons until you hear a beep. Whenever that
numbered pushbutton is pressed, the station
that was set will return for that pushbutton.
5. Repeat the steps for each pushbutton.
To store an equalization setting to a preset station
perform the following:
1. Tune to the preset station.
2. Press and release the AUTO EQ button to select
the equalization setting.
Once the equalization no longer appears on the
display, the equalization will be set for
that preset station.
3-109
Page 252 of 502
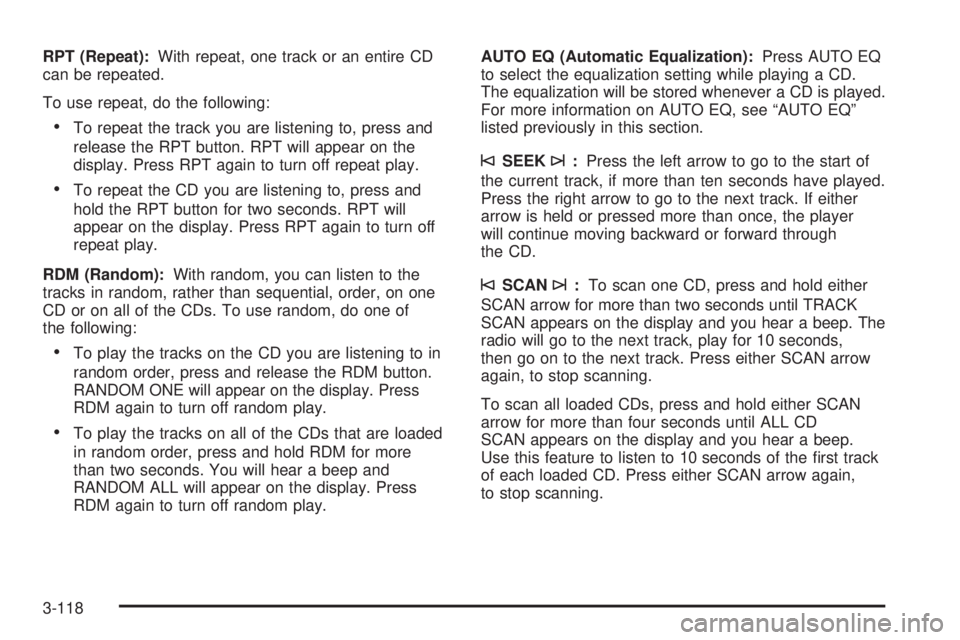
RPT (Repeat):With repeat, one track or an entire CD
can be repeated.
To use repeat, do the following:
To repeat the track you are listening to, press and
release the RPT button. RPT will appear on the
display. Press RPT again to turn off repeat play.
To repeat the CD you are listening to, press and
hold the RPT button for two seconds. RPT will
appear on the display. Press RPT again to turn off
repeat play.
RDM (Random):With random, you can listen to the
tracks in random, rather than sequential, order, on one
CD or on all of the CDs. To use random, do one of
the following:
To play the tracks on the CD you are listening to in
random order, press and release the RDM button.
RANDOM ONE will appear on the display. Press
RDM again to turn off random play.
To play the tracks on all of the CDs that are loaded
in random order, press and hold RDM for more
than two seconds. You will hear a beep and
RANDOM ALL will appear on the display. Press
RDM again to turn off random play.AUTO EQ (Automatic Equalization):Press AUTO EQ
to select the equalization setting while playing a CD.
The equalization will be stored whenever a CD is played.
For more information on AUTO EQ, see “AUTO EQ”
listed previously in this section.
©SEEK¨:Press the left arrow to go to the start of
the current track, if more than ten seconds have played.
Press the right arrow to go to the next track. If either
arrow is held or pressed more than once, the player
will continue moving backward or forward through
the CD.
©SCAN¨:To scan one CD, press and hold either
SCAN arrow for more than two seconds until TRACK
SCAN appears on the display and you hear a beep. The
radio will go to the next track, play for 10 seconds,
then go on to the next track. Press either SCAN arrow
again, to stop scanning.
To scan all loaded CDs, press and hold either SCAN
arrow for more than four seconds until ALL CD
SCAN appears on the display and you hear a beep.
Use this feature to listen to 10 seconds of the rst track
of each loaded CD. Press either SCAN arrow again,
to stop scanning.
3-118
Page 254 of 502
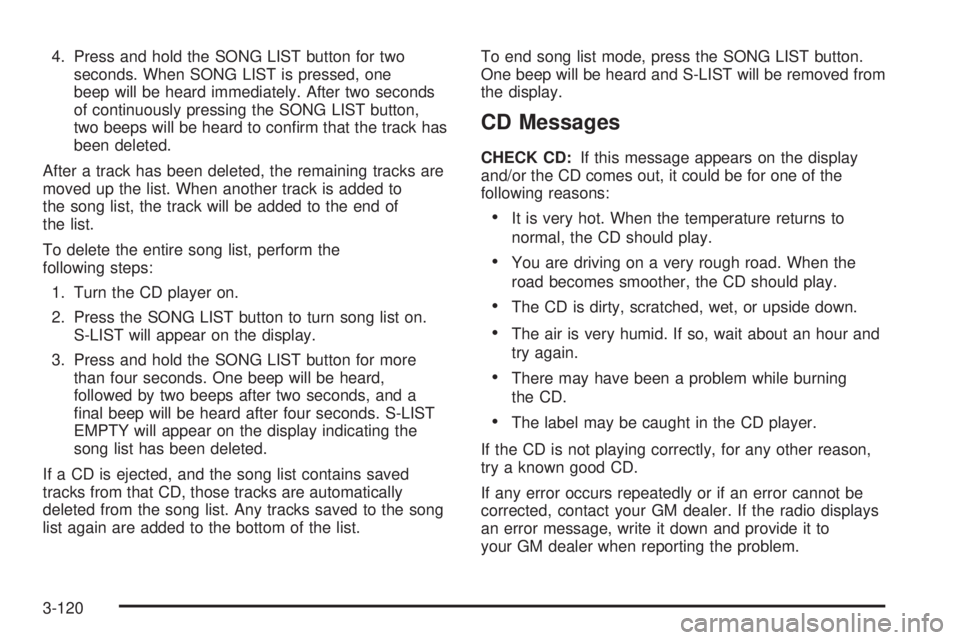
4. Press and hold the SONG LIST button for two
seconds. When SONG LIST is pressed, one
beep will be heard immediately. After two seconds
of continuously pressing the SONG LIST button,
two beeps will be heard to conrm that the track has
been deleted.
After a track has been deleted, the remaining tracks are
moved up the list. When another track is added to
the song list, the track will be added to the end of
the list.
To delete the entire song list, perform the
following steps:
1. Turn the CD player on.
2. Press the SONG LIST button to turn song list on.
S-LIST will appear on the display.
3. Press and hold the SONG LIST button for more
than four seconds. One beep will be heard,
followed by two beeps after two seconds, and a
nal beep will be heard after four seconds. S-LIST
EMPTY will appear on the display indicating the
song list has been deleted.
If a CD is ejected, and the song list contains saved
tracks from that CD, those tracks are automatically
deleted from the song list. Any tracks saved to the song
list again are added to the bottom of the list.To end song list mode, press the SONG LIST button.
One beep will be heard and S-LIST will be removed from
the display.
CD Messages
CHECK CD:If this message appears on the display
and/or the CD comes out, it could be for one of the
following reasons:
It is very hot. When the temperature returns to
normal, the CD should play.
You are driving on a very rough road. When the
road becomes smoother, the CD should play.
The CD is dirty, scratched, wet, or upside down.
The air is very humid. If so, wait about an hour and
try again.
There may have been a problem while burning
the CD.
The label may be caught in the CD player.
If the CD is not playing correctly, for any other reason,
try a known good CD.
If any error occurs repeatedly or if an error cannot be
corrected, contact your GM dealer. If the radio displays
an error message, write it down and provide it to
your GM dealer when reporting the problem.
3-120
Page 256 of 502
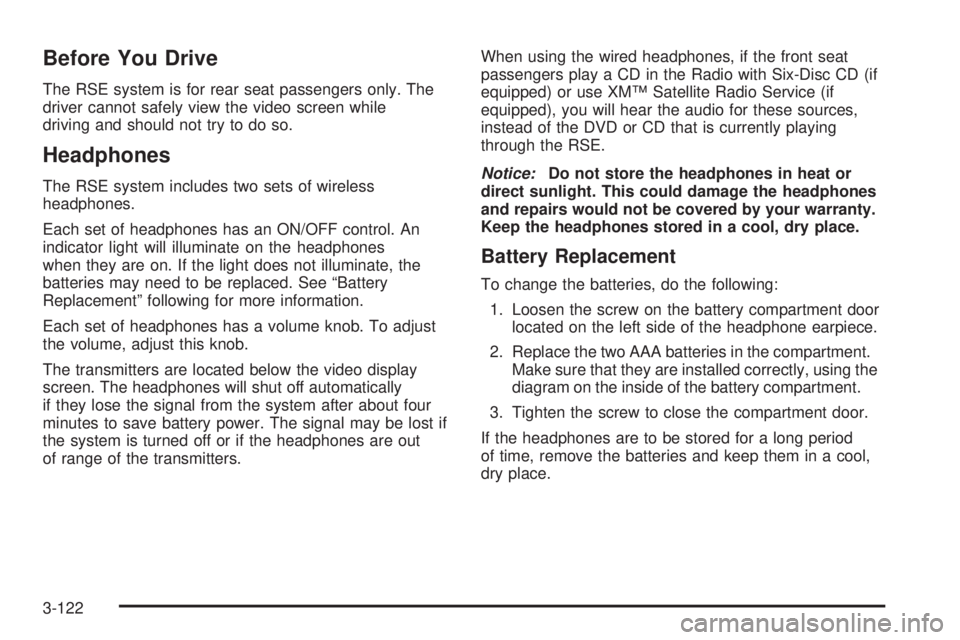
Before You Drive
The RSE system is for rear seat passengers only. The
driver cannot safely view the video screen while
driving and should not try to do so.
Headphones
The RSE system includes two sets of wireless
headphones.
Each set of headphones has an ON/OFF control. An
indicator light will illuminate on the headphones
when they are on. If the light does not illuminate, the
batteries may need to be replaced. See “Battery
Replacement” following for more information.
Each set of headphones has a volume knob. To adjust
the volume, adjust this knob.
The transmitters are located below the video display
screen. The headphones will shut off automatically
if they lose the signal from the system after about four
minutes to save battery power. The signal may be lost if
the system is turned off or if the headphones are out
of range of the transmitters.When using the wired headphones, if the front seat
passengers play a CD in the Radio with Six-Disc CD (if
equipped) or use XM™ Satellite Radio Service (if
equipped), you will hear the audio for these sources,
instead of the DVD or CD that is currently playing
through the RSE.
Notice:Do not store the headphones in heat or
direct sunlight. This could damage the headphones
and repairs would not be covered by your warranty.
Keep the headphones stored in a cool, dry place.
Battery Replacement
To change the batteries, do the following:
1. Loosen the screw on the battery compartment door
located on the left side of the headphone earpiece.
2. Replace the two AAA batteries in the compartment.
Make sure that they are installed correctly, using the
diagram on the inside of the battery compartment.
3. Tighten the screw to close the compartment door.
If the headphones are to be stored for a long period
of time, remove the batteries and keep them in a cool,
dry place.
3-122
Page 275 of 502
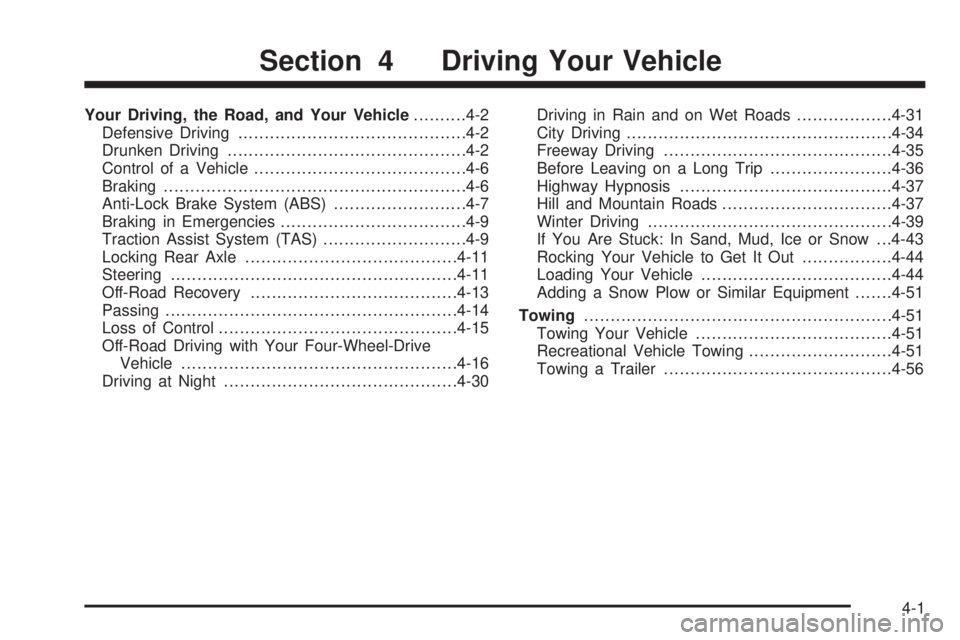
Your Driving, the Road, and Your Vehicle..........4-2
Defensive Driving...........................................4-2
Drunken Driving.............................................4-2
Control of a Vehicle........................................4-6
Braking.........................................................4-6
Anti-Lock Brake System (ABS).........................4-7
Braking in Emergencies...................................4-9
Traction Assist System (TAS)...........................4-9
Locking Rear Axle........................................4-11
Steering......................................................4-11
Off-Road Recovery.......................................4-13
Passing.......................................................4-14
Loss of Control.............................................4-15
Off-Road Driving with Your Four-Wheel-Drive
Vehicle....................................................4-16
Driving at Night............................................4-30Driving in Rain and on Wet Roads..................4-31
City Driving..................................................4-34
Freeway Driving...........................................4-35
Before Leaving on a Long Trip.......................4-36
Highway Hypnosis........................................4-37
Hill and Mountain Roads................................4-37
Winter Driving..............................................4-39
If You Are Stuck: In Sand, Mud, Ice or Snow . . .4-43
Rocking Your Vehicle to Get It Out.................4-44
Loading Your Vehicle....................................4-44
Adding a Snow Plow or Similar Equipment.......4-51
Towing..........................................................4-51
Towing Your Vehicle.....................................4-51
Recreational Vehicle Towing...........................4-51
Towing a Trailer...........................................4-56
Section 4 Driving Your Vehicle
4-1
Page 276 of 502
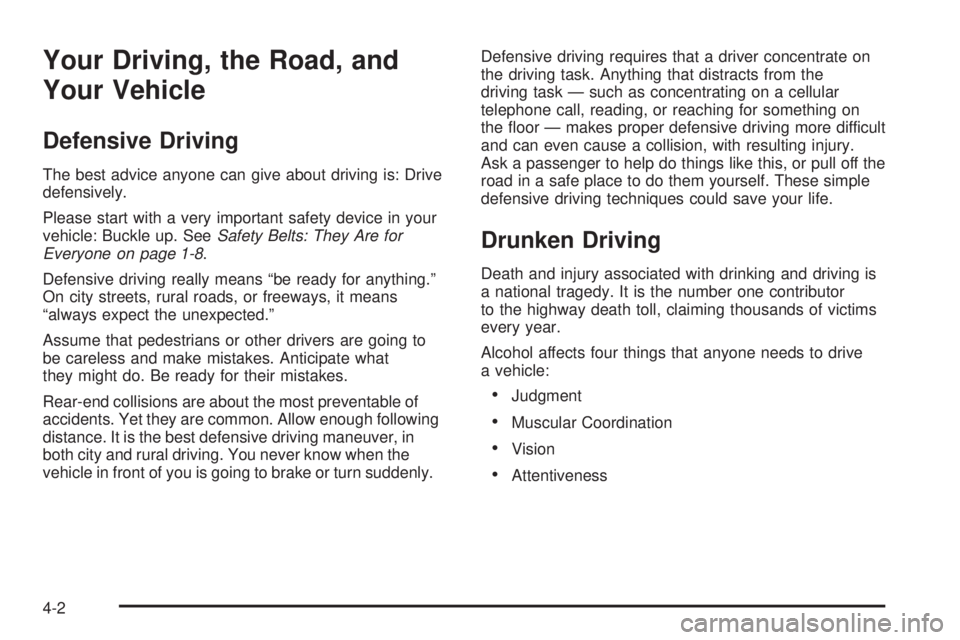
Your Driving, the Road, and
Your Vehicle
Defensive Driving
The best advice anyone can give about driving is: Drive
defensively.
Please start with a very important safety device in your
vehicle: Buckle up. SeeSafety Belts: They Are for
Everyone on page 1-8.
Defensive driving really means “be ready for anything.”
On city streets, rural roads, or freeways, it means
“always expect the unexpected.”
Assume that pedestrians or other drivers are going to
be careless and make mistakes. Anticipate what
they might do. Be ready for their mistakes.
Rear-end collisions are about the most preventable of
accidents. Yet they are common. Allow enough following
distance. It is the best defensive driving maneuver, in
both city and rural driving. You never know when the
vehicle in front of you is going to brake or turn suddenly.Defensive driving requires that a driver concentrate on
the driving task. Anything that distracts from the
driving task — such as concentrating on a cellular
telephone call, reading, or reaching for something on
the oor — makes proper defensive driving more difficult
and can even cause a collision, with resulting injury.
Ask a passenger to help do things like this, or pull off the
road in a safe place to do them yourself. These simple
defensive driving techniques could save your life.
Drunken Driving
Death and injury associated with drinking and driving is
a national tragedy. It is the number one contributor
to the highway death toll, claiming thousands of victims
every year.
Alcohol affects four things that anyone needs to drive
a vehicle:
Judgment
Muscular Coordination
Vision
Attentiveness
4-2