door lock GMC ENVOY XUV 2004 Owner's Guide
[x] Cancel search | Manufacturer: GMC, Model Year: 2004, Model line: ENVOY XUV, Model: GMC ENVOY XUV 2004Pages: 460, PDF Size: 2.99 MB
Page 141 of 460

Dome Lamp Override
The dome override button
is located below the
exterior lamps knob.
To turn the dome lamps off, press the button. The dome
lamps will remain off when a door is open. This will
override the illuminated entry feature unless you
use your keyless entry transmitter to unlock the vehicle.
To return the lamps to automatic operation, press the
button again. The dome lamps will come on when
you open a door.
Entry Lighting
Your vehicle is equipped with entry lighting.
When a door is opened, the dome lamps will come on if
the dome override button is in the ªoutº position.
When all the doors are closed, the lamps will stay on for
a short period of time and will then turn off automatically.
If you use your keyless entry transmitter to unlock the
vehicle, the interior lights will come on for a short
time whether or not the dome override is on.
Exit Lighting
With exit lighting, the interior lamps will come on when
you remove the key from the ignition to help you
see while exiting the vehicle. With the dome override
button in the ªoutº position, these lights will stay on for a
short period of time and then will go out.
3-17
Page 153 of 460
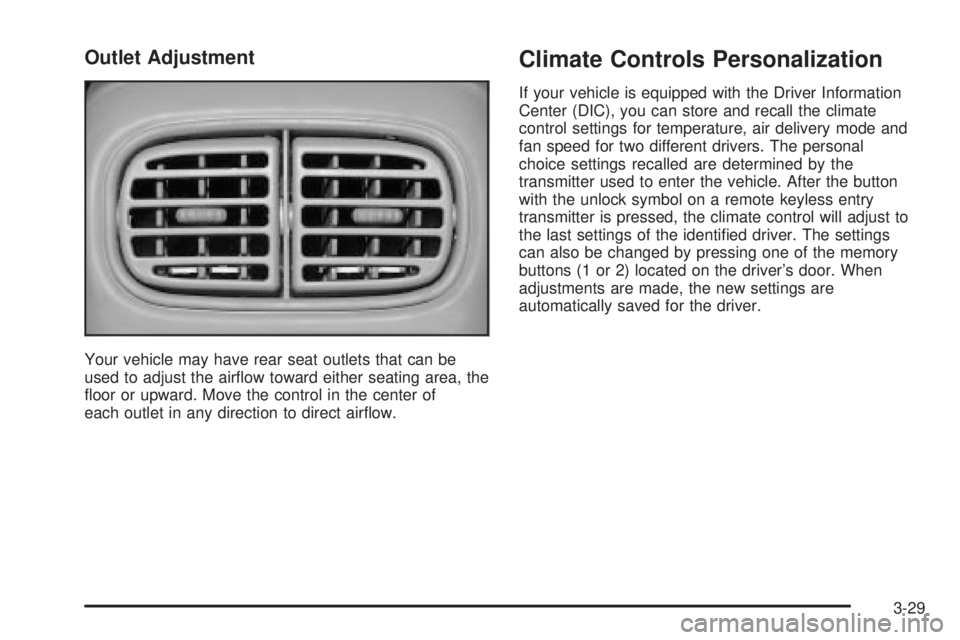
Outlet Adjustment
Your vehicle may have rear seat outlets that can be
used to adjust the air¯ow toward either seating area, the
¯oor or upward. Move the control in the center of
each outlet in any direction to direct air¯ow.
Climate Controls Personalization
If your vehicle is equipped with the Driver Information
Center (DIC), you can store and recall the climate
control settings for temperature, air delivery mode and
fan speed for two different drivers. The personal
choice settings recalled are determined by the
transmitter used to enter the vehicle. After the button
with the unlock symbol on a remote keyless entry
transmitter is pressed, the climate control will adjust to
the last settings of the identi®ed driver. The settings
can also be changed by pressing one of the memory
buttons (1 or 2) located on the driver's door. When
adjustments are made, the new settings are
automatically saved for the driver.
3-29
Page 173 of 460
Personalization
You can program certain features to a preferred setting
for up to two people. Press the personalization button
to scroll through the following personalization features.
All of the personalization options may not be available
on your vehicle. Only the options available will be
displayed on your DIC.
·ALARM WARNING TYPE
·AUTOMATIC LOCKING
·AUTOMATIC UNLOCKING
·SEAT POSITION RECALL
·PERIMETER LIGHTING
·REMOTE LOCK FEEDBACK
·REMOTE UNLOCK FEEDBACK
·HEADLAMPS ON AT EXIT
·MIRROR CURB VIEW ASSIST
·EASY EXIT DRIVER SEAT
·DISPLAY UNITS Ð U.S./MET
·DISPLAY LANGUAGE
The driver's preferences are recalled by pressing the
unlock button on the remote keyless entry transmitter or
by pressing the appropriate memory button 1 or 2
located on the driver's door.
Alarm Warning Type
Press the personalization button until ALARM
WARNING TYPE appears in the display. To select your
personalization for alarm warning type, press the
select button while ALARM WARNING TYPE is
displayed on the DIC. Pressing the select button will
scroll through the following choices:
·ALARM WARNING: BOTH (default): If you choose
BOTH, the headlamps will ¯ash and the horn will
chirp when the alarm is active.
·ALARM WARNING: OFF: If you choose OFF, there
will be no alarm warning on activation.
·ALARM WARNING: HORN: If you choose HORN,
the horn will chirp when the alarm is active.
·ALARM WARNING: LAMPS: If you choose LAMPS,
the headlamps will ¯ash when the alarm is active.
Choose one of the four settings and press the
personalization button while it is displayed on the DIC to
select it and move on to the next feature. For more
information on alarm warning type see
Content
Theft-Deterrent on page 2-22.
3-49
Page 174 of 460
Automatic Locking
Press the personalization button until AUTOMATIC
LOCKING appears in the display. To select your
personalization for automatic locking, press the select
button while AUTOMATIC LOCKING is displayed on the
DIC. Pressing the select button will scroll through the
following choices:
·LOCK DOORS OUT OF PARK (default): If you
choose for the doors to lock out of park, the
doors will lock when the vehicle is shifted out of
PARK (P).
·LOCK DOORS MANUALLY: If you choose for the
doors to lock manually, the doors will not be
locked automatically.
·LOCK DOORS WITH SPEED: If you choose for the
doors to lock with speed, the doors will lock when
the vehicle speed is above 8 mph (13 km/h) for
three seconds.
Choose one of the three settings and press the
personalization button while it is displayed on the DIC to
select it and move on to the next feature. For more
information on automatic door locks see
Programmable
Automatic Door Locks on page 2-9.
Automatic Unlocking
Press the personalization button until AUTOMATIC
UNLOCKING appears in the display. To select
your personalization for automatic unlocking, press the
select button while AUTOMATIC UNLOCKING is
displayed on the DIC. Pressing the select button will
scroll through the following choices:
·UNLOCK ALL IN PARK (default): If you choose for
all the doors to unlock in PARK (P), all of the doors
will unlock when the vehicle is shifted into
PARK (P).
·UNLOCK ALL AT KEY OUT: If you choose for all
the doors to unlock at key out, all of the doors will
unlock when the key is taken out of the ignition.
·UNLOCK DOORS MANUALLY: If you choose for
the doors to unlock manually, the doors will not
be unlocked automatically.
·UNLOCK DRIVER IN PARK: If you choose for the
driver's door to unlock in park, the driver's door
will be unlocked when the vehicle is shifted
into PARK (P).
Choose one of the four settings and press the
personalization button while it is displayed on the DIC to
select it and move on to the next feature. For more
information on automatic door locks see
Programmable
Automatic Door Locks on page 2-9.
3-50
Page 320 of 460

While refueling, hang the fuel cap by the tether using
the hook located on the inside of the ®ller door.
To remove the fuel cap, turn it slowly to the left
(counterclockwise).
5-8
Page 395 of 460
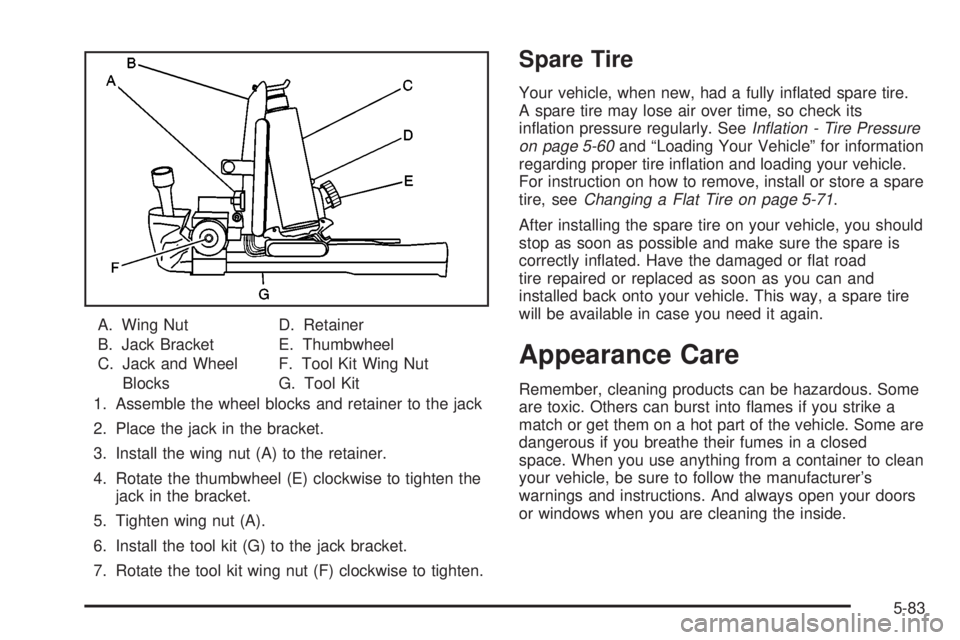
A. Wing Nut
B. Jack Bracket
C. Jack and Wheel
BlocksD. Retainer
E. Thumbwheel
F. Tool Kit Wing Nut
G. Tool Kit
1. Assemble the wheel blocks and retainer to the jack
2. Place the jack in the bracket.
3. Install the wing nut (A) to the retainer.
4. Rotate the thumbwheel (E) clockwise to tighten the
jack in the bracket.
5. Tighten wing nut (A).
6. Install the tool kit (G) to the jack bracket.
7. Rotate the tool kit wing nut (F) clockwise to tighten.
Spare Tire
Your vehicle, when new, had a fully in¯ated spare tire.
A spare tire may lose air over time, so check its
in¯ation pressure regularly. See
In¯ation - Tire Pressure
on page 5-60and ªLoading Your Vehicleº for information
regarding proper tire in¯ation and loading your vehicle.
For instruction on how to remove, install or store a spare
tire, see
Changing a Flat Tire on page 5-71.
After installing the spare tire on your vehicle, you should
stop as soon as possible and make sure the spare is
correctly in¯ated. Have the damaged or ¯at road
tire repaired or replaced as soon as you can and
installed back onto your vehicle. This way, a spare tire
will be available in case you need it again.
Appearance Care
Remember, cleaning products can be hazardous. Some
are toxic. Others can burst into ¯ames if you strike a
match or get them on a hot part of the vehicle. Some are
dangerous if you breathe their fumes in a closed
space. When you use anything from a container to clean
your vehicle, be sure to follow the manufacturer's
warnings and instructions. And always open your doors
or windows when you are cleaning the inside.
5-83
Page 411 of 460

Fuses Usage
01 Right Door Control Module
02 Left Door Control Module
03 Endgate Module 2
04 Truck Body Controller 3
05 Blank
06 Roof Regulator
07 Truck Body Controller 2
08 Power Seats
09 Endglass Regulator
10 Driver Door Module
11 Ampli®er
12 Passenger Door Module
13 Midgate Regulator
14 Left Rear Parking Lamps
15 Auxiliary Power 2
16Vehicle Center High-Mounted
Stop Lamp
17 Right Rear Parking Lamps
18 Locks
19 Power Latch
20 Blank
21 Lock
22 Midgate
5-99
Page 422 of 460
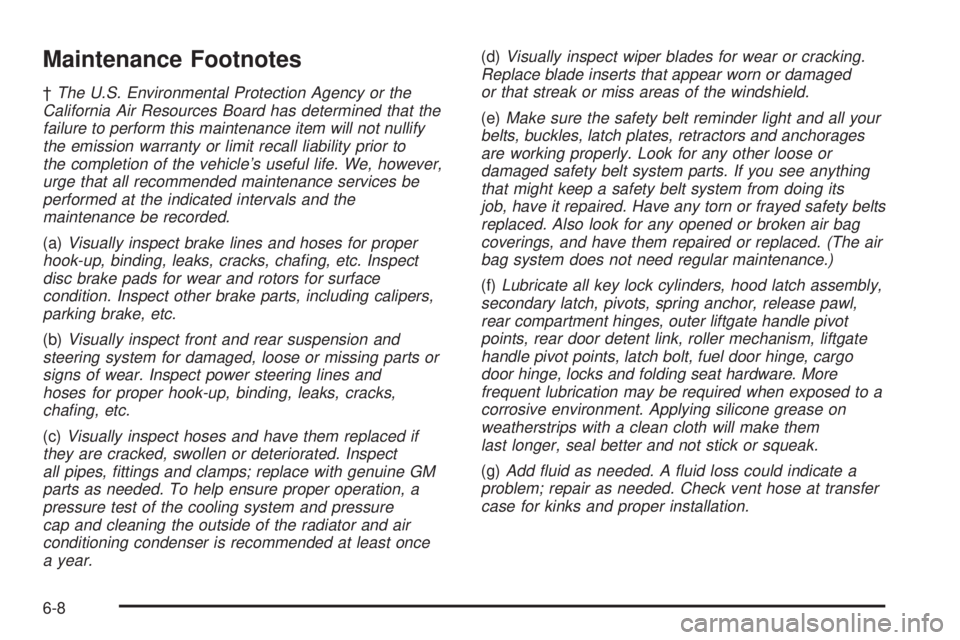
Maintenance Footnotes
²The U.S. Environmental Protection Agency or the
California Air Resources Board has determined that the
failure to perform this maintenance item will not nullify
the emission warranty or limit recall liability prior to
the completion of the vehicle's useful life. We, however,
urge that all recommended maintenance services be
performed at the indicated intervals and the
maintenance be recorded.
(a)Visually inspect brake lines and hoses for proper
hook-up, binding, leaks, cracks, cha®ng, etc. Inspect
disc brake pads for wear and rotors for surface
condition. Inspect other brake parts, including calipers,
parking brake, etc.
(b)Visually inspect front and rear suspension and
steering system for damaged, loose or missing parts or
signs of wear. Inspect power steering lines and
hoses for proper hook-up, binding, leaks, cracks,
cha®ng, etc.
(c)Visually inspect hoses and have them replaced if
they are cracked, swollen or deteriorated. Inspect
all pipes, ®ttings and clamps; replace with genuine GM
parts as needed. To help ensure proper operation, a
pressure test of the cooling system and pressure
cap and cleaning the outside of the radiator and air
conditioning condenser is recommended at least once
a year.
(d)Visually inspect wiper blades for wear or cracking.
Replace blade inserts that appear worn or damaged
or that streak or miss areas of the windshield.
(e)Make sure the safety belt reminder light and all your
belts, buckles, latch plates, retractors and anchorages
are working properly. Look for any other loose or
damaged safety belt system parts. If you see anything
that might keep a safety belt system from doing its
job, have it repaired. Have any torn or frayed safety belts
replaced. Also look for any opened or broken air bag
coverings, and have them repaired or replaced. (The air
bag system does not need regular maintenance.)
(f)Lubricate all key lock cylinders, hood latch assembly,
secondary latch, pivots, spring anchor, release pawl,
rear compartment hinges, outer liftgate handle pivot
points, rear door detent link, roller mechanism, liftgate
handle pivot points, latch bolt, fuel door hinge, cargo
door hinge, locks and folding seat hardware. More
frequent lubrication may be required when exposed to a
corrosive environment. Applying silicone grease on
weatherstrips with a clean cloth will make them
last longer, seal better and not stick or squeak.
(g)Add ¯uid as needed. A ¯uid loss could indicate a
problem; repair as needed. Check vent hose at transfer
case for kinks and proper installation.
6-8
Page 448 of 460
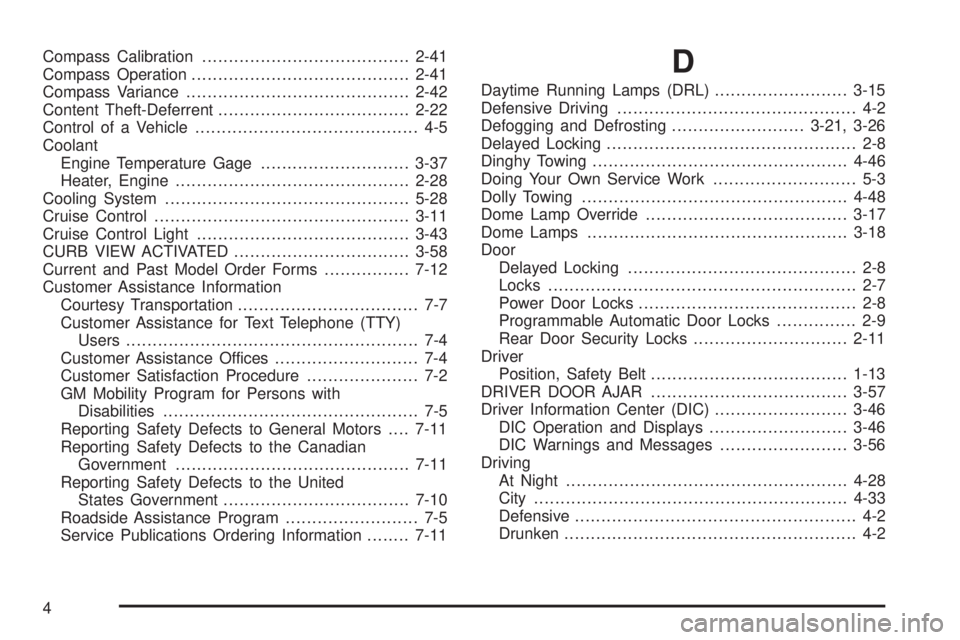
Compass Calibration.......................................2-41
Compass Operation.........................................2-41
Compass Variance..........................................2-42
Content Theft-Deferrent....................................2-22
Control of a Vehicle.......................................... 4-5
Coolant
Engine Temperature Gage............................3-37
Heater, Engine............................................2-28
Cooling System..............................................5-28
Cruise Control................................................3-11
Cruise Control Light........................................3-43
CURB VIEW ACTIVATED.................................3-58
Current and Past Model Order Forms................7-12
Customer Assistance Information
Courtesy Transportation.................................. 7-7
Customer Assistance for Text Telephone (TTY)
Users....................................................... 7-4
Customer Assistance Offices........................... 7-4
Customer Satisfaction Procedure..................... 7-2
GM Mobility Program for Persons with
Disabilities................................................ 7-5
Reporting Safety Defects to General Motors....7-11
Reporting Safety Defects to the Canadian
Government............................................7-11
Reporting Safety Defects to the United
States Government...................................7-10
Roadside Assistance Program......................... 7-5
Service Publications Ordering Information........7-11D
Daytime Running Lamps (DRL).........................3-15
Defensive Driving............................................. 4-2
Defogging and Defrosting.........................3-21, 3-26
Delayed Locking............................................... 2-8
Dinghy Towing................................................4-46
Doing Your Own Service Work........................... 5-3
Dolly Towing..................................................4-48
Dome Lamp Override......................................3-17
Dome Lamps.................................................3-18
Door
Delayed Locking........................................... 2-8
Locks.......................................................... 2-7
Power Door Locks......................................... 2-8
Programmable Automatic Door Locks............... 2-9
Rear Door Security Locks.............................2-11
Driver
Position, Safety Belt.....................................1-13
DRIVER DOOR AJAR.....................................3-57
Driver Information Center (DIC).........................3-46
DIC Operation and Displays..........................3-46
DIC Warnings and Messages........................3-56
Driving
At Night.....................................................4-28
City...........................................................4-33
Defensive..................................................... 4-2
Drunken....................................................... 4-2
4
Page 452 of 460
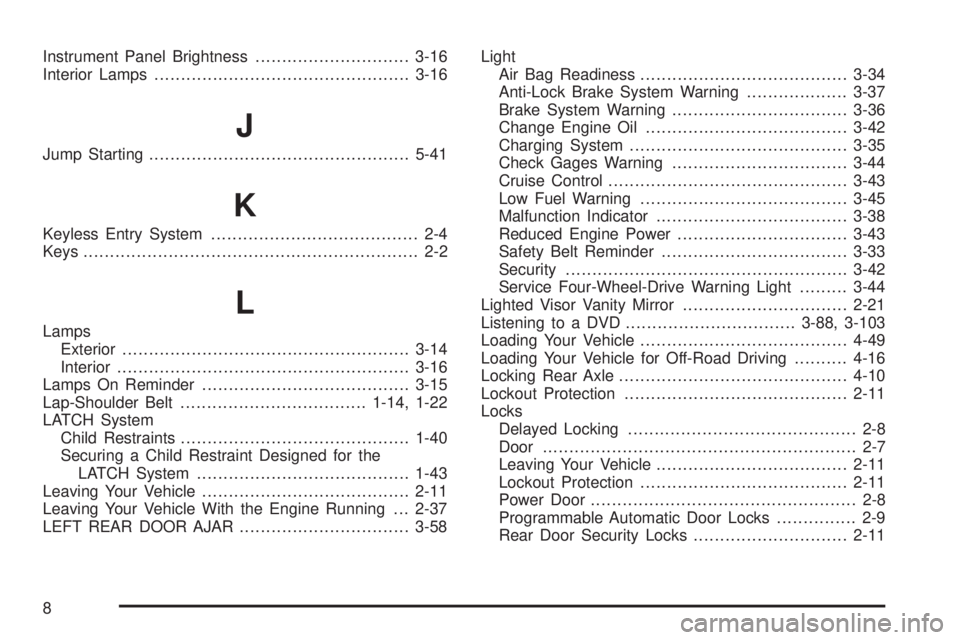
Instrument Panel Brightness.............................3-16
Interior Lamps................................................3-16
J
Jump Starting.................................................5-41
K
Keyless Entry System....................................... 2-4
Keys............................................................... 2-2
L
Lamps
Exterior......................................................3-14
Interior.......................................................3-16
Lamps On Reminder.......................................3-15
Lap-Shoulder Belt...................................1-14, 1-22
LATCH System
Child Restraints...........................................1-40
Securing a Child Restraint Designed for the
LATCH System........................................1-43
Leaving Your Vehicle.......................................2-11
Leaving Your Vehicle With the Engine Running . . . 2-37
LEFT REAR DOOR AJAR................................3-58Light
Air Bag Readiness.......................................3-34
Anti-Lock Brake System Warning...................3-37
Brake System Warning.................................3-36
Change Engine Oil......................................3-42
Charging System.........................................3-35
Check Gages Warning.................................3-44
Cruise Control.............................................3-43
Low Fuel Warning.......................................3-45
Malfunction Indicator....................................3-38
Reduced Engine Power................................3-43
Safety Belt Reminder...................................3-33
Security.....................................................3-42
Service Four-Wheel-Drive Warning Light.........3-44
Lighted Visor Vanity Mirror...............................2-21
Listening to a DVD................................3-88, 3-103
Loading Your Vehicle.......................................4-49
Loading Your Vehicle for Off-Road Driving..........4-16
Locking Rear Axle...........................................4-10
Lockout Protection..........................................2-11
Locks
Delayed Locking........................................... 2-8
Door........................................................... 2-7
Leaving Your Vehicle....................................2-11
Lockout Protection.......................................2-11
Power Door.................................................. 2-8
Programmable Automatic Door Locks............... 2-9
Rear Door Security Locks.............................2-11
8