checking oil GMC ENVOY XUV 2004 Owner's Manual
[x] Cancel search | Manufacturer: GMC, Model Year: 2004, Model line: ENVOY XUV, Model: GMC ENVOY XUV 2004Pages: 460, PDF Size: 2.99 MB
Page 313 of 460
Service............................................................5-3
Doing Your Own Service Work.........................5-3
Adding Equipment to the Outside
of Your Vehicle...........................................5-4
Fuel................................................................5-4
Gasoline Octane............................................5-4
Gasoline Speci®cations....................................5-5
California Fuel...............................................5-5
Additives.......................................................5-6
Fuels in Foreign Countries...............................5-6
Filling Your Tank............................................5-7
Filling a Portable Fuel Container.....................5-10
Checking Things Under the Hood....................5-10
Hood Release..............................................5-11
Engine Compartment Overview.......................5-12
Engine Oil...................................................5-15
Engine Air Cleaner/Filter................................5-20
Automatic Transmission Fluid.........................5-21
Engine Coolant.............................................5-23
Radiator Pressure Cap..................................5-26
Engine Overheating.......................................5-26
Cooling System............................................5-28
Engine Fan Noise.........................................5-34
Power Steering Fluid.....................................5-35
Windshield Washer Fluid................................5-36Brakes........................................................5-37
Battery........................................................5-40
Jump Starting...............................................5-41
Rear Axle.......................................................5-46
Four-Wheel Drive............................................5-46
Front Axle......................................................5-47
Bulb Replacement..........................................5-48
Headlamps..................................................5-48
Taillamps and Turn Signal Lamps...................5-49
Replacement Bulbs.......................................5-50
Windshield Wiper Blade Replacement..............5-50
Tires..............................................................5-52
In¯ation - Tire Pressure.................................5-60
Tire Inspection and Rotation...........................5-61
When It Is Time for New Tires.......................5-63
Buying New Tires.........................................5-64
Uniform Tire Quality Grading..........................5-65
Wheel Alignment and Tire Balance..................5-66
Wheel Replacement......................................5-66
Tire Chains..................................................5-68
Accessory In¯ator.........................................5-68
If a Tire Goes Flat........................................5-70
Changing a Flat Tire.....................................5-71
Spare Tire...................................................5-83
Section 5 Service and Appearance Care
5-1
Page 322 of 460
Filling a Portable Fuel Container
{CAUTION:
Never ®ll a portable fuel container while it is in
your vehicle. Static electricity discharge from
the container can ignite the gasoline vapor.
You can be badly burned and your vehicle
damaged if this occurs. To help avoid injury to
you and others:
·Dispense gasoline only into approved
containers.
·Do not ®ll a container while it is inside a
vehicle, in a vehicle's trunk, pickup bed or
on any surface other than the ground.
·Bring the ®ll nozzle in contact with the
inside of the ®ll opening before operating
the nozzle. Contact should be maintained
until the ®lling is complete.
·Do not smoke while pumping gasoline.
Checking Things Under
the Hood
{CAUTION:
Things that burn can get on hot engine parts
and start a ®re. These include liquids like fuel,
oil, coolant, brake ¯uid, windshield washer and
other ¯uids, and plastic or rubber. You or
others could be burned. Be careful not to drop
or spill things that will burn onto a hot engine.
5-10
Page 327 of 460
A. Coolant Recovery Tank. SeeEngine Coolant on
page 5-23.
B. Engine Air Cleaner/Filter. See
Engine Air
Cleaner/Filter on page 5-20.
C. Windshield Washer Fluid Reservoir. See
Windshield
Washer Fluid on page 5-36.
D. Engine Oil Dipstick. See
Engine Oil on page 5-15.
E. Automatic Transmission Dipstick. See
Automatic
Transmission Fluid on page 5-21.
F. Engine Oil Fill Cap. See
Engine Oil on page 5-15.
G. Radiator Pressure Cap. See
Radiator Pressure Cap
on page 5-26.
H. Remote Negative (-) Terminal Marked GND. See
Jump Starting on page 5-41.
I. Power Steering Fluid Reservoir. See
Power Steering
Fluid on page 5-35.
J. Brake Master Cylinder. See
Brakes on page 5-37.
K. Engine Compartment Fuse Block. See ªEngine
Compartment Fuse Blockº under
Fuses and Circuit
Breakers on page 5-93.
L. Battery. See
Battery on page 5-40.
Engine Oil
Checking Engine Oil
It is a good idea to check your engine oil every time you
get fuel. In order to get an accurate reading, the oil
must be warm and the vehicle must be on level ground.
The engine oil dipstick handle is a yellow loop. See
Engine Compartment Overview on page 5-12for
the location of the engine oil dipstick.
Turn off the engine and give the oil several minutes to
drain back into the oil pan. If you don't, the oil
dipstick might not show the actual level.
Pull out the dipstick and clean it with a paper towel or
cloth, then push it back in all the way. Remove it again,
keeping the tip down, and check the level.
5-15
Page 333 of 460
Automatic Transmission Fluid
When to Check and Change
A good time to check your automatic transmission ¯uid
level is when the engine oil is changed.
Change both the ¯uid and ®lter every 50,000 miles
(83 000 km) if the vehicle is mainly driven under one or
more of these conditions:
·In heavy city traffic where the outside temperature
regularly reaches 90ÉF (32ÉC) or higher.
·In hilly or mountainous terrain.
·When doing frequent trailer towing.
·Uses such as found in taxi, police or delivery
service.
If you do not use your vehicle under any of these
conditions, change the ¯uid and ®lter every
100,000 miles (166 000 km).
How to Check
Because this operation can be a little difficult, you may
choose to have this done at the dealership service
department.
If you do it yourself, be sure to follow all the instructions
here, or you could get a false reading on the dipstick.
Notice:Too much or too little ¯uid can damage
your transmission. Too much can mean that some
of the ¯uid could come out and fall on hot engine
part or exhaust system parts, starting a ®re.
Too little ¯uid could cause the transmission to
overheat. Be sure to get an accurate reading if you
check your transmission ¯uid.
Wait at least 30 minutes before checking the
transmission ¯uid level if you have been driving:
·When outside temperatures are above 90ÉF (32ÉC).
·At high speed for quite a while.
·In heavy traffic-especially in hot weather.
·While pulling a trailer.
To get the right reading, the ¯uid should be at normal
operating temperature, which is 180ÉF to 200ÉF
(82ÉC to 93ÉC).
Get the vehicle warmed up by driving about 15 miles
(24 km) when outside temperatures are above 50ÉF
(10ÉC). If it's colder than 50ÉF (10ÉC), drive the vehicle
in THIRD (3) until the engine temperature gage
moves and then remains steady for 10 minutes.
5-21
Page 350 of 460

Checking Brake Fluid
You can check the brake ¯uid without taking off the cap.
Just look at the brake ¯uid
reservoir. The ¯uid level
should be above MIN. If it
is not, have your brake
system checked to
see if there is a leak.
After work is done on the brake hydraulic system,
make sure the level is above the MIN but not over the
MAX mark.
What to Add
When you do need brake ¯uid, use only DOT-3 brake
¯uid. Use new brake ¯uid from a sealed container
only. See
Recommended Fluids and Lubricants on
page 6-13.Always clean the brake ¯uid reservoir cap and the area
around the cap before removing it. This will help
keep dirt from entering the reservoir.
{CAUTION:
With the wrong kind of ¯uid in your brake
system, your brakes may not work well, or
they may not even work at all. This could
cause a crash. Always use the proper
brake ¯uid.
Notice:
·Using the wrong ¯uid can badly damage brake
system parts. For example, just a few drops of
mineral-based oil, such as engine oil, in your
brake system can damage brake system
parts so badly that they will have to be replaced.
Do not let someone put in the wrong kind
of ¯uid.
·If you spill brake ¯uid on your vehicle's painted
surfaces, the paint ®nish can be damaged. Be
careful not to spill brake ¯uid on your vehicle. If
you do, wash it off immediately. See
Appearance
Care on page 5-83.
5-38
Page 447 of 460
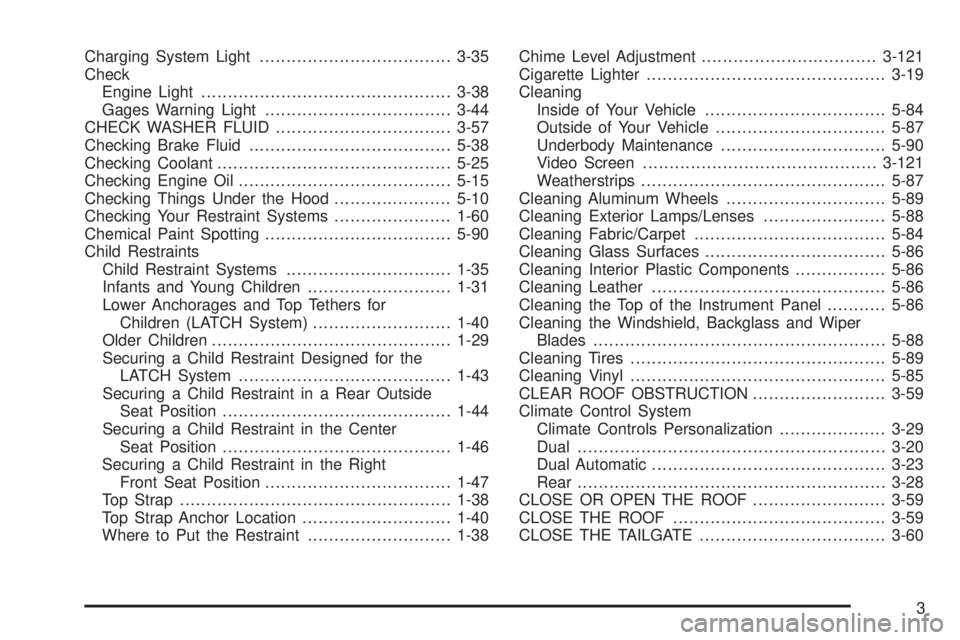
Charging System Light....................................3-35
Check
Engine Light...............................................3-38
Gages Warning Light...................................3-44
CHECK WASHER FLUID.................................3-57
Checking Brake Fluid......................................5-38
Checking Coolant............................................5-25
Checking Engine Oil........................................5-15
Checking Things Under the Hood......................5-10
Checking Your Restraint Systems......................1-60
Chemical Paint Spotting...................................5-90
Child Restraints
Child Restraint Systems...............................1-35
Infants and Young Children...........................1-31
Lower Anchorages and Top Tethers for
Children (LATCH System)..........................1-40
Older Children.............................................1-29
Securing a Child Restraint Designed for the
LATCH System........................................1-43
Securing a Child Restraint in a Rear Outside
Seat Position...........................................1-44
Securing a Child Restraint in the Center
Seat Position...........................................1-46
Securing a Child Restraint in the Right
Front Seat Position...................................1-47
Top Strap...................................................1-38
Top Strap Anchor Location............................1-40
Where to Put the Restraint...........................1-38Chime Level Adjustment.................................3-121
Cigarette Lighter.............................................3-19
Cleaning
Inside of Your Vehicle..................................5-84
Outside of Your Vehicle................................5-87
Underbody Maintenance...............................5-90
Video Screen............................................3-121
Weatherstrips..............................................5-87
Cleaning Aluminum Wheels..............................5-89
Cleaning Exterior Lamps/Lenses.......................5-88
Cleaning Fabric/Carpet....................................5-84
Cleaning Glass Surfaces..................................5-86
Cleaning Interior Plastic Components.................5-86
Cleaning Leather............................................5-86
Cleaning the Top of the Instrument Panel...........5-86
Cleaning the Windshield, Backglass and Wiper
Blades.......................................................5-88
Cleaning Tires................................................5-89
Cleaning Vinyl................................................5-85
CLEAR ROOF OBSTRUCTION.........................3-59
Climate Control System
Climate Controls Personalization....................3-29
Dual..........................................................3-20
Dual Automatic............................................3-23
Rear..........................................................3-28
CLOSE OR OPEN THE ROOF.........................3-59
CLOSE THE ROOF........................................3-59
CLOSE THE TAILGATE...................................3-60
3