set clock GMC JIMMY 1997 Owner's Manual
[x] Cancel search | Manufacturer: GMC, Model Year: 1997, Model line: JIMMY, Model: GMC JIMMY 1997Pages: 410, PDF Size: 20.03 MB
Page 144 of 410
Section 3 Comfort Controls and Audio Systems
In this section, you'll find out how to operate the comfort control and audio systems offered with your vehicle. Be
sure to read about the particular systems supplied with your vehicle.
3-2
3-2
3-3
3-3
3-4
3
-5
3-5
3-6
3 -6
3-6
3 -6
Comfort Controls
Climate Control System
Air Conditioning
Heating
Ventilation System
Defogging and Defrosting
Rear Window Defogger (Option)
Audio Systems
Setting the Clock
Setting the Clock for AM-FM Stereo
with Compact Disc Player and Automatic
Tone Control AM-FM Stereo 3-8
3- 10
3-13
3-17
3- 19
3- 19
3-20
3-2 1
3-2 1
AM-FM Stereo with Cassette Tape Player
(If Equipped)
AM-FM Stereo with Cassette Tape Player
and Equalizer
(If Equipped)
AM-FM Stereo
with Compact Disc Player
and Automatic Tone Control
(If Equipped)
Theft-Deterrent Feature
Understanding Radio Reception
Tips About Your Audio System
Care
of Your Cassette Tape Player
Care
of Your Compact Discs
Fixed Mast Antenna
3-1
Page 149 of 410
Audio Systems
Your Delco@ audio system has been designed to operate
easily and give years of listening pleasure. You will get
the most enjoyment out
of it if you acquaint yourself
with it first. Find out what your Delco system can do
and how to operate all its controls, to be sure you're
went into it.
c eetting the most out of the advanced engineering that
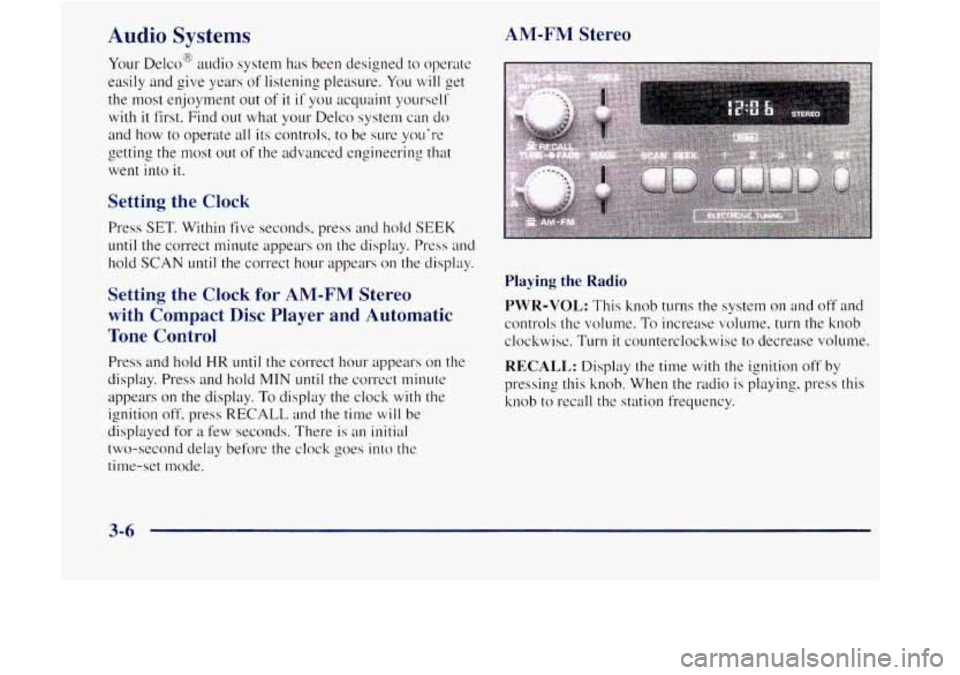
Setting the Clock
Press SET. Within five seconds, press and hold SEEK
until the correct minute appears on the display. Press and
hold
SCAN until the correct hour appears on the display.
Setting the Clock for AM-FM Stereo
with Compact
Disc Player and Automatic
Tone Control
Press and hold HR until the correct hour appears on the
display. Press and hold
MIN lmtil the correct minute
appears
on the display. To display the clock with the
ignition
off, press RECALL and the time will be
displayed for a few seconds. There is an initial
two-second delay before the clock goes
into the
time-set mode.
AM-FM Stereo
Playing the Radio
PWR-VOL: This knob turns the system on and off and
controls the volume. To increase volume,
turn the knob
clockwise. Turn
it counterclockwise to decrease volume.
RECALL: Display the time with the ignition off by
pressing this knob. When the radio is playing, press this
knob to recall the station frequency.
Page 151 of 410
AM-FM Stereo with Cassette Tape Player Finding a Station
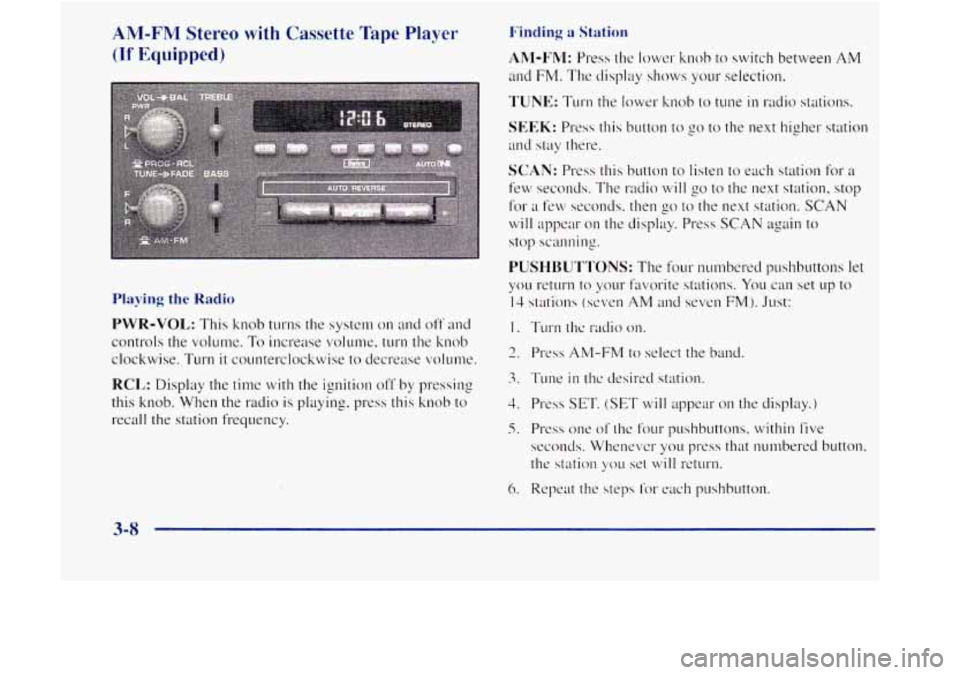
(If Equipped) Ahl-I~n'I: Press the lower knob to switch between AM
ancl FM. The display shows your selection.
TUNE: TLII-11 the lower knob to tune in radio stations.
SEEK: Press this button to go to the next higher station
and stay there.
SCAN: Press this button to listen to each station for a
few seconds. The radio will go to the next station, stop
for
a few seconds. then go to the next station. SCAN
will ~1ppear 011 the display. Press SCAN again to
stop scanning.
PUSHBUTTONS: The four nllmbered pushbuttons let
Playing the Radio
PWR-VOL: This knob turns the system on and off and
controls the volume. To increase volume. turn the knob
clockwise. Turn it counterclockwise to decrease c.olulne.
RCL: Display the time with the ignition off by ~mxing
this knob. When the
radio is playing, press this knob to
recall the station frequency.
2. Press AM-FM to select the band.
3. Tune in thc desired station.
4. Press SET. (SET will appear on the display.)
5. Press one of the four pushbuttons. within five
seconds. Whenevcr you press that numbered button.
the station
SOLI set will return.
3-8
Page 158 of 410
Setting the Tone
BASS: Press lightly on this knob to release it from its
stored position. Turn the knob clocklvise to increase
bass and counterclockwise to decrease bass. When the
BASS control
is rotated, the AUTO TONE setting will
change to MAN.
TREB: Press lightly on this knob to release it f1-on1 its
stored position. Turn the knob clockwise to incrcase
treble
and counterclockwise to decrease treble. When
the TREB
control is rotated, the AUTO TONE setting
will change to MAN. If a station is weak or noisy. you
nay want to decrease the treble.
Push these knobs back into their stored positions when
yo11'1.e
not using them.
3-15
Page 396 of 410
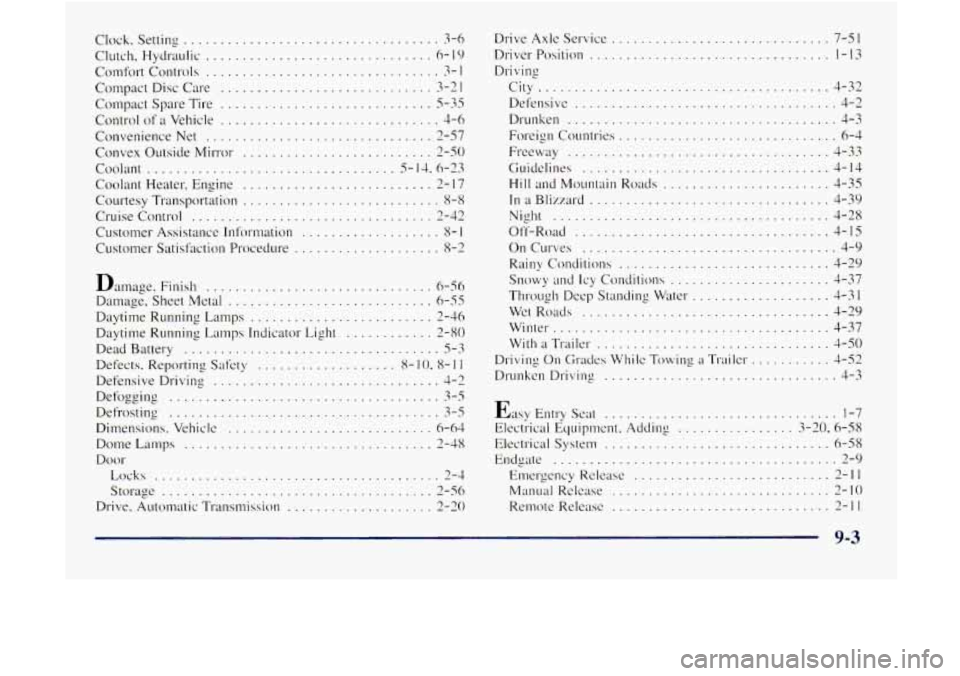
Clock . Setting ................................... 3-6
Clutch. Hydraulic
............................... 6- 19
Comfort Controls ................................ 3- I
Compact Disc Care ............................. 3-2 I
Compact Spare Tire 3-33
Control of a Vehicle .............................. 4-6
Convenience Net
............................... 2-57
Convex Outside Mirror
.......................... 2-50
Coolant ................................... 5- 14.6-23
Coolant Heater. Engine
.......................... 2- I7
Cruise Control ................................. 2-42
Customer Assistance Information
................... 8- I
Customer Satisfaction Procecture .................... 8-2
.. .............................
Courtesy Transportation ........................... 8-8
Damage
. Finish ............................... 6-56
Damage. Sheet Metal
............................ 6-55
Daytime Running Lamps Indicator Light ............ 2-80
Dead Battery
................................... 5-3
Defects. Reporting Safety ................... X- IO. 8- 1 1
Defensive Driving ............................... 3-2
Defogging ..................................... 3-5
Defrosting ..................................... 3-5
Dimensions . Vehicle ............................ 6-64
Dome Latmps
.................................. - 3-48
Door
Locks
....................................... 2-3
Storage ..................................... 2-56
Drive. Automatic Transmission
.................... 2-20
Daytime Running Lamps ......................... 2-36 Drive
Axlc Service ... ........................ 7-51
Driver Position
.................................
City ........................................ 4-32
Defensive
.................................... 4-2
Drunken
..................................... 4-3
Foreign Countries
.............................. 6-4
Guidelines
.................................. 4-14
Hill and Mountain Roads
....................... 4-35
In a Blizzard ................................. 4-39
Night
...................................... 4-28
Ofl-Road ................................... 4-15
On Curves ................................... 4-9
Rainy Conditions
............................. 3-29
Snowy and Icy Conditions ...................... 3-37
Through Deep Standing Water
................... 4-31
Wintet-
...................................... 4-37
With
a Trailer ................................ 4-50
Driving On Grades Whilc Towing :I Trailer ........... 3-52
Drunken Driving ................................ 3-3
F~KWLI~ .................................... 4-33
Wet Roads .................................. 1-29
Easy Entry scat ................................ 1-7
Electrical Equipmcnt
. Addin2 ................ 3-20, 6-58
Electrical System
............................... 6-58
Elnergency Releasc
........................... 2-11
EIldgate ....................................... 2-9
M;tIlLlal Rclc~~e
.............................. 2- IO
Re111ote Release .............................. 2-11
9-3