ECO mode GMC JIMMY 2005 Owner's Manual
[x] Cancel search | Manufacturer: GMC, Model Year: 2005, Model line: JIMMY, Model: GMC JIMMY 2005Pages: 432, PDF Size: 2.65 MB
Page 48 of 432
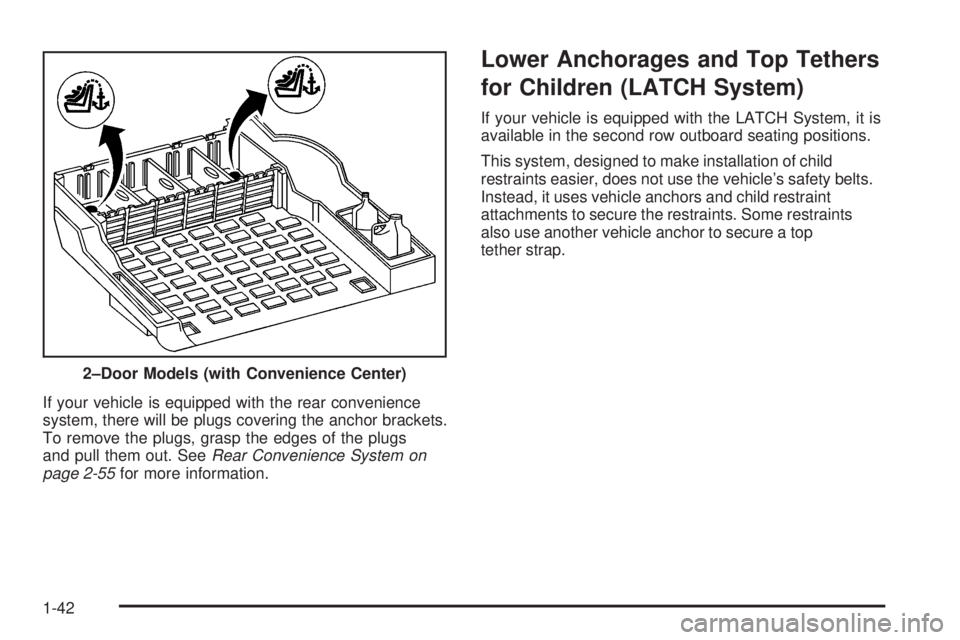
If your vehicle is equipped with the rear convenience
system, there will be plugs covering the anchor brackets.
To remove the plugs, grasp the edges of the plugs
and pull them out. SeeRear Convenience System on
page 2-55for more information.
Lower Anchorages and Top Tethers
for Children (LATCH System)
If your vehicle is equipped with the LATCH System, it is
available in the second row outboard seating positions.
This system, designed to make installation of child
restraints easier, does not use the vehicle’s safety belts.
Instead, it uses vehicle anchors and child restraint
attachments to secure the restraints. Some restraints
also use another vehicle anchor to secure a top
tether strap.
2–Door Models (with Convenience Center)
1-42
Page 74 of 432
All doors lock/All doors unlock:Press the lock side
of the power door lock switch once, and then the
unlock side twice.
All doors lock/None of the doors unlock:Press the
lock side of the power door lock switch once, and
then the unlock side three times.
No doors lock/None of the doors unlock:Press the
lock side of the power door lock switch twice. This turns
off the automatic lock feature. This is the factory setting.
For more information, see your dealer.
The following instructions detail how to program your
door locks. Choose one of the programming options
before entering the programming mode.
To enter the program mode, do the following:
1. Begin with the ignition in OFF. Then pull the turn
signal/multifunction lever all the way toward you
and hold it while you perform the next step.
2. Turn your key to RUN and OFF twice. Then, with
the key in OFF, release the turn signal/multifunction
lever. Once you do this, you will hear the lock
switch lock and unlock.3. You are now ready to program the automatic door
locks. Select one of the previous four programming
options and follow the instructions. You will have
30 seconds to begin programming. If you exceed the
30 second limit, the locks will automatically lock and
unlock to indicate you have left the program mode. If
this occurs, repeat the procedure beginning with
Step 1. You can exit the program mode any time by
turning the ignition to RUN. The locks will
automatically lock and unlock to indicate you are
leaving the program mode. If the lock/unlock
switches are not pressed while in the programming
mode, the auto lock/unlock setting will not be
modi�ed.
2-10
Page 92 of 432
DRIVE (D) should not be used when towing a trailer,
carrying a heavy load, driving on steep hills or for
off-road driving. Select THIRD (3) when operating the
vehicle under any of these conditions.
THIRD (3):This position is also used for normal driving.
It offers more power and lower fuel economy than
DRIVE (D). You should use THIRD (3) when towing a
trailer, carrying a heavy load, driving on steep hills
or winding roads or for off-road driving.
SECOND (2):This position gives you more power but
lower fuel economy than THIRD (3). You can use
SECOND (2) on hills. It can help control your speed as
you go down steep mountain roads, but then you
would also want to use your brakes off and on.
You can also use SECOND (2) for starting your vehicle
from a stop on slippery road surfaces.
FIRST (1):This position gives you even more power
but lower fuel economy than SECOND (2). You can use
it on very steep hills, or in deep snow or mud. If the
shift lever is put in FIRST (1) while the vehicle is moving
forward, the transmission will not shift into �rst gear
until the vehicle is going slowly enough.
Notice:Spinning the tires or holding the vehicle in
one place on a hill using only the accelerator
pedal may damage the transmission. If you are
stuck, do not spin the tires. When stopping on a hill,
use the brakes to hold the vehicle in place.Tow/Haul Mode
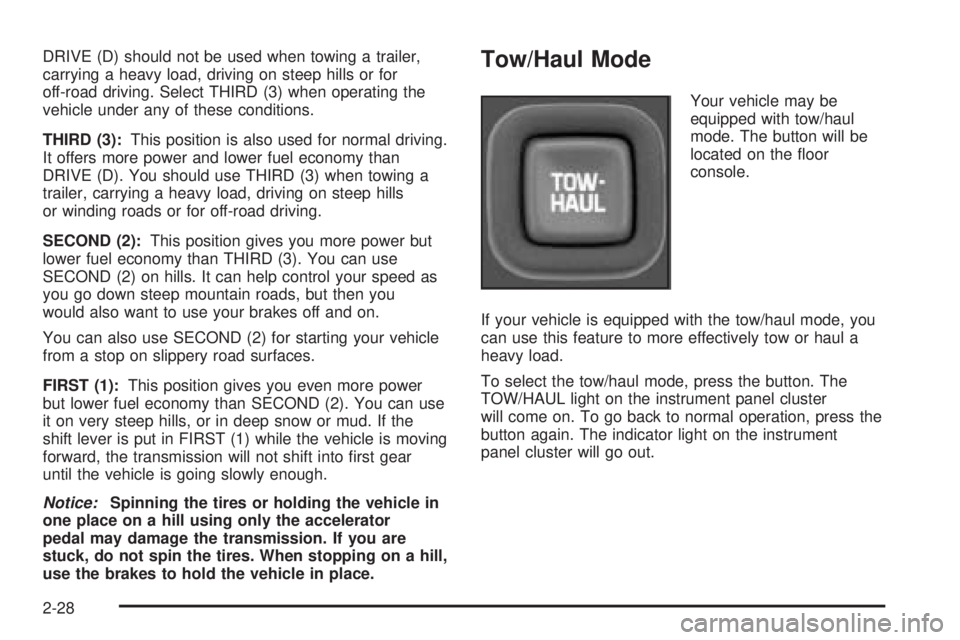
Your vehicle may be
equipped with tow/haul
mode. The button will be
located on the �oor
console.
If your vehicle is equipped with the tow/haul mode, you
can use this feature to more effectively tow or haul a
heavy load.
To select the tow/haul mode, press the button. The
TOW/HAUL light on the instrument panel cluster
will come on. To go back to normal operation, press the
button again. The indicator light on the instrument
panel cluster will go out.
2-28
Page 97 of 432
Automatic Transfer Case
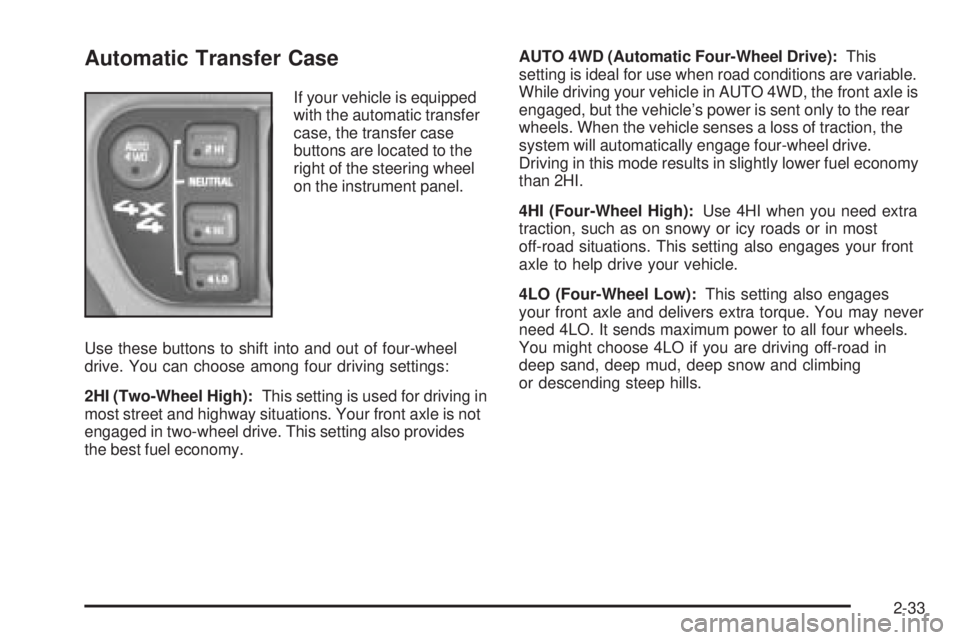
If your vehicle is equipped
with the automatic transfer
case, the transfer case
buttons are located to the
right of the steering wheel
on the instrument panel.
Use these buttons to shift into and out of four-wheel
drive. You can choose among four driving settings:
2HI (Two-Wheel High):This setting is used for driving in
most street and highway situations. Your front axle is not
engaged in two-wheel drive. This setting also provides
the best fuel economy.AUTO 4WD (Automatic Four-Wheel Drive):This
setting is ideal for use when road conditions are variable.
While driving your vehicle in AUTO 4WD, the front axle is
engaged, but the vehicle’s power is sent only to the rear
wheels. When the vehicle senses a loss of traction, the
system will automatically engage four-wheel drive.
Driving in this mode results in slightly lower fuel economy
than 2HI.
4HI (Four-Wheel High):Use 4HI when you need extra
traction, such as on snowy or icy roads or in most
off-road situations. This setting also engages your front
axle to help drive your vehicle.
4LO (Four-Wheel Low):This setting also engages
your front axle and delivers extra torque. You may never
need 4LO. It sends maximum power to all four wheels.
You might choose 4LO if you are driving off-road in
deep sand, deep mud, deep snow and climbing
or descending steep hills.
2-33
Page 110 of 432

This device complies with RSS-210 of Industry Canada.
Operation is subject to the following two conditions:
(1) this device may not cause interference, and (2) this
device must accept any interference, including
interference that may cause undesired operation of the
device.
Changes and modi�cations to this system by other than
an authorized service facility could void authorization
to use this equipment.
Programming the HomeLink®
Transmitter
Do not use the HomeLink®Transmitter with any garage
door opener that does not have the “stop and reverse”
feature. This includes any garage door opener model
manufactured before April 1, 1982. If you have a newer
garage door opener with rolling codes, please be
sure to follow Steps 6 through 8 to complete the
programming of your HomeLink
®Transmitter.
Read the instructions completely before attempting to
program the HomeLink
®Transmitter. Because of
the steps involved, it may be helpful to have another
person available to assist you in programming the
transmitter.
Keep the original transmitter for use in other vehicles as
well as for future HomeLink
®programming. It is also
recommended that upon the sale of the vehicle,the programmed HomeLink
®buttons should be erased
for security purposes. Refer to “Erasing HomeLink®
Buttons” or, for assistance, contact HomeLink®on the
internet at: www.homelink.com or by calling
1-800-355-3515.
Be sure that people and objects are clear of the garage
door or gate operator you are programming. When
programming a garage door, it is advised to park outside
of the garage.
It is recommended that a new battery be installed in
your hand-held transmitter for quicker and more
accurate transmission of the radio frequency.
Programming HomeLink®
Your vehicle’s engine should be turned off while
programming the transmitter. Follow these steps to
program up to three channels:
1. Press and hold down the two outside buttons,
releasing only when the indicator light begins to
�ash, after 20 seconds. Do not hold down the
buttons for longer than 30 seconds and do not
repeat this step to program a second and/or third
transmitter to the remaining two HomeLink
®buttons.
2. Position the end of your hand-held transmitter about
1 to 3 inches (3 to 8 cm) away from the HomeLink
®
buttons while keeping the indicator light in view.
2-46
Page 112 of 432

Gate Operator and Canadian
Programming
Canadian radio-frequency laws require transmitter
signals to “time out” or quit after several seconds of
transmission. This may not be long enough for
HomeLink
®to pick up the signal during programming.
Similarly, some U.S. gate operators are manufactured to
“time out” in the same manner.
If you live in Canada, or you are having difficulty
programming a gate operator by using the
“Programming HomeLink
®” procedures (regardless of
where you live), replace Step 3 under “Programming
HomeLink
®” with the following:
Continue to press and hold the HomeLink
®button while
you press and release every two seconds (cycle)
your hand-held transmitter until the frequency signal has
been successfully accepted by HomeLink
®. The
indicator light will �ash slowly at �rst and then rapidly.
Proceed with Step 4 under “Programming HomeLink
®”
to complete.
Using HomeLink®
Press and hold the appropriate HomeLink®button for at
least half of a second. The indicator light will come
on while the signal is being transmitted.
Erasing HomeLink®Buttons
To erase programming from the three buttons do the
following:
1. Press and hold down the two outside buttons until
the indicator light begins to �ash, after 20 seconds.
Do not hold the two outside buttons for longer
than 30 seconds.
2. Release both buttons.
HomeLink
®is now in the train (learning) mode and can
be programmed at any time beginning with Step 2
under “Programming HomeLink
®” shown earlier in this
section.
Individual buttons cannot be erased, but they can be
reprogrammed. See “Reprogramming a Single
HomeLink
®Button” following this section.
2-48
Page 140 of 432

The following does not apply to vehicles sold in Canada.
When necessary, you may turn off the automatic
headlamp system and the Daytime Running Lamps
(DRL) feature by following the steps below:
1. Turn the ignition to RUN.
2. Press the DOME OVERRIDE button four times
within six seconds. After the fourth press of the
button, a chime will sound informing you that
the system is off. The system will revert back to the
automatic on mode when the ignition is turned to
OFF and then to RUN again.
3. To return to the automatic mode, push the DOME
OVERRIDE button four times within six seconds
(a chime will sound), or turn the ignition to OFF and
then to RUN again.
As with any vehicle, you should turn on the regular
headlamp system when you need it.Automatic Headlamp System
When it is dark enough outside, your automatic
headlamp system will turn on your headlamps at the
normal brightness along with other lamps such as
the taillamps, sidemarker, parking lamps and the
instrument panel lights. The radio lights will also be dim.
Your vehicle is equipped with a light sensor on the
top of the instrument panel under the radio speaker grill.
Be sure it is not covered or the system will be on
whenever the ignition is on.
The system may also turn on your headlamps when
driving through a parking garage, heavy overcast
weather or a tunnel. This is normal.
There is a delay in the transition between the daytime
and nighttime operation of the Daytime Running
Lamps (DRL) and the automatic headlamp systems so
that driving under bridges or bright overhead street
lights does not affect the system. The DRL and
automatic headlamp system will only be affected when
the light sensor sees a change in lighting lasting
longer than the delay.
3-16
Page 145 of 432
)(Bi-Level):This mode directs half of the air to the
instrument panel outlets, then directs most of the
remaining air to the �oor outlets. A little air is also
directed toward the windshield and the side window
outlets. Cooler air is directed to the upper outlets and
warmer air to the �oor outlets.
6(Floor):This mode directs most of the air to the
�oor outlets with a little air directed to the windshield and
the side window outlets.
9(Fan):Turn the left knob clockwise or
counterclockwise to increase or decrease the fan speed.
Turn the mode knob to OFF to turn off the fan.
The mode knob can also be used to select defog or
defrost mode. For more information, see “Defogging and
Defrosting” later in this section.
On hot days, open the windows to let hot inside air
escape; then close them. This helps to reduce the time
it takes for your vehicle to cool down. It also helps
the system to operate more efficiently.
A/C (Air Conditioning):Turn the knob to the A/C
position to turn the air-conditioning system on or
off. When the system is on, this setting cools and
dehumidi�es the air entering your vehicle and directs it
through the �oor outlets as well as the instrument
panel outlets.MAX A/C (Maximum Air Conditioning):This mode
recirculates much of the air inside your vehicle so
it cools quickly. It directs most of the air through the
instrument panel vents and a small amount through the
�oor vents.
You may notice a slight change in engine performance
when the air-conditioning compressor shuts off and
turns on again. This is normal. The system is designed
to make adjustments to help with fuel economy while
still maintaining the selected temperature.
The air-conditioning system removes moisture from the
air, so you may sometimes notice a small amount of
water dripping underneath your vehicle while idling
or after turning off the engine. This is normal.
Defogging and Defrosting
Fog on the inside of windows is a result of high humidity
(moisture) condensing on the cool window glass. This
can be minimized if the climate control system is
used properly. There are two modes to clear fog or frost
from your windshield and side windows. Use the
defog mode to clear the windows of fog or moisture and
warm the passengers. use the defrost mode to
remove fog or frost from the windshield more quickly.
For best results, clear all snow and ice from the
windshield before defrosting.
3-21
Page 159 of 432
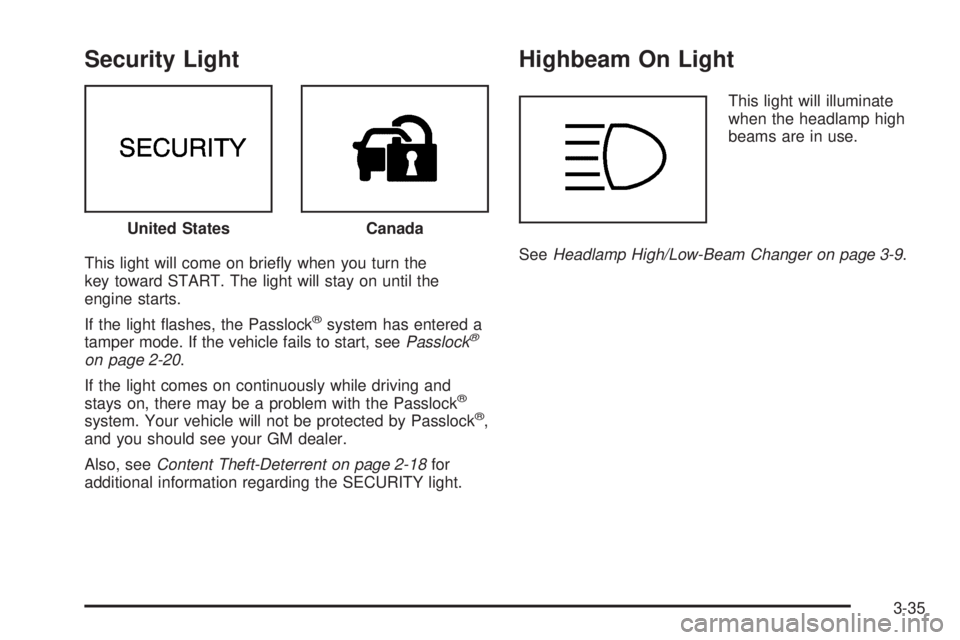
Security Light
This light will come on brie�y when you turn the
key toward START. The light will stay on until the
engine starts.
If the light �ashes, the Passlock
®system has entered a
tamper mode. If the vehicle fails to start, seePasslock®
on page 2-20.
If the light comes on continuously while driving and
stays on, there may be a problem with the Passlock
®
system. Your vehicle will not be protected by Passlock®,
and you should see your GM dealer.
Also, seeContent Theft-Deterrent on page 2-18for
additional information regarding the SECURITY light.
Highbeam On Light
This light will illuminate
when the headlamp high
beams are in use.
SeeHeadlamp High/Low-Beam Changer on page 3-9. United States
Canada
3-35
Page 163 of 432

Driver Information Center (DIC)
Your vehicle may have a Driver Information Center
(DIC) located on the overhead console. The DIC
displays the outside air temperature, compass direction
and trip information in the overhead console. The
DIC buttons are located to the left of the display.
US/MET (United States/Metric):The US/MET button
allows you to switch the display between the English and
metric system.ON/OFF:The ON/OFF button can be used to toggle
between three modes of operation: OFF, COMP/TEMP
and TRIP.
Modes of Operation
Press the ON/OFF button to toggle between the
following modes of operation:
OFF:No driver information is displayed in this mode
of operation.
COMP/TEMP (Compass/Temperature):This display
shows the outside temperature and one of eight
compass readings to indicate the direction the vehicle is
facing.
Before you turn on the ignition and move the vehicle,
the temperature indicated will be the last outside
temperature recorded with the ignition on. If the outside
temperature is 37°F (3°C) or lower, the display will
toggle between the ICE and the current temperature
every eight seconds. This is a warning to the driver that
road conditions may be icy, and that appropriate
precautions should be taken.
See “Compass Variance” later in this section for more
information.
TRIP:In the TRIP mode, pressing the ON/OFF button
cycles through the �ve TRIP displays. See “Trip
Computer” later in this section for more information.
3-39