low oil pressure GMC SAVANA 2004 Owner's Manual
[x] Cancel search | Manufacturer: GMC, Model Year: 2004, Model line: SAVANA, Model: GMC SAVANA 2004Pages: 398, PDF Size: 4.4 MB
Page 123 of 398
Instrument Panel Overview...............................3-4
Hazard Warning Flashers................................3-6
Other Warning Devices...................................3-7
Horn.............................................................3-7
Tilt Wheel.....................................................3-7
Turn Signal/Multifunction Lever.........................3-8
Exterior Lamps.............................................3-14
Interior Lamps..............................................3-16
Accessory Power Outlets...............................3-18
Ashtrays and Cigarette Lighter........................3-18
Climate Controls............................................3-19
Climate Control System.................................3-19
Outlet Adjustment.........................................3-21
Rear Heating System....................................3-22
Rear Air Conditioning and Heating System.......3-22
Warning Lights, Gages and Indicators.............3-24
Warning Lights, Gages, and Indicators.............3-24
Instrument Panel Cluster................................3-25
Speedometer...............................................3-26
Safety Belt Reminder Light.............................3-27
Air Bag Readiness Light................................3-28
Air Bag Off Light..........................................3-29
Charging System Light..................................3-30
Voltmeter Gage............................................3-31Brake System Warning Light..........................3-32
Anti-Lock Brake System Warning Light.............3-33
Stabilitrak
®Not Ready Light...........................3-33
Stabilitrak®Indicator Light...............................3-33
Engine Coolant Temperature Gage..................3-34
Low Coolant Warning Light............................3-34
Malfunction Indicator Lamp.............................3-35
Oil Pressure Gage........................................3-37
Change Engine Oil Light................................3-38
Security Light...............................................3-39
Cruise Control Light......................................3-39
Reduced Engine Power Light.........................3-40
Daytime Running Lamps Indicator Light...........3-40
Tow/Haul Mode Light....................................3-40
Check Gages Warning Light...........................3-41
Fuel Gage...................................................3-41
Audio System(s).............................................3-42
Setting the Time for Radios without
Radio Data Systems (RDS)........................3-43
Setting the Time for Radios with Radio
Data Systems (RDS)..................................3-43
AM-FM Radio...............................................3-43
Radio with CD..............................................3-46
Radio with Cassette and CD..........................3-50
Section 3 Instrument Panel
3-1
Page 159 of 398
Emissions Inspection and Maintenance
Programs
Some state/provincial and local governments have or
may begin programs to inspect the emission control
equipment on your vehicle. Failure to pass this
inspection could prevent you from getting a vehicle
registration.
Here are some things you need to know to help your
vehicle pass an inspection:
Your vehicle will not pass this inspection if the Check
Engine light is on or not working properly.
Your vehicle will not pass this inspection if the OBD
(on-board diagnostic) system determines that critical
emission control systems have not been completely
diagnosed by the system. The vehicle would be
considered not ready for inspection. This can happen if
you have recently replaced your battery or if your
battery has run down. The diagnostic system is
designed to evaluate critical emission control systems
during normal driving. This may take several days
of routine driving. If you have done this and your vehicle
still does not pass the inspection for lack of OBD
system readiness, your GM dealer can prepare the
vehicle for inspection.
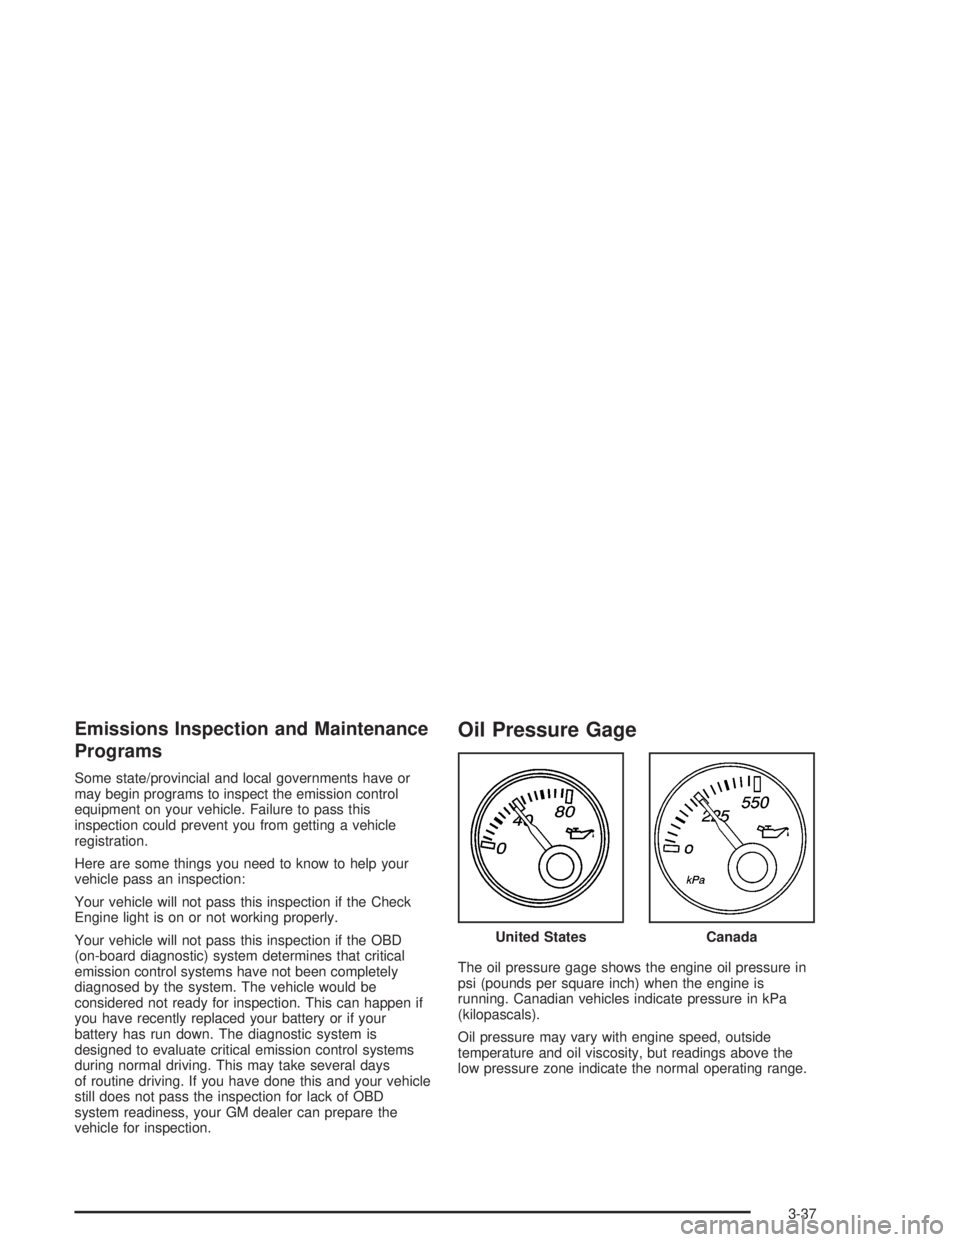
Oil Pressure Gage
The oil pressure gage shows the engine oil pressure in
psi (pounds per square inch) when the engine is
running. Canadian vehicles indicate pressure in kPa
(kilopascals).
Oil pressure may vary with engine speed, outside
temperature and oil viscosity, but readings above the
low pressure zone indicate the normal operating range.United States
Canada
3-37
Page 160 of 398
A reading in the low pressure zone may be caused by a
dangerously low oil level or other problem causing
low oil pressure. Check your oil as soon as possible.
{CAUTION:
Do not keep driving if the oil pressure is low. If
you do, your engine can become so hot that it
catches re. You or others could be burned.
Check your oil as soon as possible and have
your vehicle serviced.
Notice:Lack of proper engine oil maintenance may
damage the engine. The repairs would not be
covered by your warranty. Always follow the
maintenance schedule in this manual for changing
engine oil.
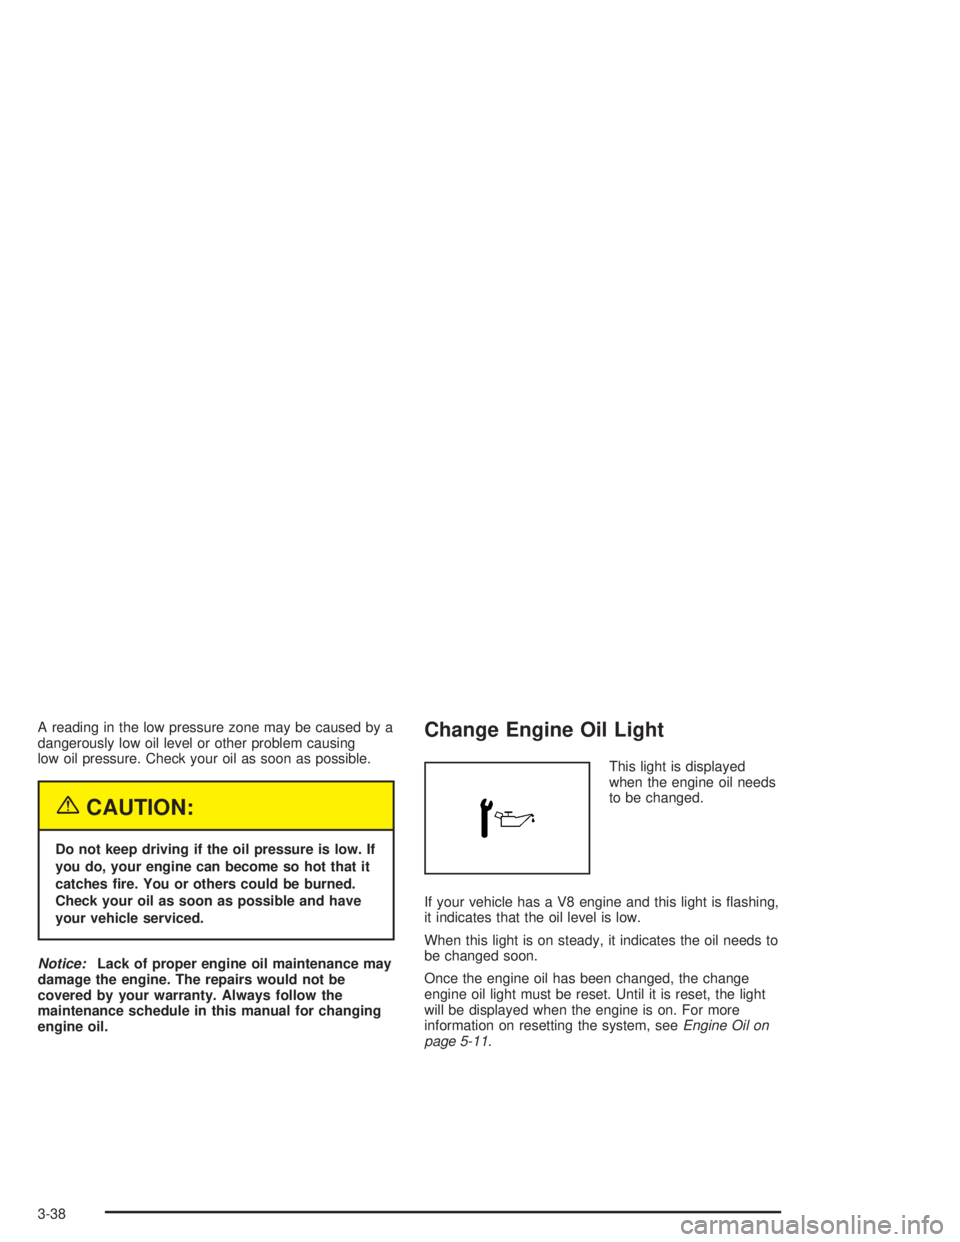
Change Engine Oil Light
This light is displayed
when the engine oil needs
to be changed.
If your vehicle has a V8 engine and this light is ashing,
it indicates that the oil level is low.
When this light is on steady, it indicates the oil needs to
be changed soon.
Once the engine oil has been changed, the change
engine oil light must be reset. Until it is reset, the light
will be displayed when the engine is on. For more
information on resetting the system, seeEngine Oil on
page 5-11.
3-38
Page 219 of 398
When you want to leave the freeway, move to the
proper lane well in advance. If you miss your exit, do
not, under any circumstances, stop and back up. Drive
on to the next exit.
The exit ramp can be curved, sometimes quite sharply.
The exit speed is usually posted.
Reduce your speed according to your speedometer, not
to your sense of motion. After driving for any distance
at higher speeds, you may tend to think you are
going slower than you actually are.
Before Leaving on a Long Trip
Make sure you are ready. Try to be well rested. If you
must start when you are not fresh — such as after
a day’s work — do not plan to make too many miles that
rst part of the journey. Wear comfortable clothing
and shoes you can easily drive in.
Is your vehicle ready for a long trip? If you keep it
serviced and maintained, it is ready to go. If it needs
service, have it done before starting out. Of course, you
will nd experienced and able service experts in GM
dealerships all across North America. They will be ready
and willing to help if you need it.Here are some things you can check before a trip:
Windshield Washer Fluid:Is the reservoir full? Are
all windows clean inside and outside?
Wiper Blades:Are they in good shape?
Fuel, Engine Oil, Other Fluids:Have you checked
all levels?
Lamps:Are they all working? Are the lenses clean?
Tires:They are vitally important to a safe,
trouble-free trip. Is the tread good enough for
long-distance driving? Are the tires all inated to the
recommended pressure?
Weather Forecasts:What is the weather outlook
along your route? Should you delay your trip a
short time to avoid a major storm system?
Maps:Do you have up-to-date maps?
4-23
Page 259 of 398
A. Battery. SeeBattery on page 5-41.
B. Radiator Pressure Cap. SeeRadiator Pressure Cap
on page 5-25.
C. Coolant Recovery Tank. SeeCooling System on
page 5-28.
D. Transmission Fluid Dipstick. SeeAutomatic
Transmission Fluid on page 5-19.
E. Engine Oil Fill. SeeEngine Oil on page 5-13.
F. Engine Oil Dipstick. SeeEngine Oil on page 5-13.
G. Air Filter Restriction Indicator. SeeEngine Air
Cleaner/Filter on page 5-18.
H. Engine Air Cleaner/Filter. SeeEngine Air
Cleaner/Filter on page 5-18.
I. Power Steering Reservoir. SeePower Steering Fluid
on page 5-35.
J. Brake Master Cylinder. SeeBrakes on page 5-38.
K. Windshield Washer Fluid. SeeWindshield Washer
Fluid on page 5-36.Engine Oil
Checking Engine Oil
It is a good idea to check your engine oil every time you
get fuel. In order to get an accurate reading, the oil
must be warm and the vehicle must be on level ground.
The engine oil dipstick handle is a yellow loop. See
Engine Compartment Overview on page 5-12for
the location of the engine oil dipstick.
Turn off the engine and give the oil several minutes to
drain back into the oil pan. If you don’t, the oil
dipstick might not show the actual level.
Pull out the dipstick and clean it with a paper towel or
cloth, then push it back in all the way. Remove it again,
keeping the tip down, and check the level.
5-13
Page 390 of 398
Fluid
Automatic Transmission................................5-19
Power Steering...........................................5-35
Windshield Washer......................................5-36
FM ...............................................................3-72
Following Distance..........................................4-47
Front Axle......................................................5-49
Fuel............................................................... 5-4
Additives...................................................... 5-6
California Fuel.............................................. 5-5
Filling a Portable Fuel Container..................... 5-9
Filling Your Tank........................................... 5-7
Fuels in Foreign Countries.............................. 5-6
Gage.........................................................3-41
Gasoline Octane........................................... 5-4
Gasoline Specications.................................. 5-5
Fuel Regulator................................................2-22
Fuses
Fuses and Circuit Breakers.........................5-102
Windshield Wiper.......................................5-101
G
Gage
Check Gages Warning Light..........................3-41
Engine Coolant Temperature.........................3-34
Fuel..........................................................3-41
Oil Pressure...............................................3-37Gage (cont.)
Speedometer..............................................3-26
Voltmeter Gage...........................................3-31
Gasoline
Octane........................................................ 5-4
Specications............................................... 5-5
GM Mobility Program for Persons with
Disabilities.................................................... 7-5
H
Hazard Warning Flashers................................... 3-6
Headlamp High/Low Beam Changer.................... 3-9
Headlamp Wiring...........................................5-101
Headlamps....................................................5-51
Bulb Replacement.......................................5-51
Front Turn Signal, Sidemarker and
Parking Lamps.........................................5-53
Halogen Bulbs............................................5-51
Highway Hypnosis...........................................4-24
Hill and Mountain Roads..................................4-24
Hitches..........................................................4-45
Hood
Checking Things Under.................................. 5-9
Release.....................................................5-10
Horn............................................................... 3-7
How to Add Coolant to the Coolant
Recovery Tank............................................5-29
6